
First, we are not professional carpenters or DIYers… we are just like any of you, picking up tools and learning as we go- if we can do it, you can too! When it comes to DIY projects such as building a box mantel, attention to detail is key. Take your time. Measure everything, and then measure again, and then one more time for good measure 😉 See what I did there.
Step 1 : Determine Your Size
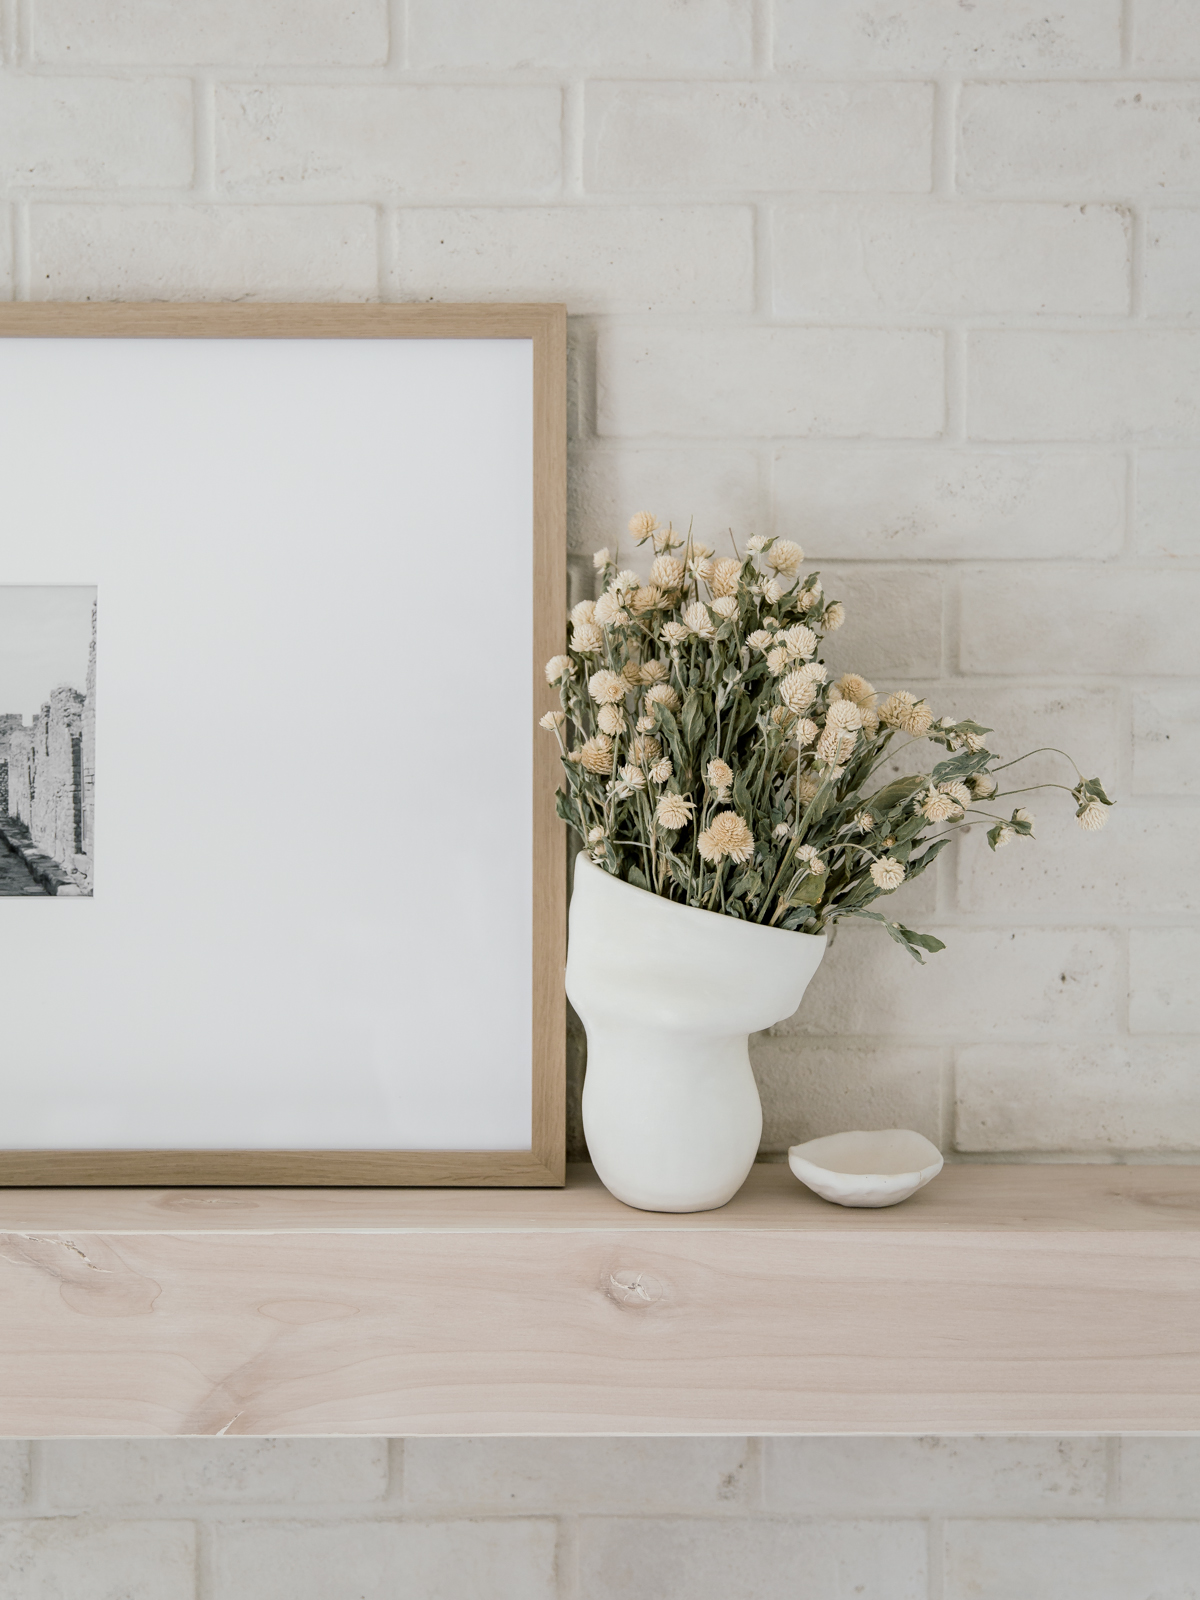
Start by determining the size you want your finished mantel to be- length, depth, height. Keep in mind, you want to ensure the depth is at least 5″ if you are planning on propping a mirror, artwork, or decor. Our dimensions are 57″ Long x 4″ High x 5.5″ Deep. If you remember our last mantel, it was a solid Cedar beam we cut down to size and for this mantel we something less bulky. We also wanted to make the mantel a bit longer to span from brick’s edge to edge instead of how it was before. You can click here to see our old mantel.
Step 2 : Build Your Brace
Once you have determined the size your mantel will be, it is time to make the brace which the box mantel will slide on to. We made our brace out of 1 2×4. Our brace measures 55″ Long. We made sure to leave an inch of space on either side to allow the box mantel to slide completely over the brace. The long 2×4 was attached with 3″ screws into our existing 3 holes in the mortar that held up our old mantel. The 4 perpendicular pieces are 3″ deep. Remember my tip about measuring and measuring again at the beginning of the post? Make sure you take in to account the depth of your long 2×4 before cutting your short pieces- we made the short pieces too long initially and had to remove them and cut them down. We attached the short pieces with screws and wood glue.
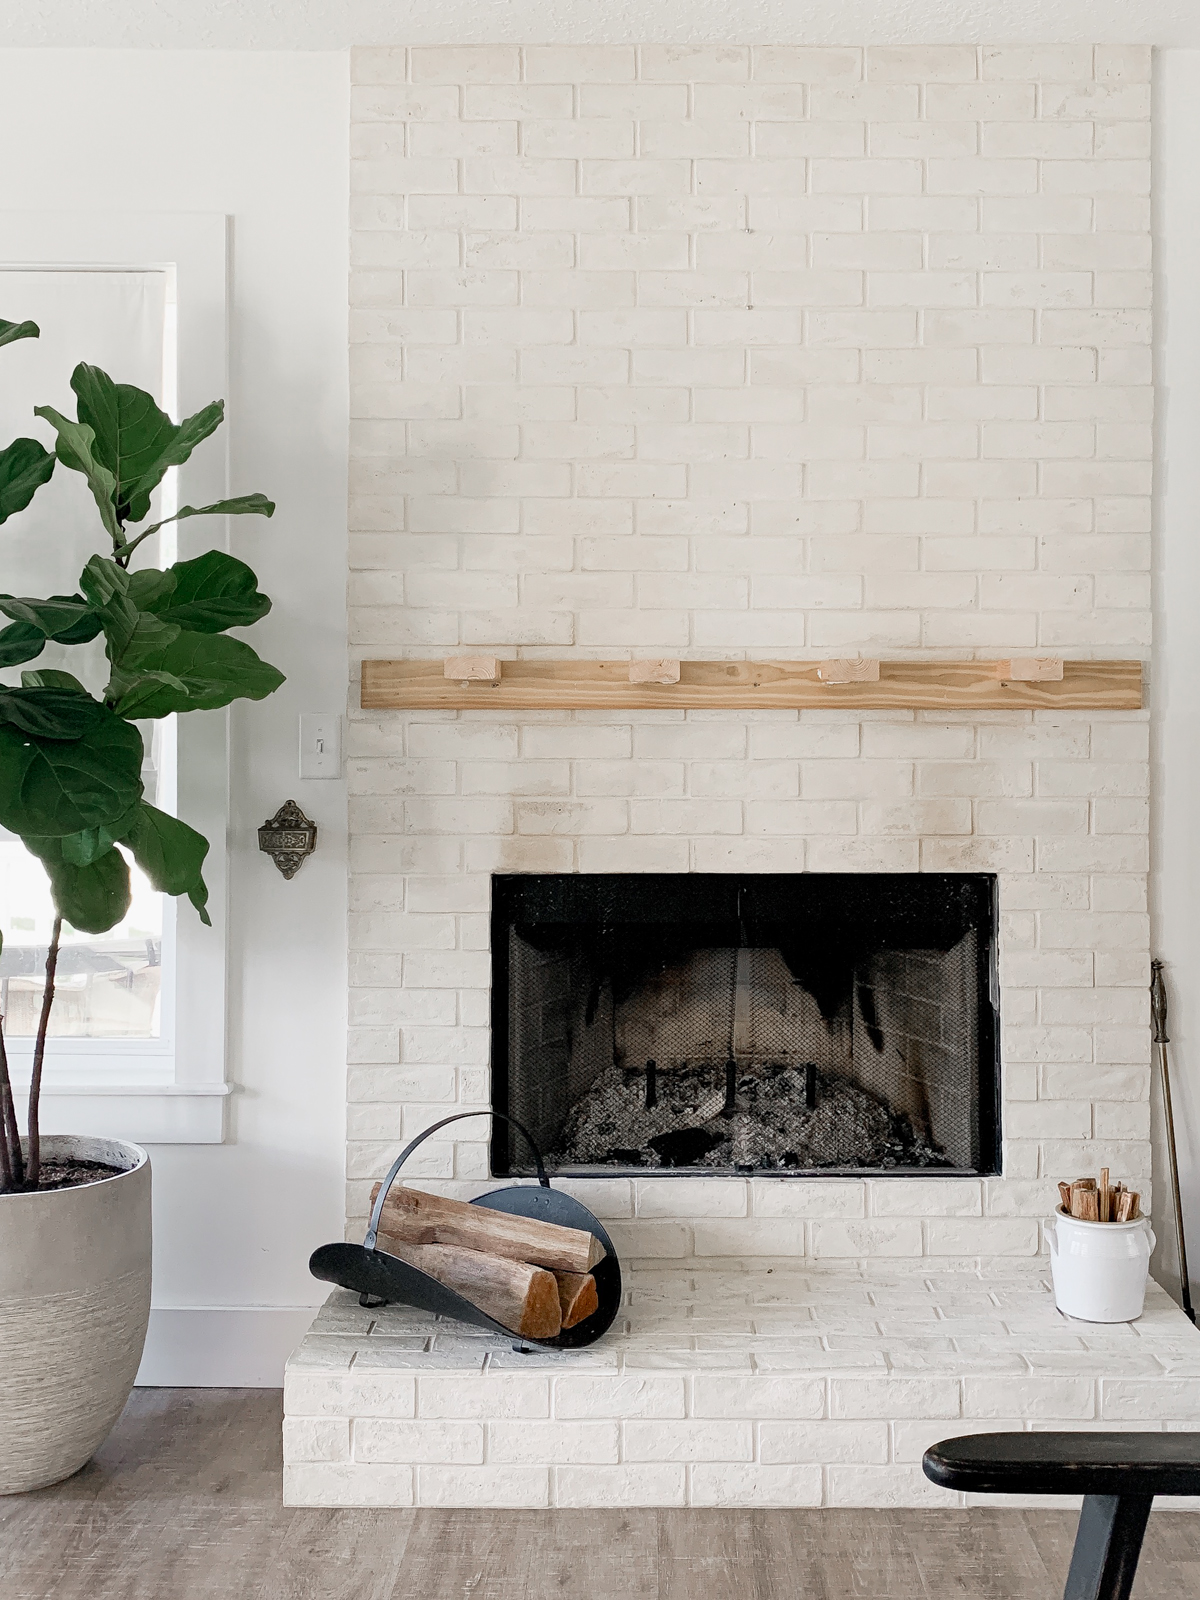
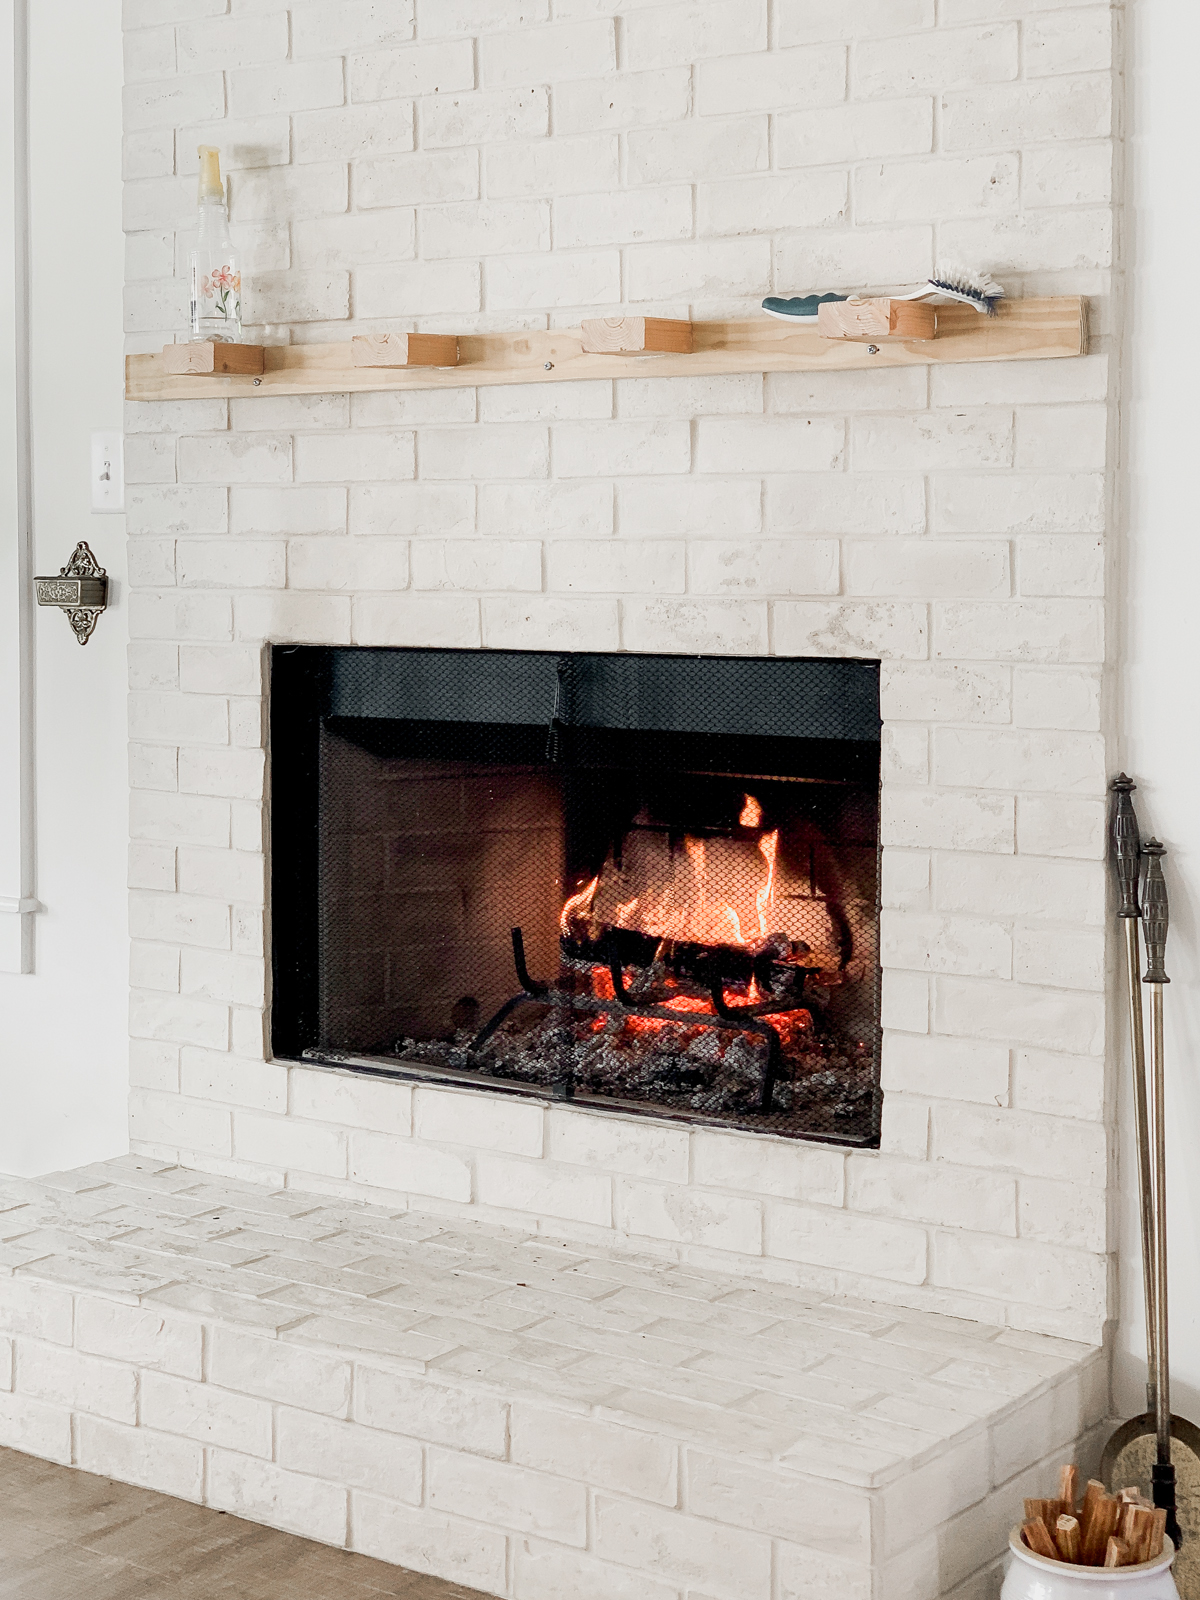
Tip : See those soot marks on our brick? We tried a few different things- Magic Eraser, Baking Soda mixture, and A-Ben-A-Qui and found that equal parts vinegar and water mixture sprayed on the brick and letting sit WHILE the fire was burning, then scrubbing with a bristle brush worked best. We assume the heat from the fire helped activate and dry the area quickly and ended up lightening the soot marks significantly.
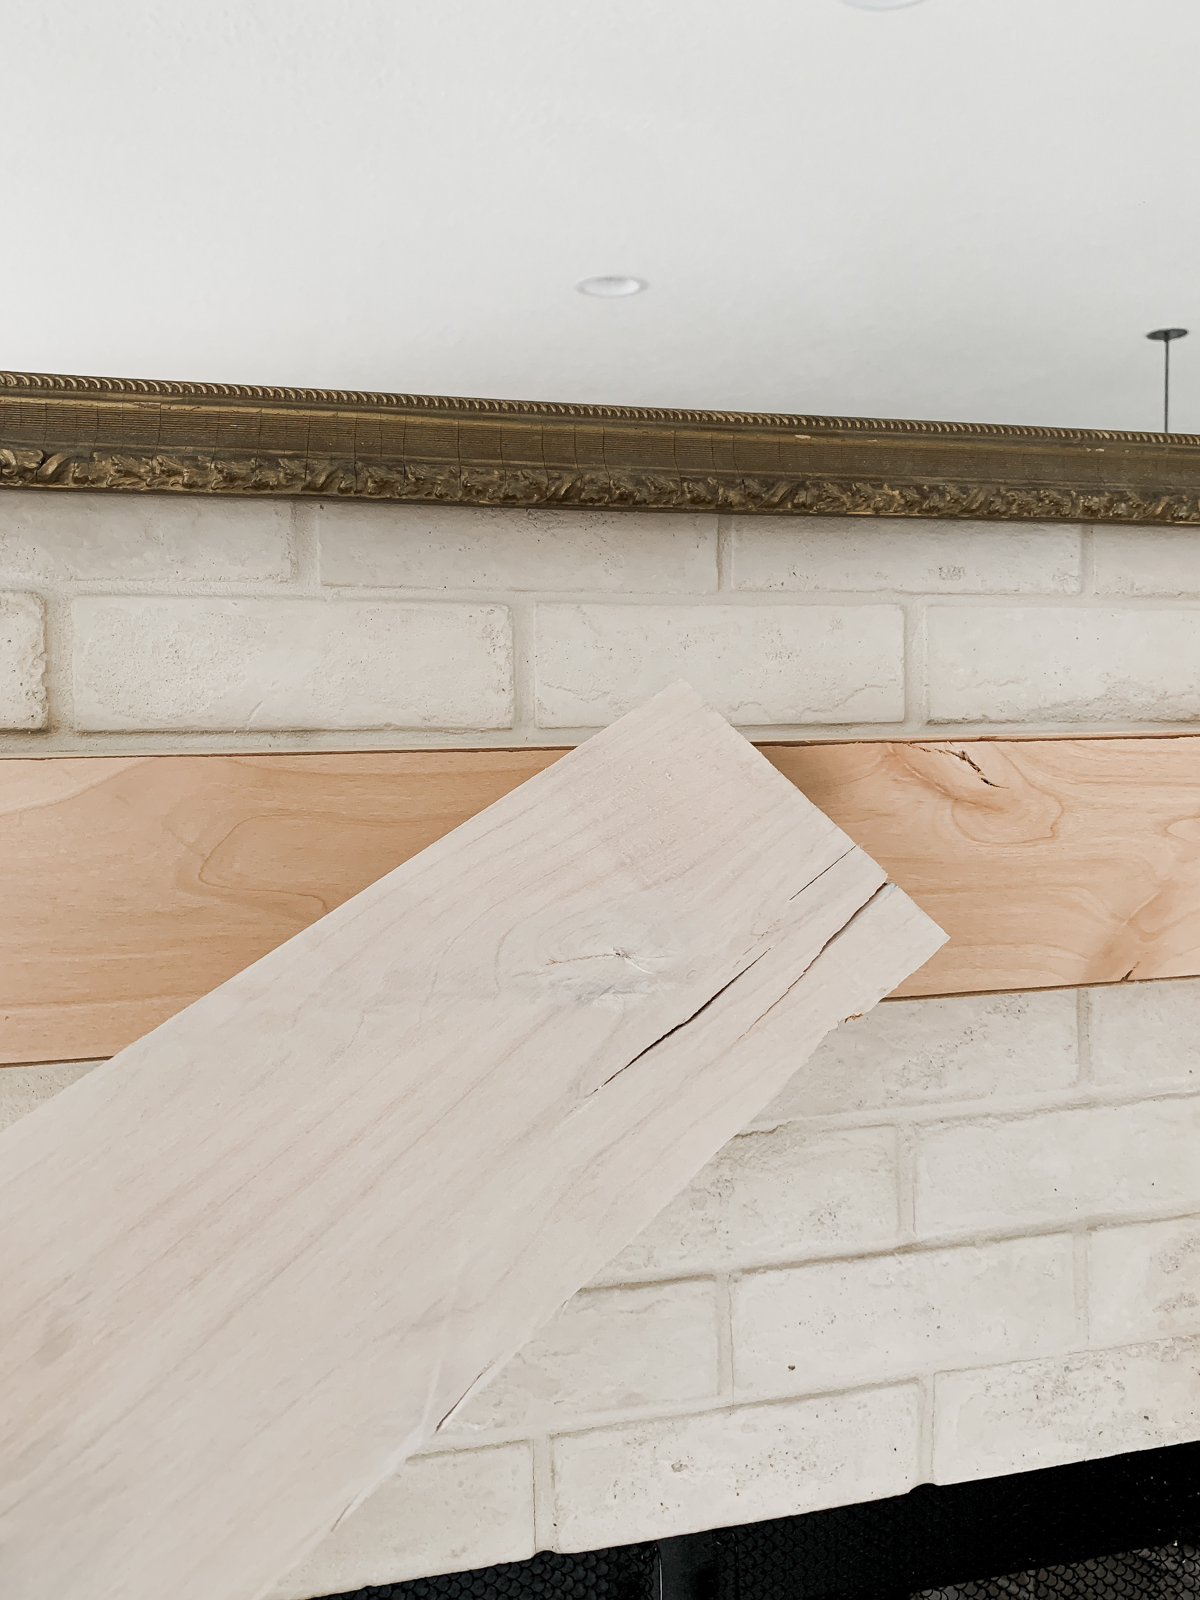
Step 3 : Cut your Wood for the Mantel
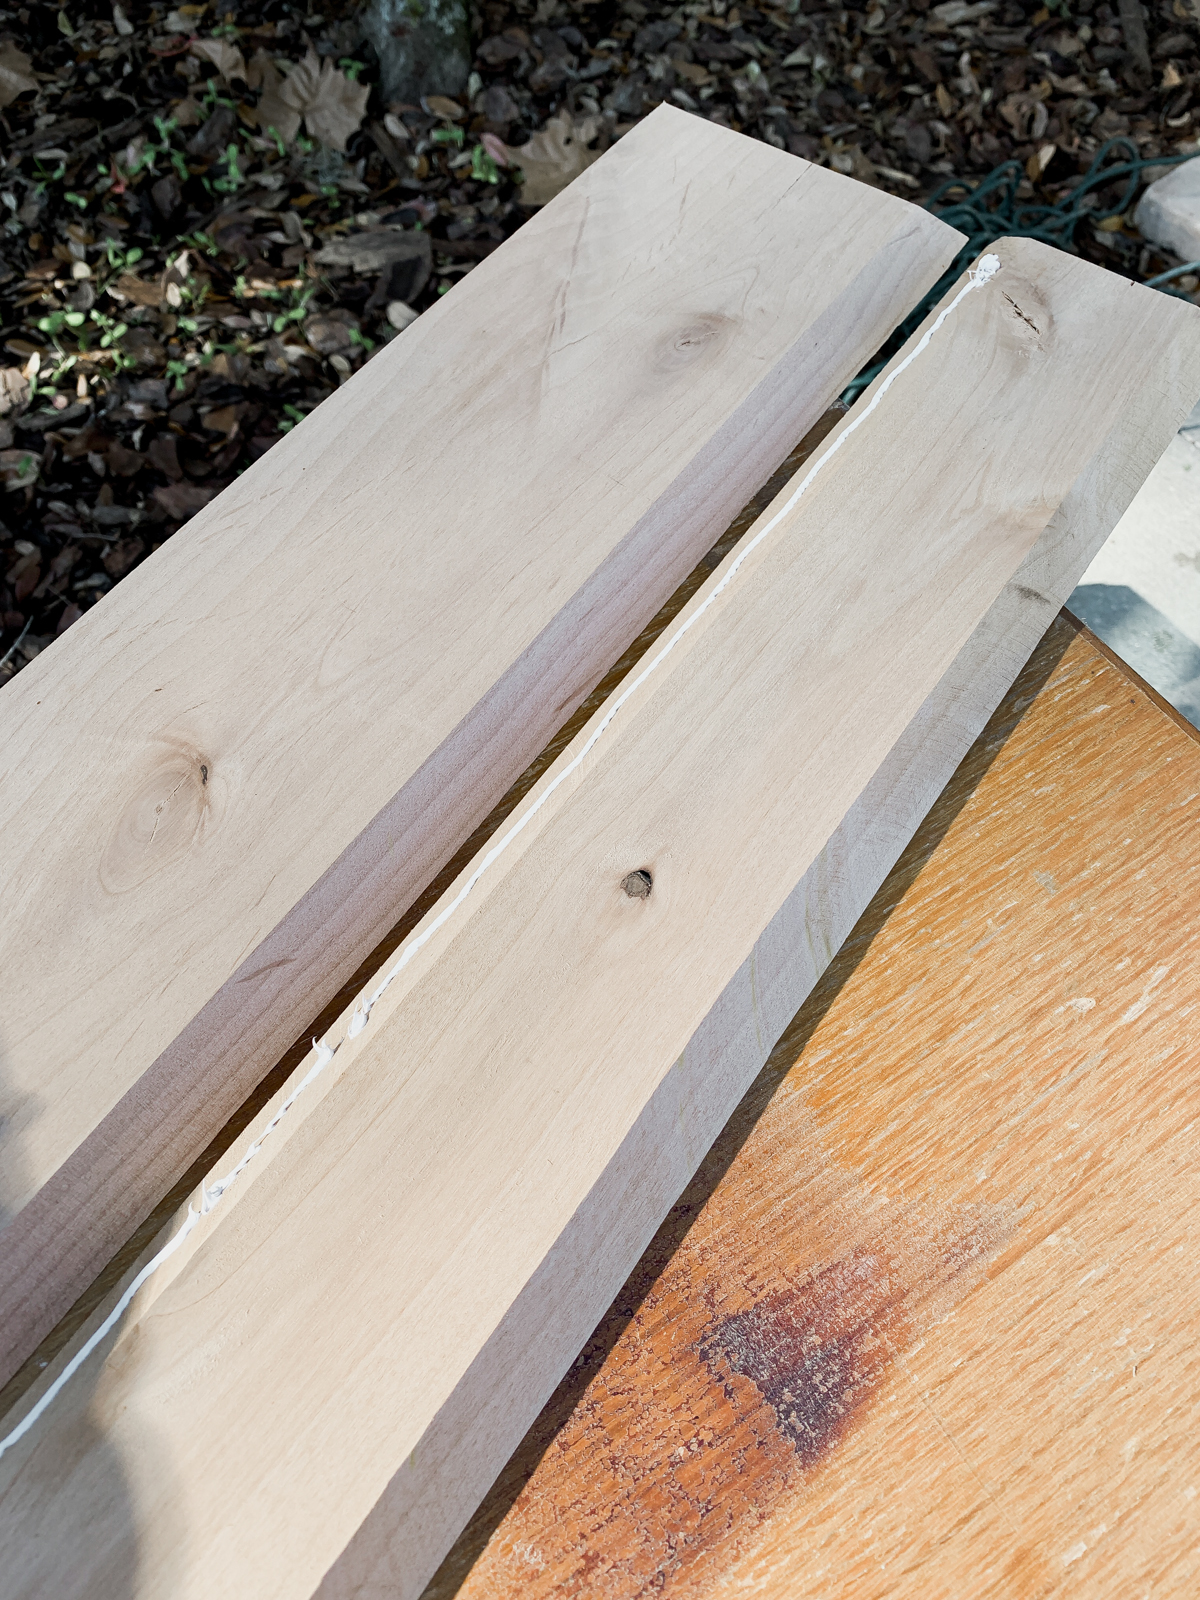
We chose to build our box mantel out 2 1x6s, and 1 1×4 of Alder wood- we had some on hand and we loved the knots and character of the wood. Keep in mind, Alder does have a red undertone and will appear very pink depending on the stain application you choose. More on that below! Back to the cuts- once we cut our 3 pieces down to size using a chop saw, all 57″ long, we then cut the boards to make the edges at 45º. This step would be much easier using a table saw, but we do not have one, so we used this and our skill saw and cut slowly- I held one end of the board for stability while Justin made the cuts. Justin used a chop saw to cut and angle the two end cap pieces. The 2 end caps measure 5.5″ x 4″.
Step 4 : Assemble the Box
This step is also helpful to have 2 people- we first attached the piece of wood that is the bottom of the mantel and the face of the mantel together with wood glue and then nailed together with a nail gun and brad nails. Once those two pieces were attached, we repeated the same steps with the top piece of wood and the ends caps.


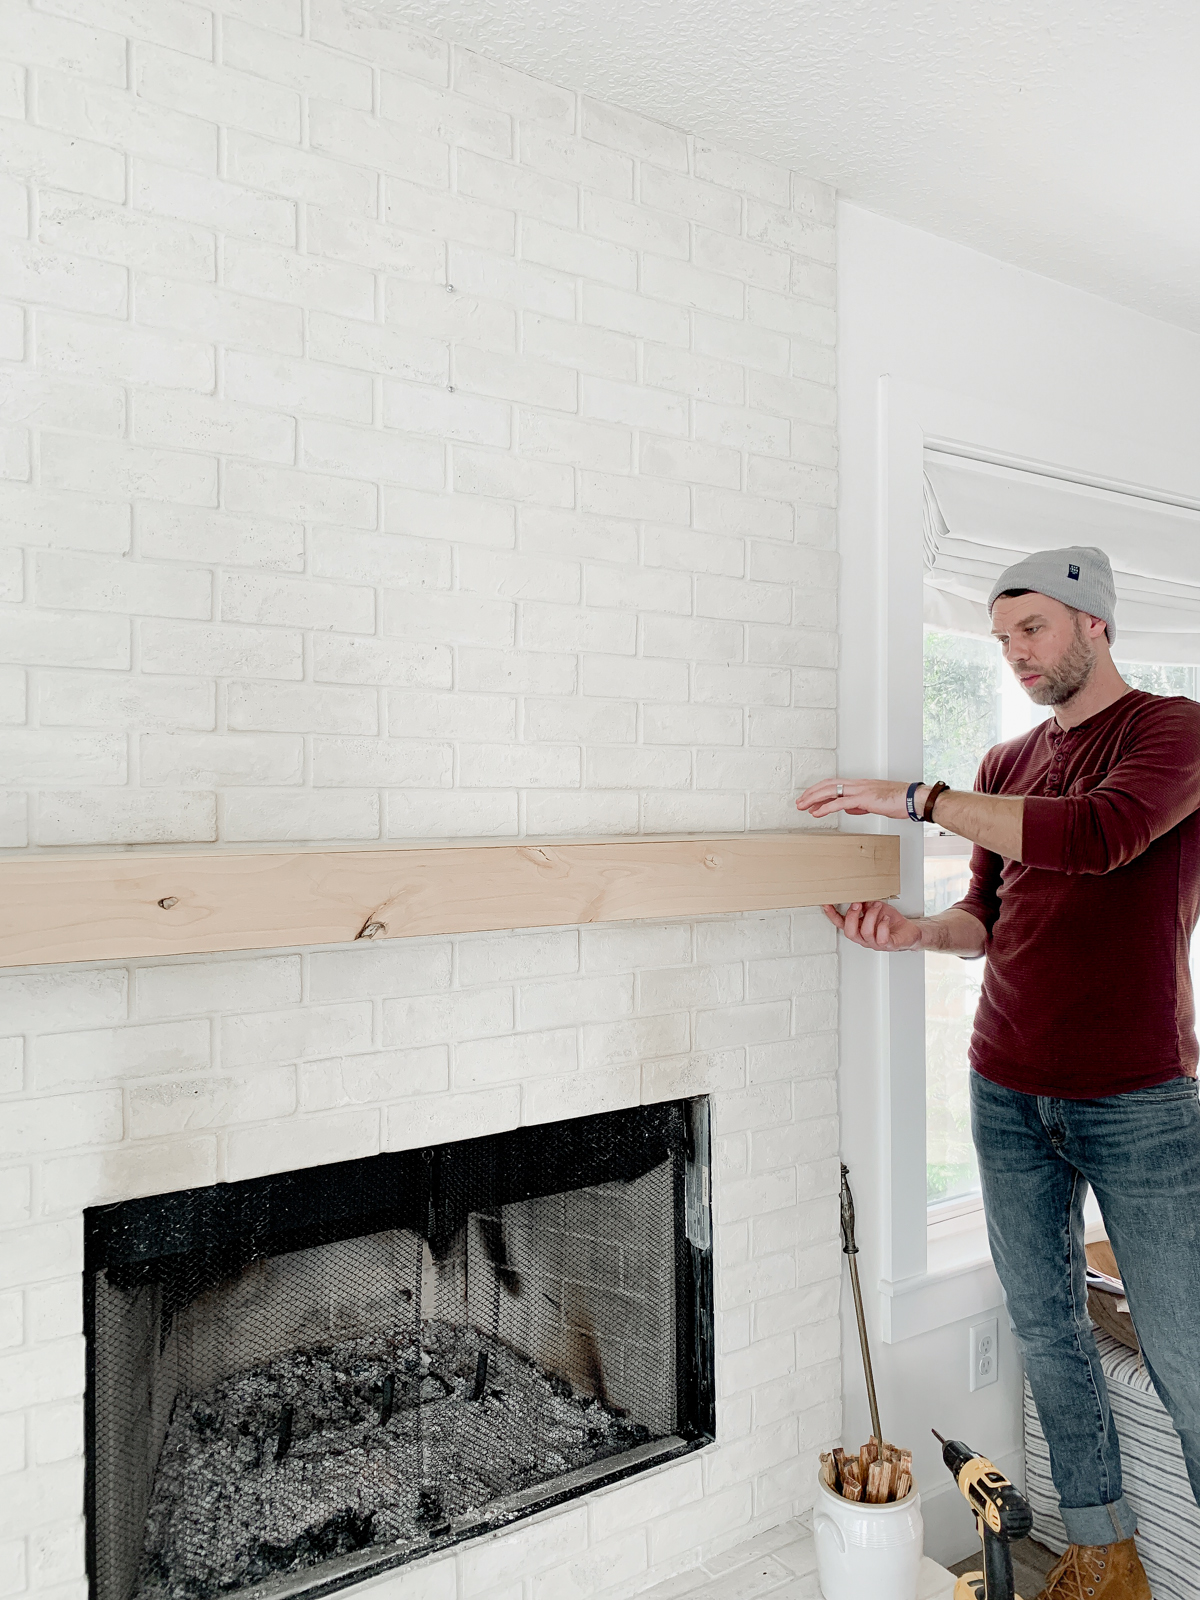
Step 5 : Test Fit
Once your box mantel has been assembled, take it inside to ensure it slides on and fits the brace well.
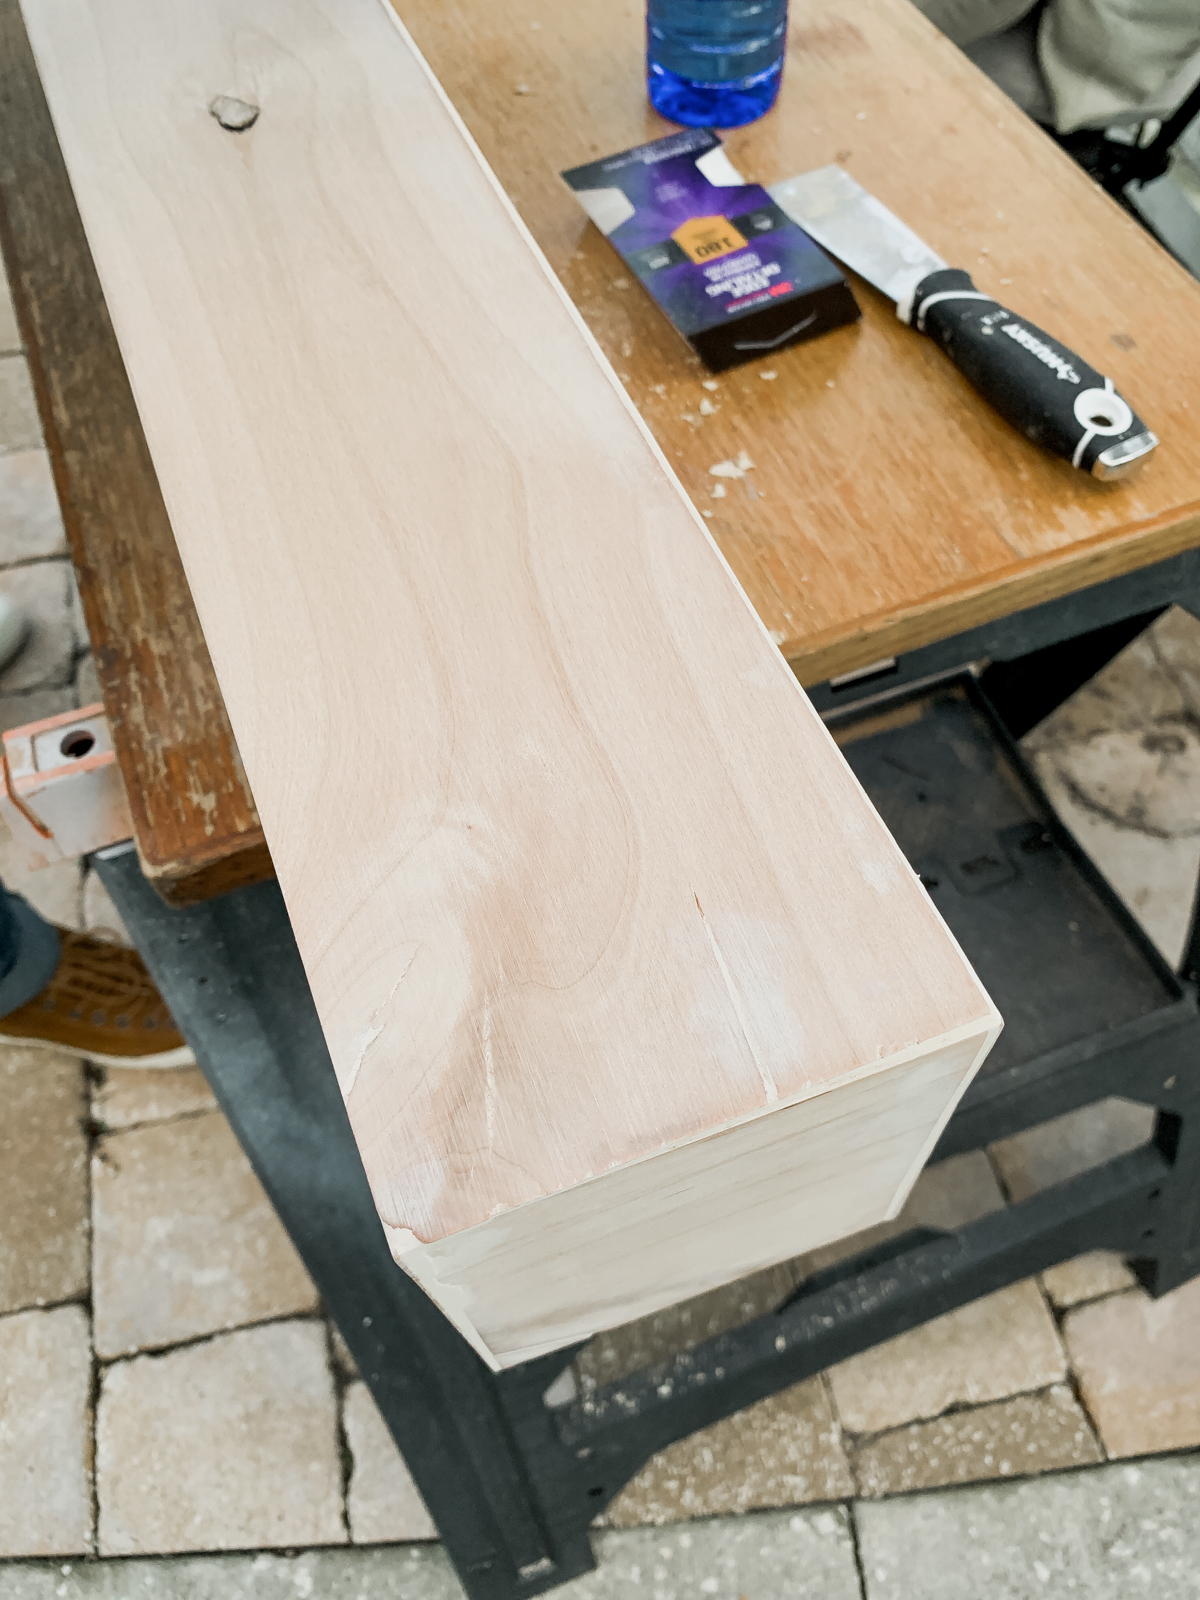
Step 6 : Fill the Holes and Seams
Once you have test fit the box mantel, it is time to wood fill your nail holes and corner seams with wood fill. We used a natural color that best fit the color of the wood. A little goes a long way, I used my finger and a small putty knife to fill everywhere. Let it dry according to the wood fill instructions and then sand down to a smooth surface.
Step 7 : Choose (OR MAKE) Your Stain
If you followed our Instagram Stories when we made this mantel, you know we followed Jenny Komenda’s recommendation of creating our own custom stain using craft paint. After many failed attempts of trying to use different store bought stains, we found we weren’t getting the results we wanted since the stain would saturate and make the Alder wood much darker and bring out more of the red tones than what we were wanting. Jenny created her own stain using craft paint and used it on this kitchen island in a recent renovation project and we loved how the craft paint stain created a natural look to the wood while cutting out those undertones we weren’t wanting.
So, we ran to our local craft store and picked up various colors of craft paint. We knew we wanted the base to be primarily beige with hints of grey and green. If you remember back to color theory, green is opposite of red on the color wheel and adding green to the mix, helped cut out some of those red tones in our wood. If you are using a wood with more green undertones, you may want to consider adding brown which has red tones in it to help cut out the green tones in your wood.
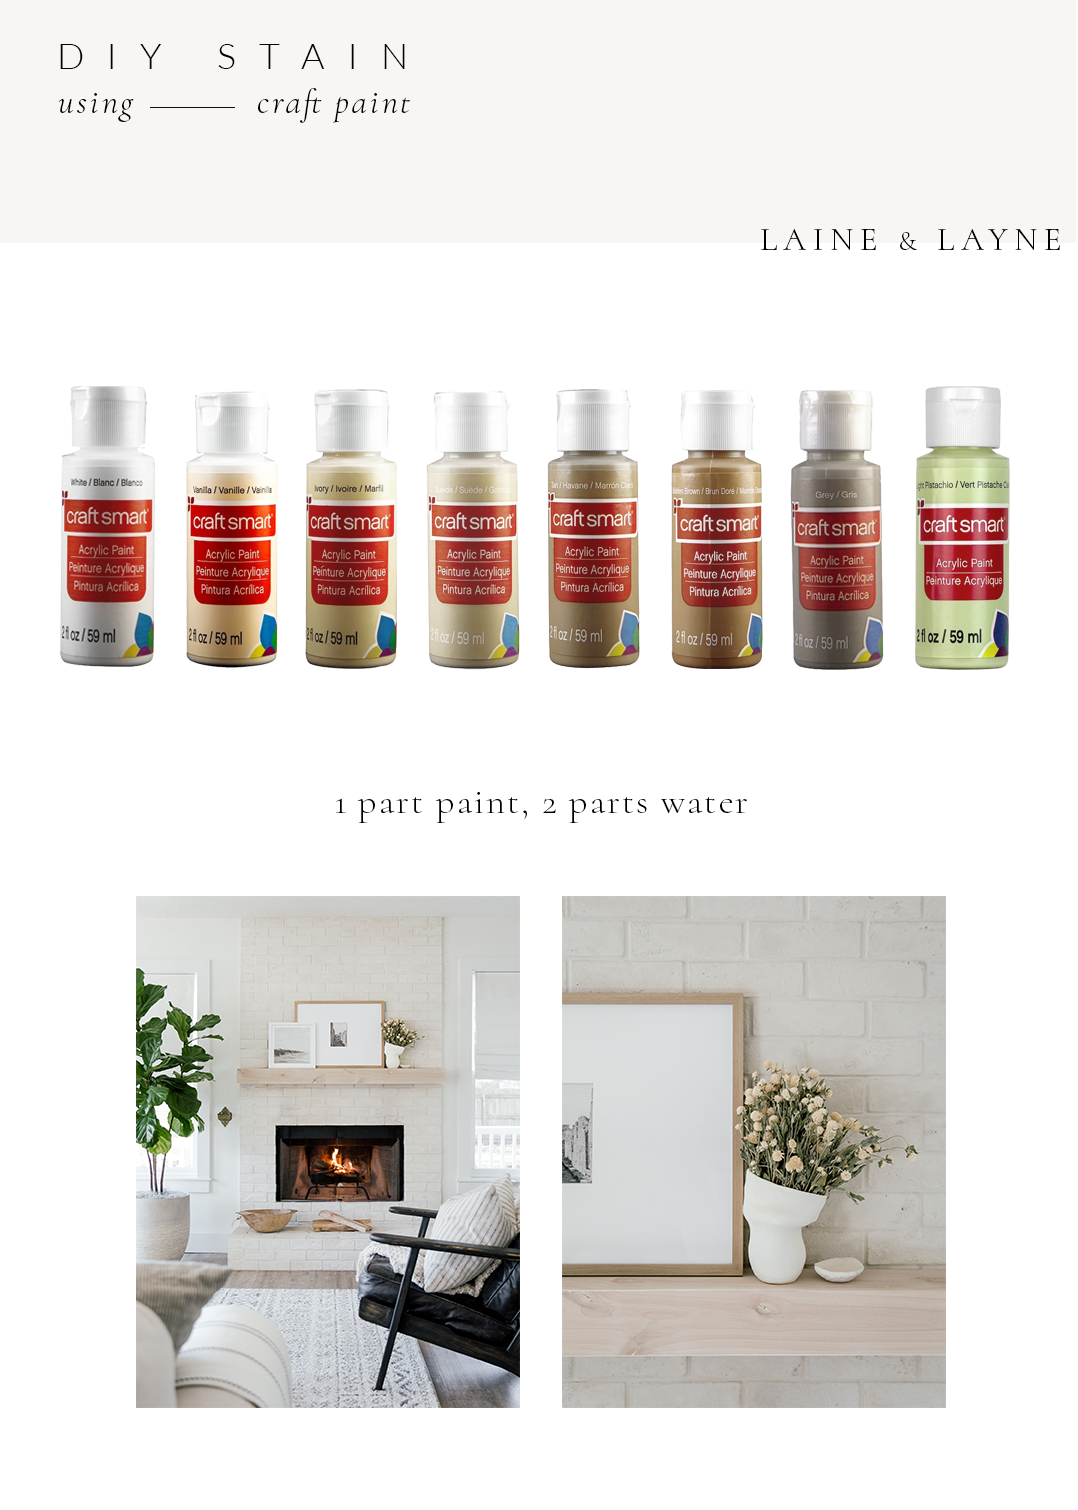
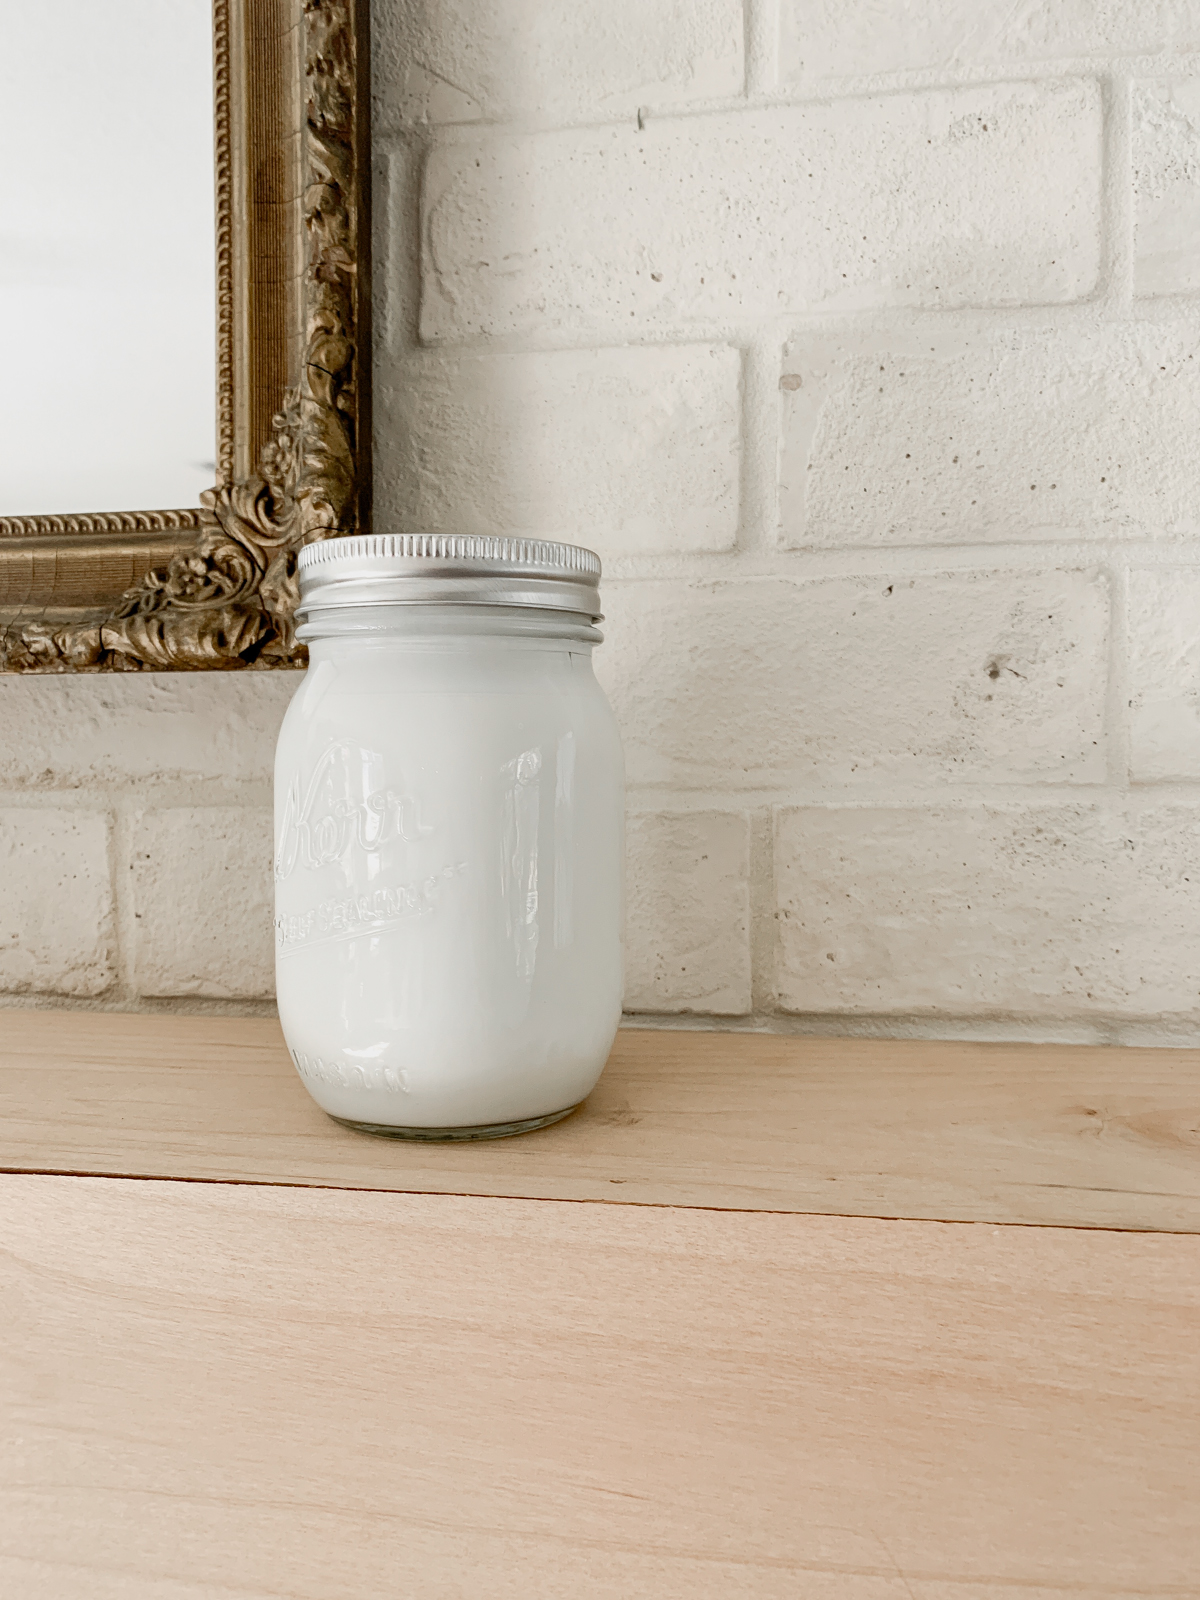
Creating your own stain is really a trial and error process- start with a base, we mixed whites, off-whites, and various tans to create a beige base and then added in the grey and green. We mixed our stain in a Mason jar with a wooden stir stick and remembered to stay at the ratio of 1 part paint, 2 parts water.
Once we found a mixture we were happy with, we began testing it on a piece of scrap Alder wood. We wanted to test the transparency of the stain and also the duration of how long we should let the stain sit on the wood before wiping it off.
We found that the longer we let the stain sit on the wood, the more the wood would soak up the stain and the more opaque the application became. We ended up staining the mantel, letting the stain sit for 5 minutes, wiping it off, bringing it inside and living with it for 2 days before deciding it was too opaque.
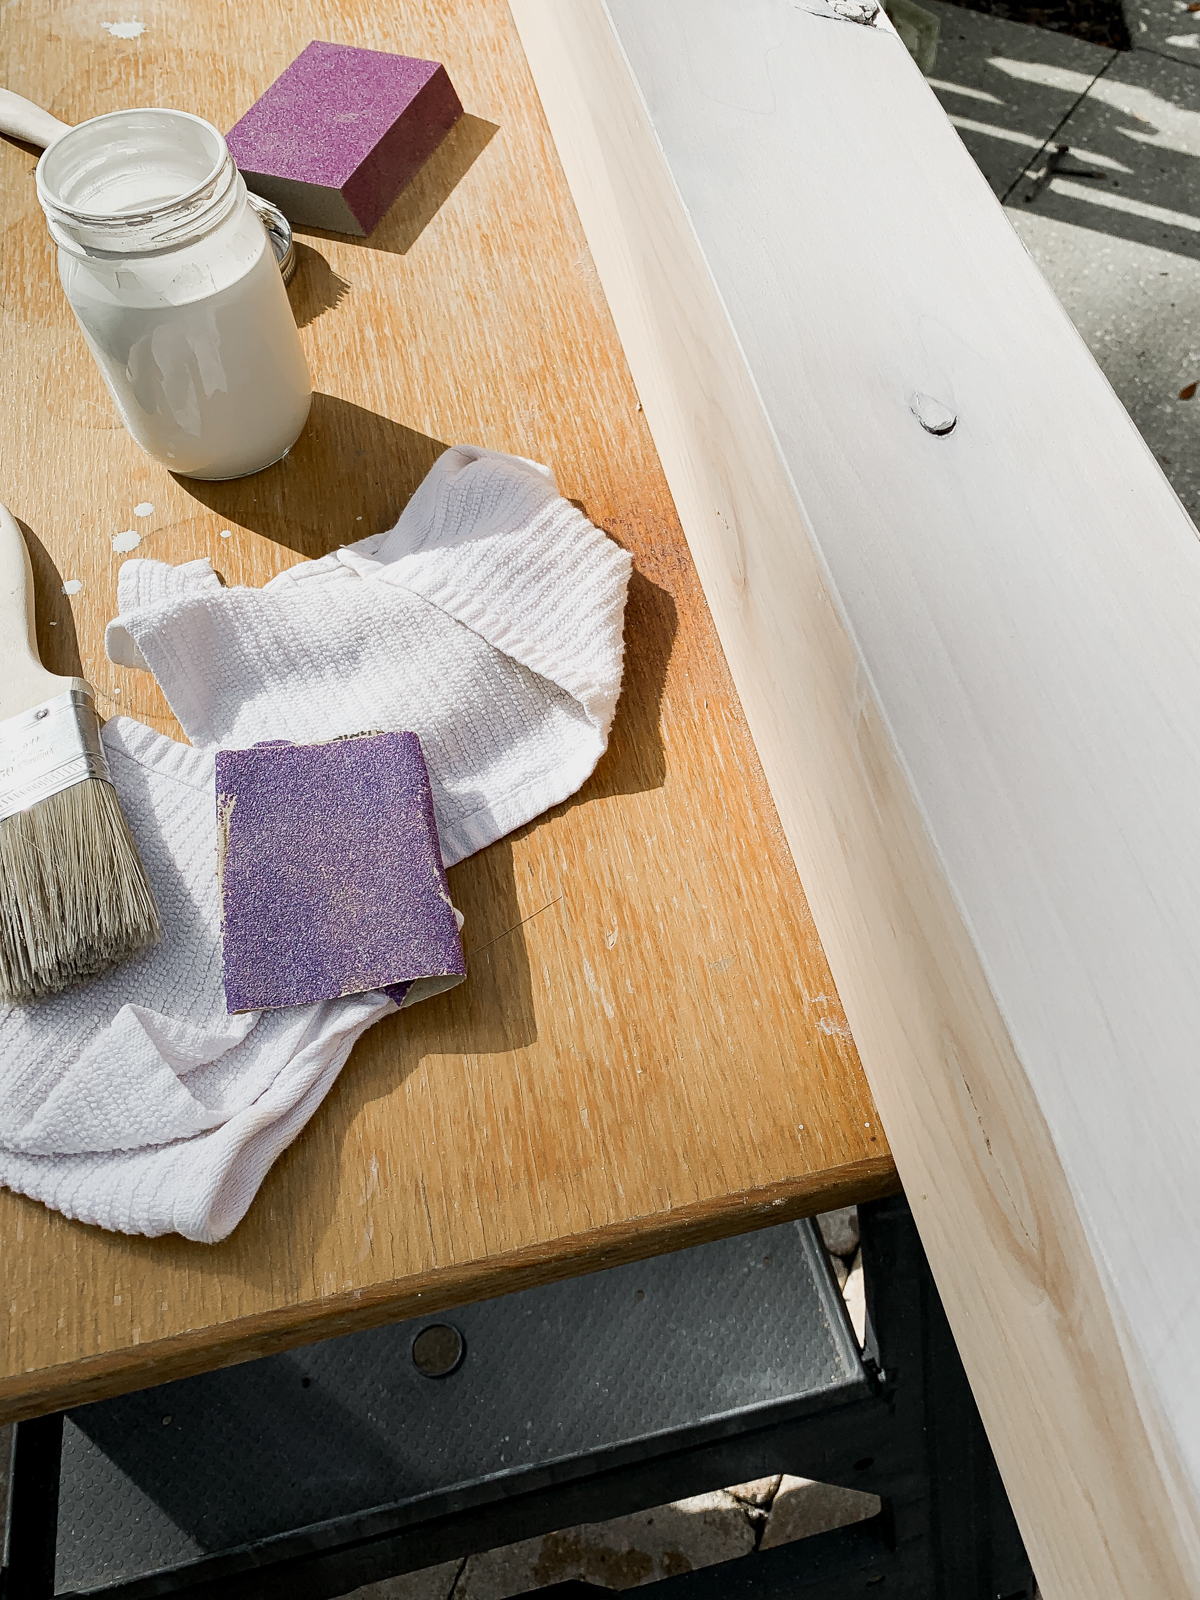
We took it back outside, sanded it down, applied the stain again but only let it sit for 2 minutes max, and then wiped it down. The result was perfect- we were able to see all of the beautiful grain and variations in the wood while just cutting out those strong pink tones.
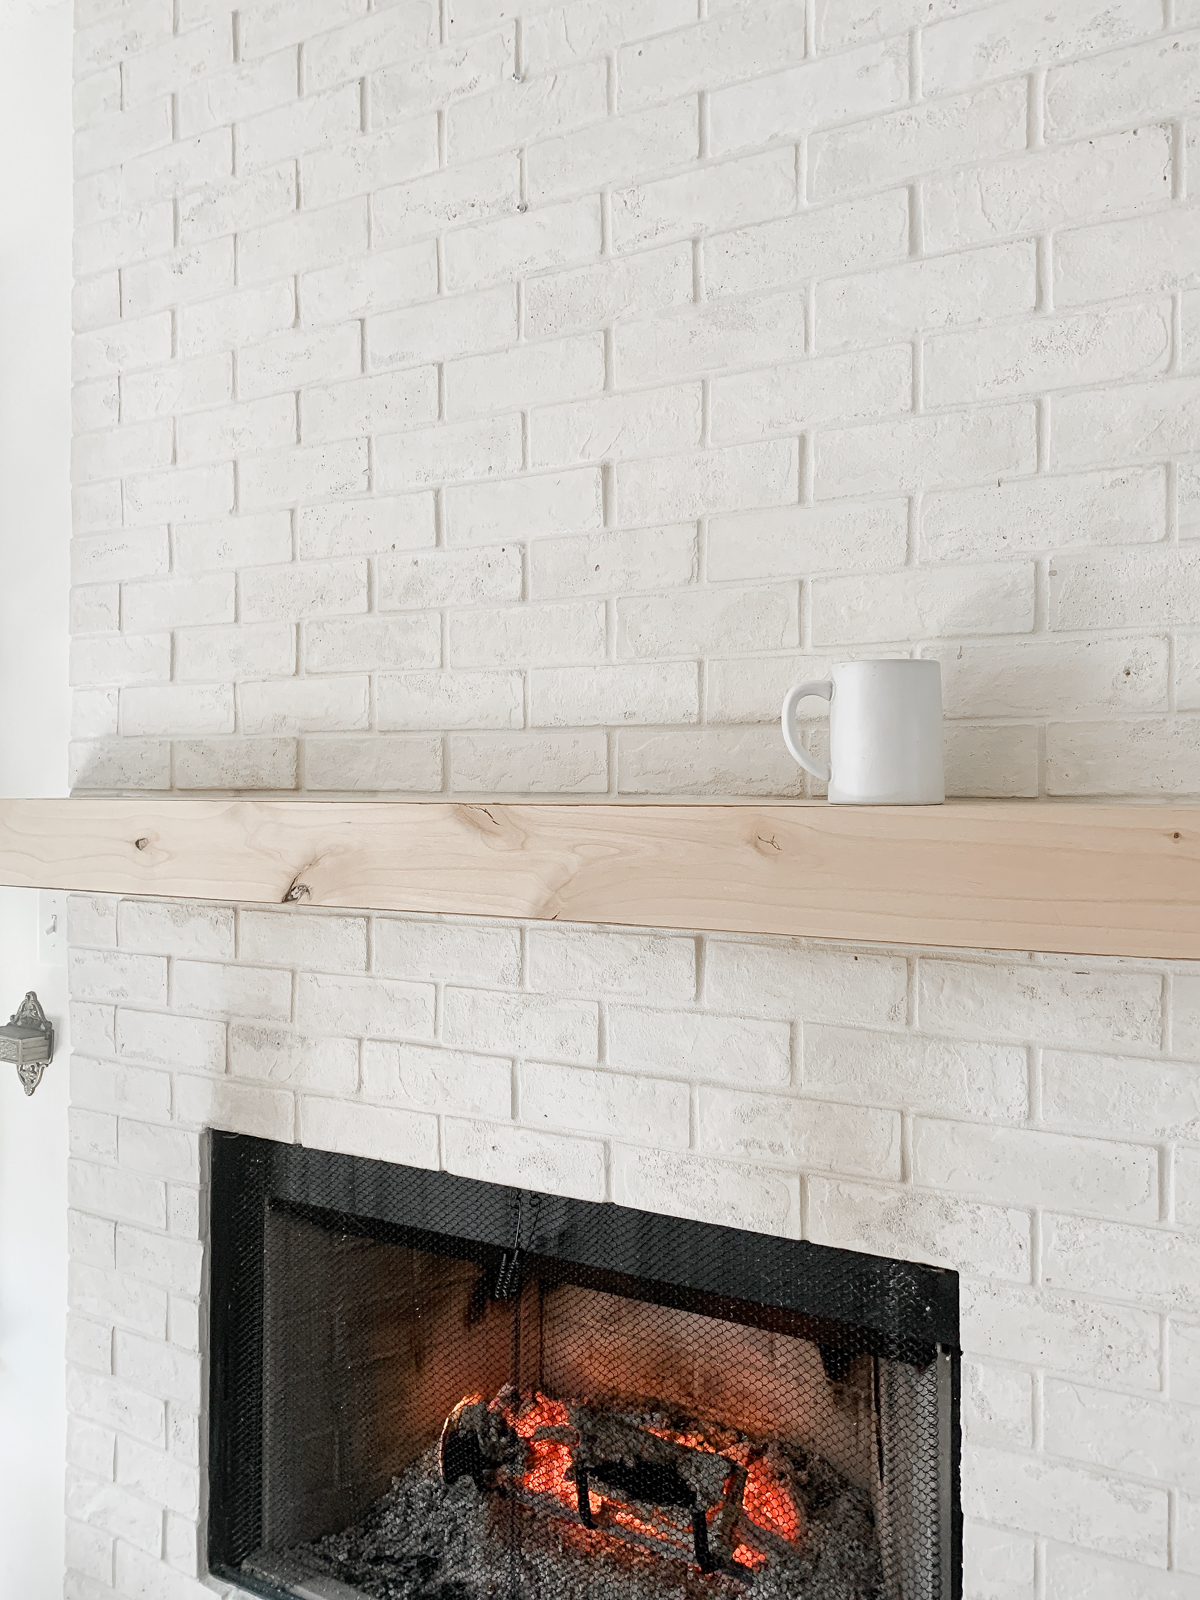
Step 8 : Put up Mantel and Enjoy!
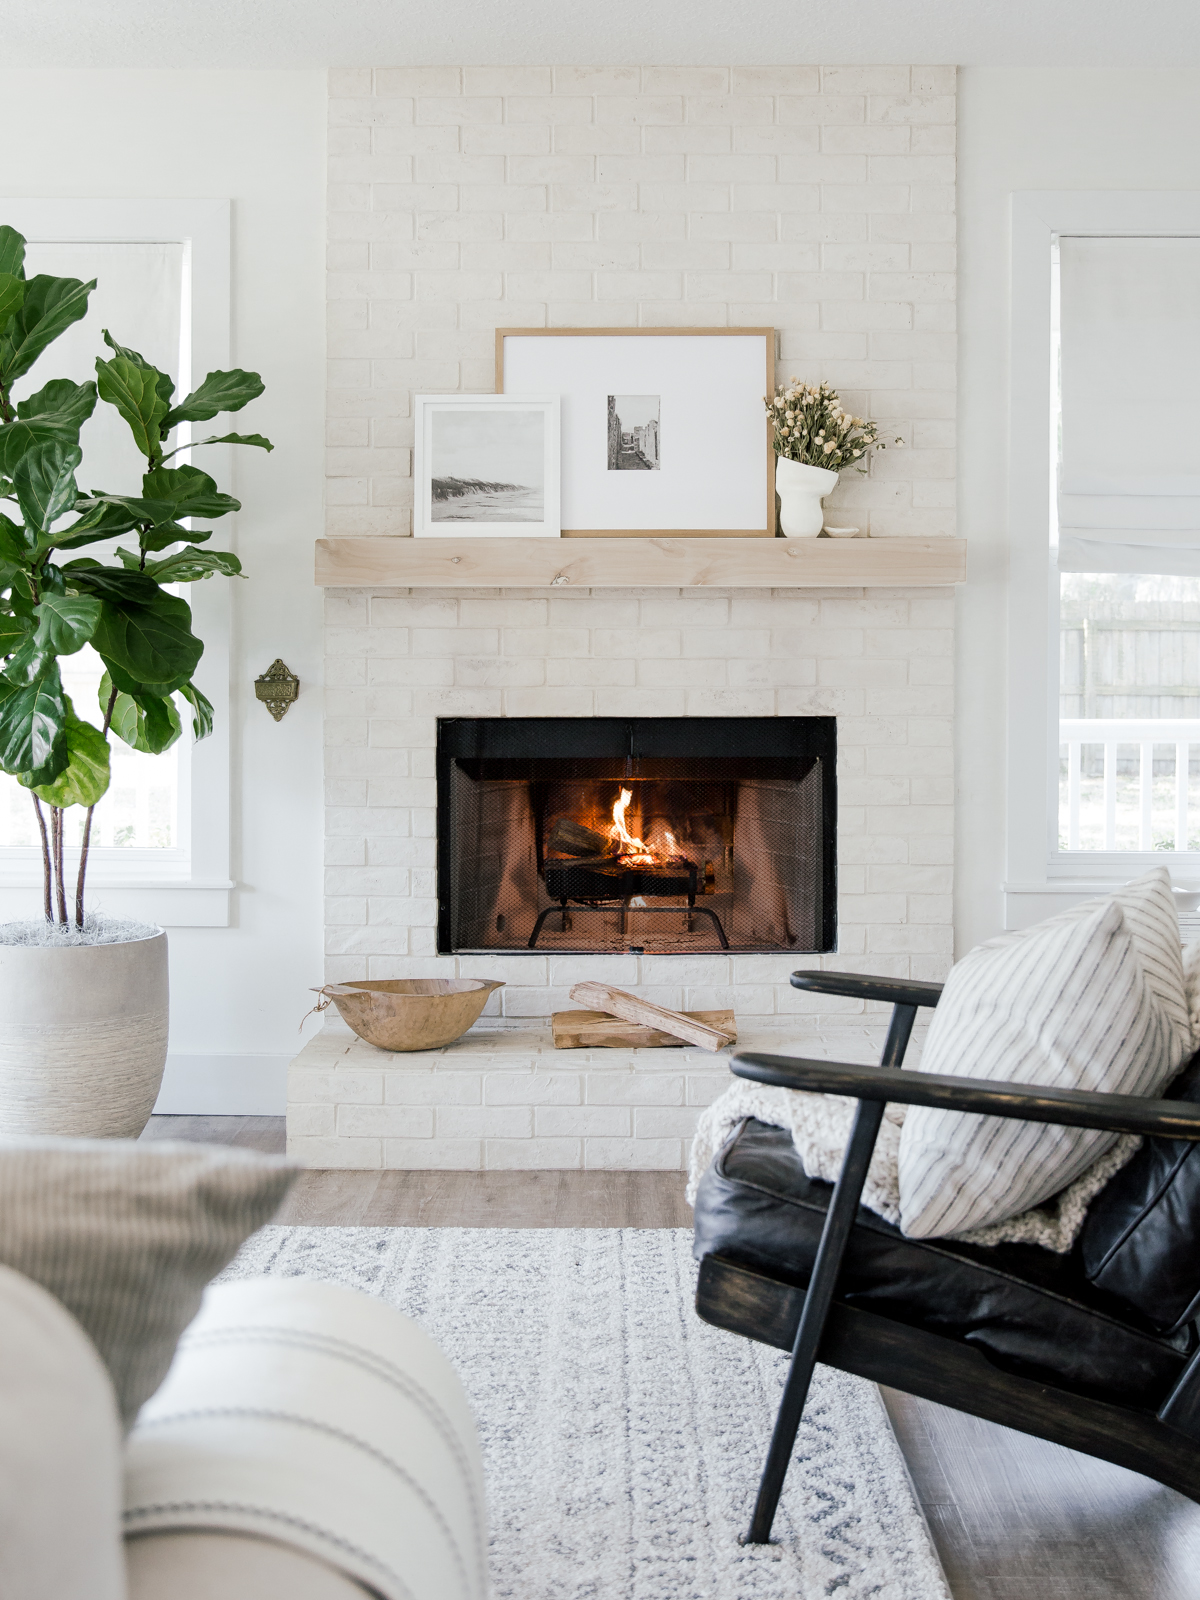
Once the stain was dry, we slid the mantel back on the brace. We had originally talked about attaching the mantel to the brace with two screws for more support, but found we didn’t need to do that- the mantel is sturdy in place.
Shop the Post
click on the images below to shop a product

We hope this tutorial was helpful! If you have any questions, comment below and let us know!

Looks wonderful. But confused as to how you cut those lengths with a skill saw at 45 degree angles.
Hi Carmen! Thank you!! The base plate on the saw adjusts to 45º and we used this saw guide for a more even cut than just using free hand.
What an amazing job! Looks beautiful ❤️ Did you seal the mantle with anything afterwards? I plan on doing my kitchen cabinets and wondered if the DIY acrylic paint stain is enough sealant for the kitchen area. Thanks!
Thank you!! We didn’t seal our mantel. Jenny Komenda used this same technique on her kitchen island and it looks beautiful- https://juniperhome.com/2019/06/evergreen-house-kitchen-reveal.html/
Love this space so much ???? what are you mantle/wall/trim colors?
Thank you! Mantel colors are a mixture of craft paints shown in this post, wall color is White Dove by Benjamin Moore, and trim color is Valspar High Hide White.
Hi There,
What did you use to paint / stain your brick? We are looking to redo our fireplace and this is exactly the look I am going for!
Best,
Kelsey
Hi! Our brick is handmade limestone brick from @ArtoBrick, the color is called Rice.