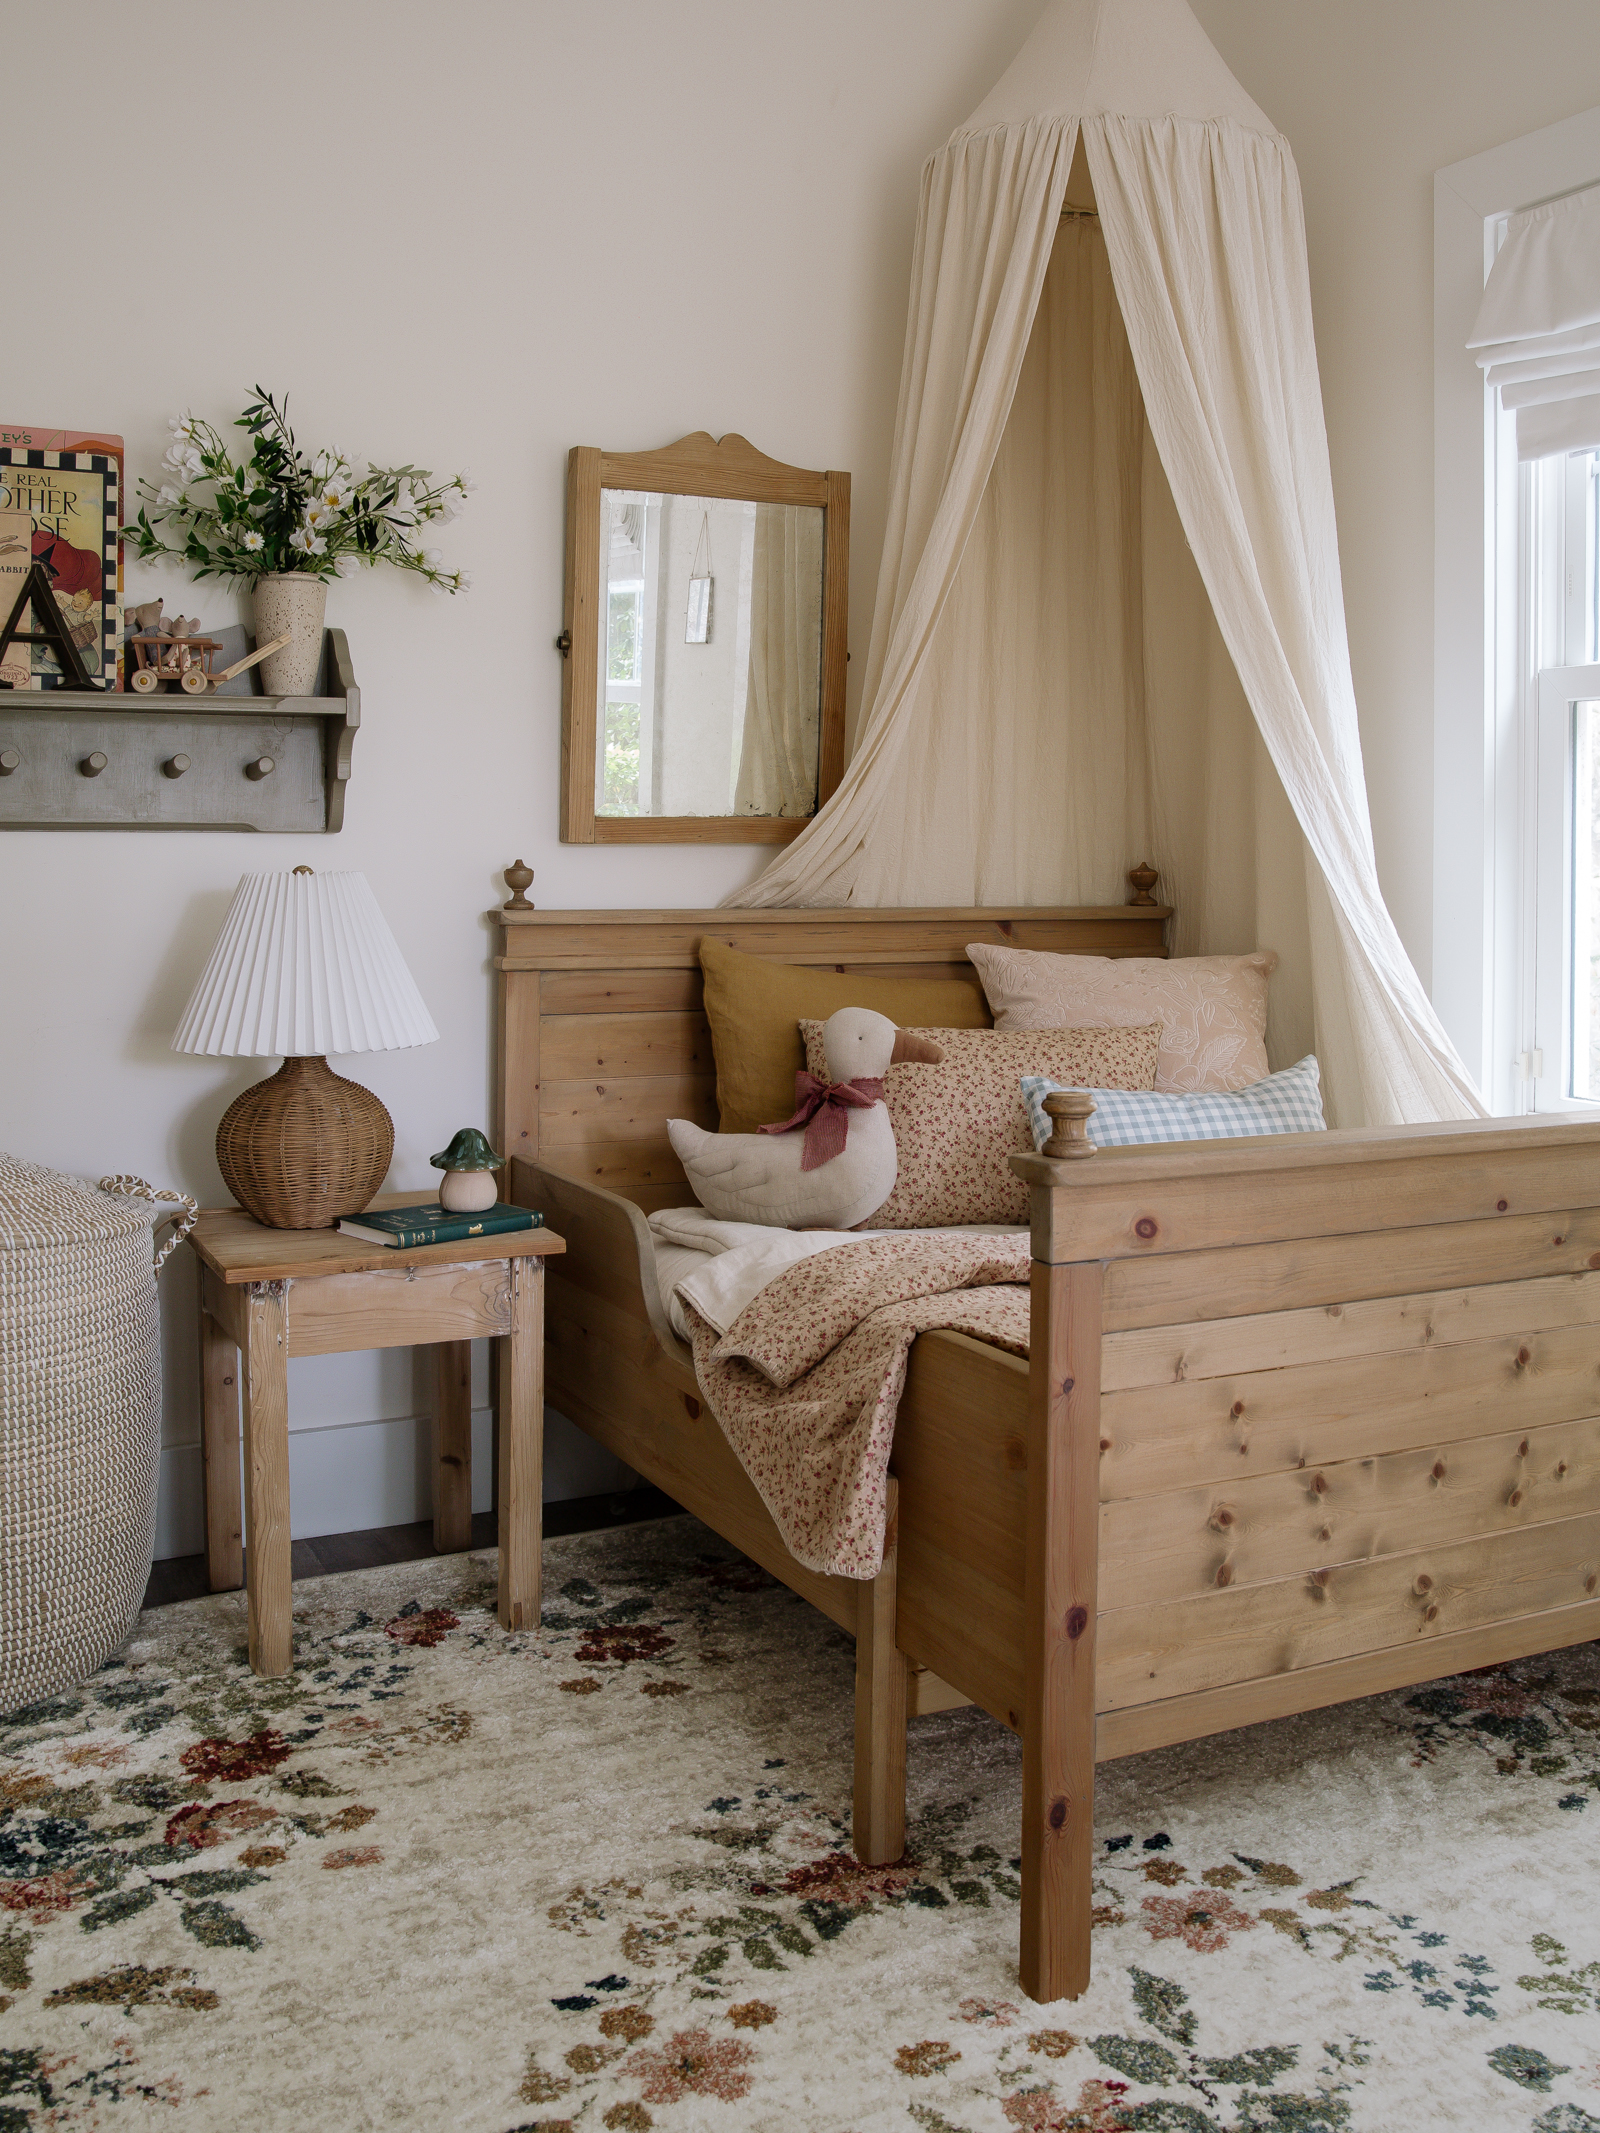
It’s been a while since I have shared this room… last time I showed you what it looked like, it was August’s nursery. I figured it was time to share an update and show you what the room looks like now!
I tried searching for an antique pine toddler bed for her room for quite some time, but without spending more than we wanted, I couldn’t find one.
I’ve seen a few IKEA solid wood toddler beds but couldn’t find the specific one I was looking for either and came across the SUNDVIK bed on Marketplace… we decided to modify it adding pine planks, decorative trim, finials, and staining it to replicate an antique pine bed and for around $100 total, we love how it turned out!
Watch the Video Tutorial Here
Get the Look
Here is the SUNDVIK IKEA toddler bed we picked up on FB Marketplace-
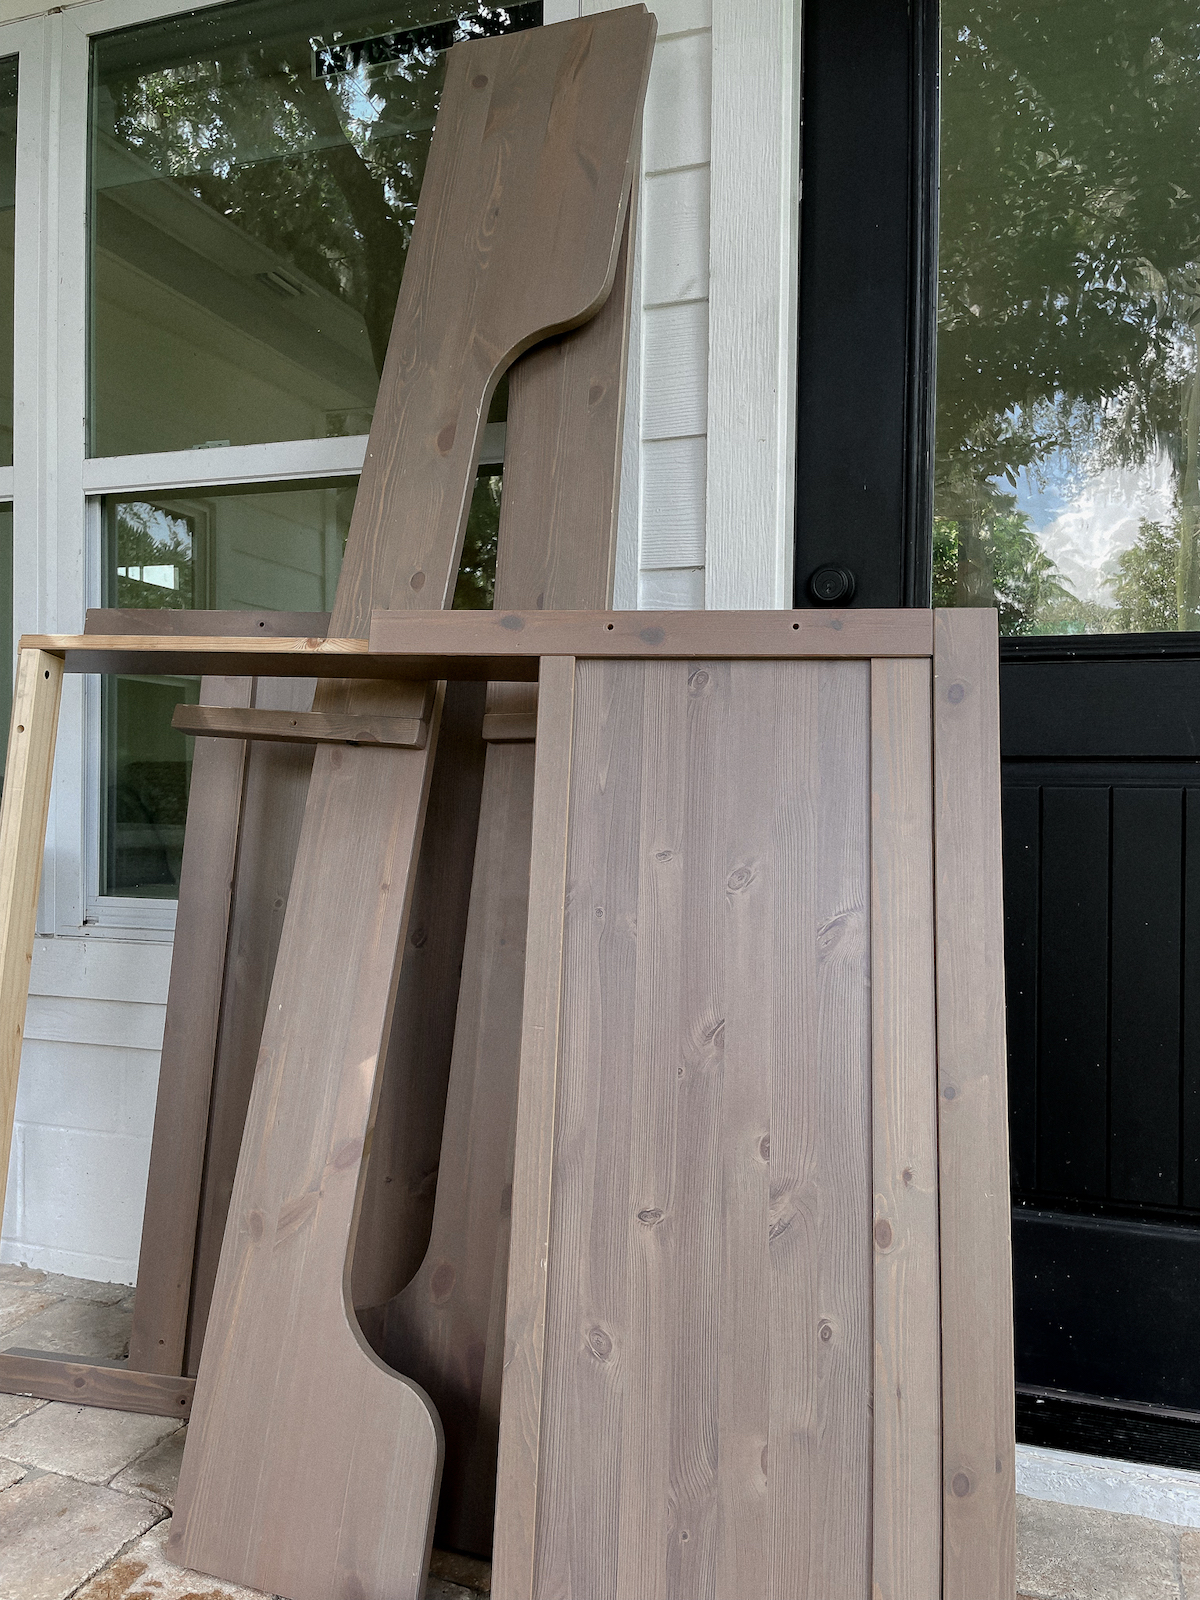
The frame and bedrails are made of solid Pine but the inside of the headboard and footboard were a fiberboard material (we didn’t know this until we picked up the bed). So, we started by sanding all of the solid Pine down to raw Pine.
After sanding, we covered the fiberboard on the headboard and footboard with this Pine V-Groove pack. We attached the wood planks with Liquid Nails and nailing.
We also attached a piece of 1×2 trim to the tops of the headboard and footboard for an additional layer. We sanded the hard edges and corners to make them look worn.
See that antique pine mirror on the wall? It was attached to an antique pine dresser (that is in our boys’ room) with turned pine pieces. It was pretty broken, so we detached the mirror and decided to use the turned wood pieces to cut sections from to use as decorative finials on the corners of the bed.
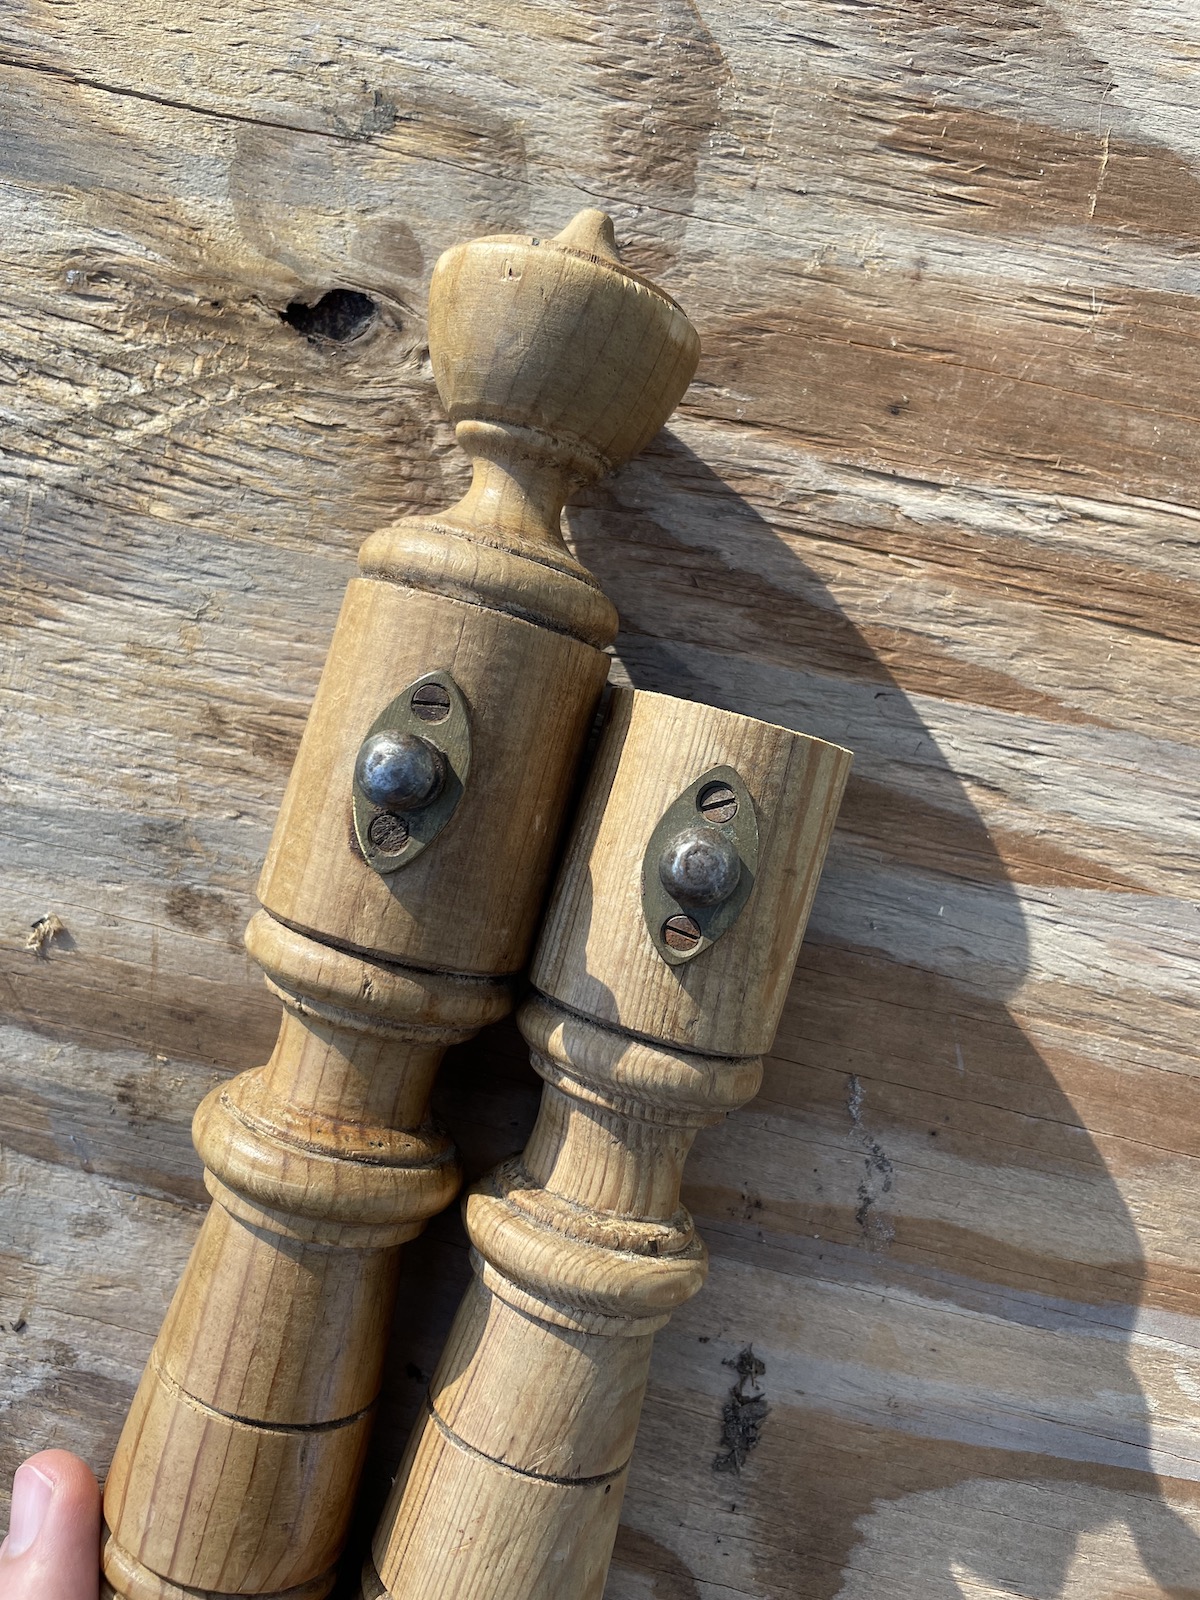
You can find small wood finials or drapery rod finials online and at your local home improvement store.
After we cut the sections we wanted for the headboard/footboard with a chop saw, we attached them to with wood glue and tiny nails.
Time to Stain…
Color Combination to Make New Pine Look Antique
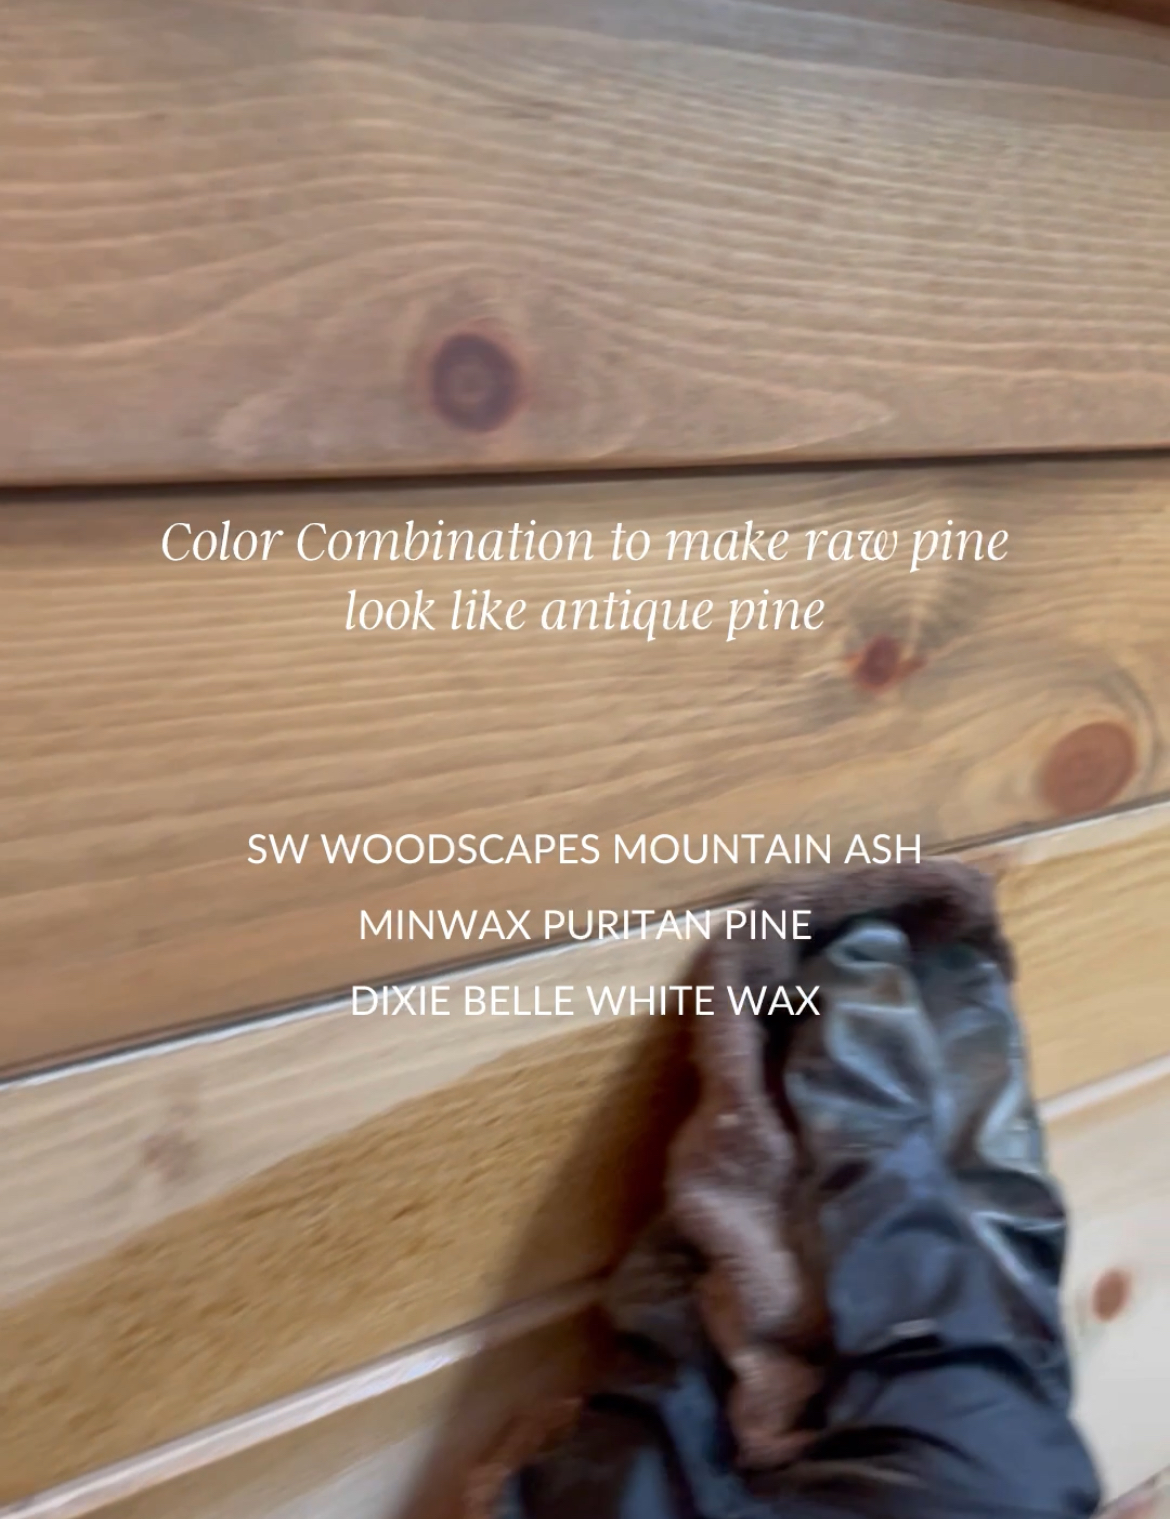
Staining Notes : one quick layer of Sherwin-Williams WoodScapes Mountain Ash (I always keep this one hand as a base coat when staining some wood species as it neutralizes the orange, yellow, and red tones in wood). After the Mountain Ash dries, I apply a light coat (wipe on, wipe off) of Minwax Puritan Pine. Let the stain dry for 24 hours and then apply a light layer of Dixie Belle White Wax. The wax is optional, and you will want to rub it into the grain and then rub any excess back off- a little goes a long way.
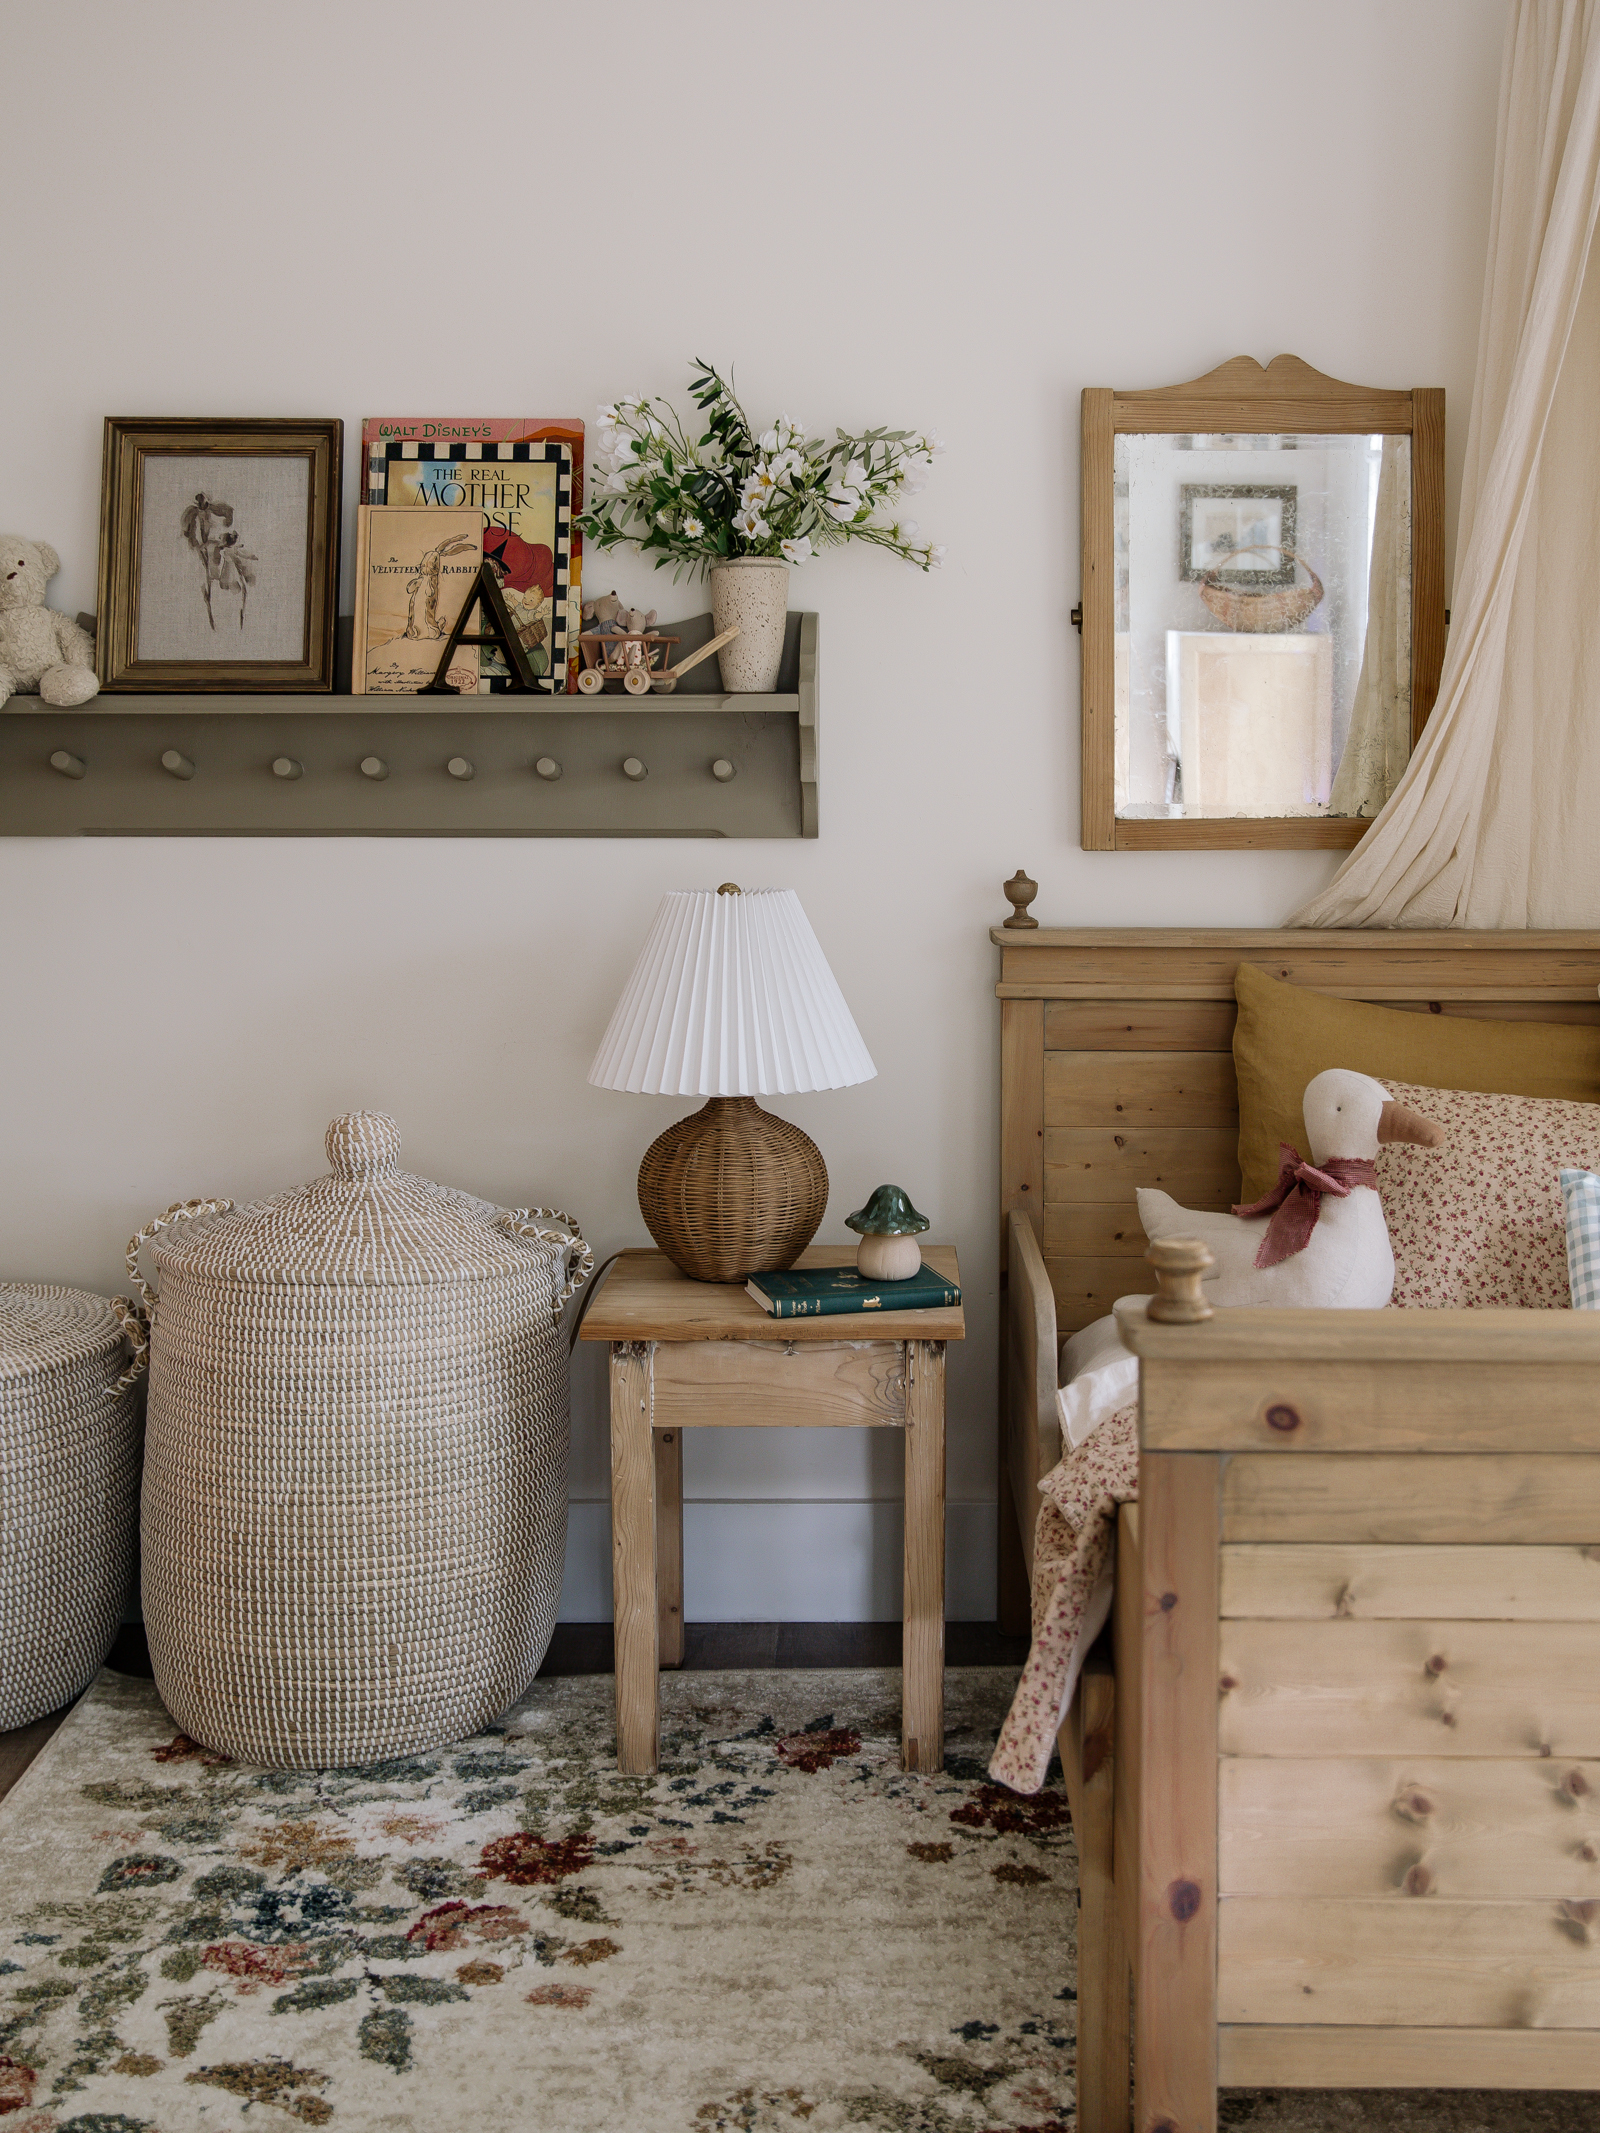
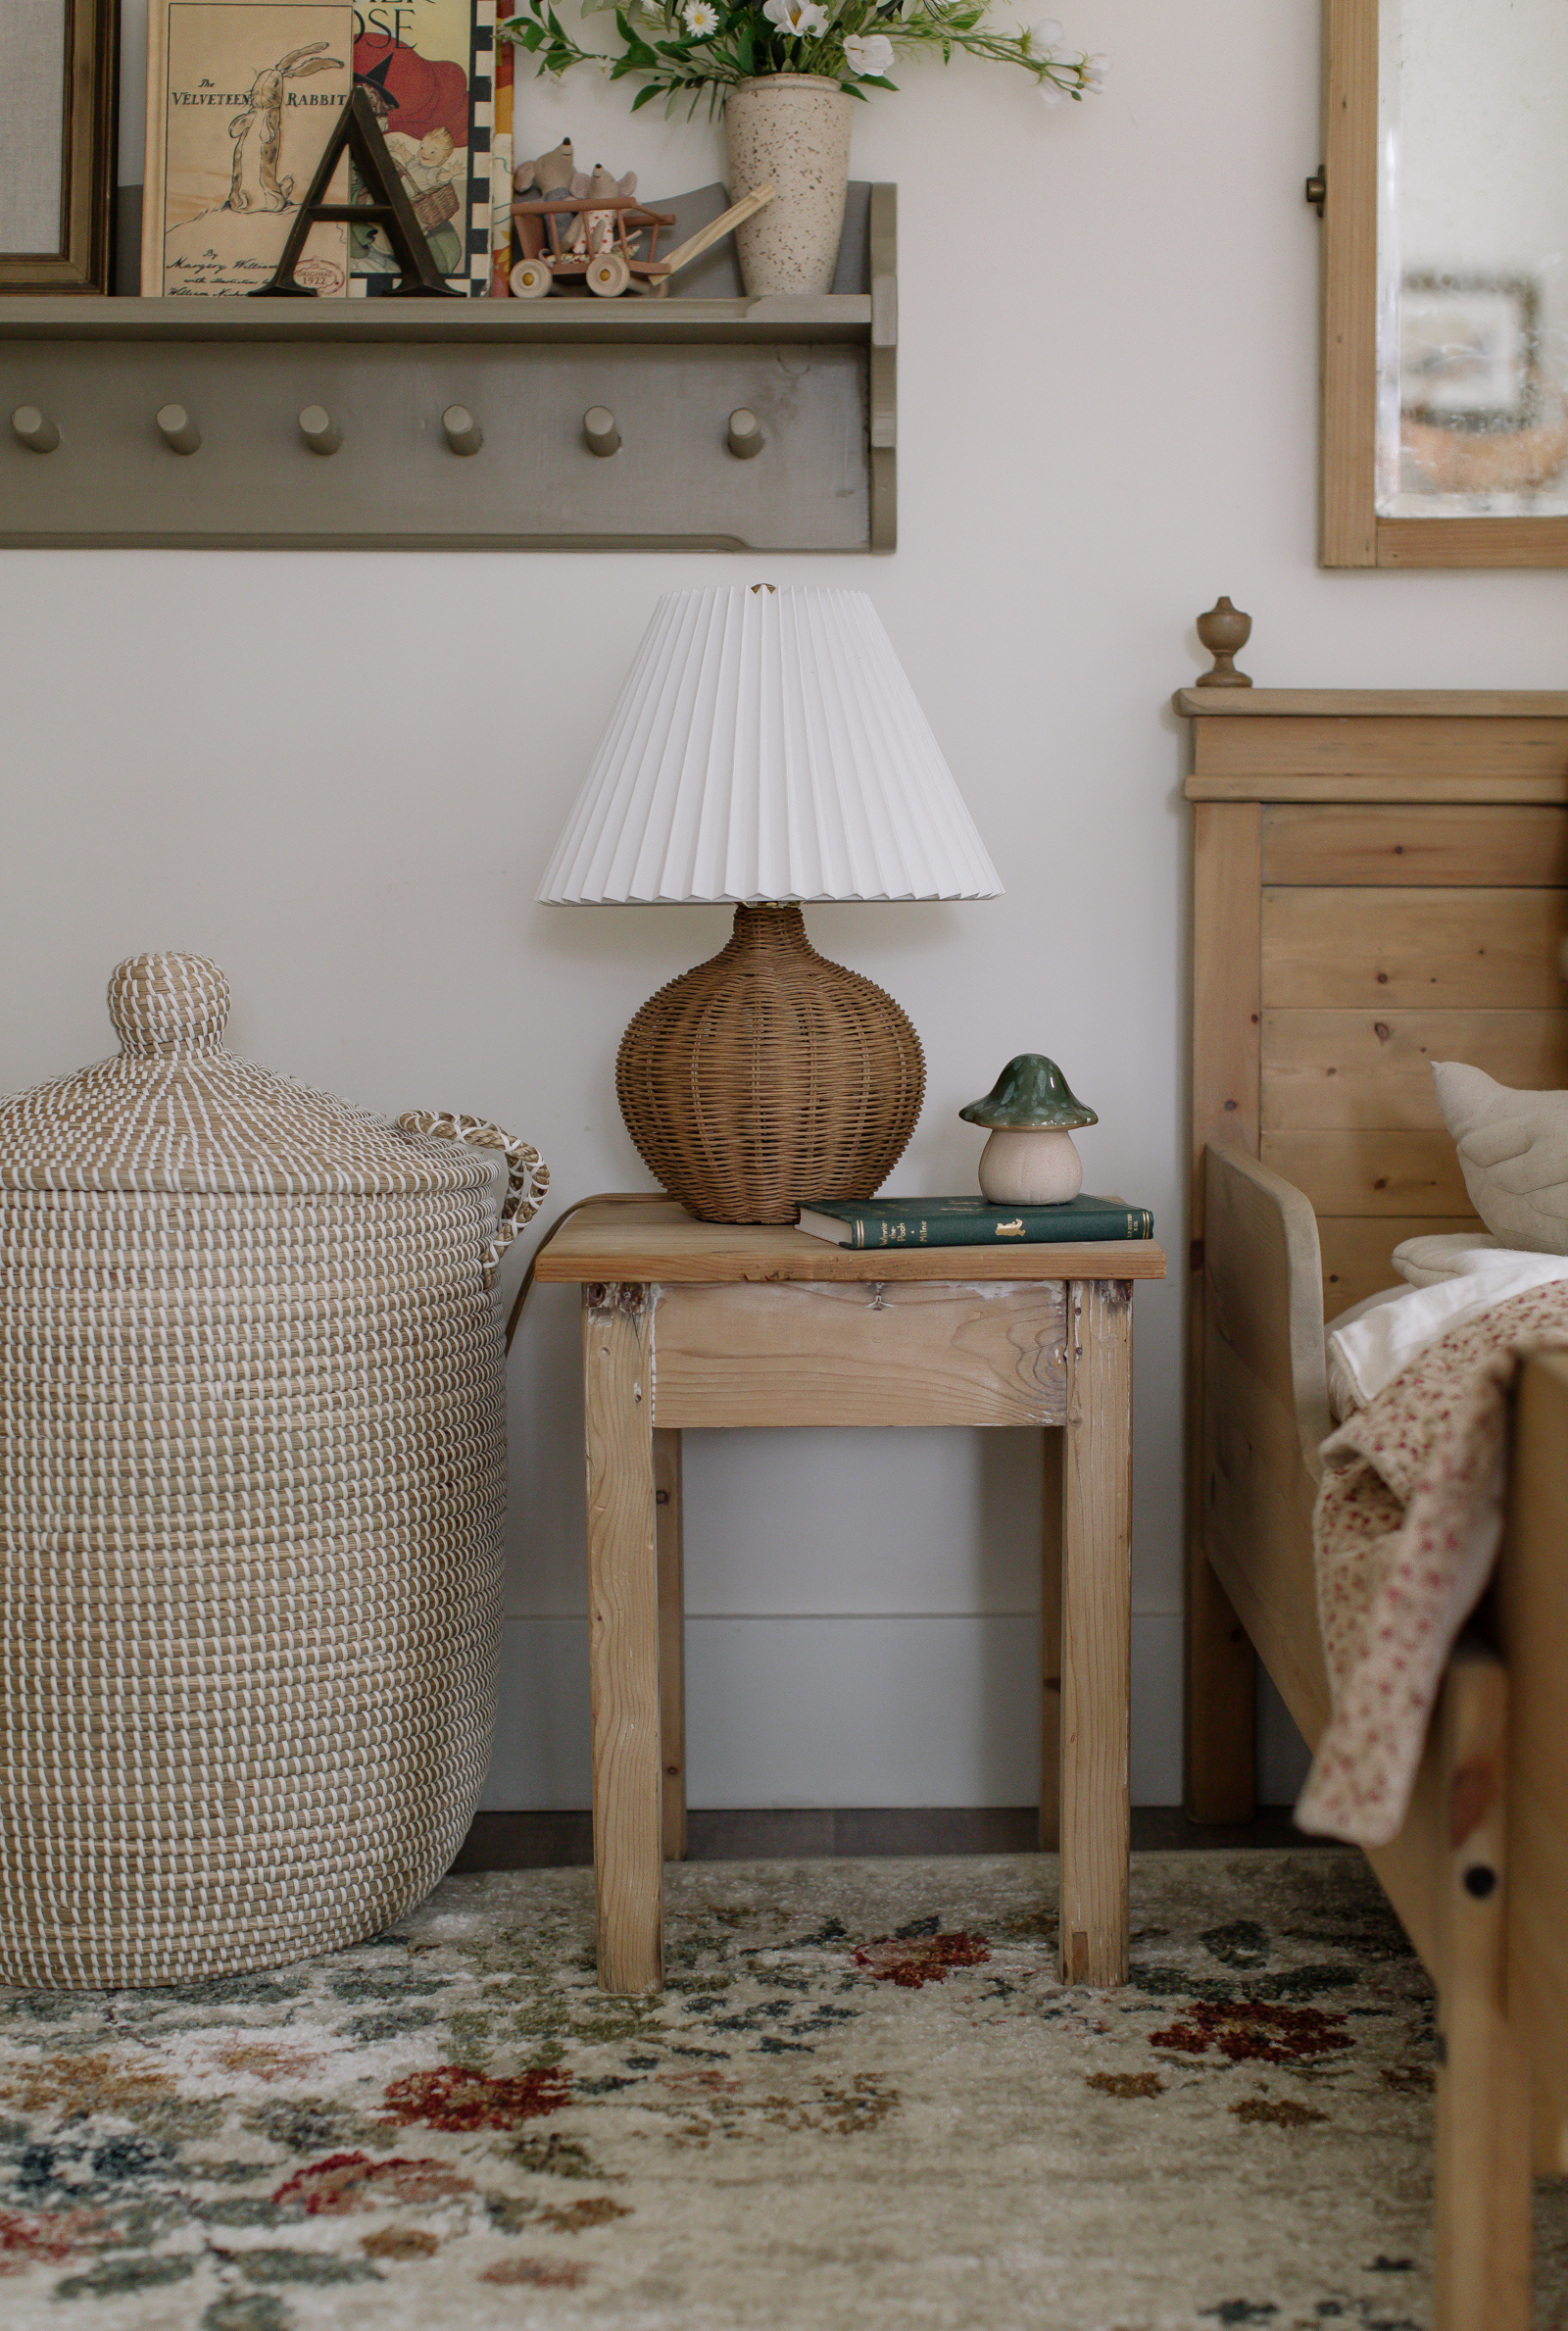
You can see the side table and mirror are both antique pine pieces and the bed matches them perfectly.
I made her bedding and those two lumbar pillows for her second birthday, but it is already time to make a larger blanket as she has grown so much just in the last year!
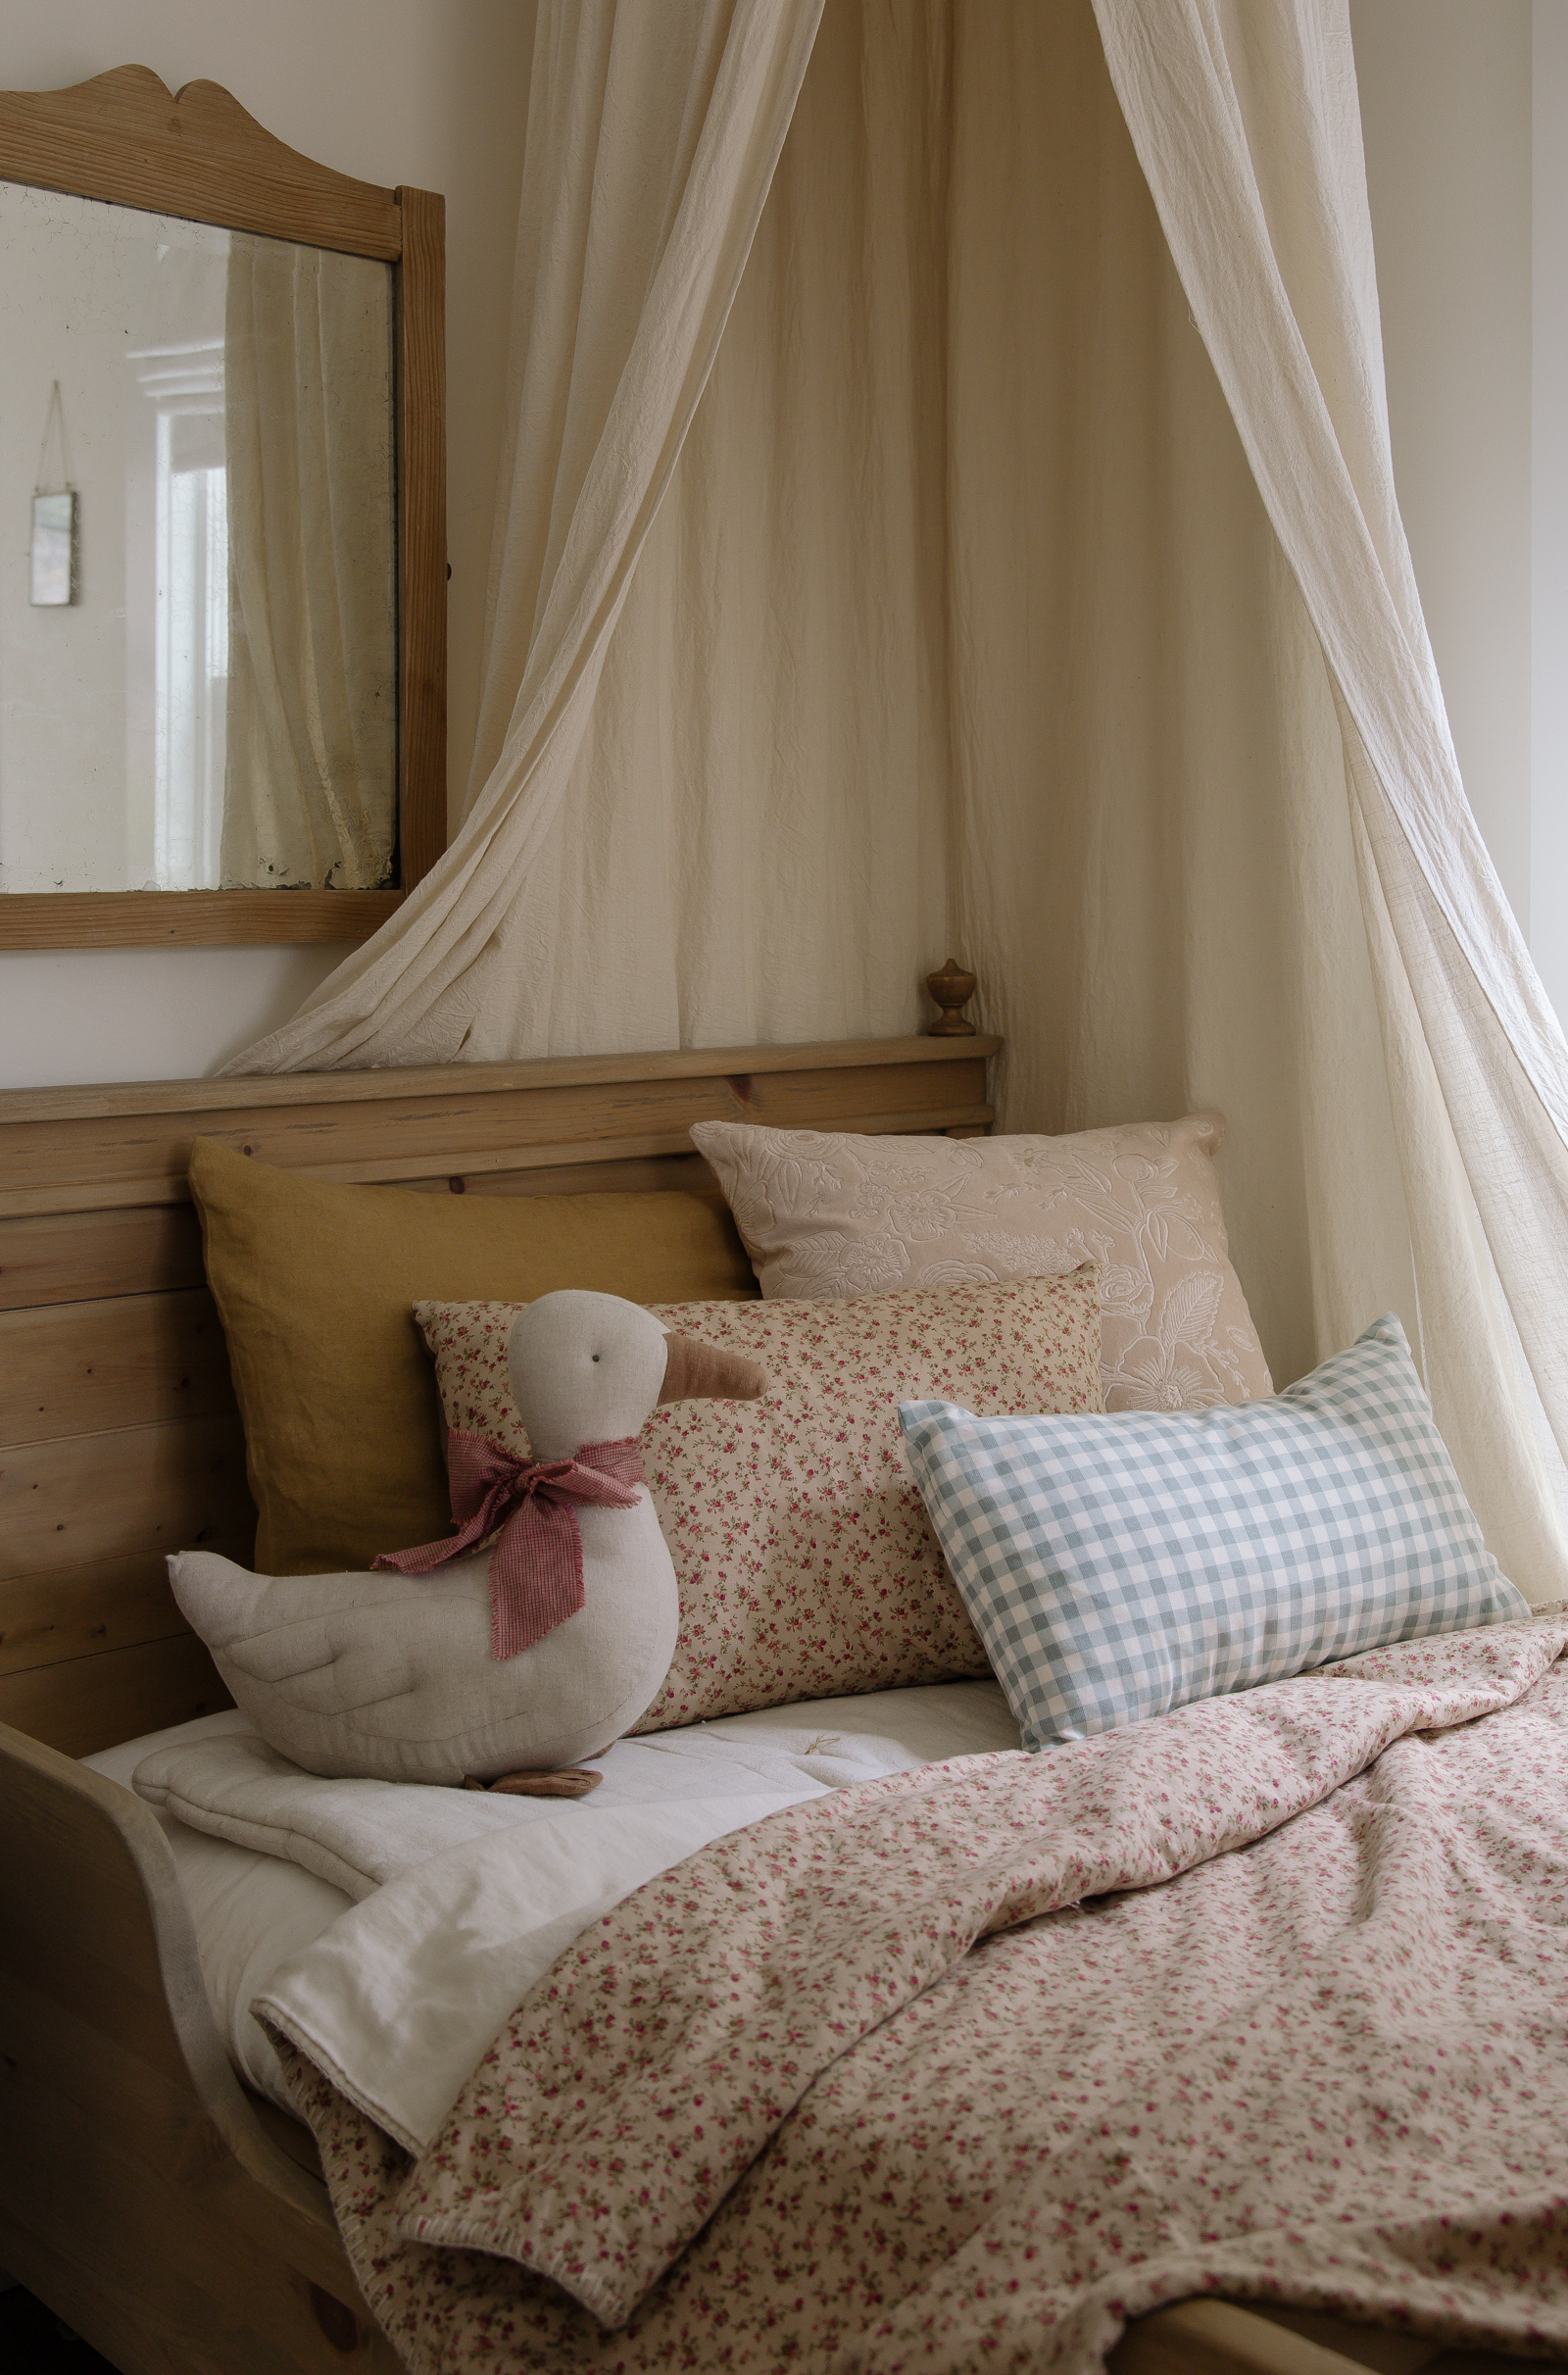
Right now there are a lot of florals going on in her room (which she loves), but I would love to balance out the florals with a stripe or gingham fabric canopy. May take a trip to JoAnn’s this week!
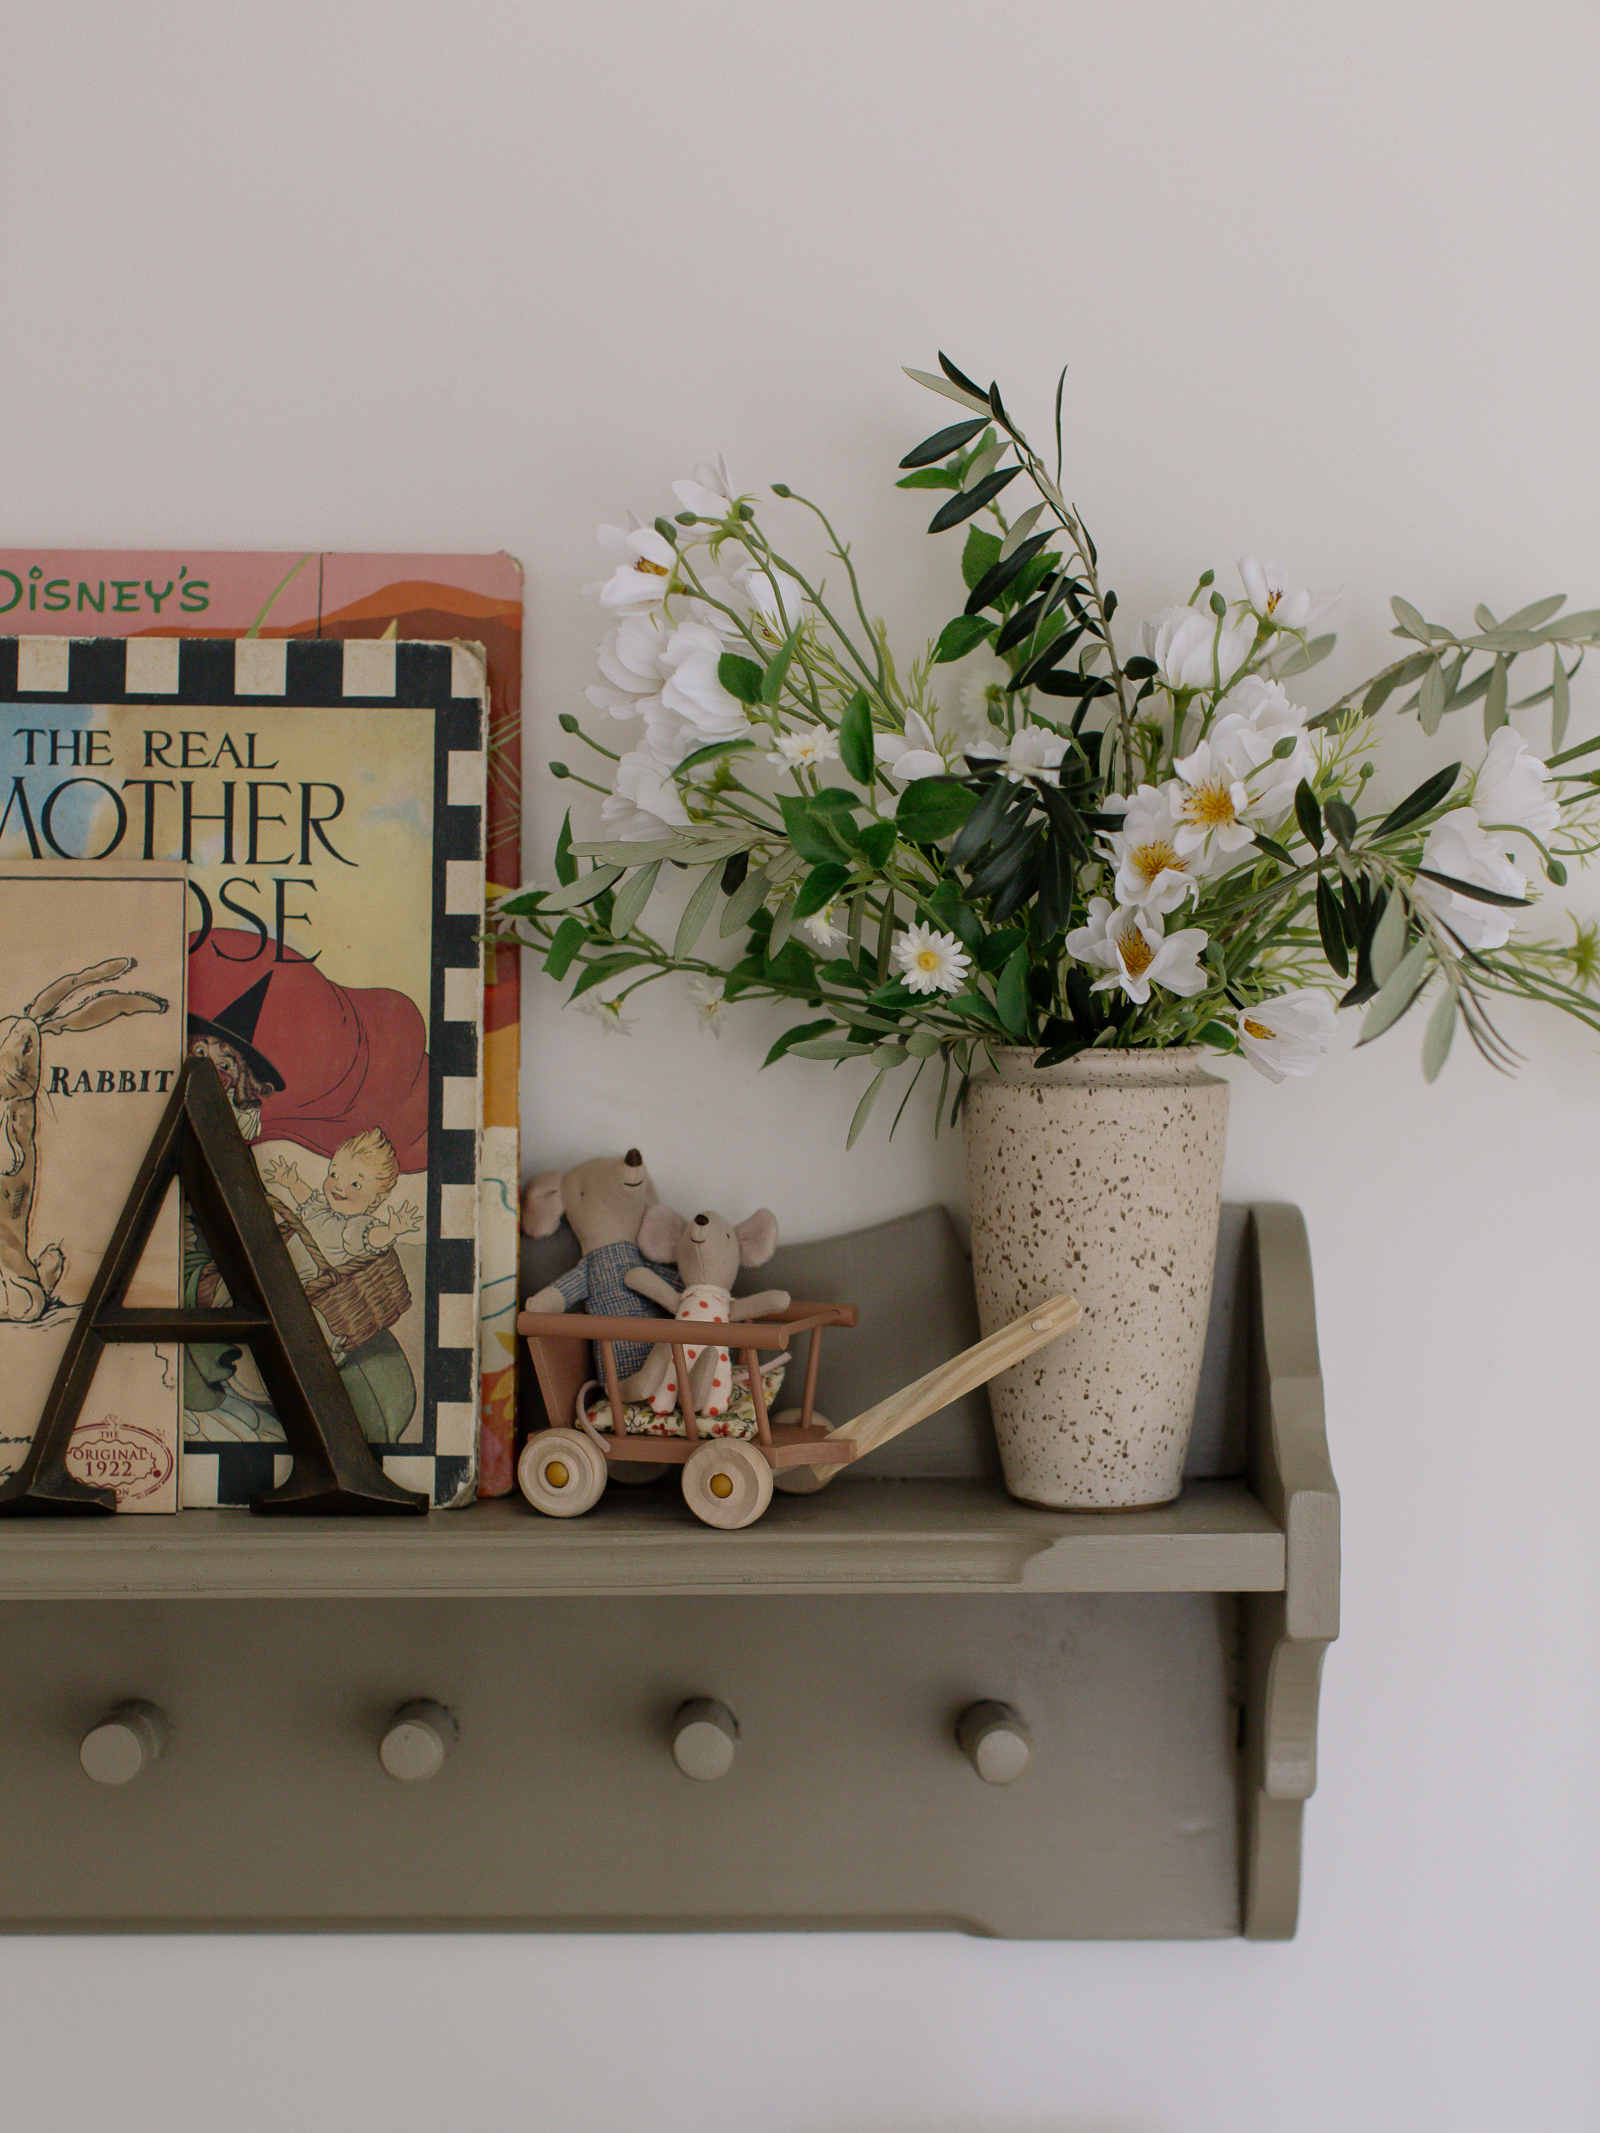
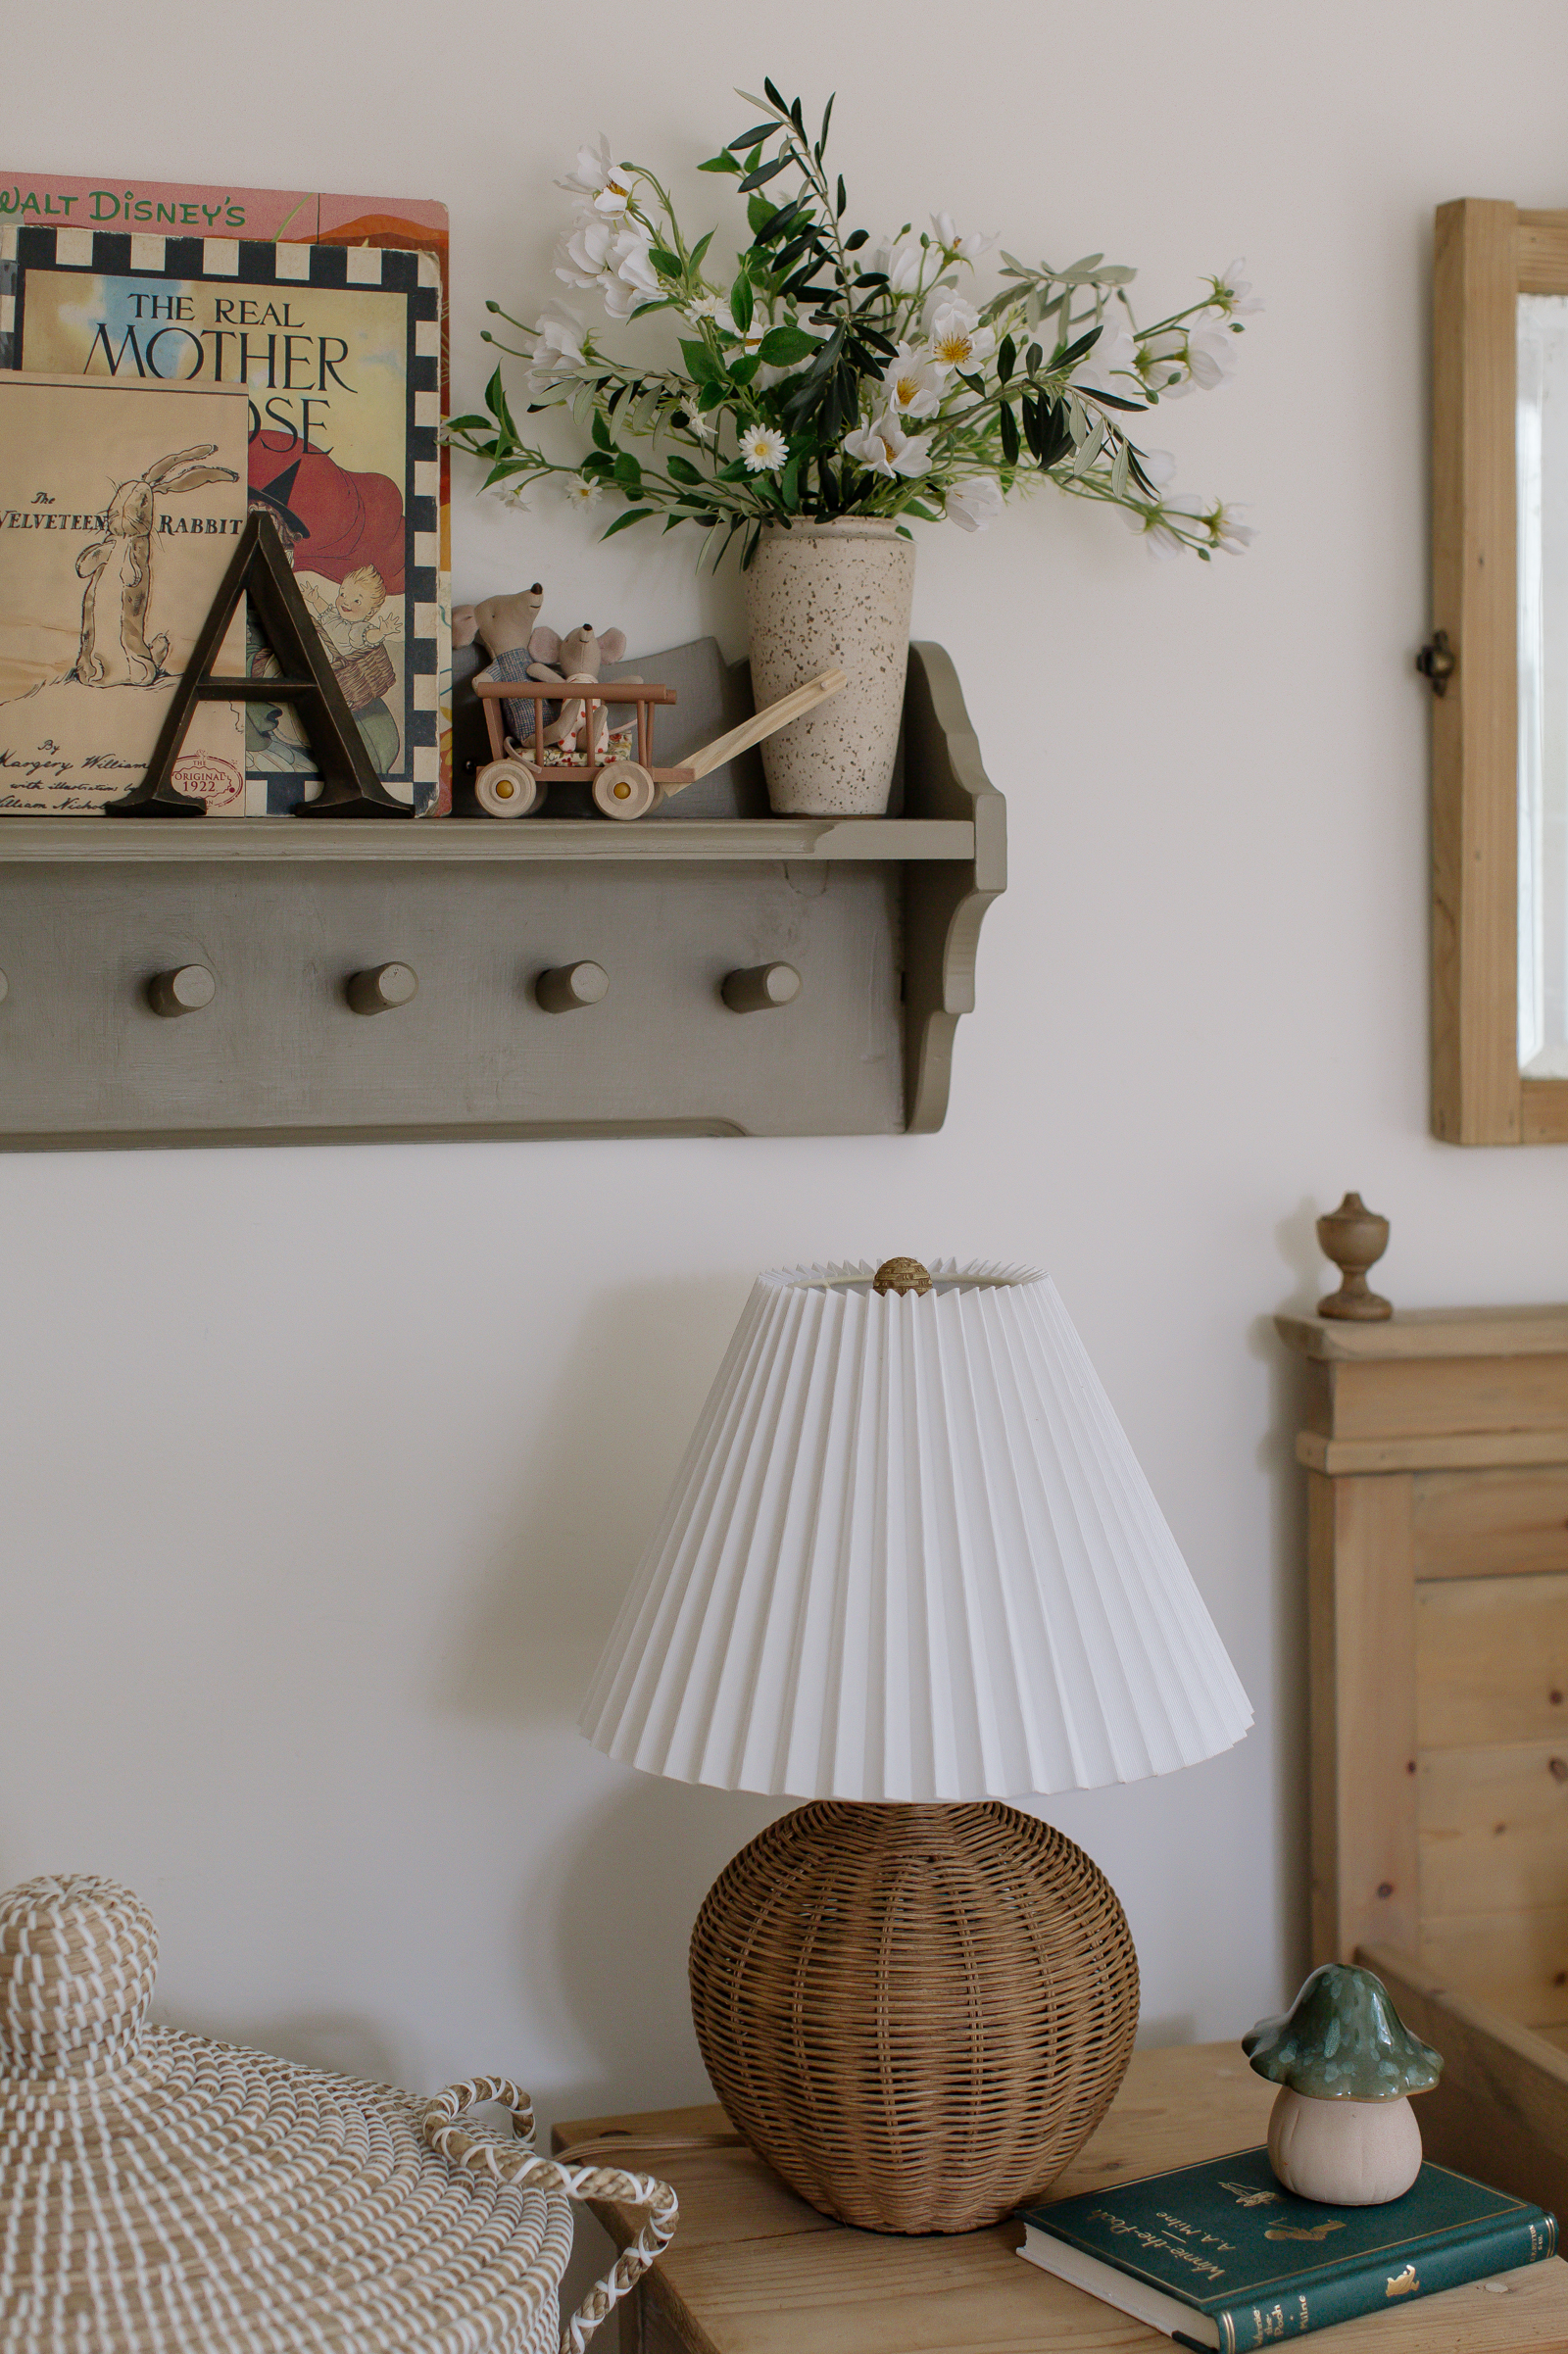
Justin’s Mom gave us this pretty antique wood shelve and I painted it using FB Mouse’s Back paint.
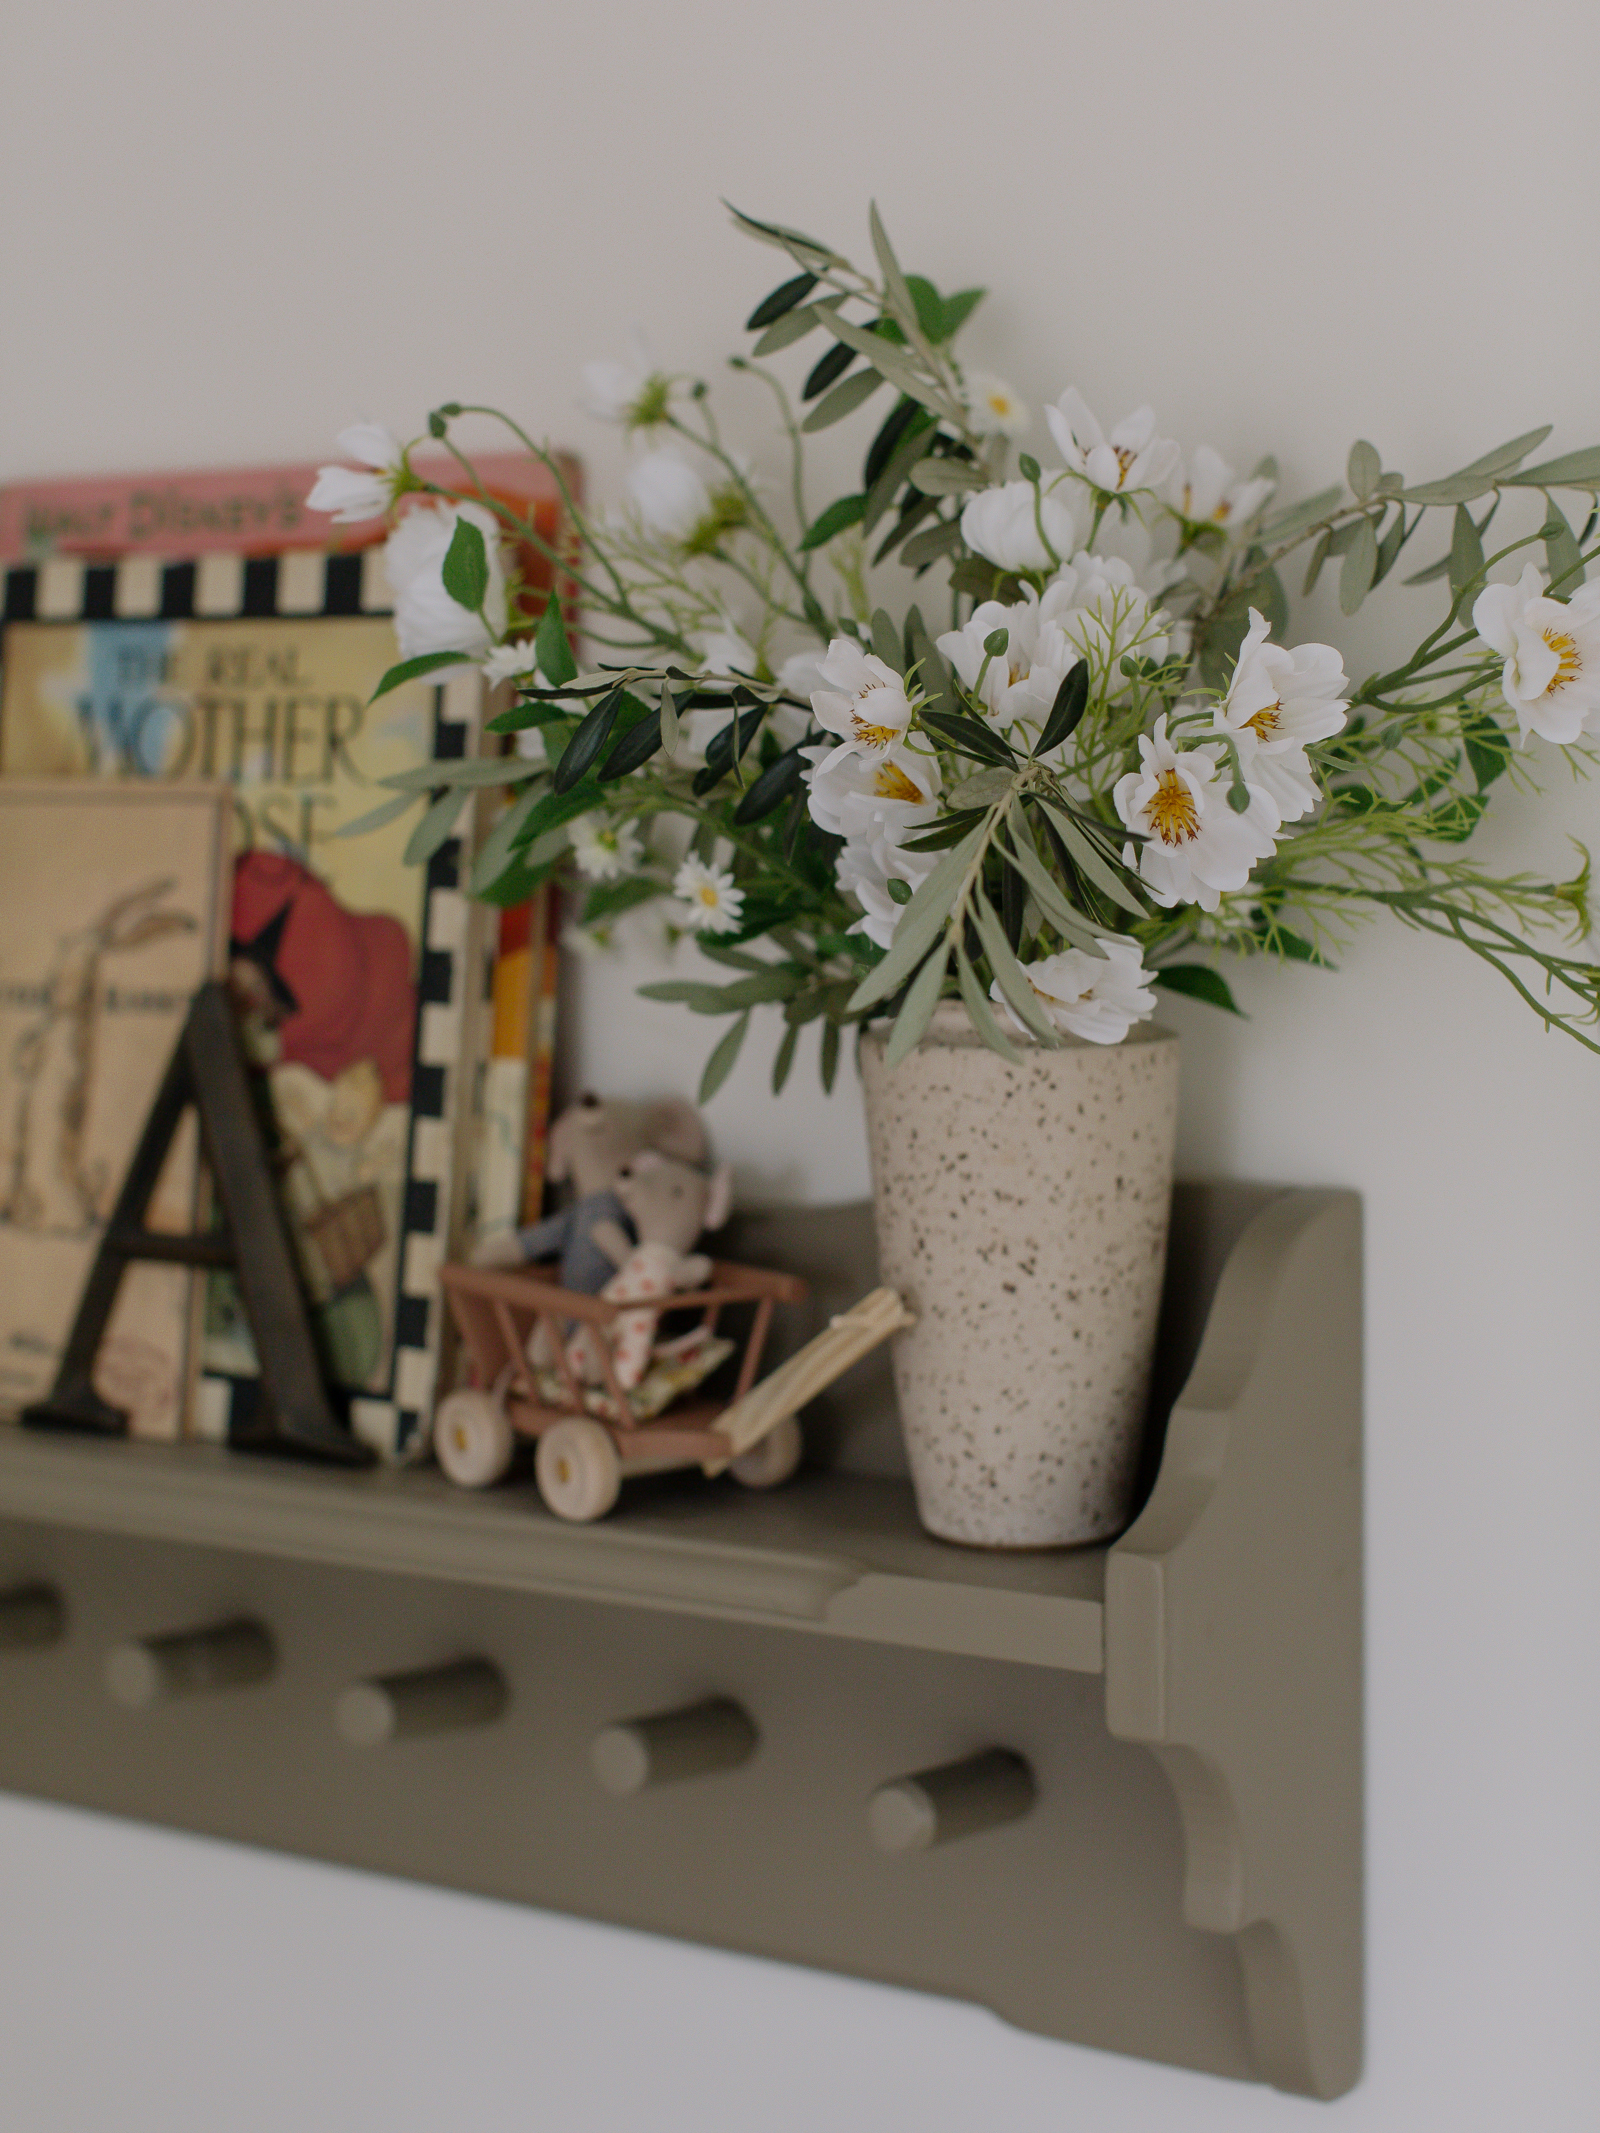
I hope you enjoyed this little update of August’s room!
Sources
- Bed – DIY
- Rug
- Side Table – Antique
- Lamp
- Florals
- Little Mice
- Wagon
- Canopy
- Duck
- Storage Baskets (small & medium)
- Shelf – Antique
- Mirror – Antique
- Art

Hey, love this look! You guys did a great job! I am curious could you send me the links of the SW Woodscape Mountain Ash stain and the Minwax Puritan Pine? Looks like there’s a few different options and I would like to attain the same look! Are they oil or water based and also, semi transparent or solid?? I also cant find the woodscape option. Thanks! 😊
Hi Mary! The Sherwin Williams WoodScape Mountain Ash was purchased in store and is a semi-transparent! The Minwax Puritan Pine is also a semi-transparent and oil base stain! Hope this helps 🙂