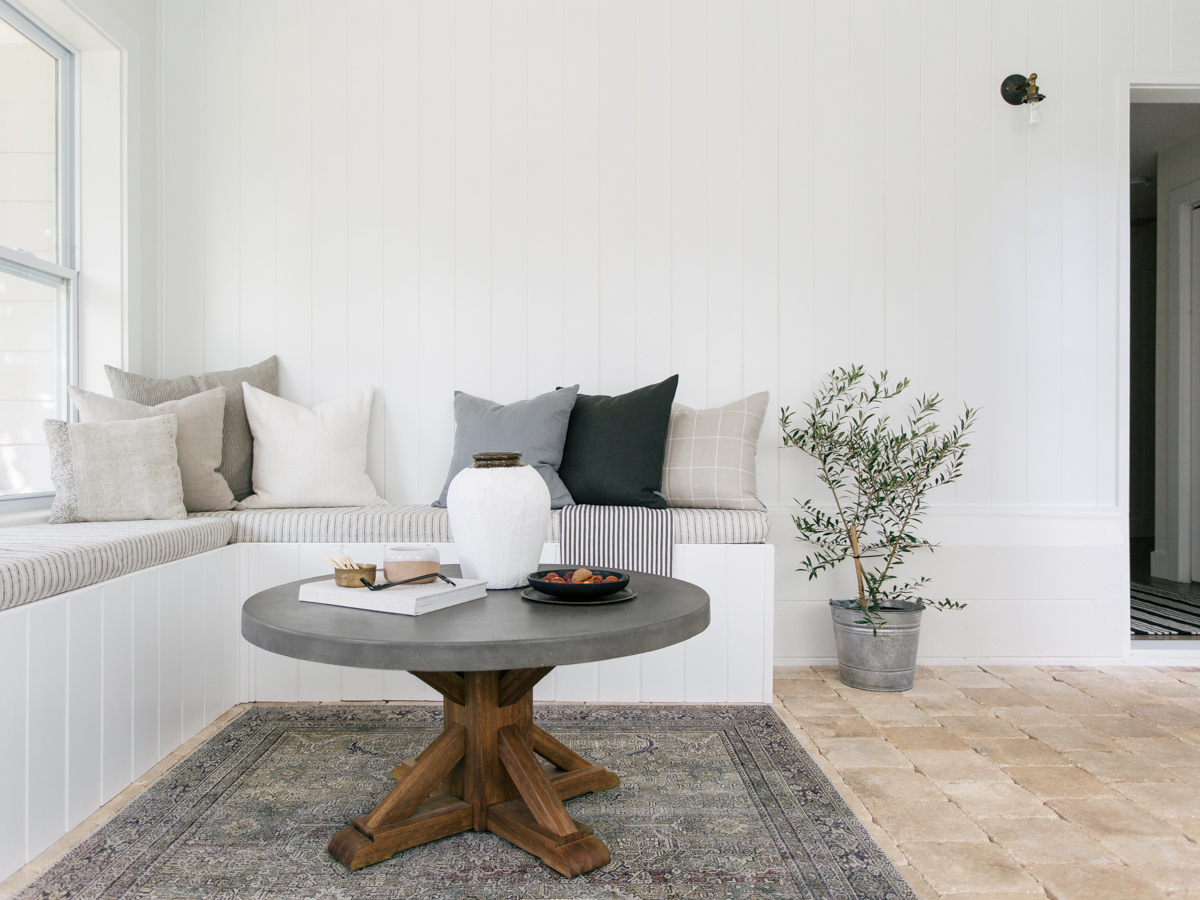
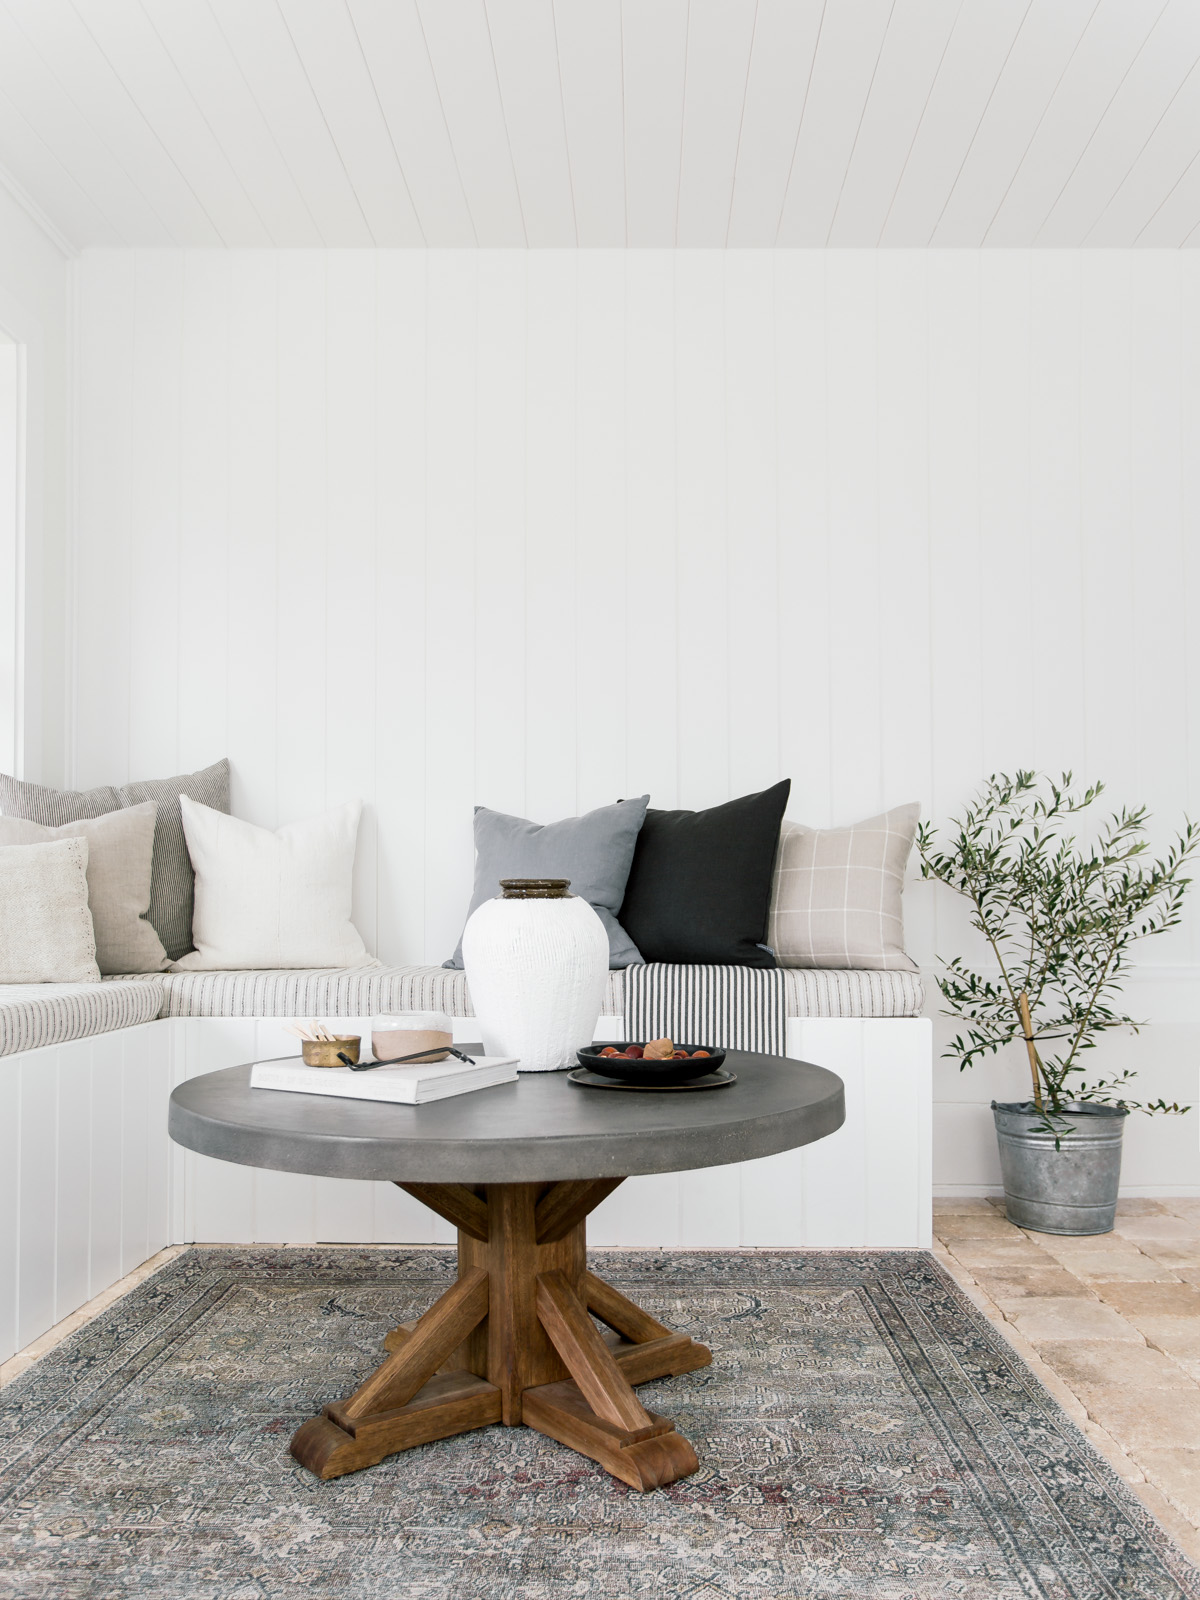
For those of you who don’t know, our Sunroom use to be our screened in porch, and we converted it a little over one year ago. Our dryer vent came out the back of the house onto our porch and exited out the side- (contractor mistake during the build/remodel) but when it came time to convert this space into a sunroom, we had to create something to hide the vent, so we decided on a corner bench- cost effective, practical, and beautiful. Truth is, this is our favorite place to sit in our home and we are so happy we added it to this space!
Materials
- 2×4 Lumber Studs
- 2 1/2″ Construction Wood Screws
- 1 1/2” Brad Nails
- Nail Gun
- Pine Tongue and Groove Boards
- Pine Outside Corner Moulding
- Pine Screen Moulding
- 3/4” x 4′ x 8′ Sanded Plywood
- White Indoor/Outdoor Paintable Silicone Acrylic Caulk
- 3″ Upholstery Foam
- Fabric
Corner Bench Dimensions are 62”L x 78”L x 22″H
- Total Depth is 17” (frame Depth is 16 1/2” and tongue & groove face is 1/2″)
- Total Height is 22”
- Frame Height is 17 1/2” and sits 1” lower than tongue & groove face so that the plywood lays inside
- T&G Boards are 18 1/2″
- Pine Screen Molding is 1/2″ that lays on top of the T&G cut ends
- Cushion is 3″
How To
I started out by making the box frame from 2x4s to which the T&G boards would be attached. I used 8 studs total for the lengths of the bottom base and top portions of the box frame- 4 for the 62” box and 4 for the 78” box.
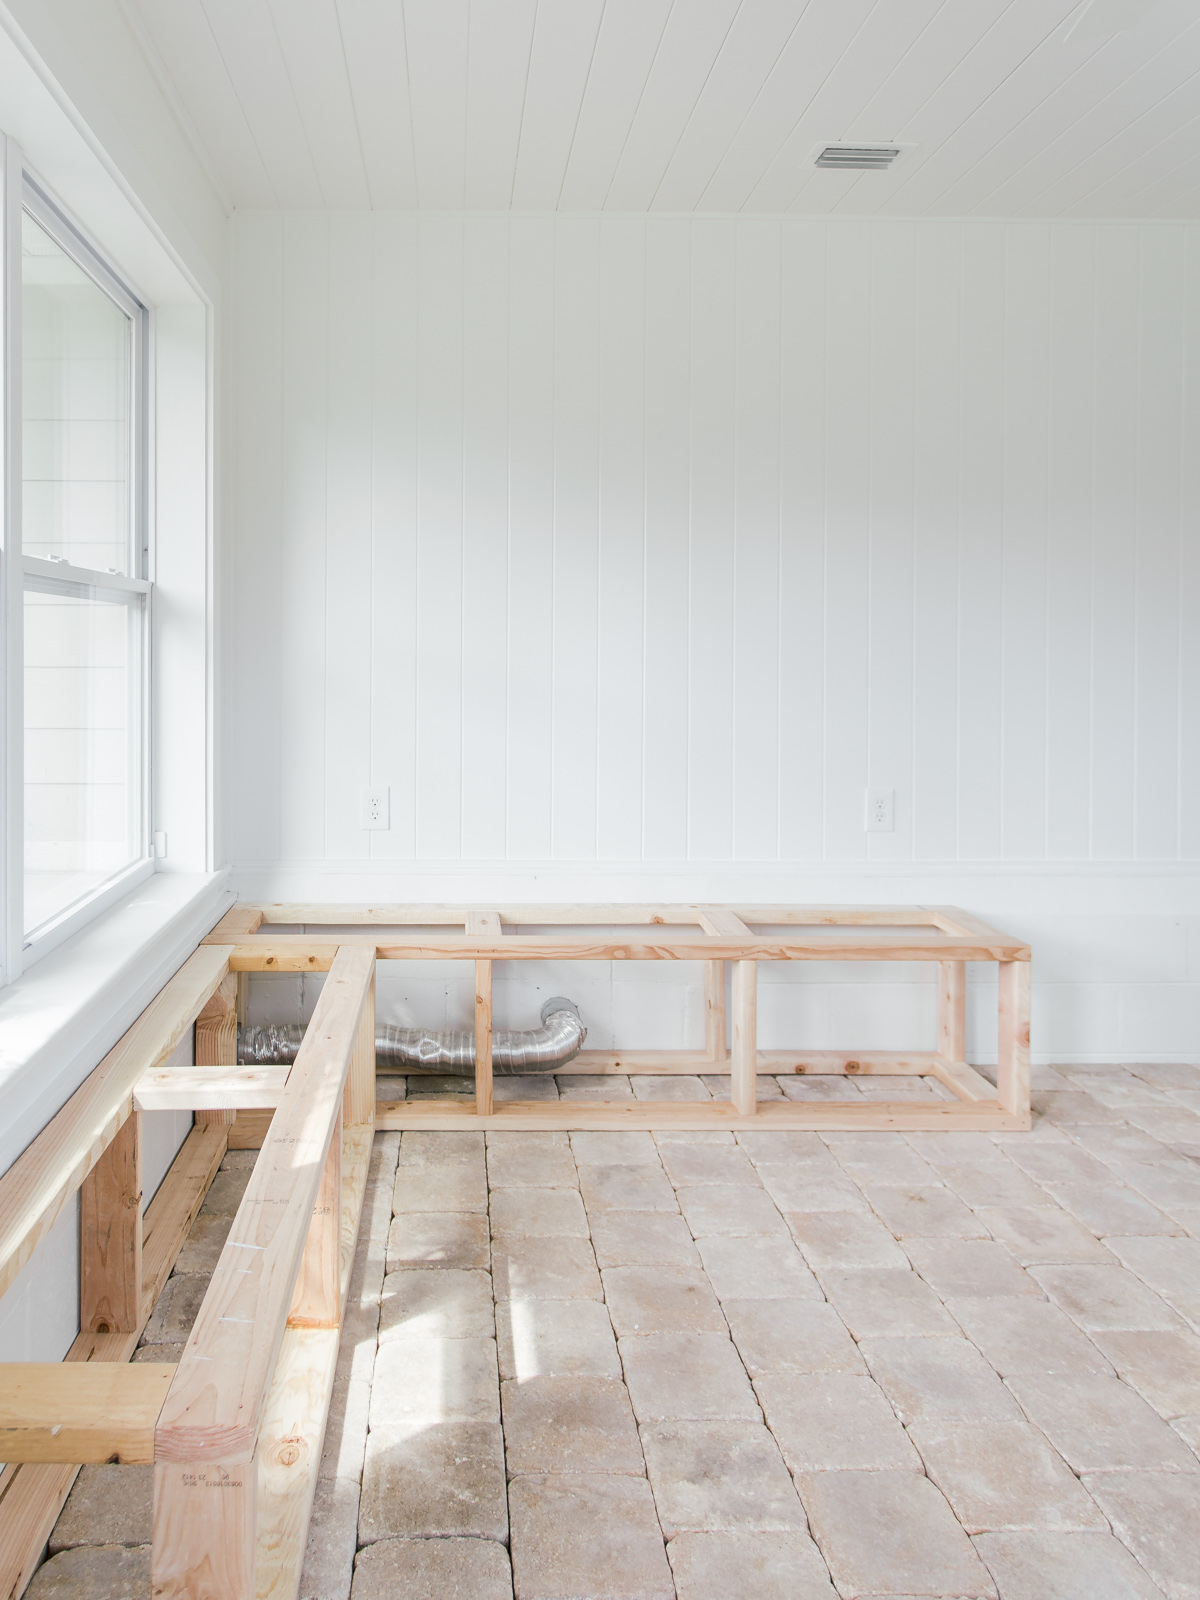
Starting with the bottom portion of the box, I used wood screws and attached 4 brace sections in between the 2 long studs. I added vertical braces to the sides of the box and horizontal braces to the top to create support all the way around for the 78” box. I did the same for the 62” box but only used 3 brace sections instead of 4 since the length was shorter. You can figure out how many braces you need depending on size and weight distribution.
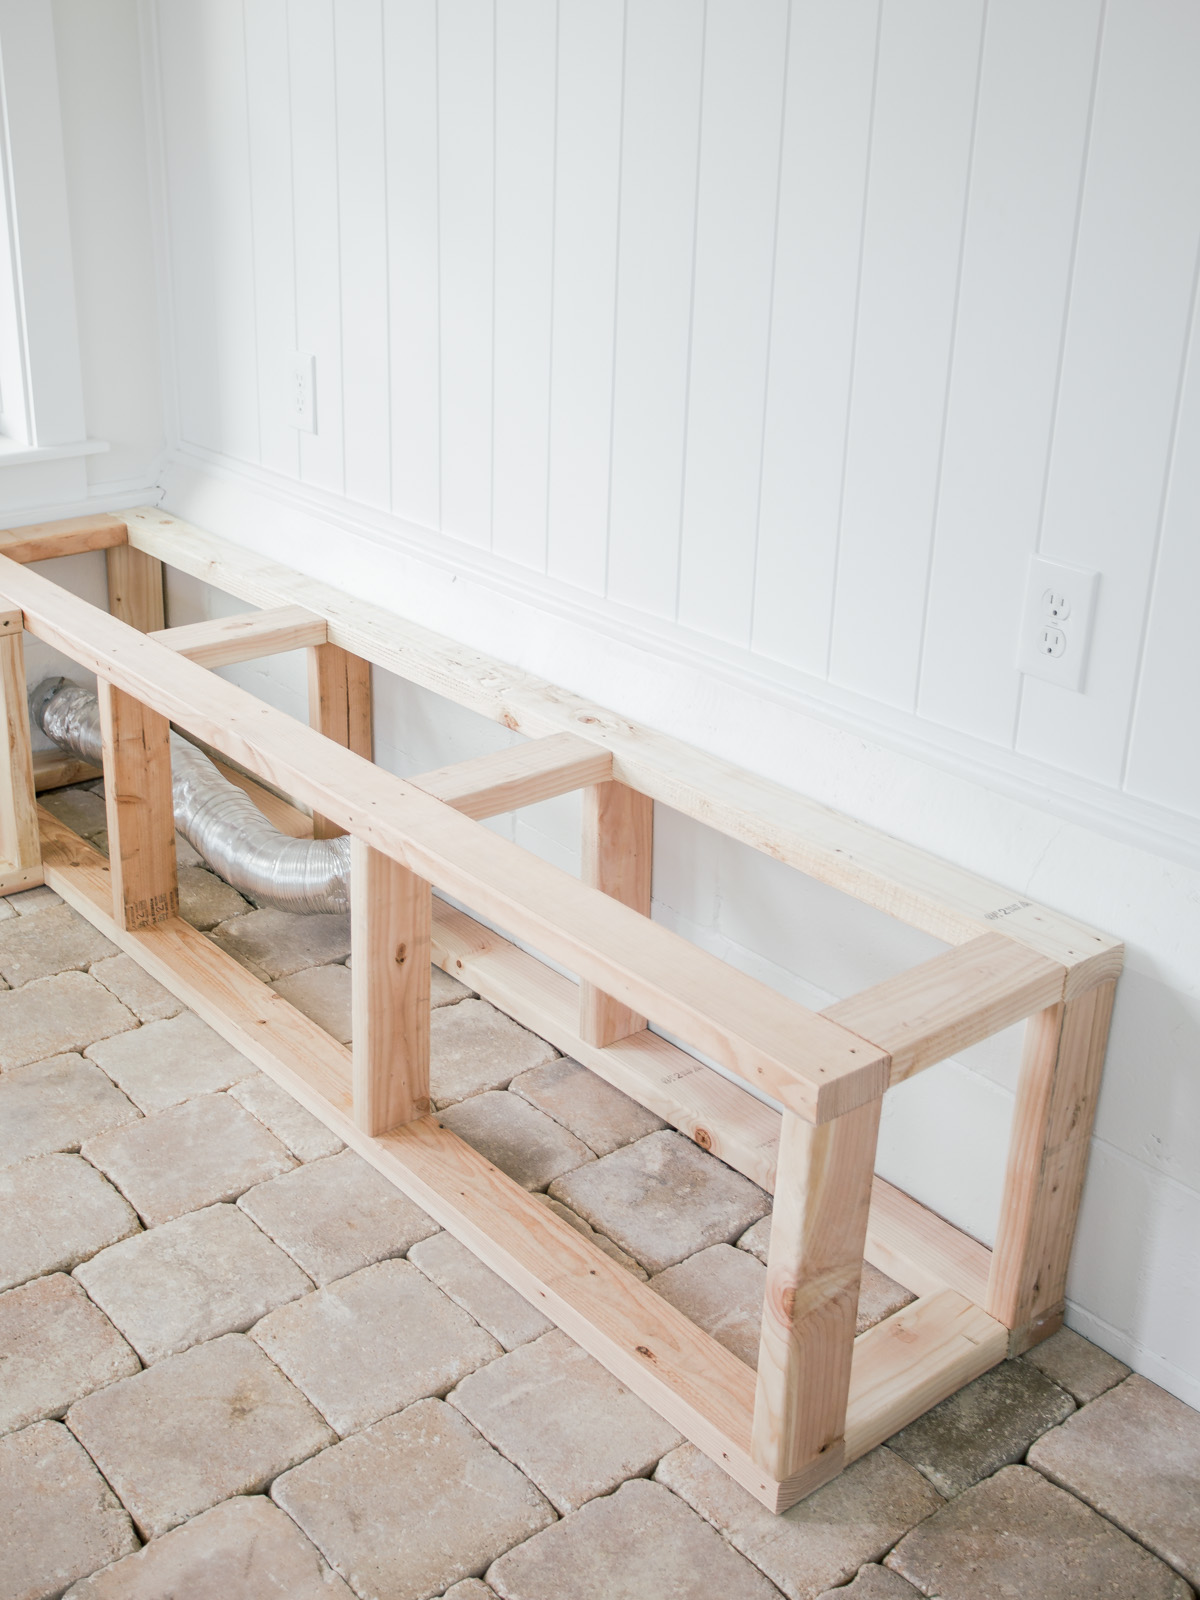
Once the box frames were complete, I started attaching the 18 1/2” cut T&G boards to the face of the 2×4 stud box frame with brad nails and a nail gun. Remember, I cut the T&G boards 1″ taller than the box frame height since we wanted the sanded plywood to sit inset and be hidden instead of sitting on top of the T&G boards.
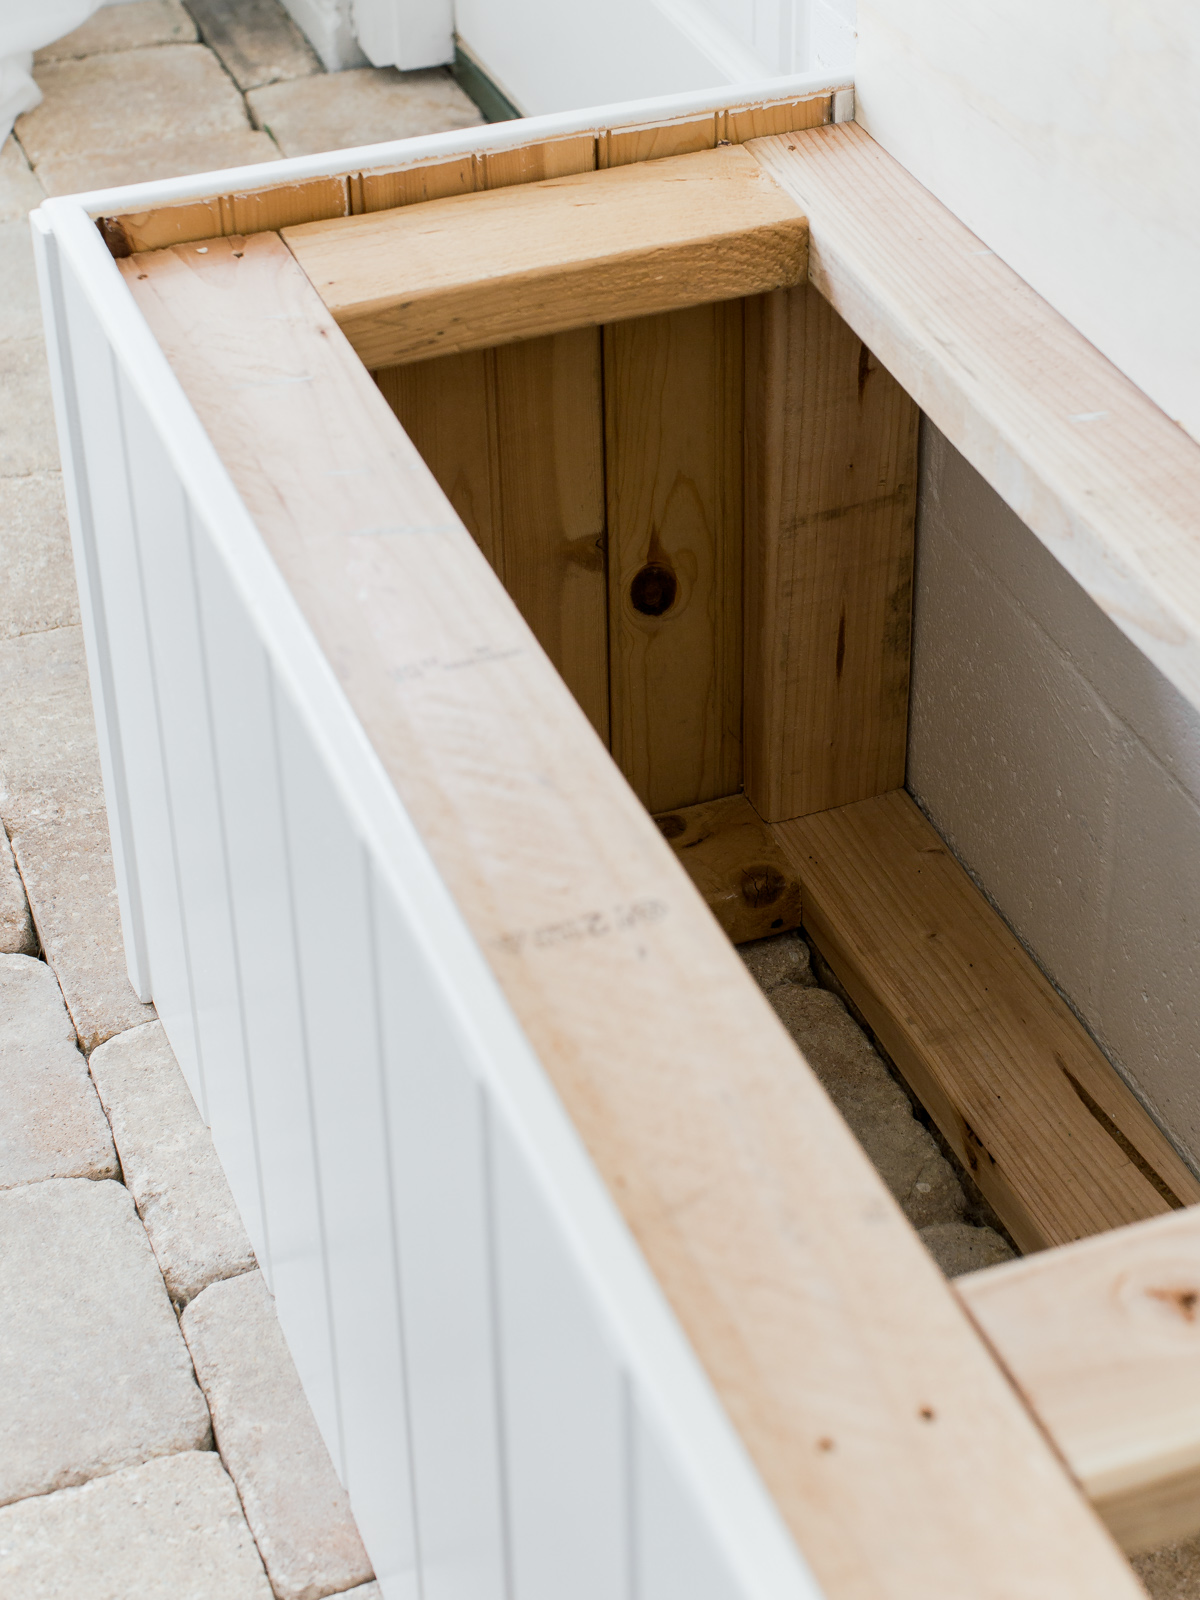
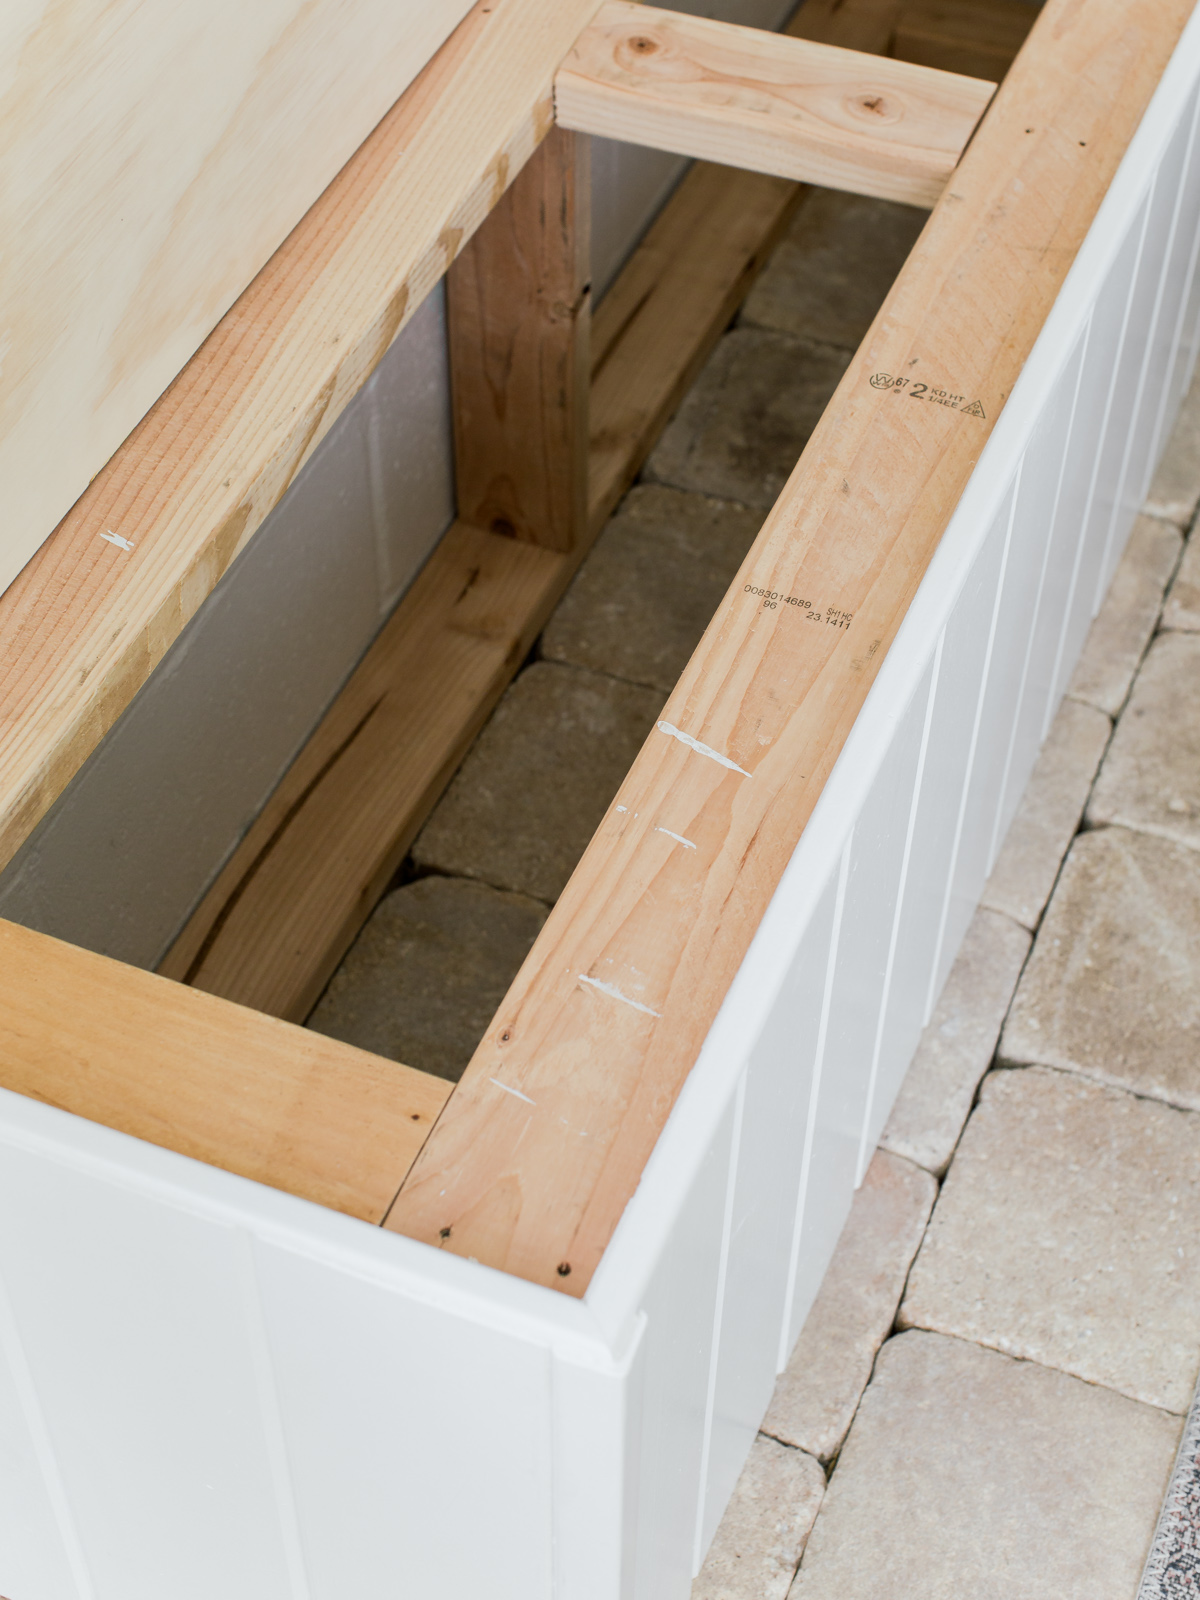
Once complete, I attached an outside corner moulding to each outside corner of the 2 bench portions. I also flipped one outside corner moulding piece so that the corner attached to the seem where the two boxes meet. After all corner pieces were in place, the 3/4″ plywood was placed inside the finished frame.
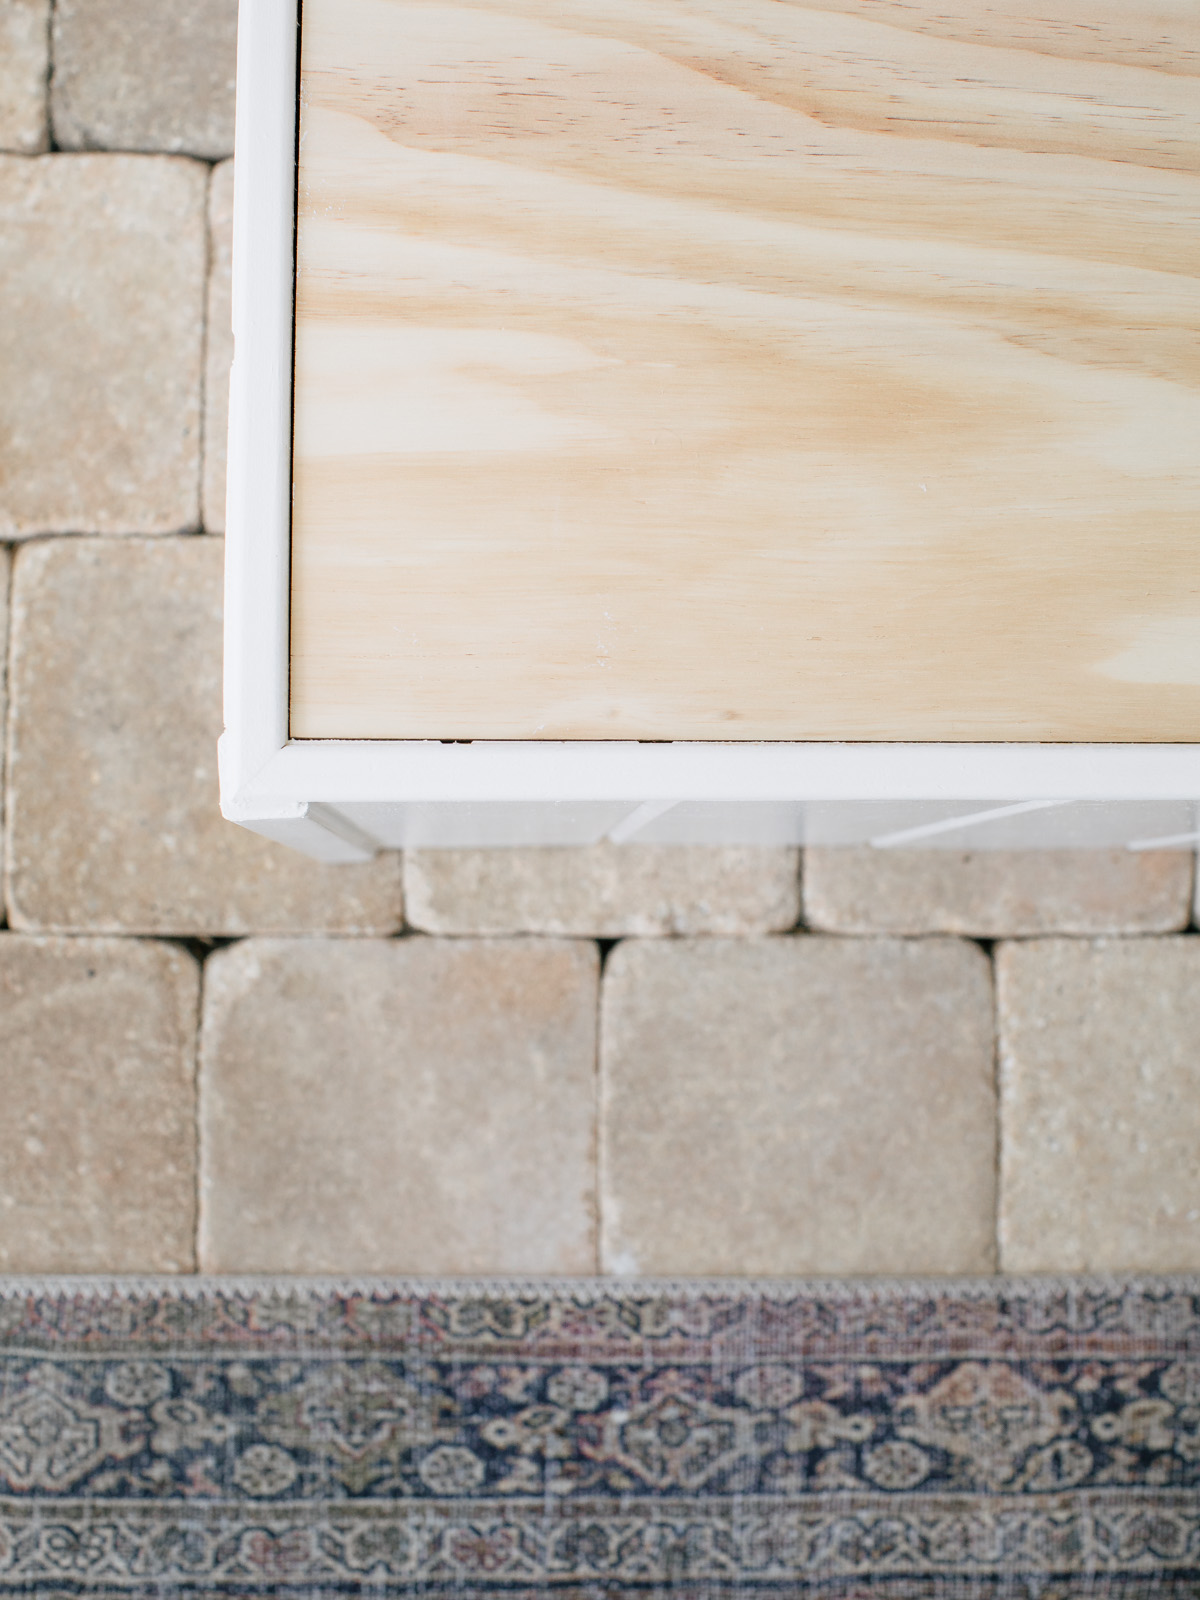
For a more finished look, we decided to add some pine screen moulding to the tops of the T&G face.
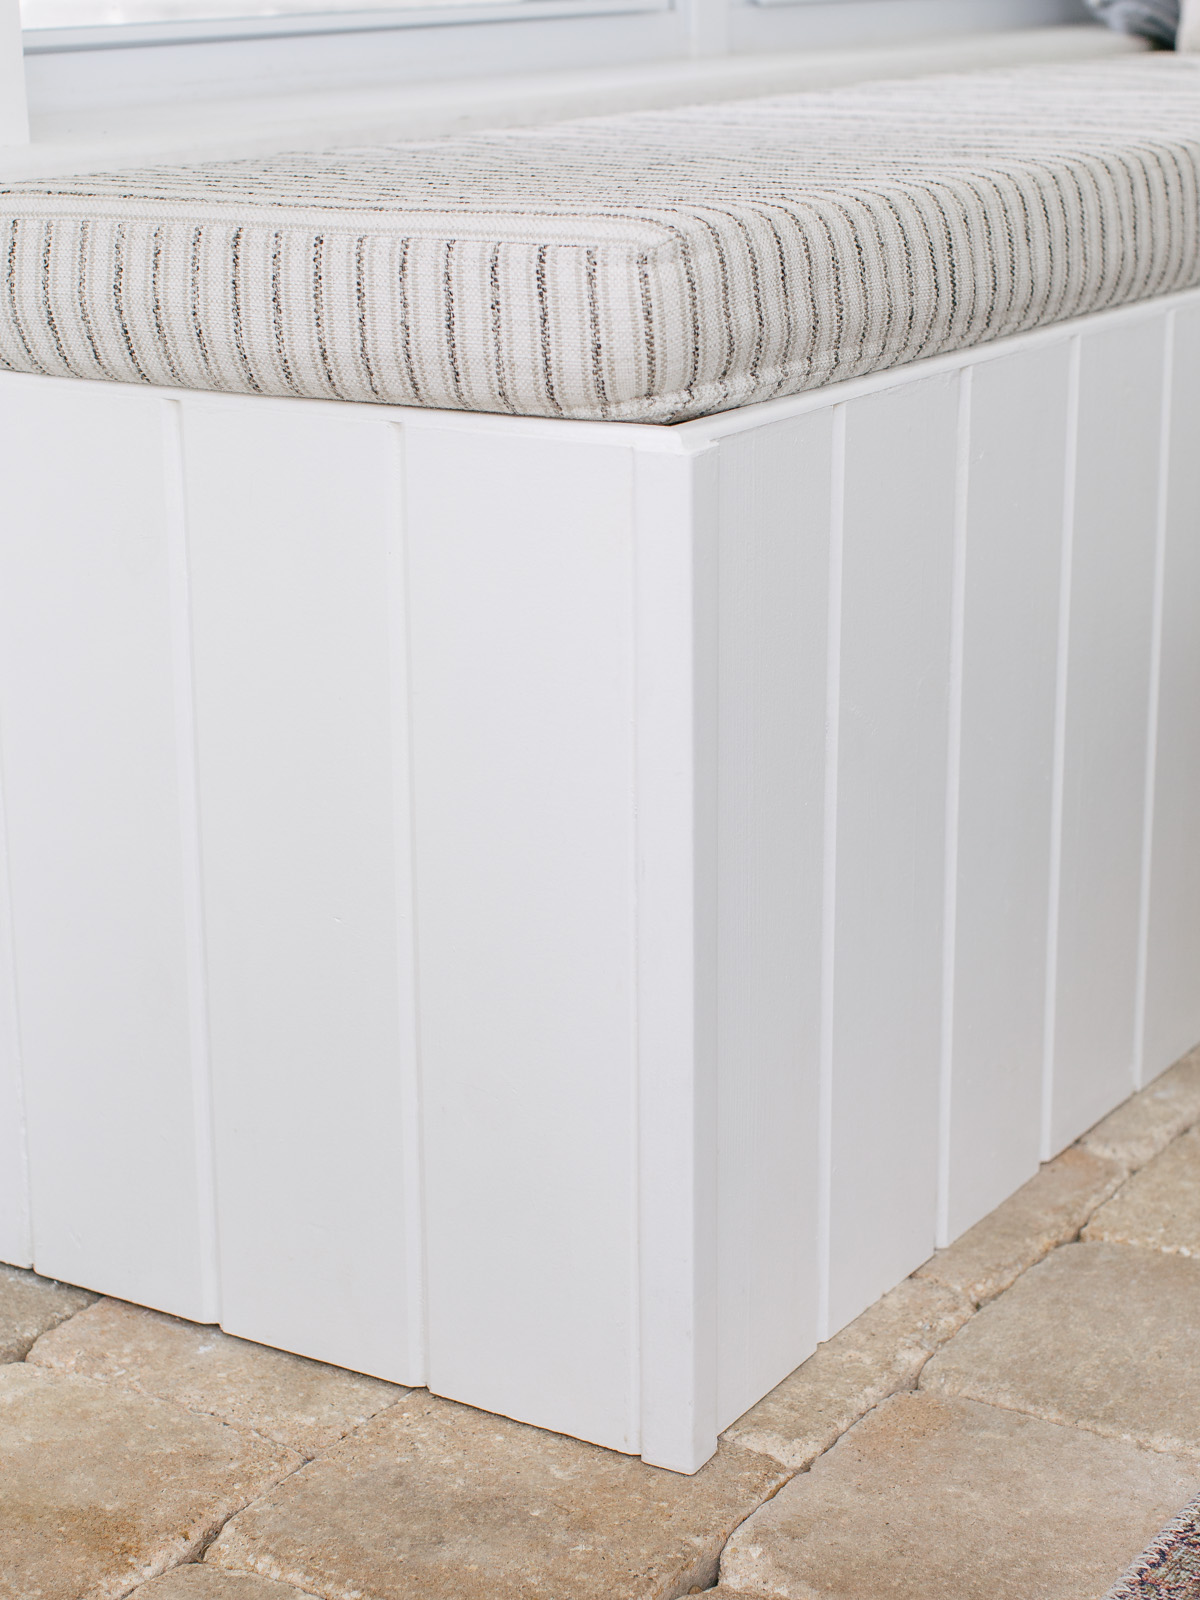
Once that is done, we caulked, painted, and added the 3” custom cushions to complete the project.


Hi – this is beautiful, thank you for sharing as I’m going to attempt to install the same bench in my sunroom. One quick question, did you fasten the bench to the floor and/or wall or is it mobile? Thank you!
Hi Josephine! Thank you! The frame of the bench is not fastened down- because the frame was built with 2x4s, the weight is substantial and we have had no issues with it moving or anything! Hope that helps!!
Hi!! Love this built in bench! Was curious if you could share how you made the custom cushions please! Thank you!
Hi Brielle, We purchased the fabric from Tonic Living, and the foam cushions from Amazon and had them locally made by a seamstress.