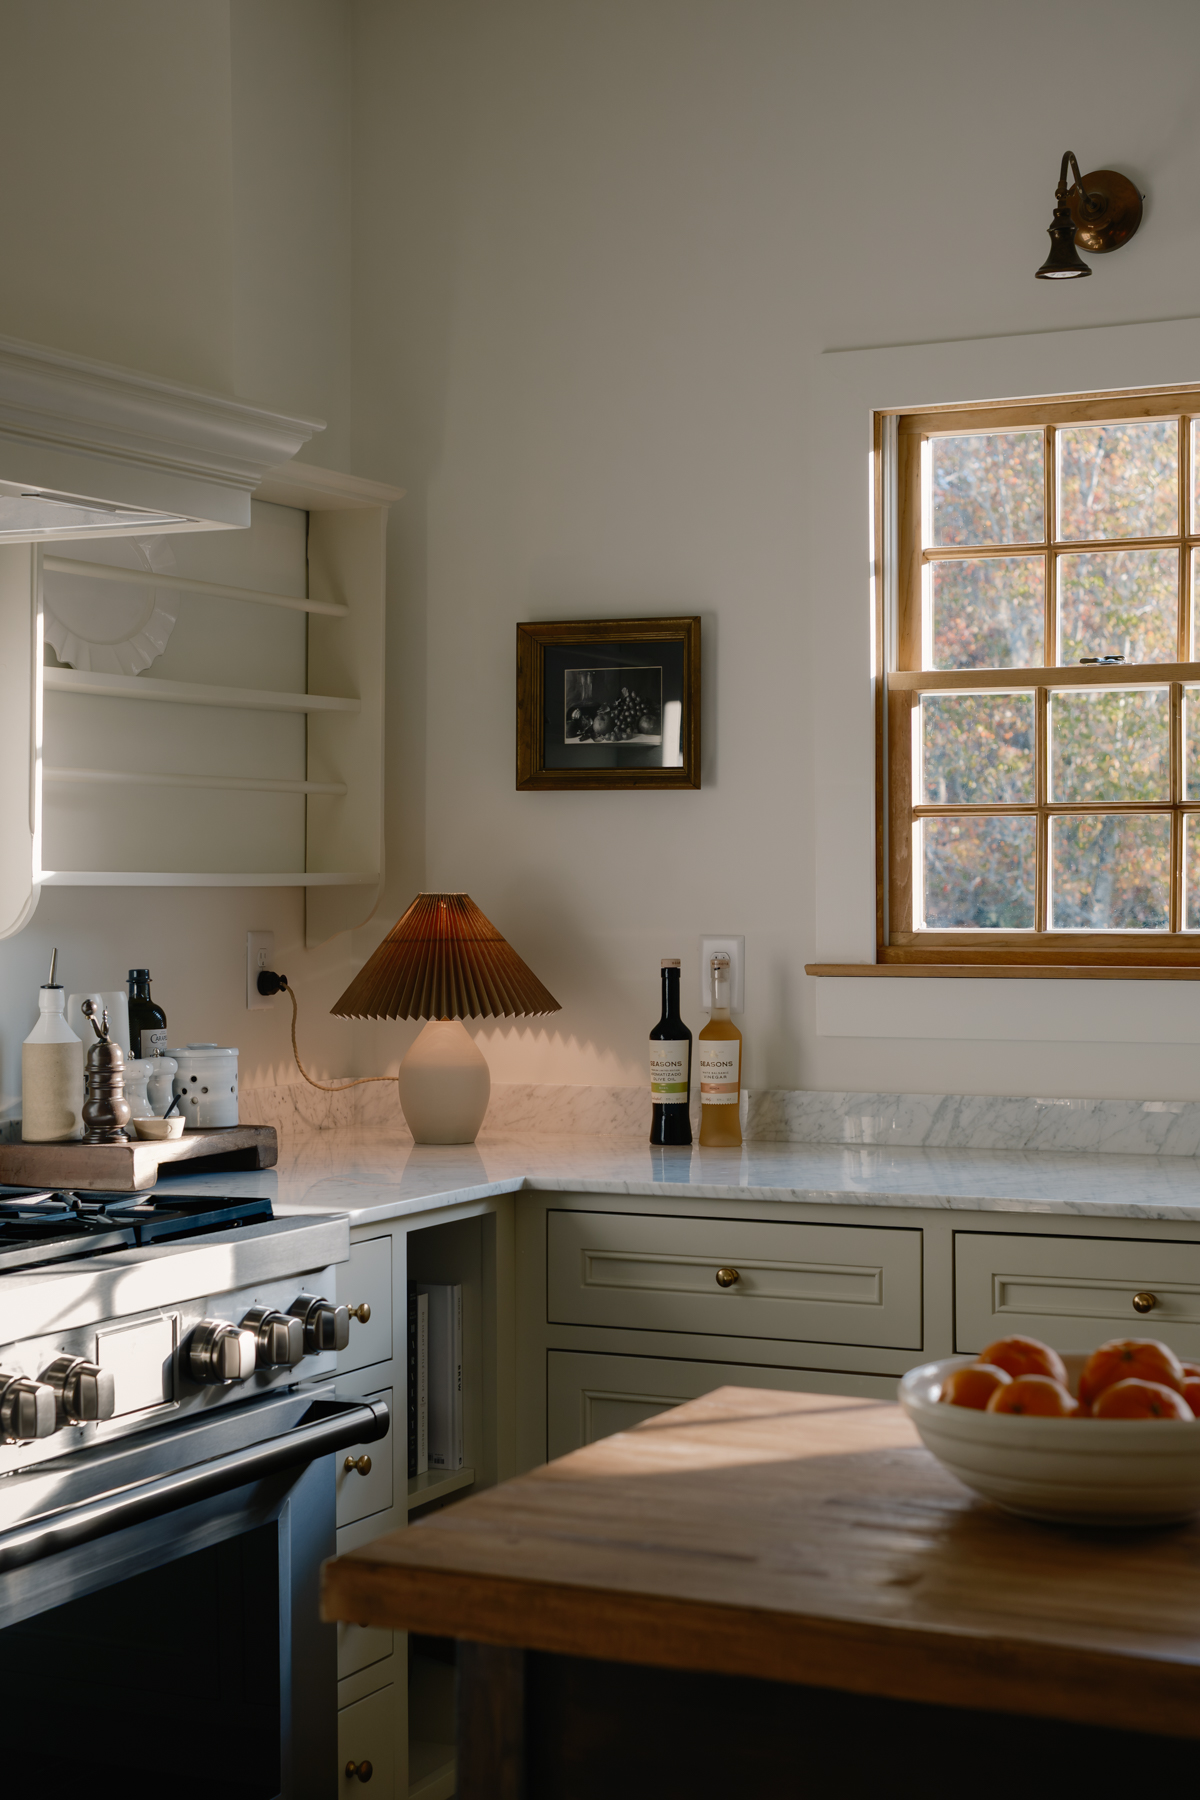
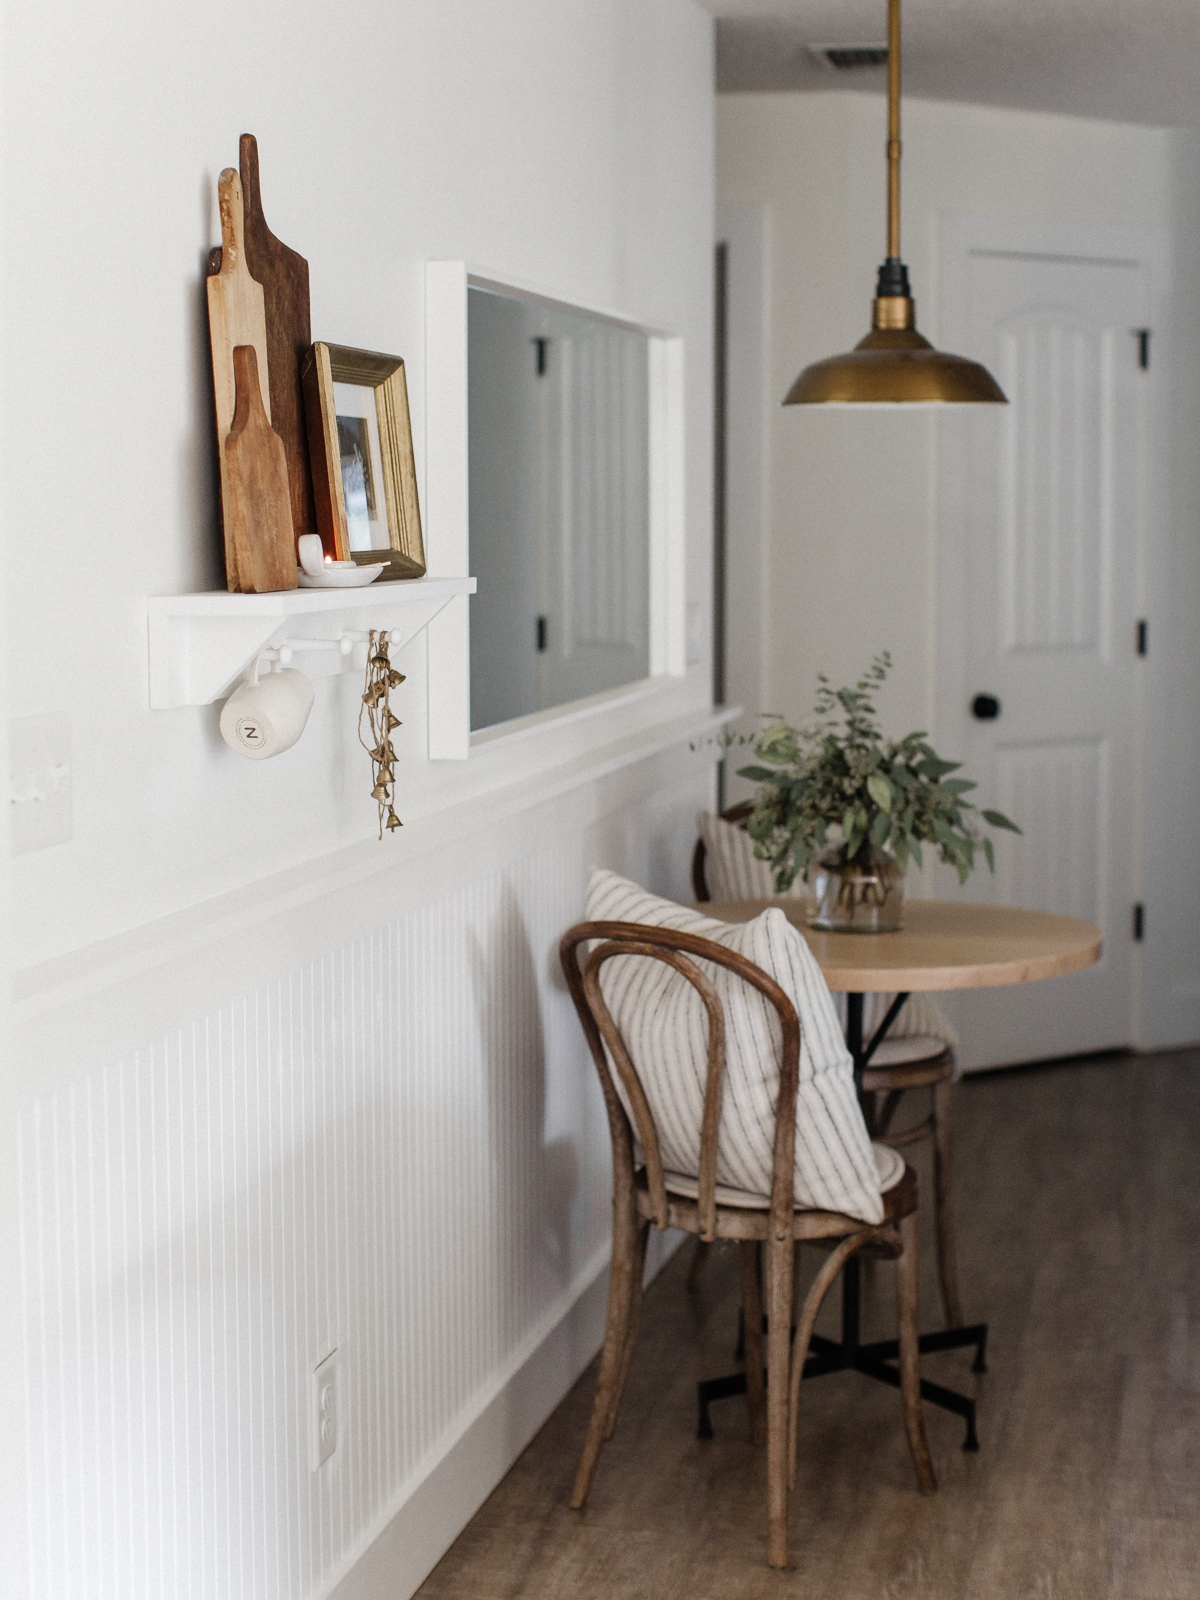
This wall in our kitchen has gone through quite the transformation over the past seven years, from stacked open shelves and artwork, to just a brass utility rail and a mirror, to now this DIY shelf Justin made and an oversized mirror to really fill the space. If there is one thing I have learned a lot about regarding design this past year, it is how important scale is.
How To Make Your Shelf:
If you want to watch a quick video of us making this shelf, click here.
MATERIALS
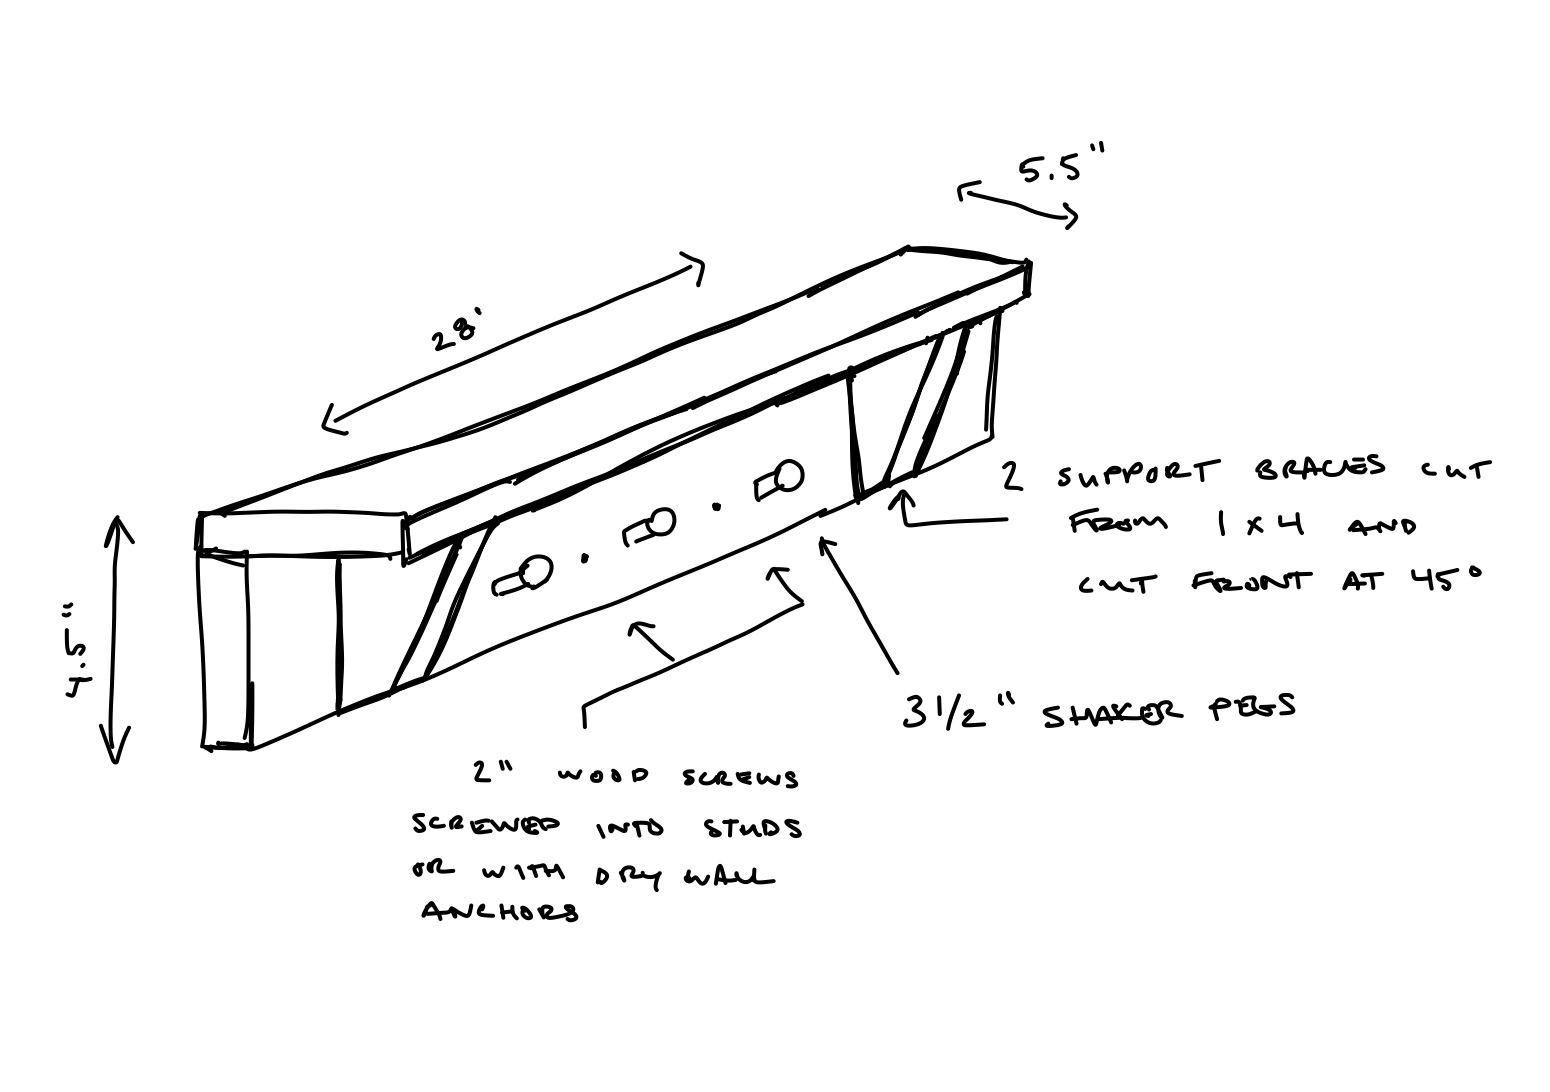
- (1) 1×6 cut to 28″ long – this will be the shelf
- (1) 1×4 cut to 28″ long – this will be the back
- (2) 3.5″ x 4.25″ Brackets cut from a 1×4 at 45º angle
- (3) 3.5″ Oak Shaker Pegs
- (4) 1.5″ Wood Screws for assembly
- (2) 2″ Wood Screws and Drywall Anchors for hanging
- Drill
- Wood Glue
- Caulk
- Sandpaper
- Paint
HOW-TO
Step 1 – Make the cuts to the measurements above or to your preferred custom size
Step 2 – Drill pilot holes into the 1×6 board 2.5″ in on both sides and 1/2″ from the backside of the board
Step 3 – Apply wood glue to the top of the 1×4 back board and drill your 1.5″ wood screws down into the top of the 1×6 shelf to secure the shelf and back board together
Step 4 – Attach your brackets 2″ in from the edges of your boards by applying wood glue and drilling 1.5″ wood screws from the backside of the back board into the brackets
Step 5 – Use 1/2″ Drill bit to drill holes into the front of the back board for the pegs
Step 6 – Install pegs with wood glue and allow shelf to sit overnight for the wood glue to dry
Step 7 – Sand any visible wood glue from your shelf, caulk your seams and let dry
Step 8 – Prime (if using unprimed boards) and paint your shelf to your desired color
Step 9 – Hang! Drill Pilot holes evenly in between the pegs, hold the shelf up on your wall with a level on top of the shelf, once level, take a nail and mark the wall through the pilot holes. If you are drilling into a stud(s), you do not need drywall anchors, if you are not drilling into a stud, you will need to install drywall anchors first. Attach shelf to wall with 2″ screws.
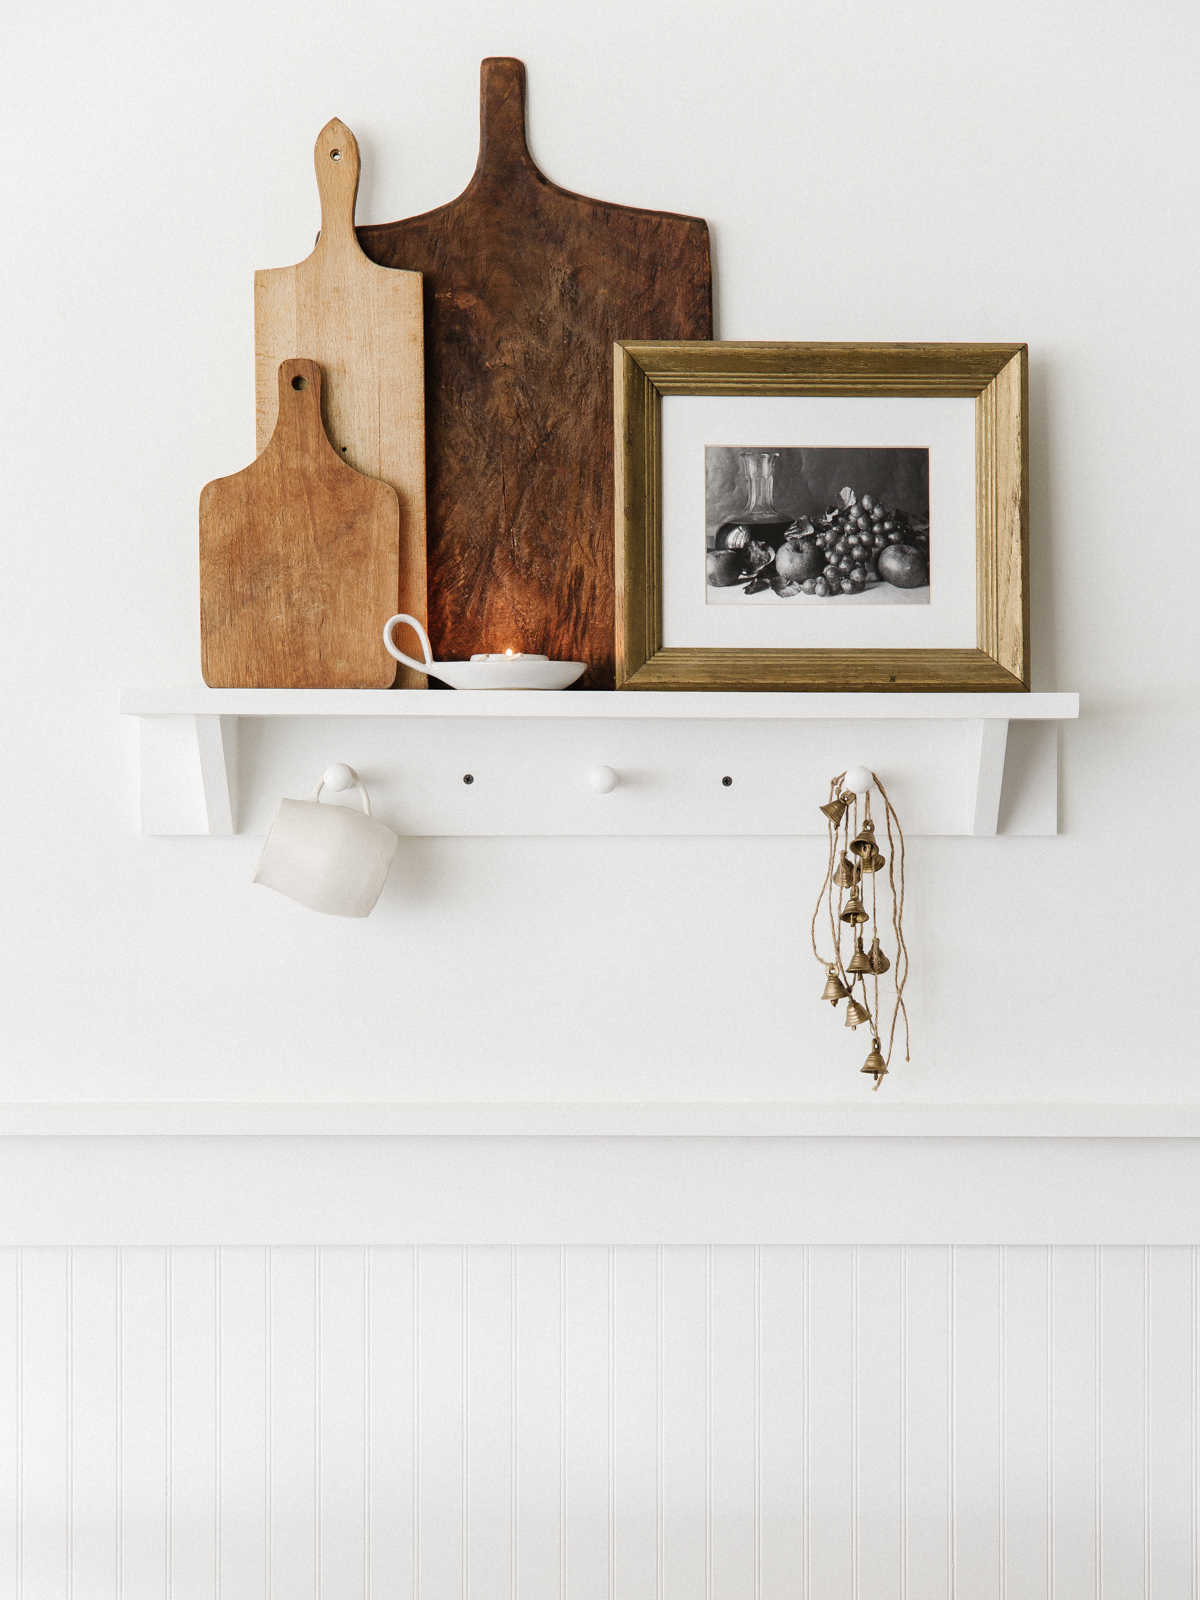
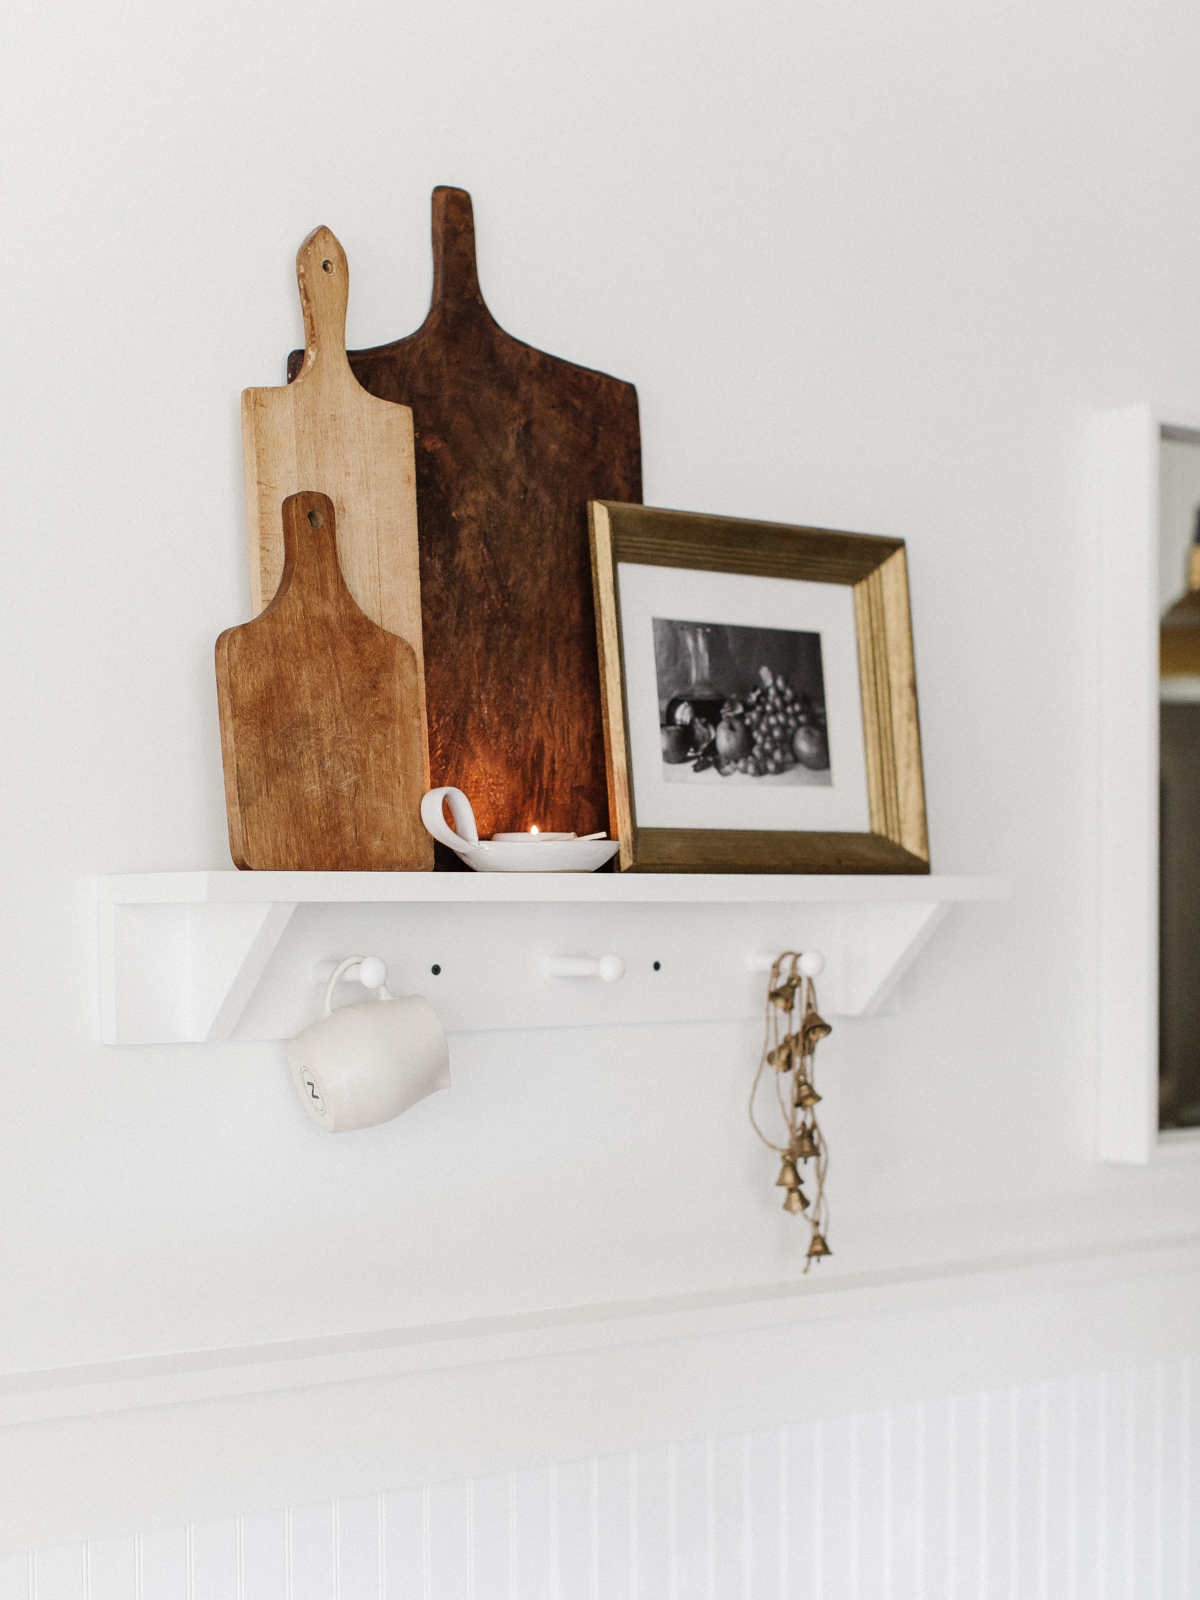
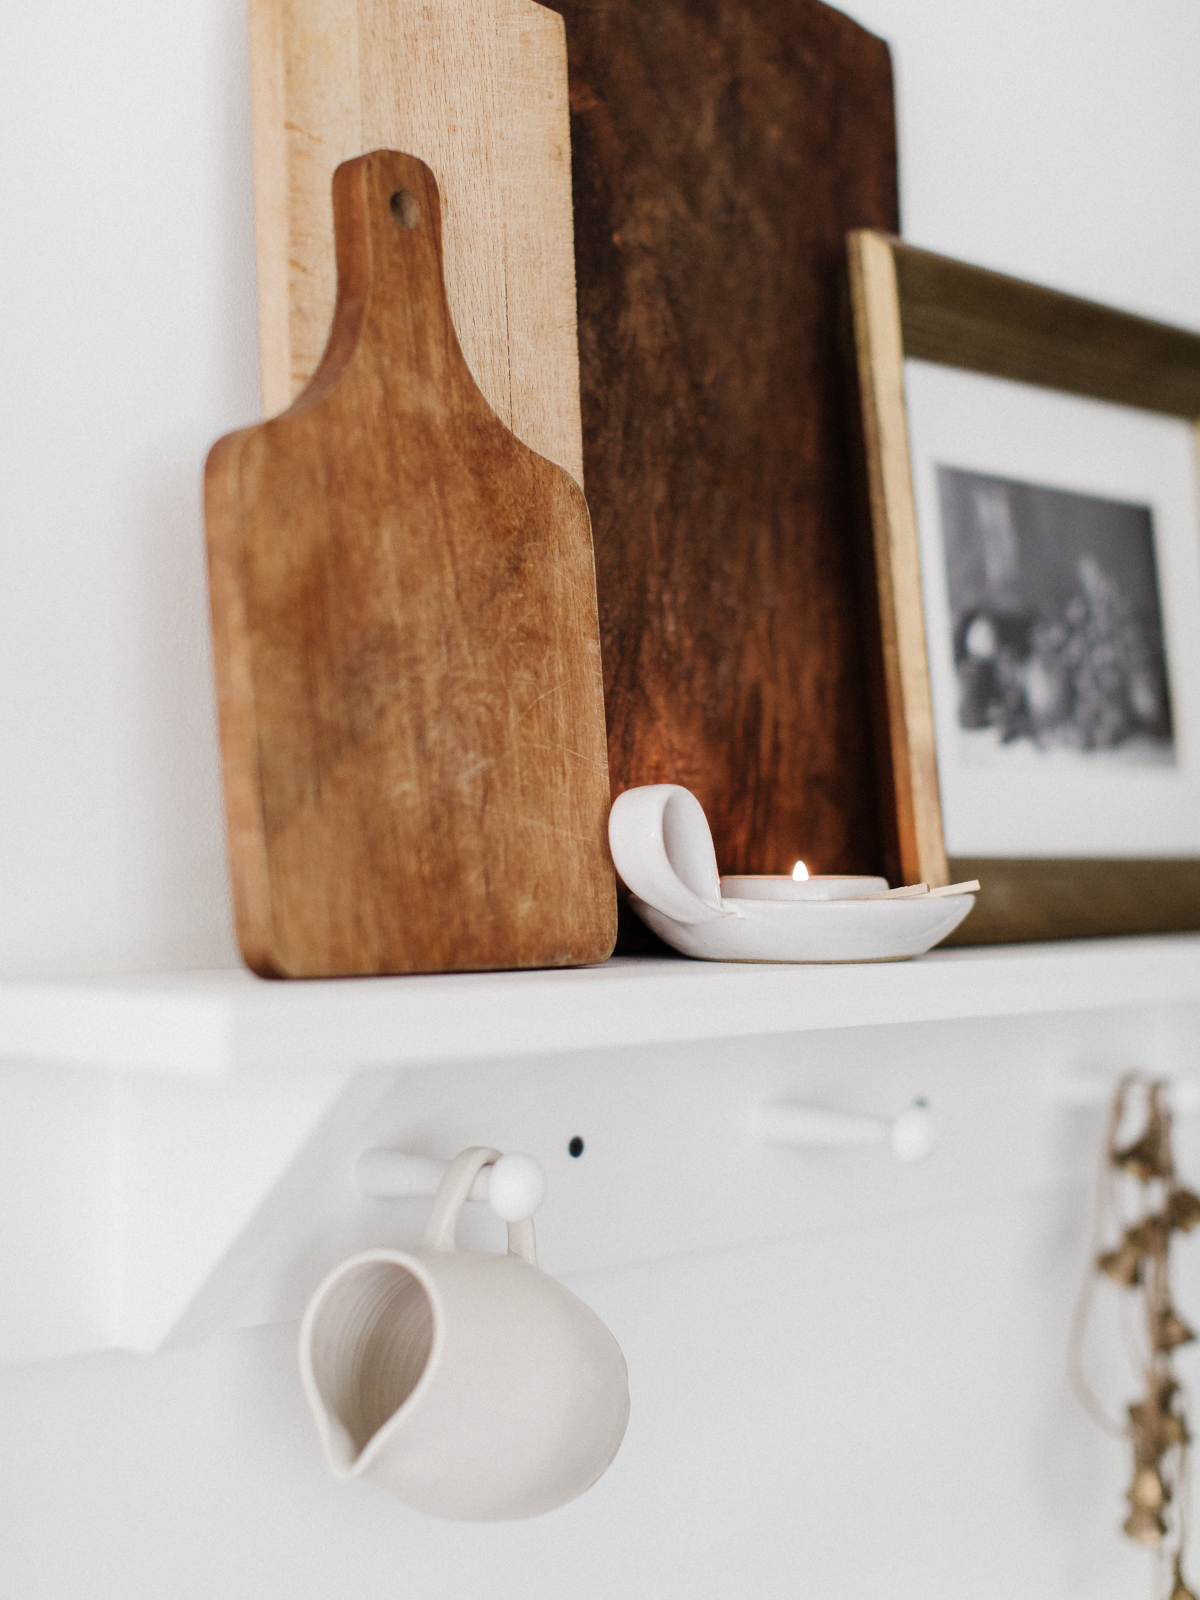
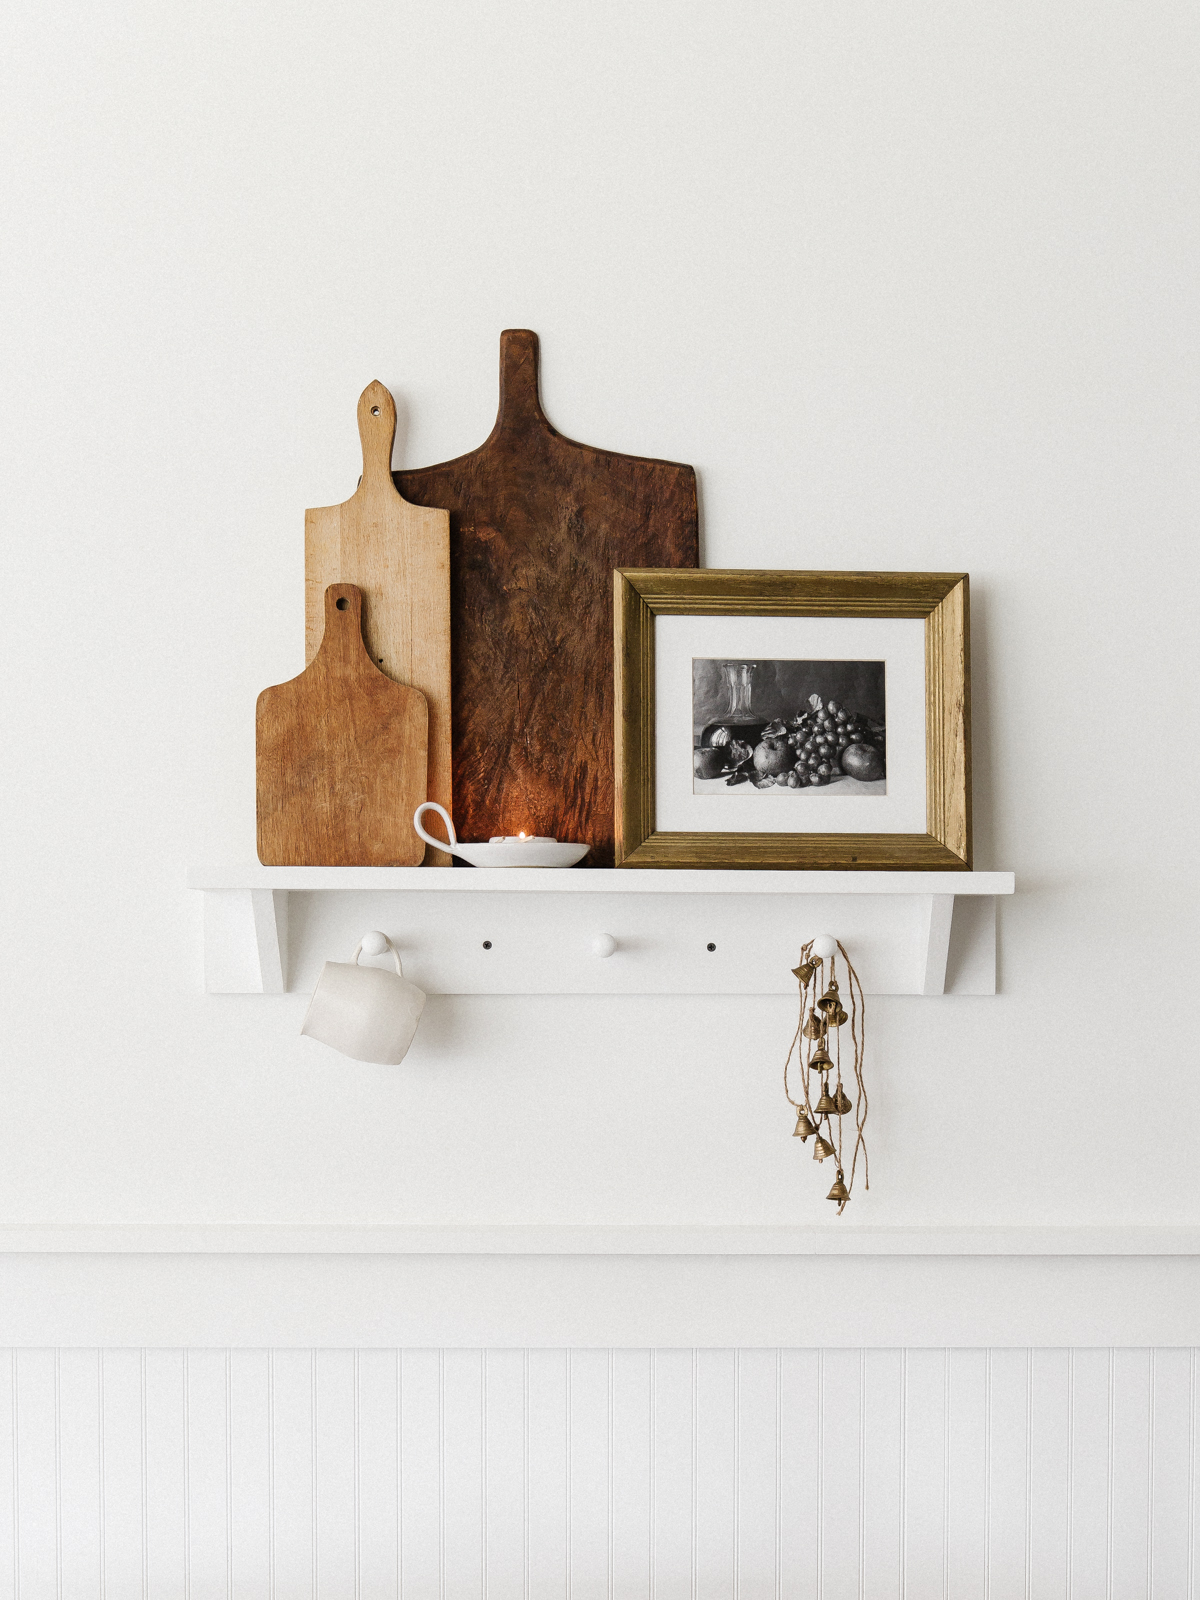
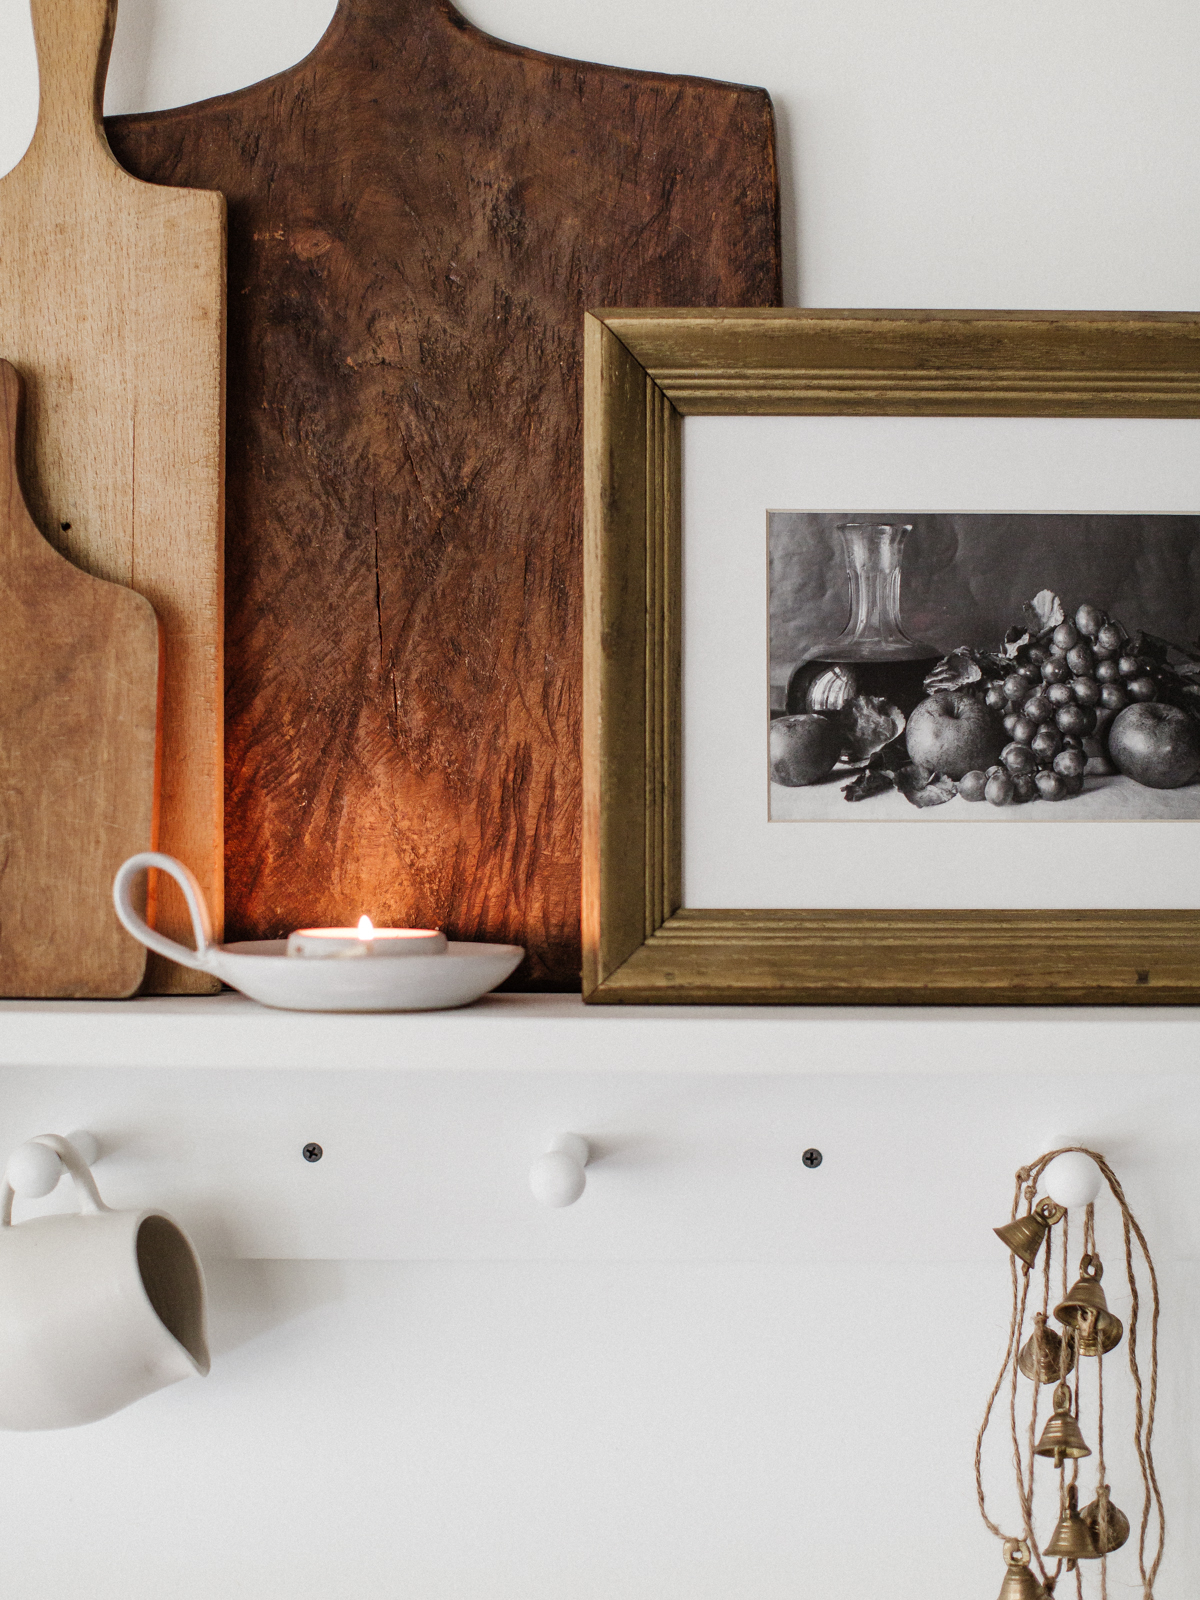
STYLE & ENJOY!
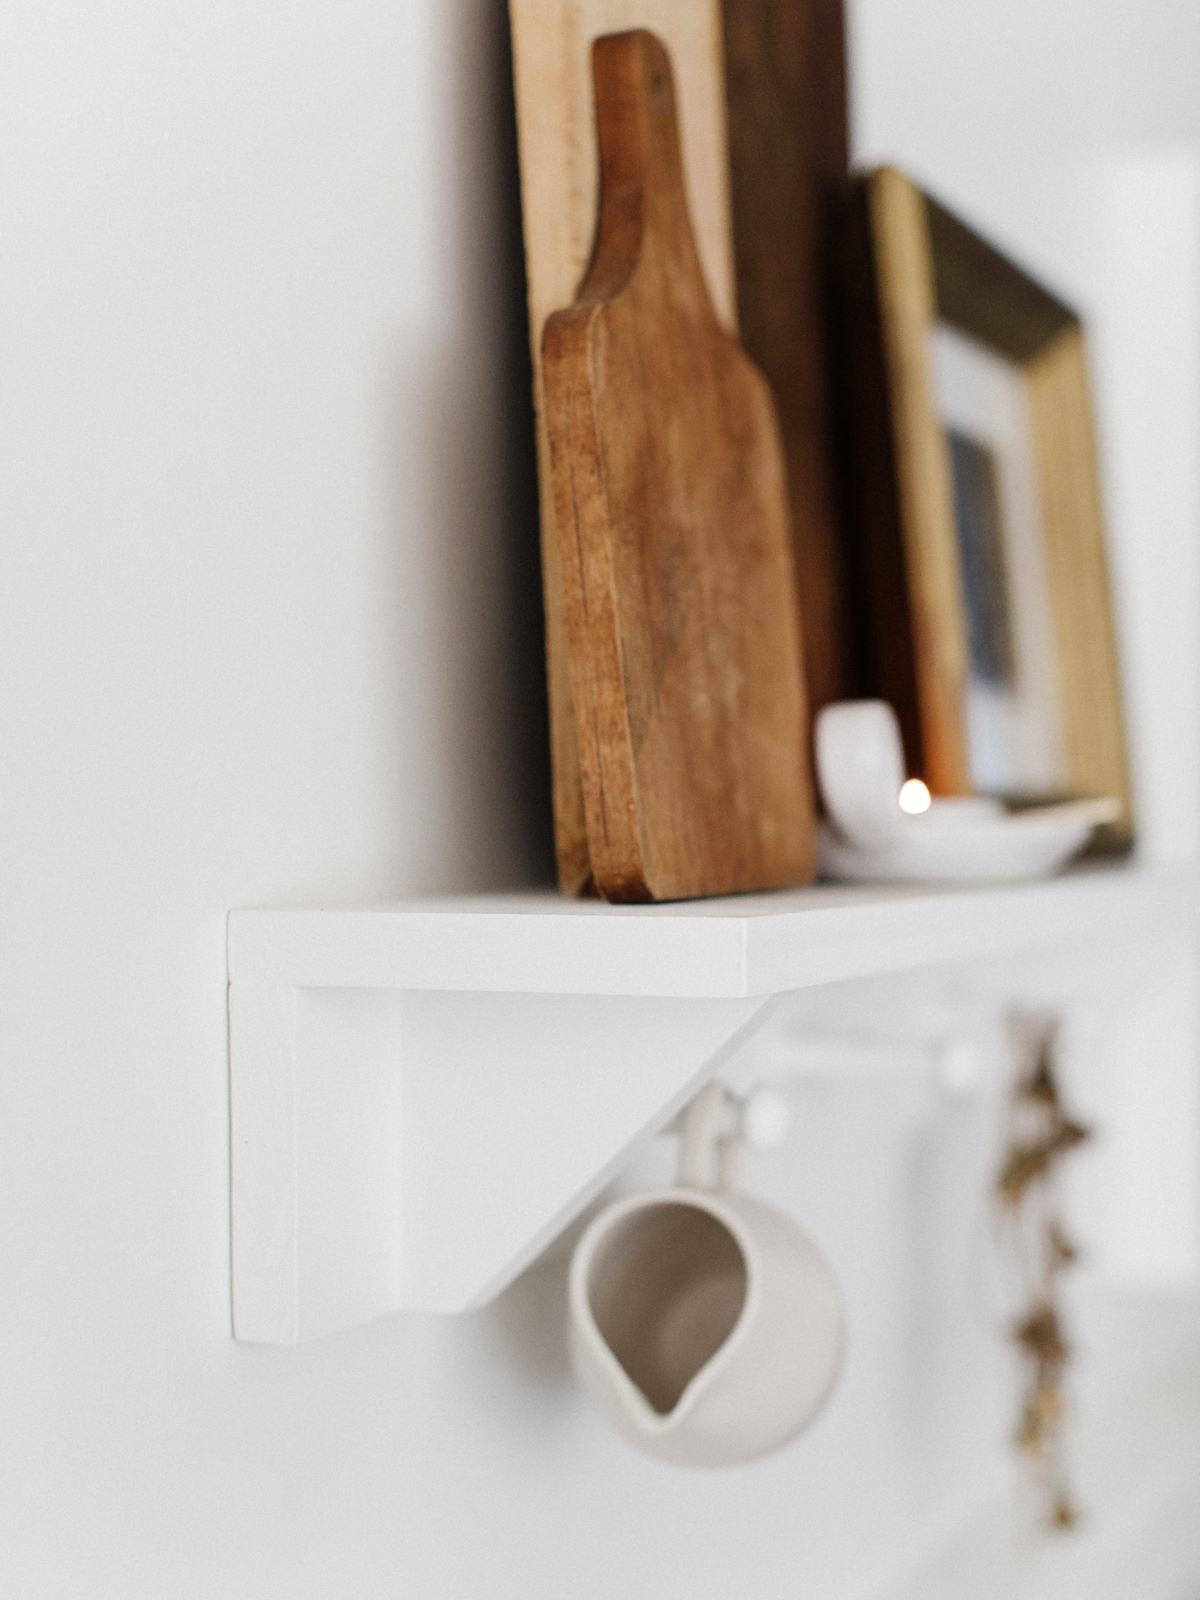
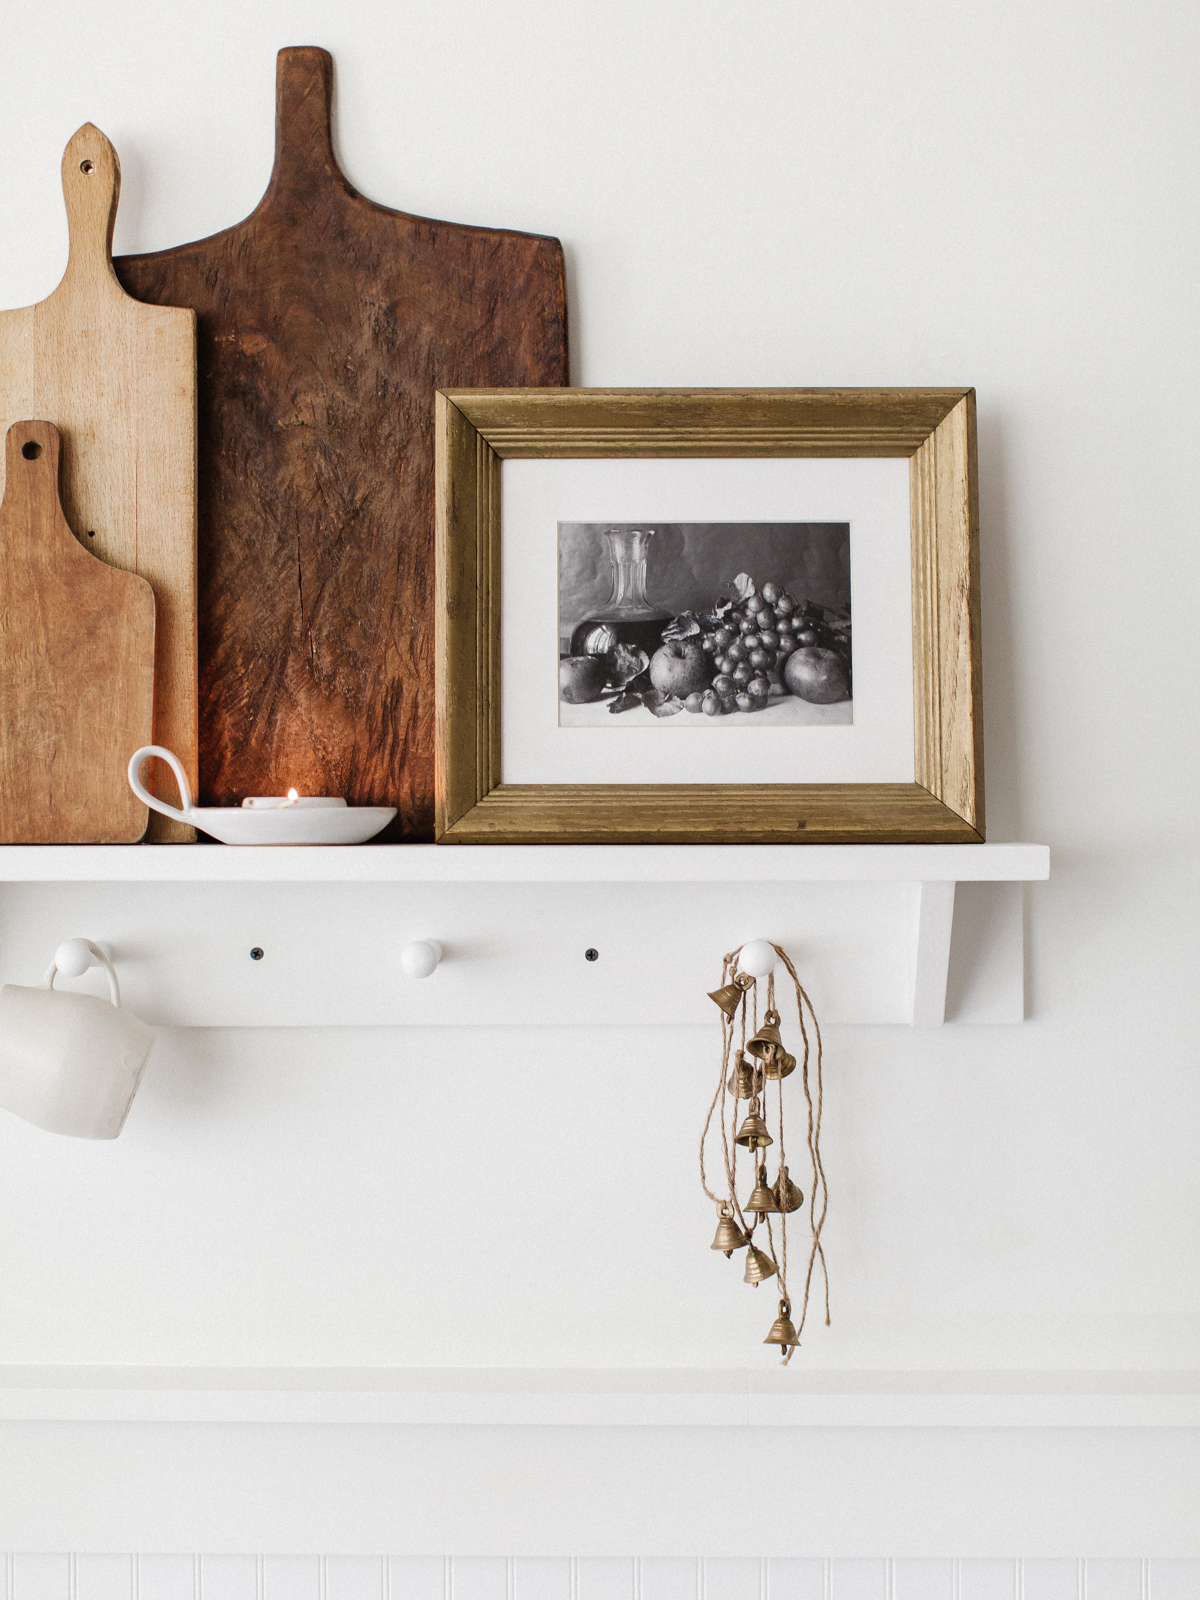
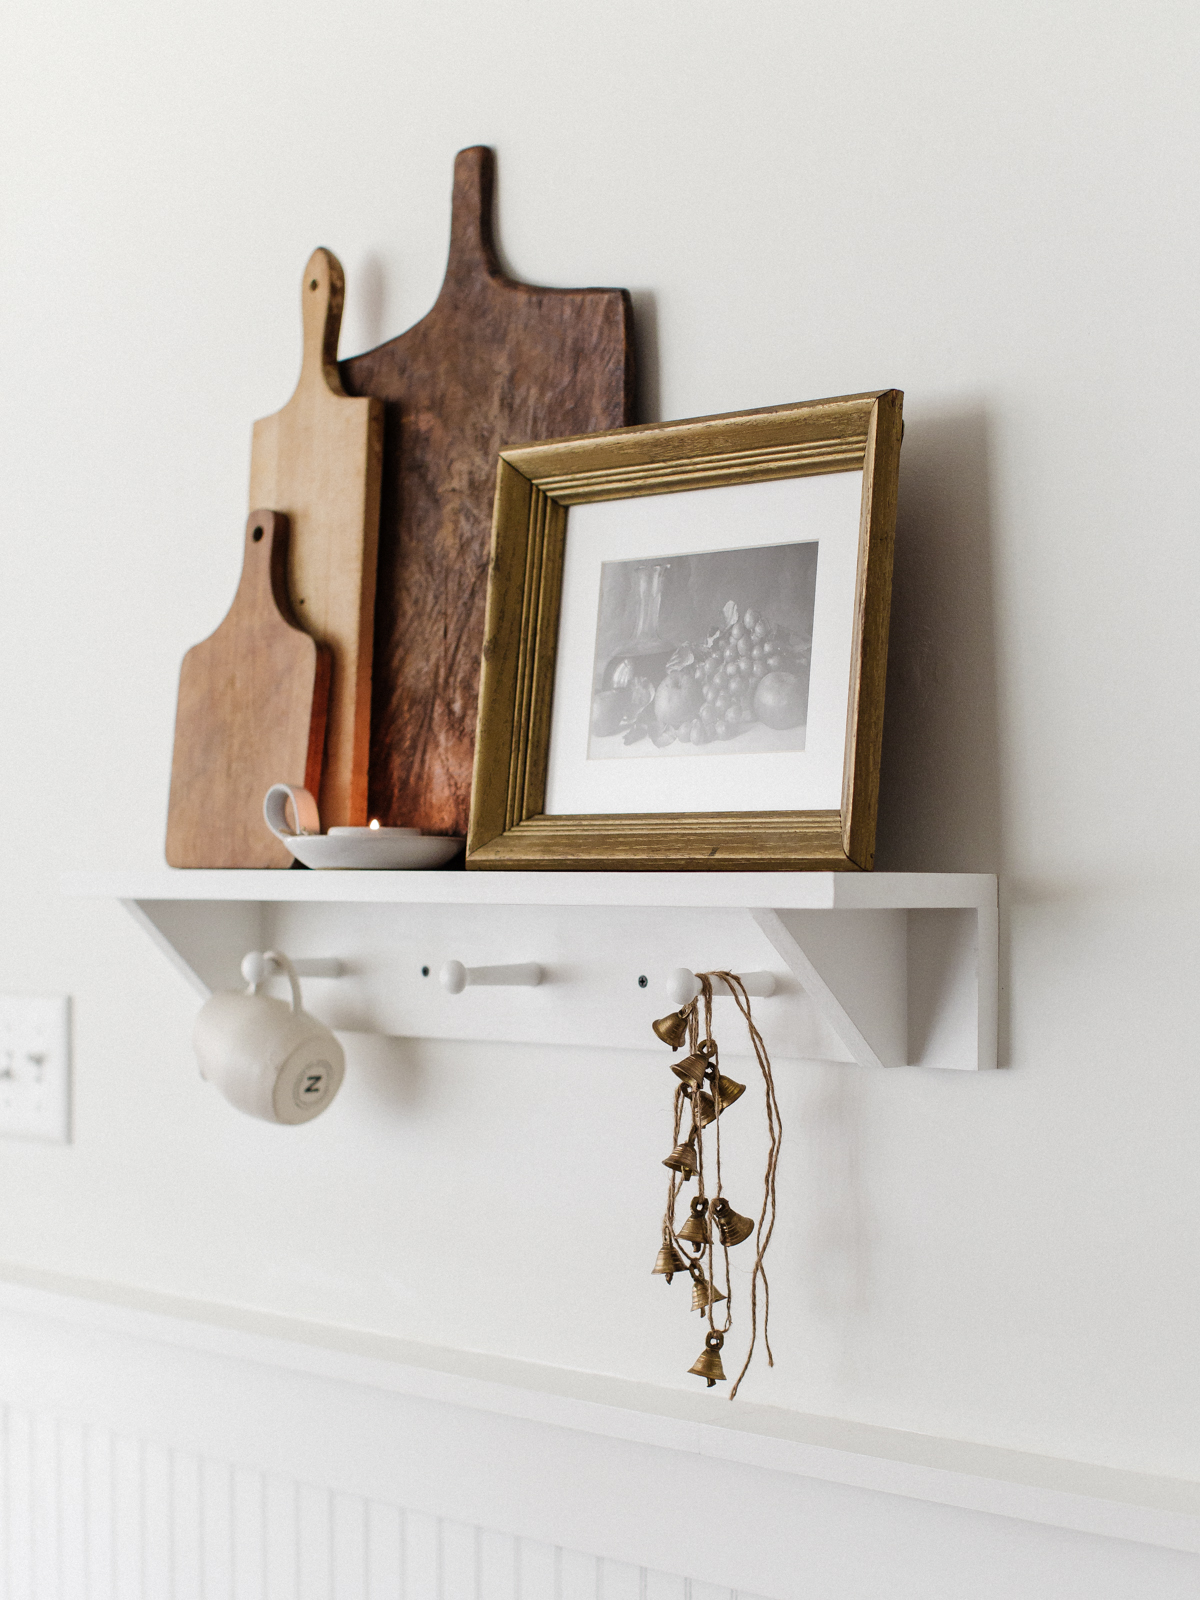

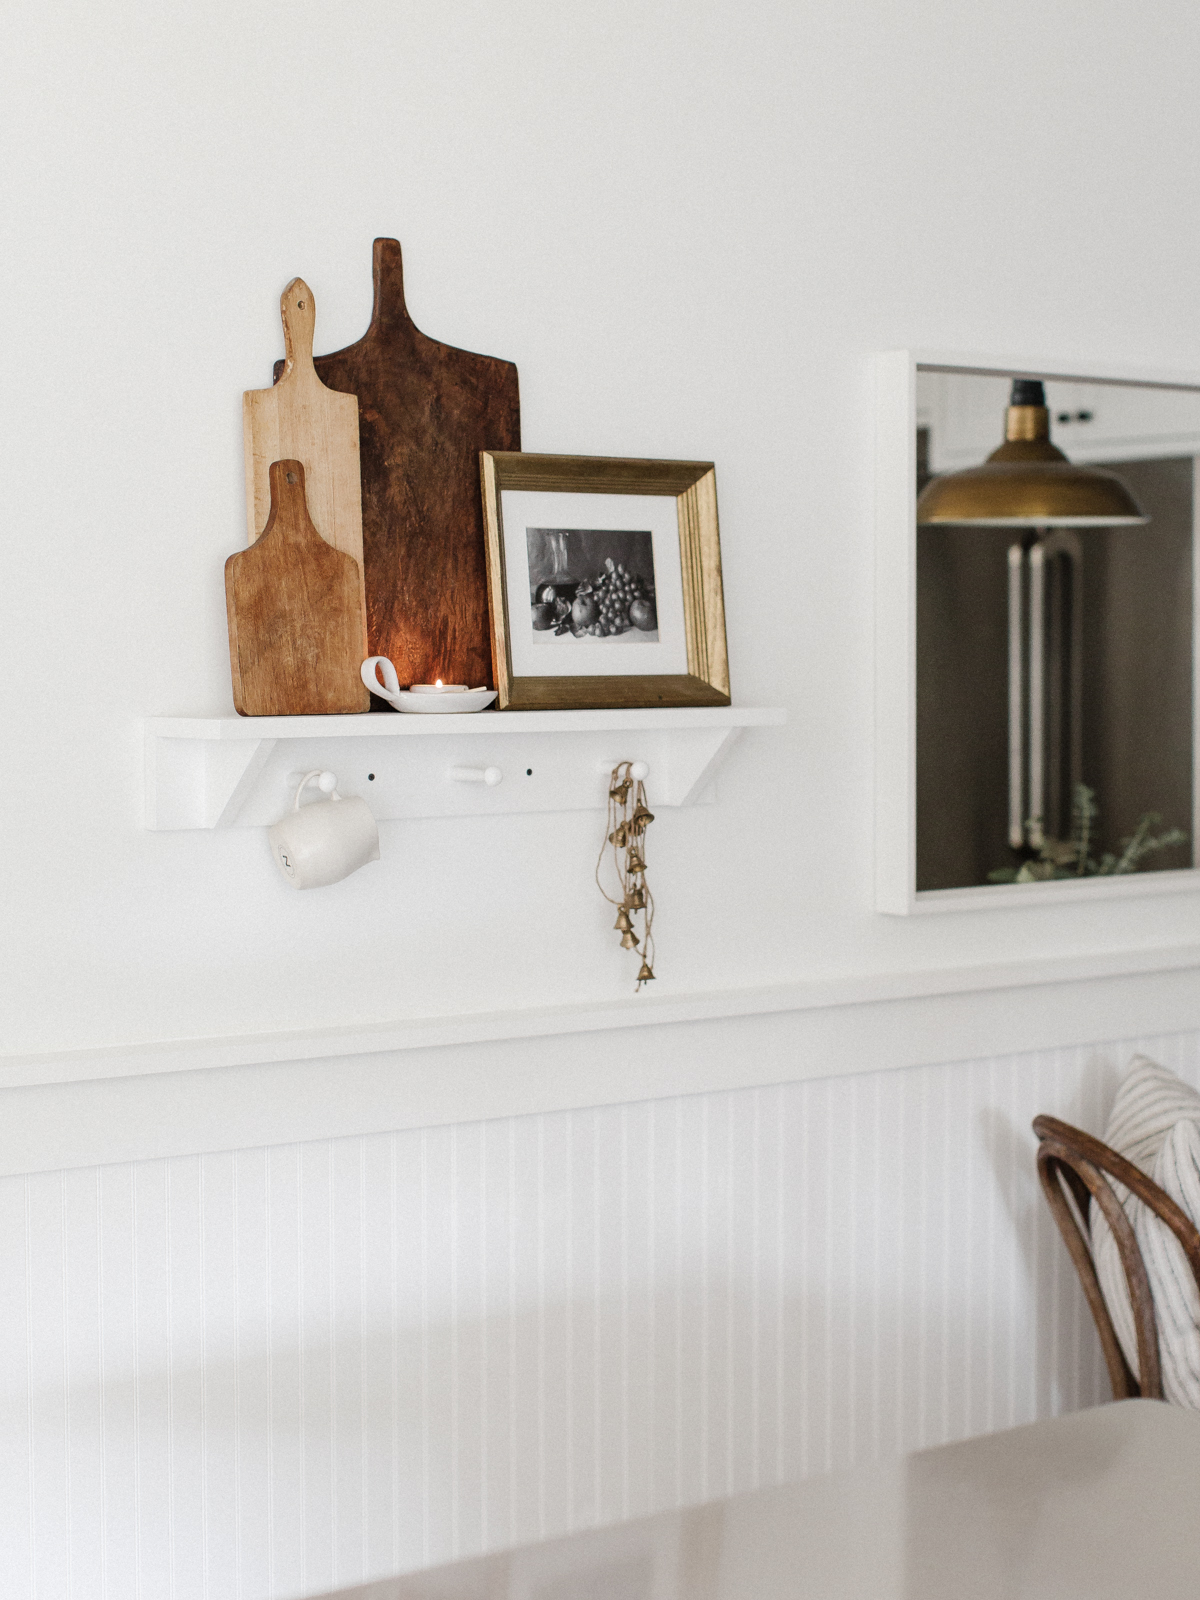
This kitchen wall is the longest interior wall in our home and it finally feels complete after adding the beadboard and picture ledge chair rail, horizontal mirror, and this English-inspired kitchen shelf that we designed and built to fit this empty space perfectly.
We hope you enjoyed this easy tutorial and are inspired to make one yourself!
Sources
- Vintage Breadboards
- DIY Breadboards
- Tealight Candle
- Artwork
- Ceramic Pitcher
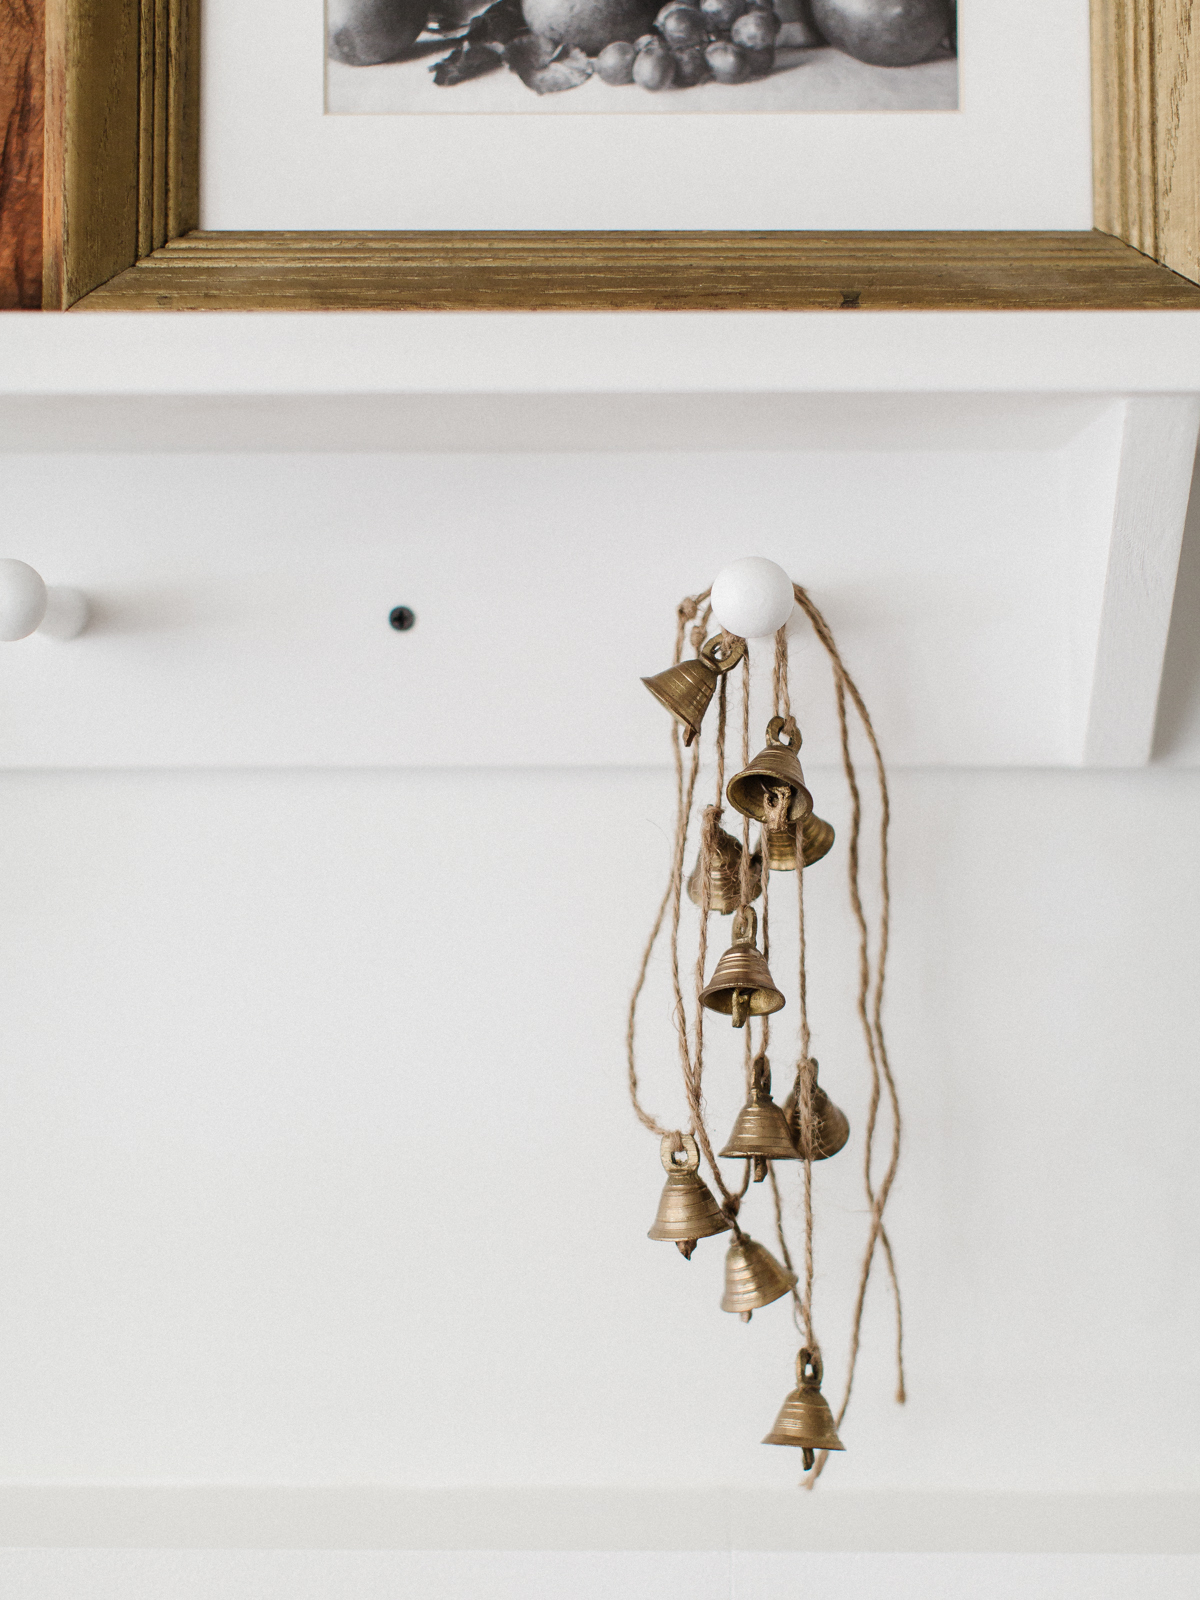
- Vintage Bells (DIY) – click here for similar option
- Mirror – IKEA
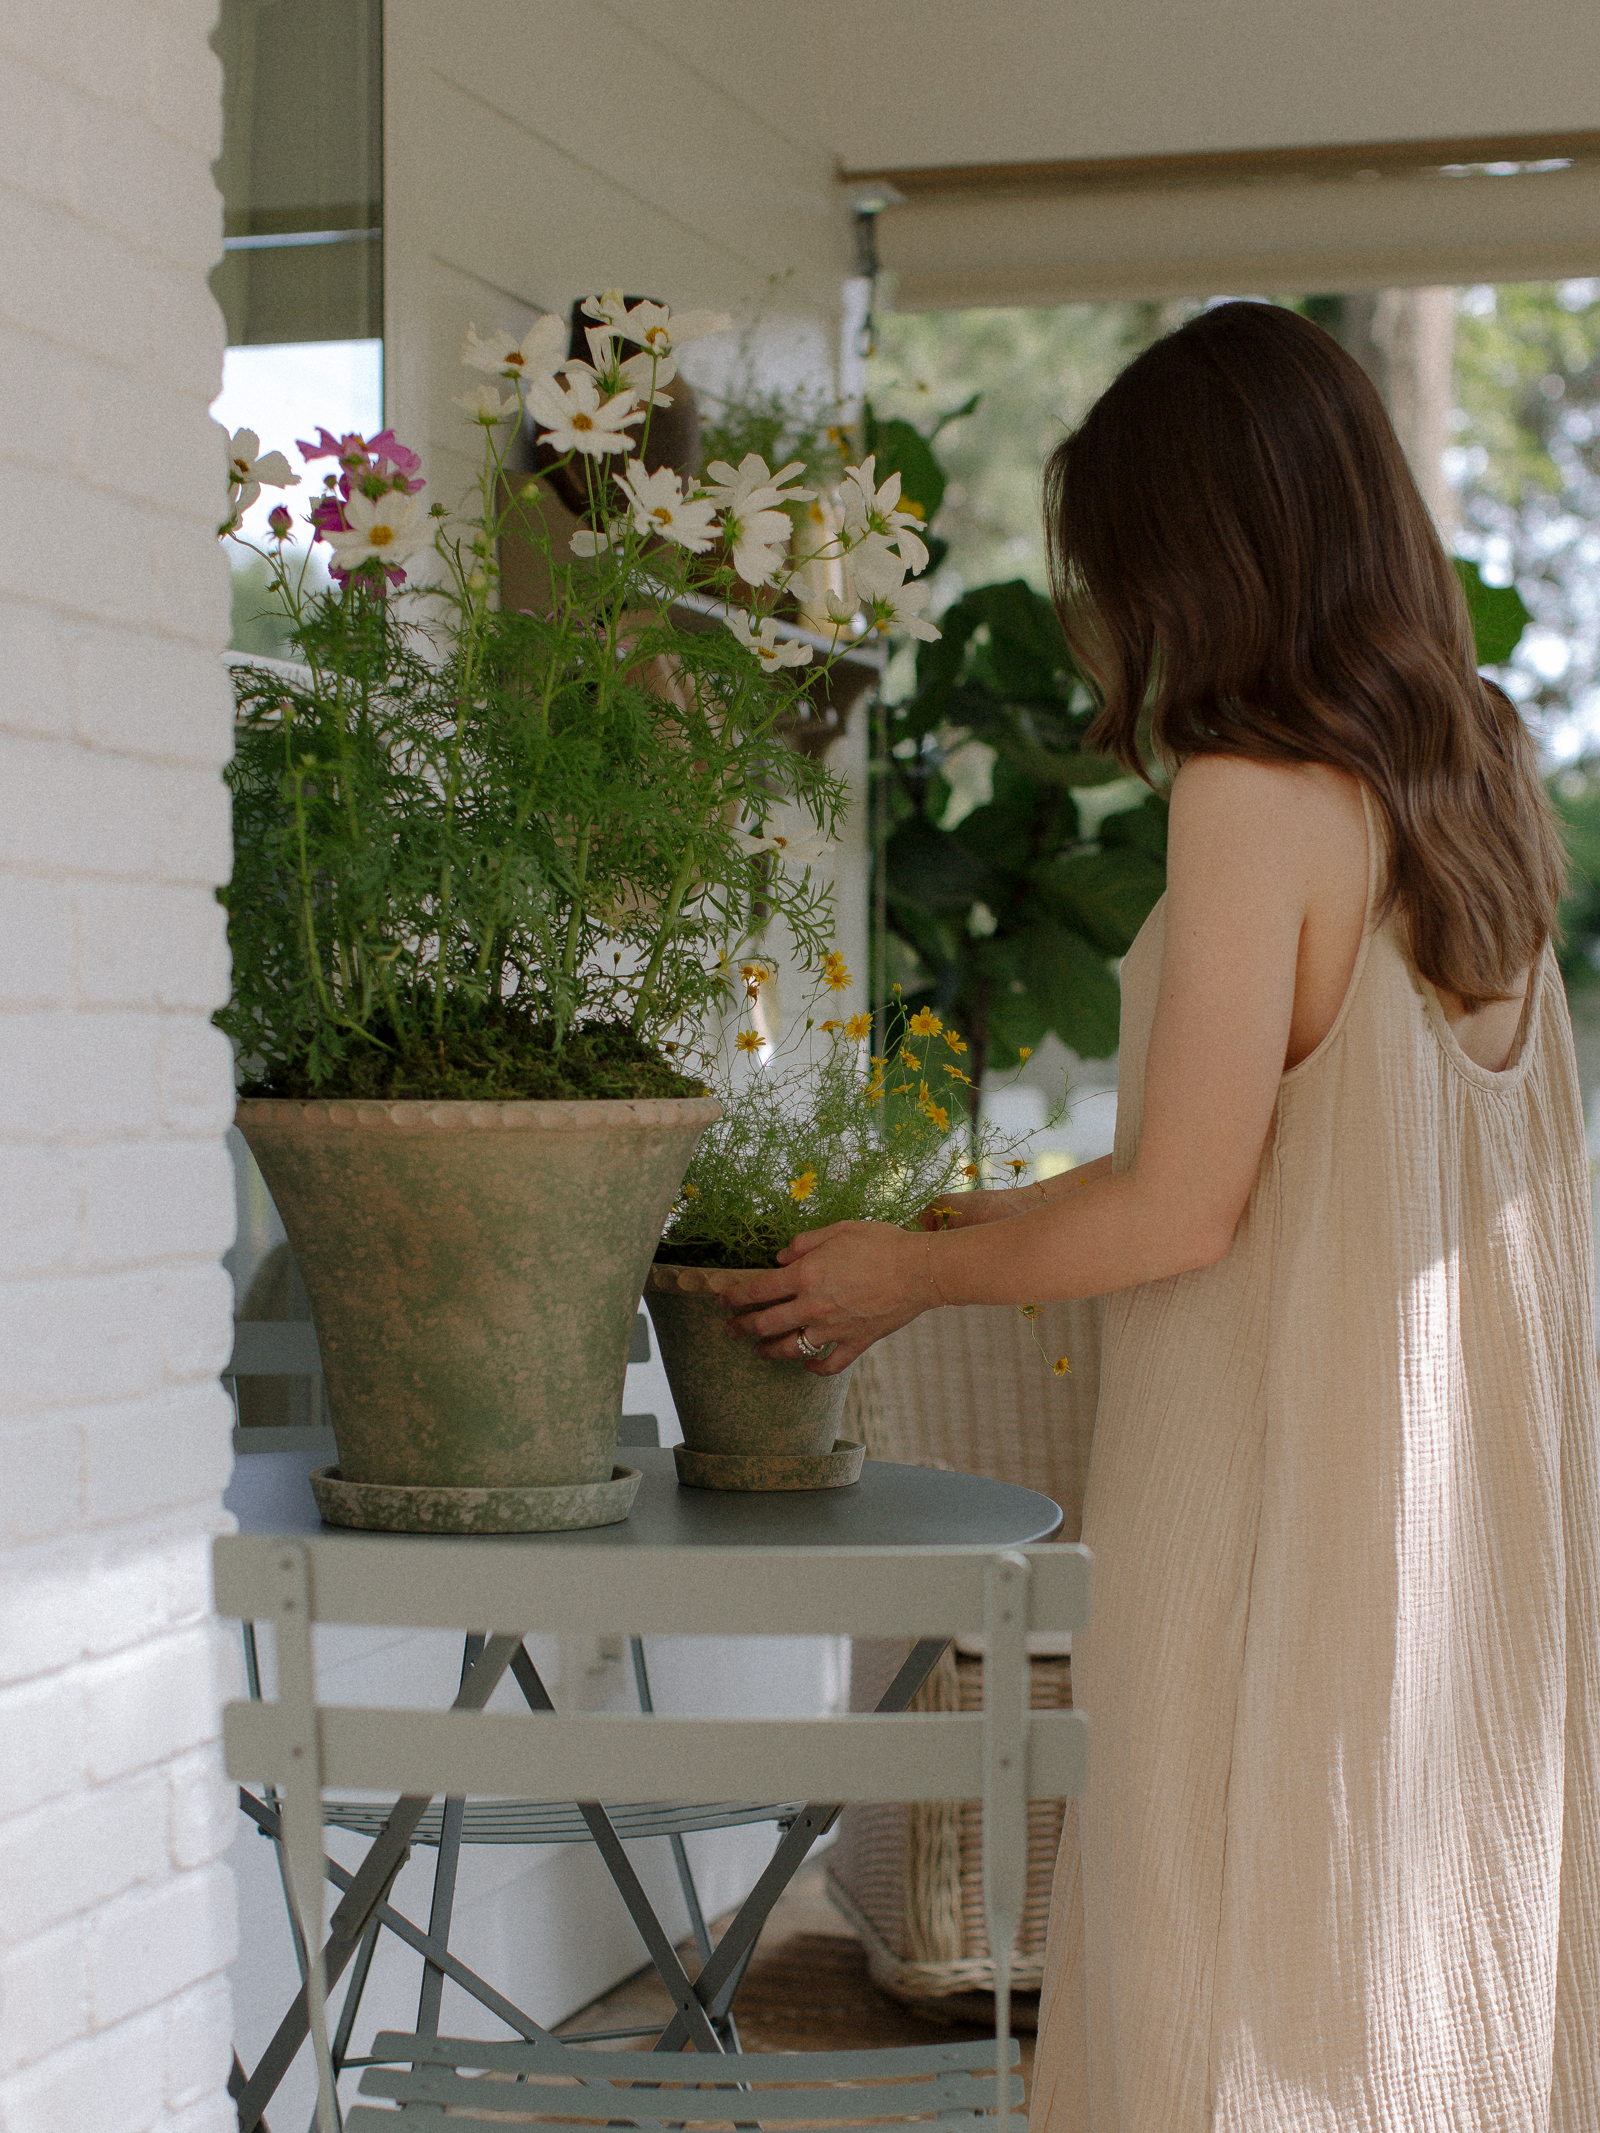
- Bistro Table – Custom Made
- Brass Pendant & Bistro Chairs – Restoration Hardware
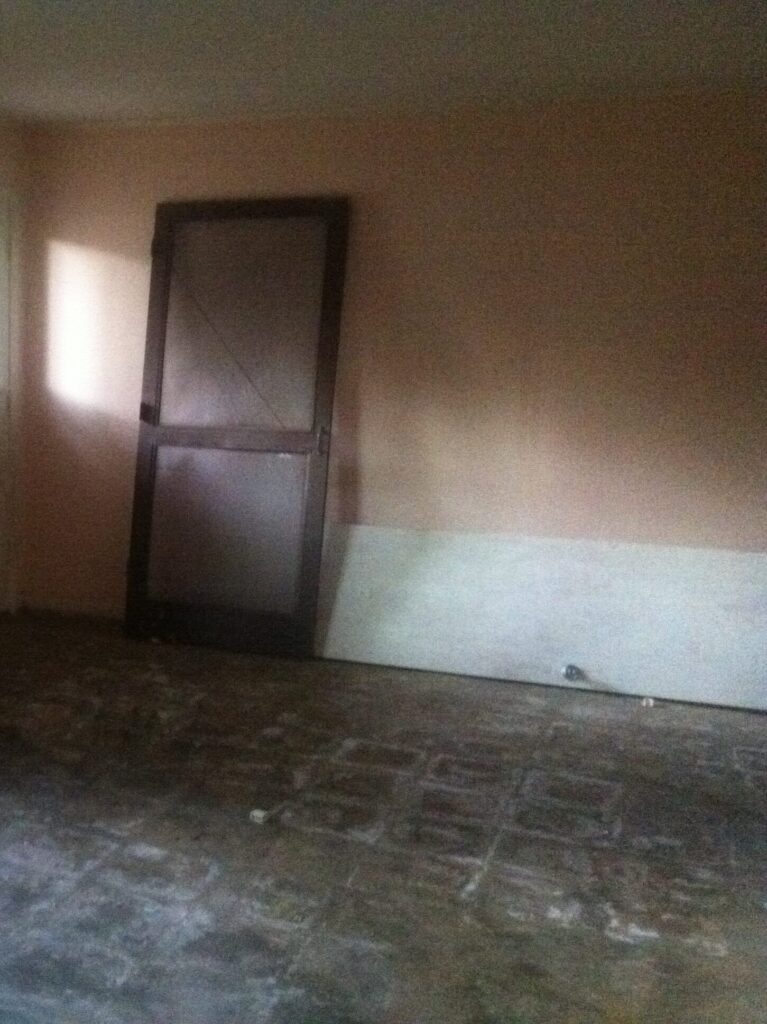
Just for fun, here is what this same wall in our kitchen use to look like when we first acquired our home…

[…] our kitchen wall that we recently added this same treatment to? The easiest and most cost-effective way to add […]
[…] is day one of our Seven Day Challenge… and we are sharing this styled shelf that Justin made a couple of years ago in an effort to add a little bit of English character into our […]