For such a small project, this post ended up being longer than expected, so grab your cup of coffee!
In between campaigns, we had some time for a quick DIY project (“quick” haha) and we had been wanting to update our dated corner pantry, so we finally talked through the details and came up with a design plan. Our pantry is about 4×4 in size, two walls are 43″ and the short side walls are 24″, so it is a decent size and had the potential to be an actual walk-in pantry. In the before photos below you will see how the storage was a little awkward in the middle corners of the shelves- things would always get pushed to the back or hidden, so first, we decided to remove all of the shelves on one side to better utilize the floor to ceiling shelves on one entire side (we did keep the very top shelf on both sides to maximize the storage overhead).
Before
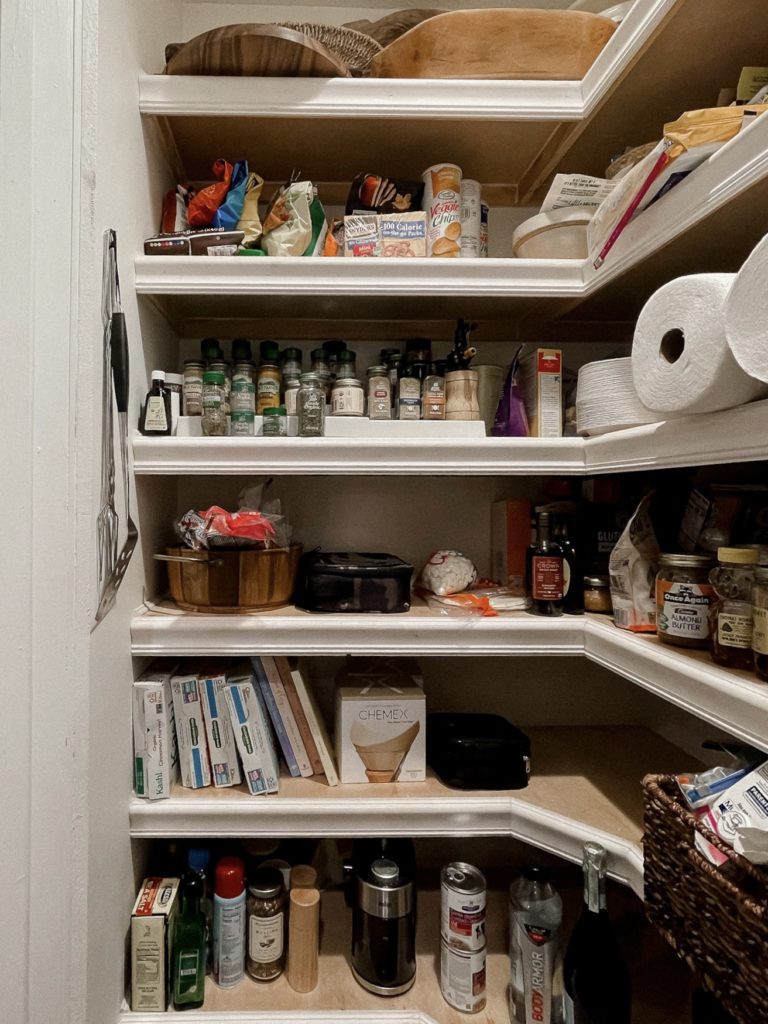
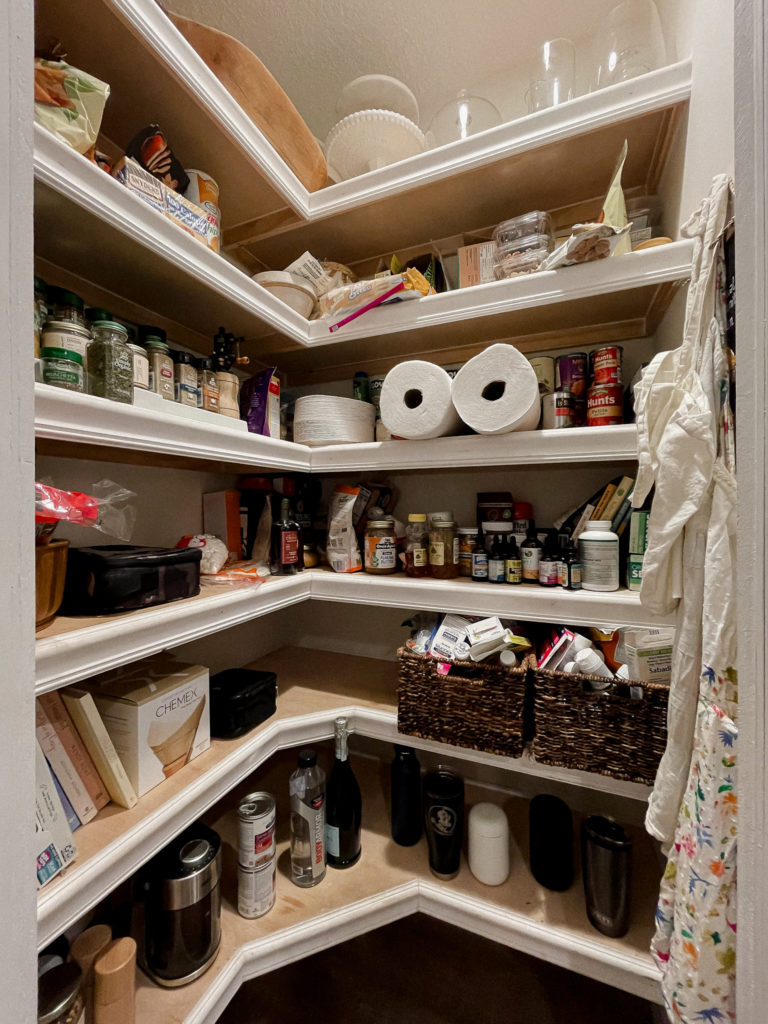
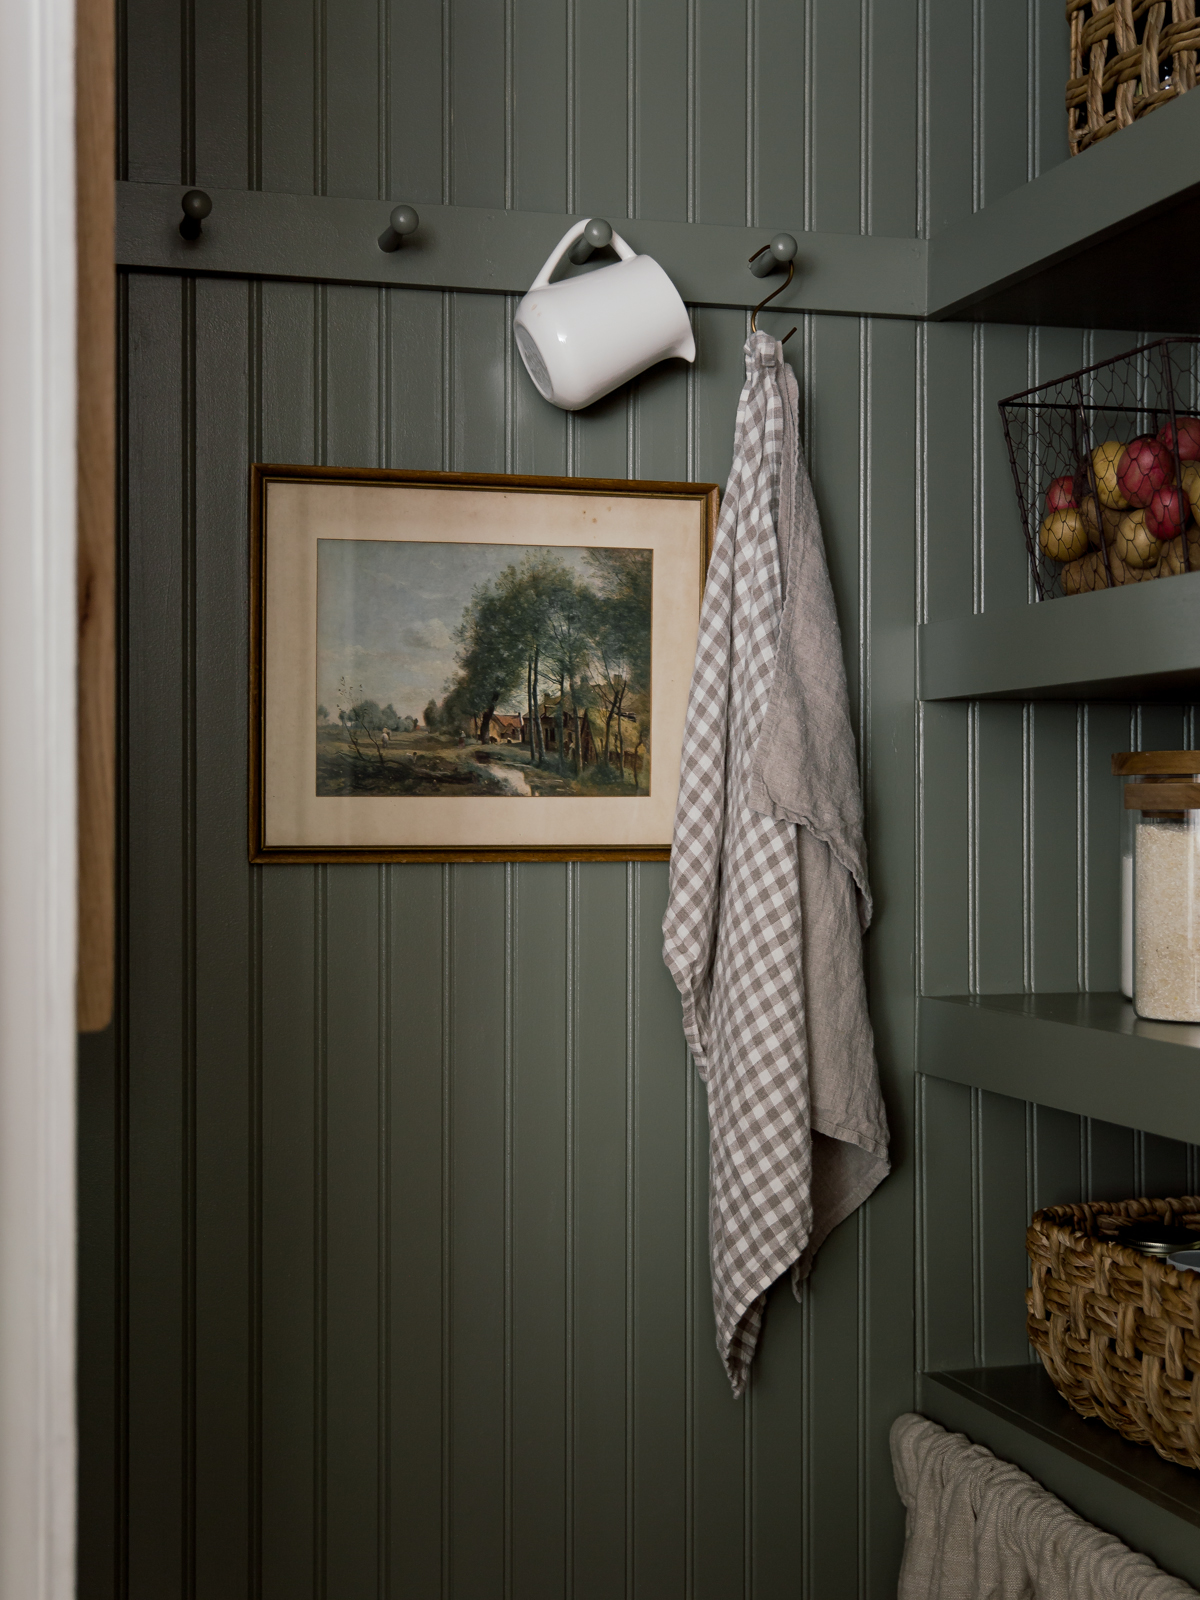
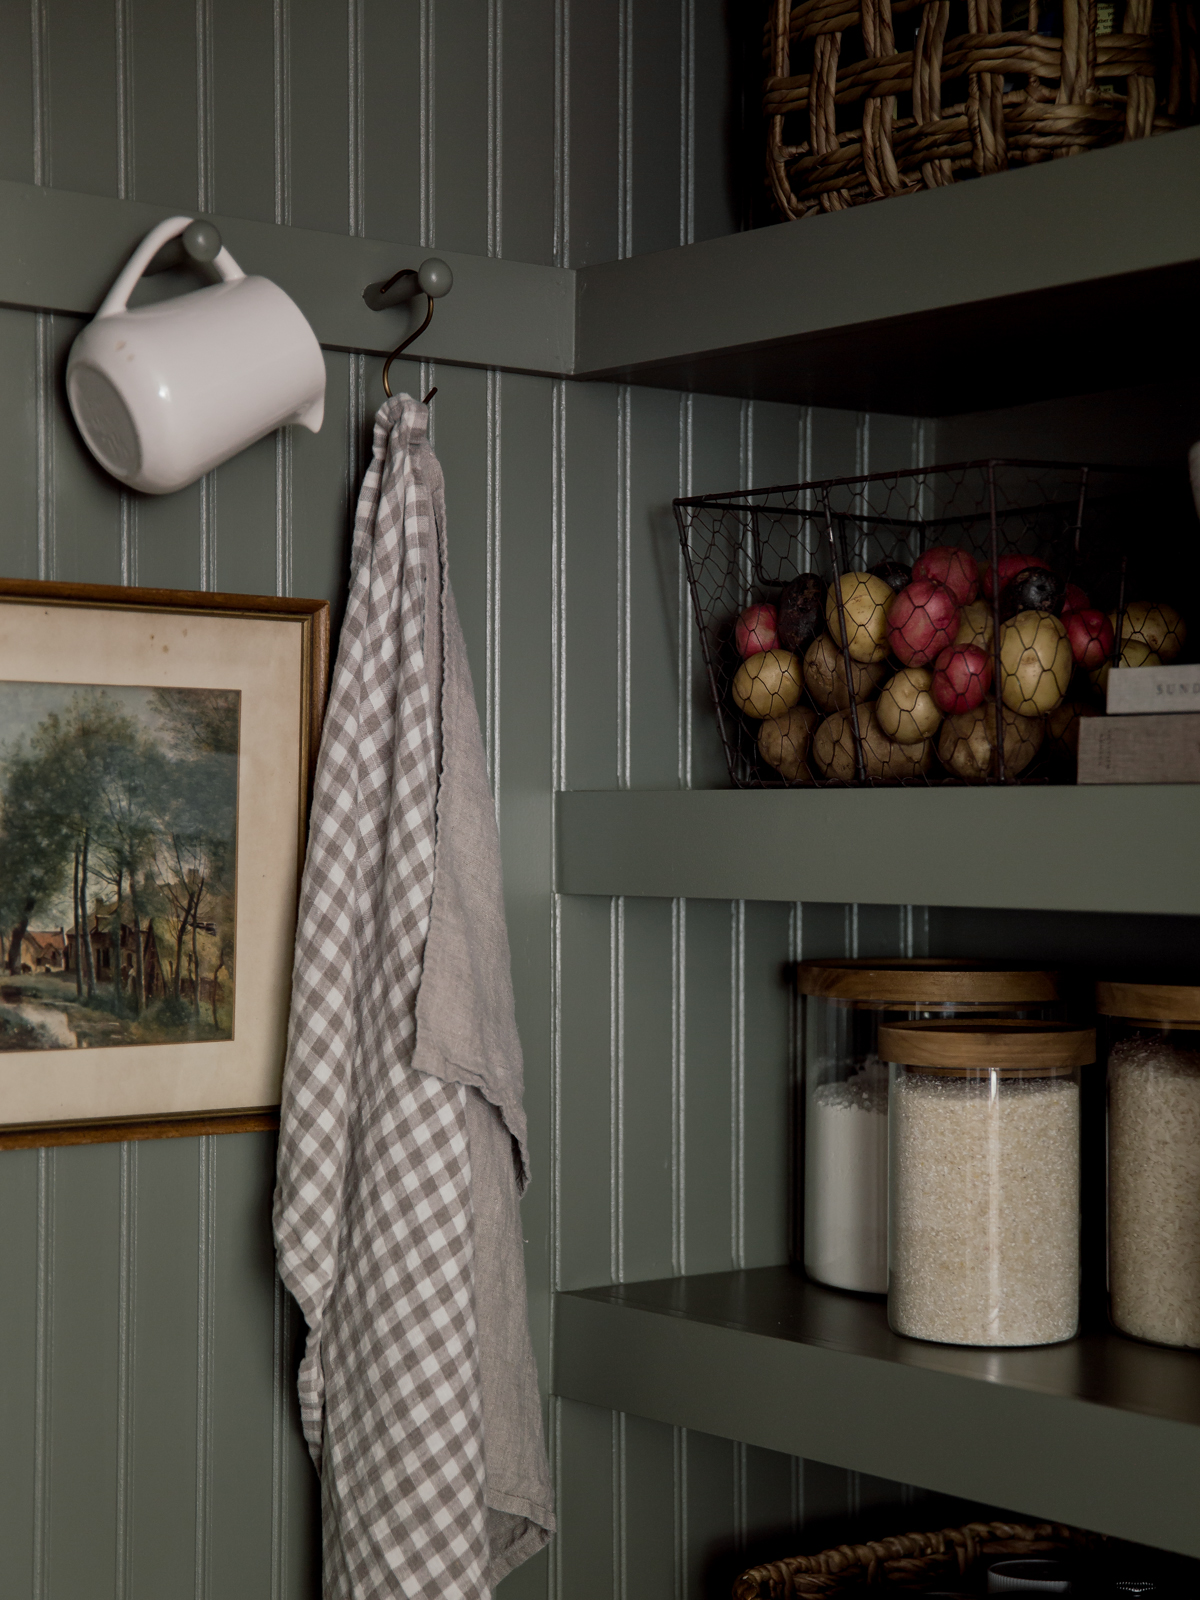
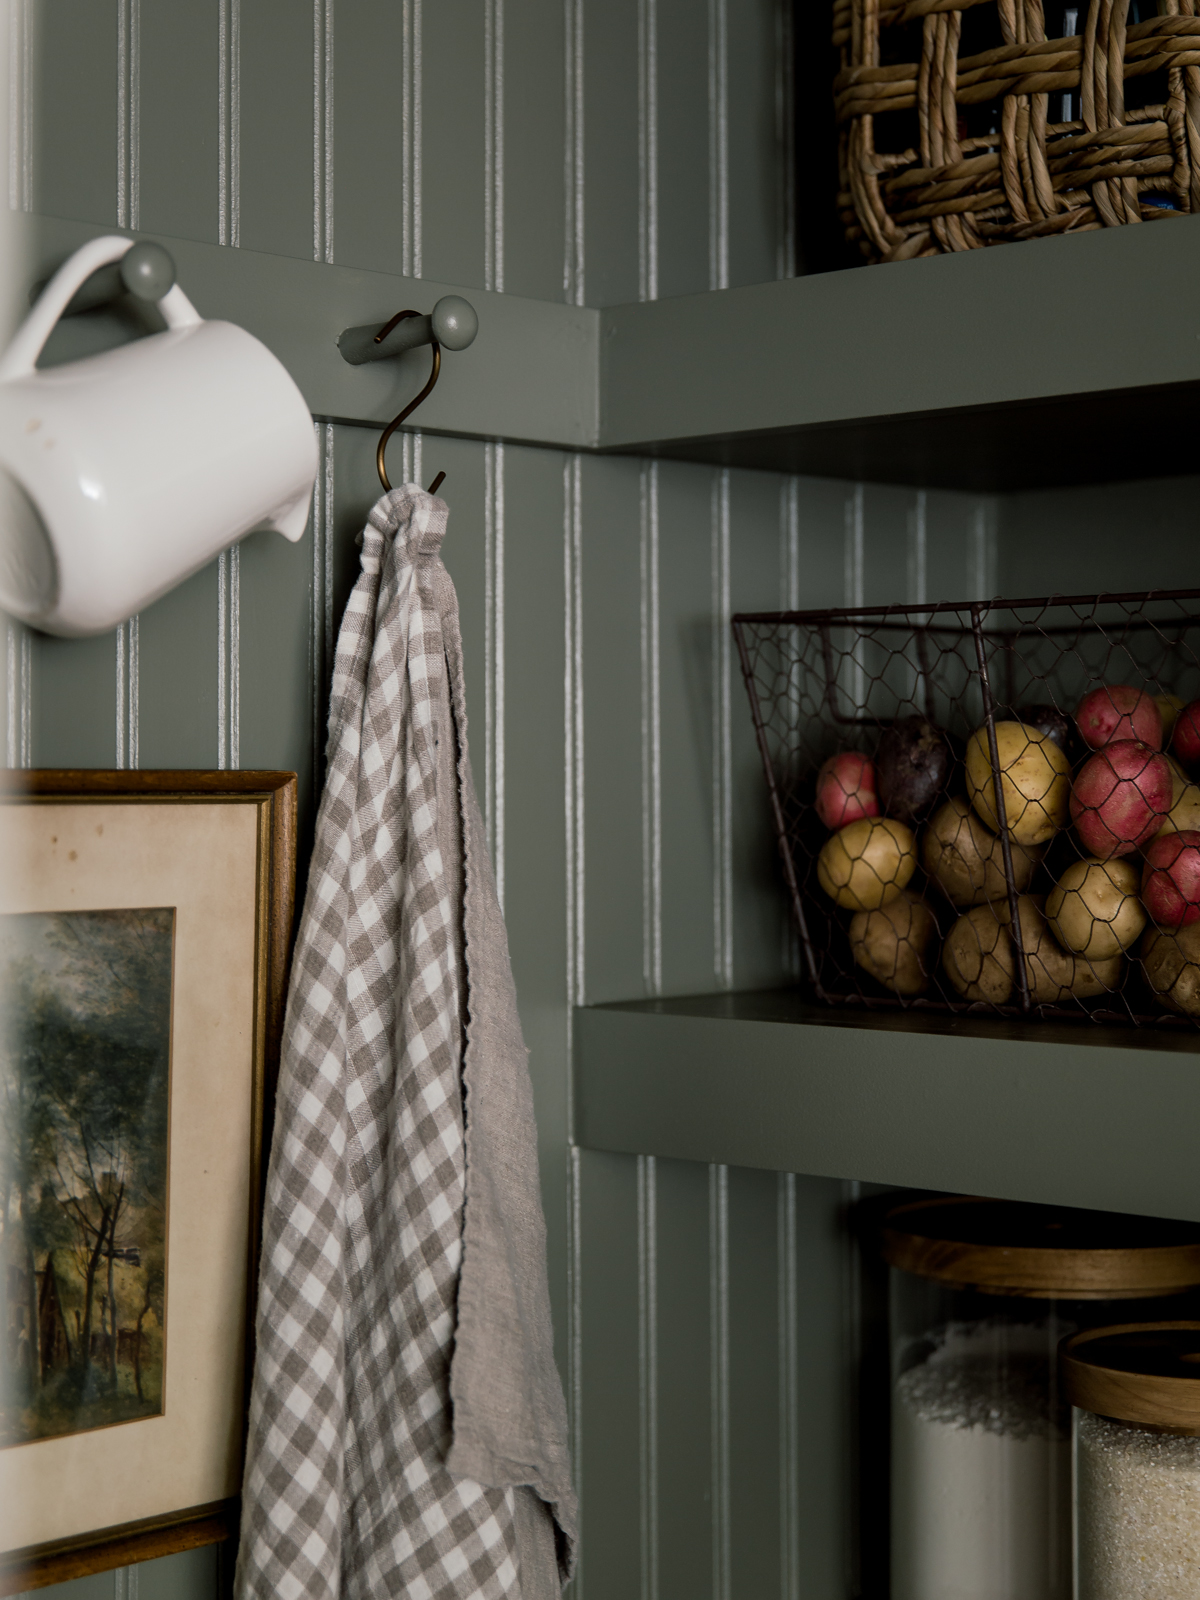
Our builder installed these shelves, and as you can see, we never painted or finished them. We started by removing all of the trim on the faces of the shelves and then the plywood shelves from the frame. We were left with the framing attached to the walls, so we removed all of the framing on the left side- Justin had to use this saw to saw off part of the frame. Since the walls were pretty damaged from removing the shelves, we installed beadboard panels to cover up the damage. We reused the same plywood for the tops of the shelves and installed thin underlayment to the bottoms of the shelves and flat trim to the faces for a seamless look. I also wanted a peg rail for additional storage to hang towels and aprons from, so we installed 4 pegs into the trim on the back wall. After everything was in, we caulked, and then took a couple of days to really commit to a paint color…
After

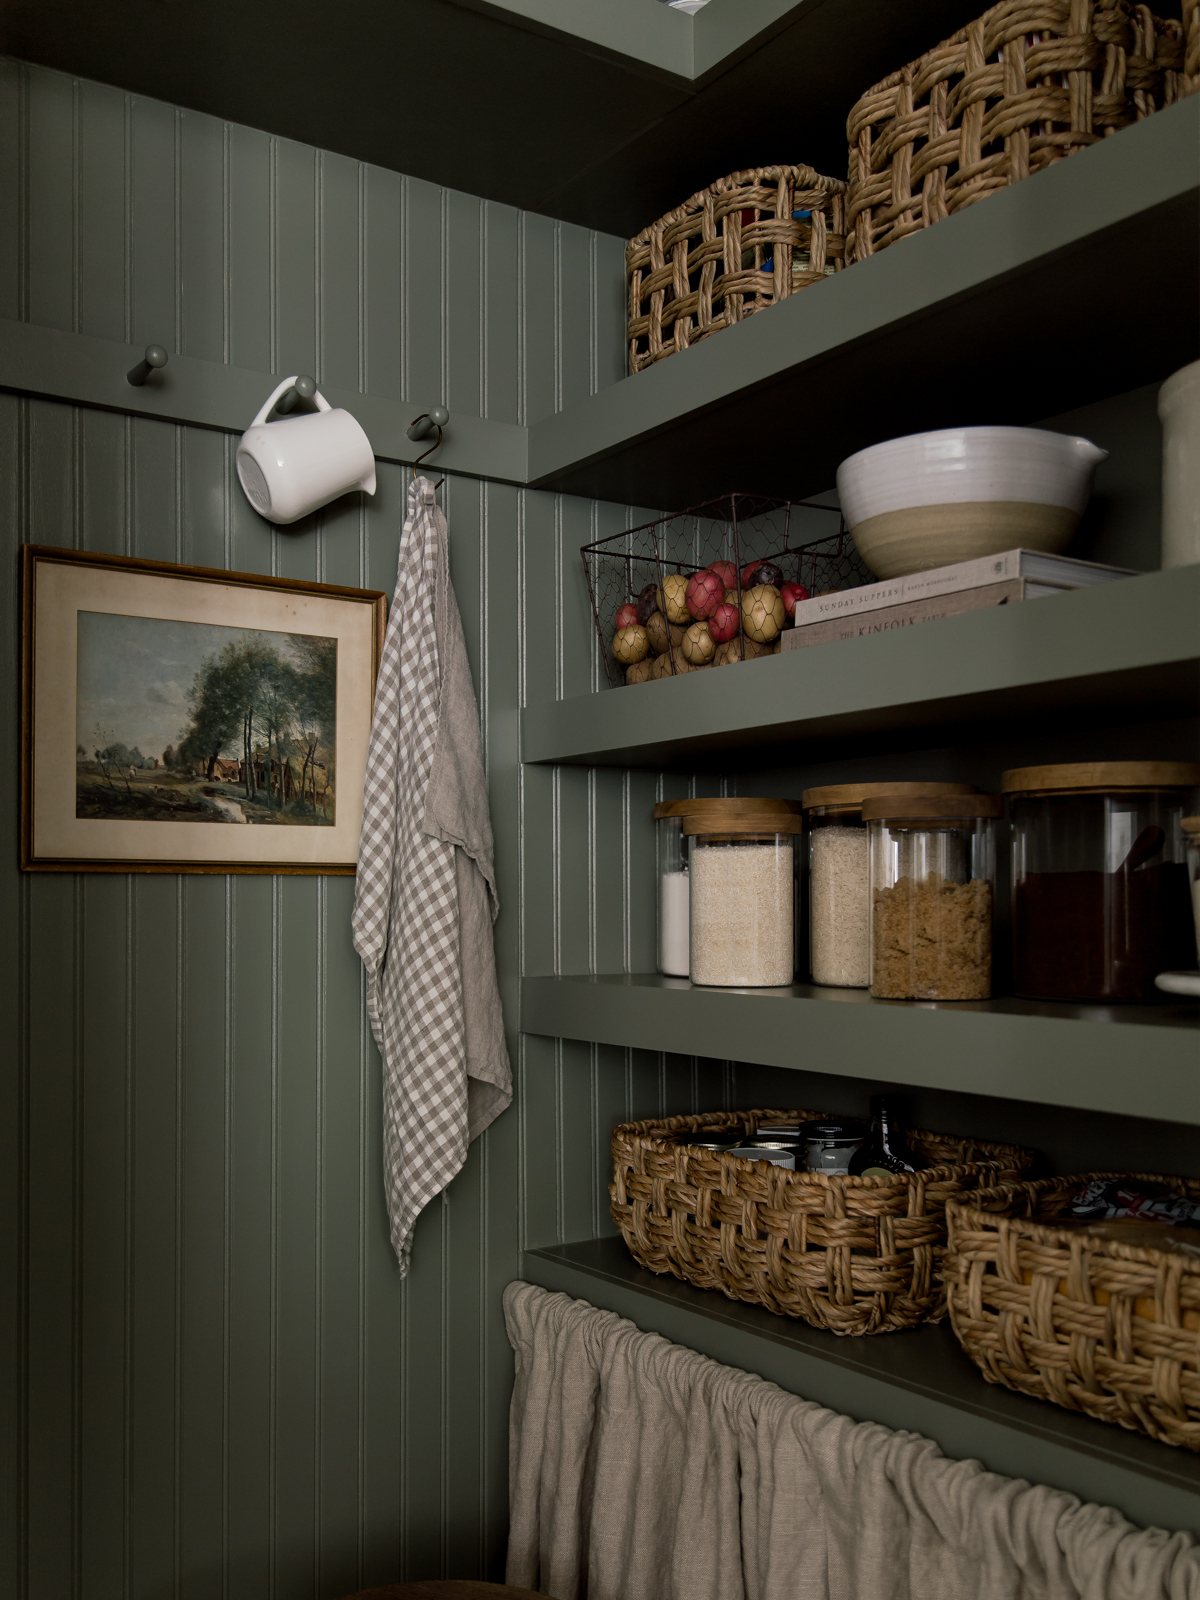
Paint Color : Mountain Road by Sherwin-Williams
Get The Look

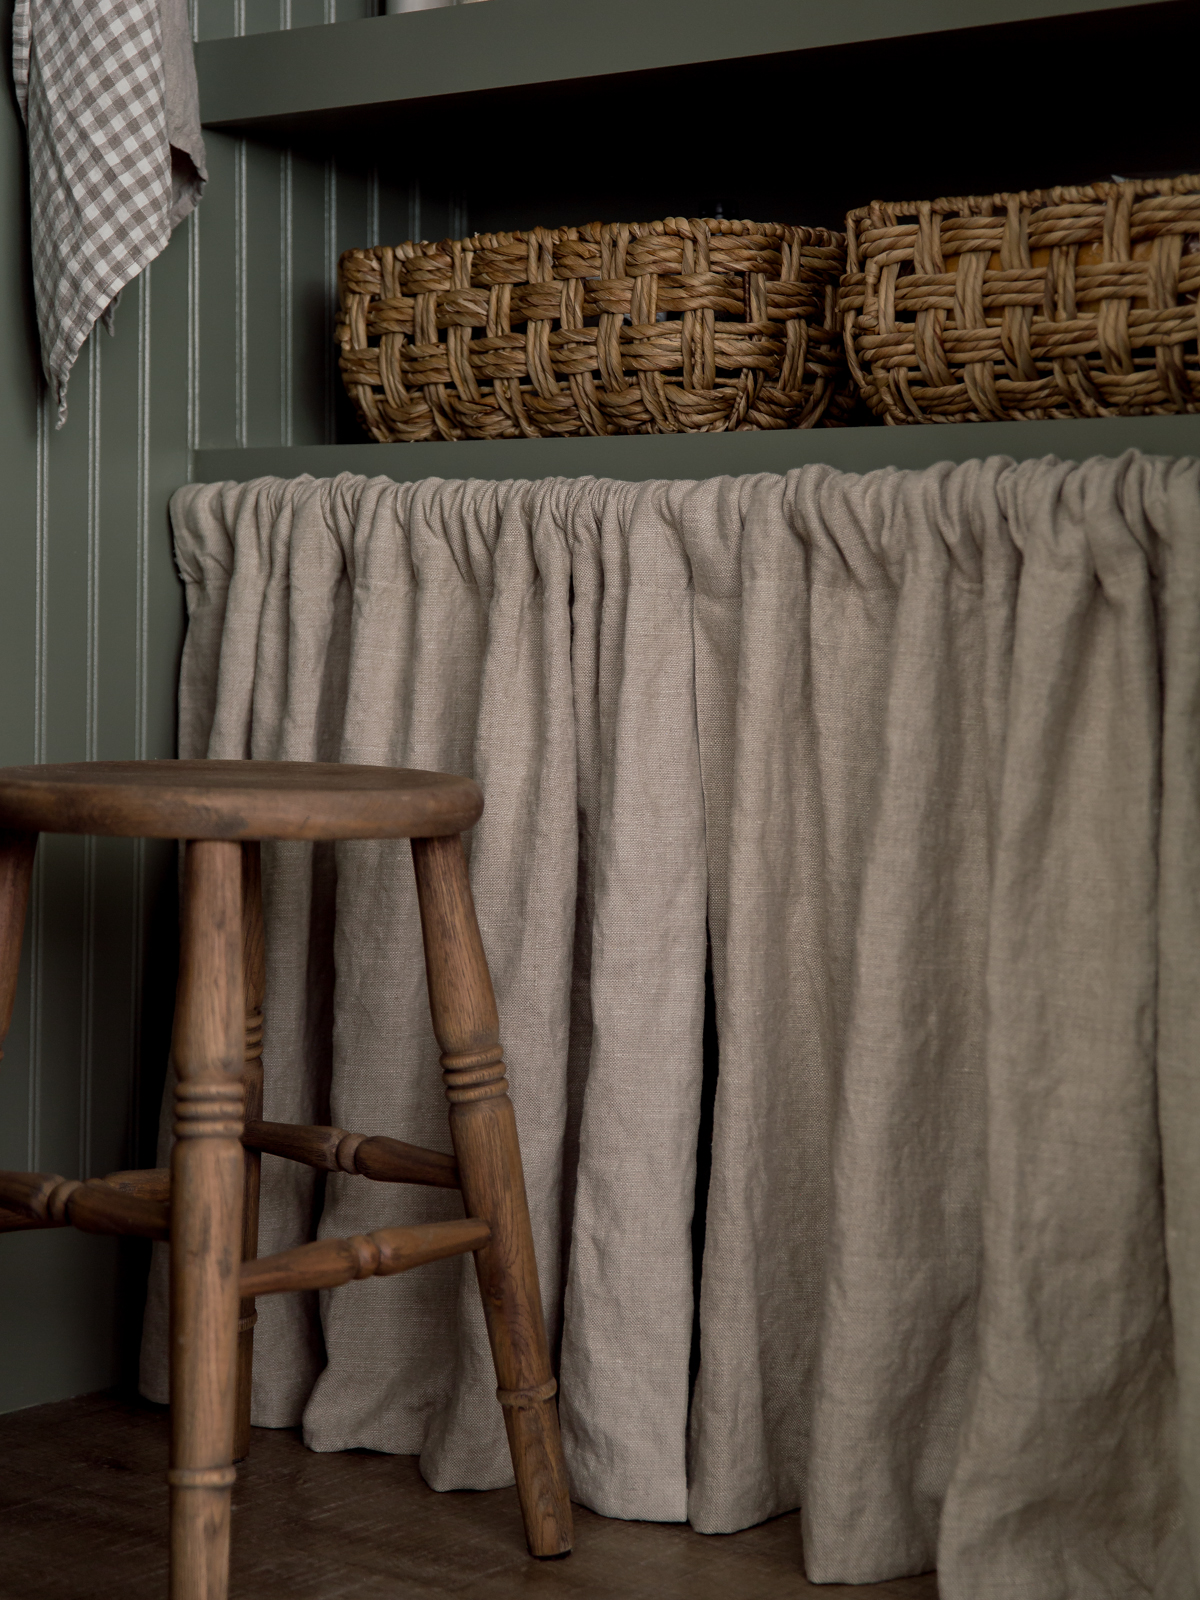
We also installed a cafe curtain on the bottom shelf that is held up by a 3/4″ wooden dowel and 2 cup hooks screwed into the face of the trim on either side of the shelf. We used linen curtains we already had that I cut and hemmed with permanent hemming tape. Behind the 2 curtain panels are our cereals, the kid’s snacks- cookies, chips… and on the floor our bottled and jugged water, vinegar, baking soda and miscellaneous goods. We use to keep the kid’s snacks up on a top shelf and it has been so nice to have them within reach for the boys and hidden by the curtain!
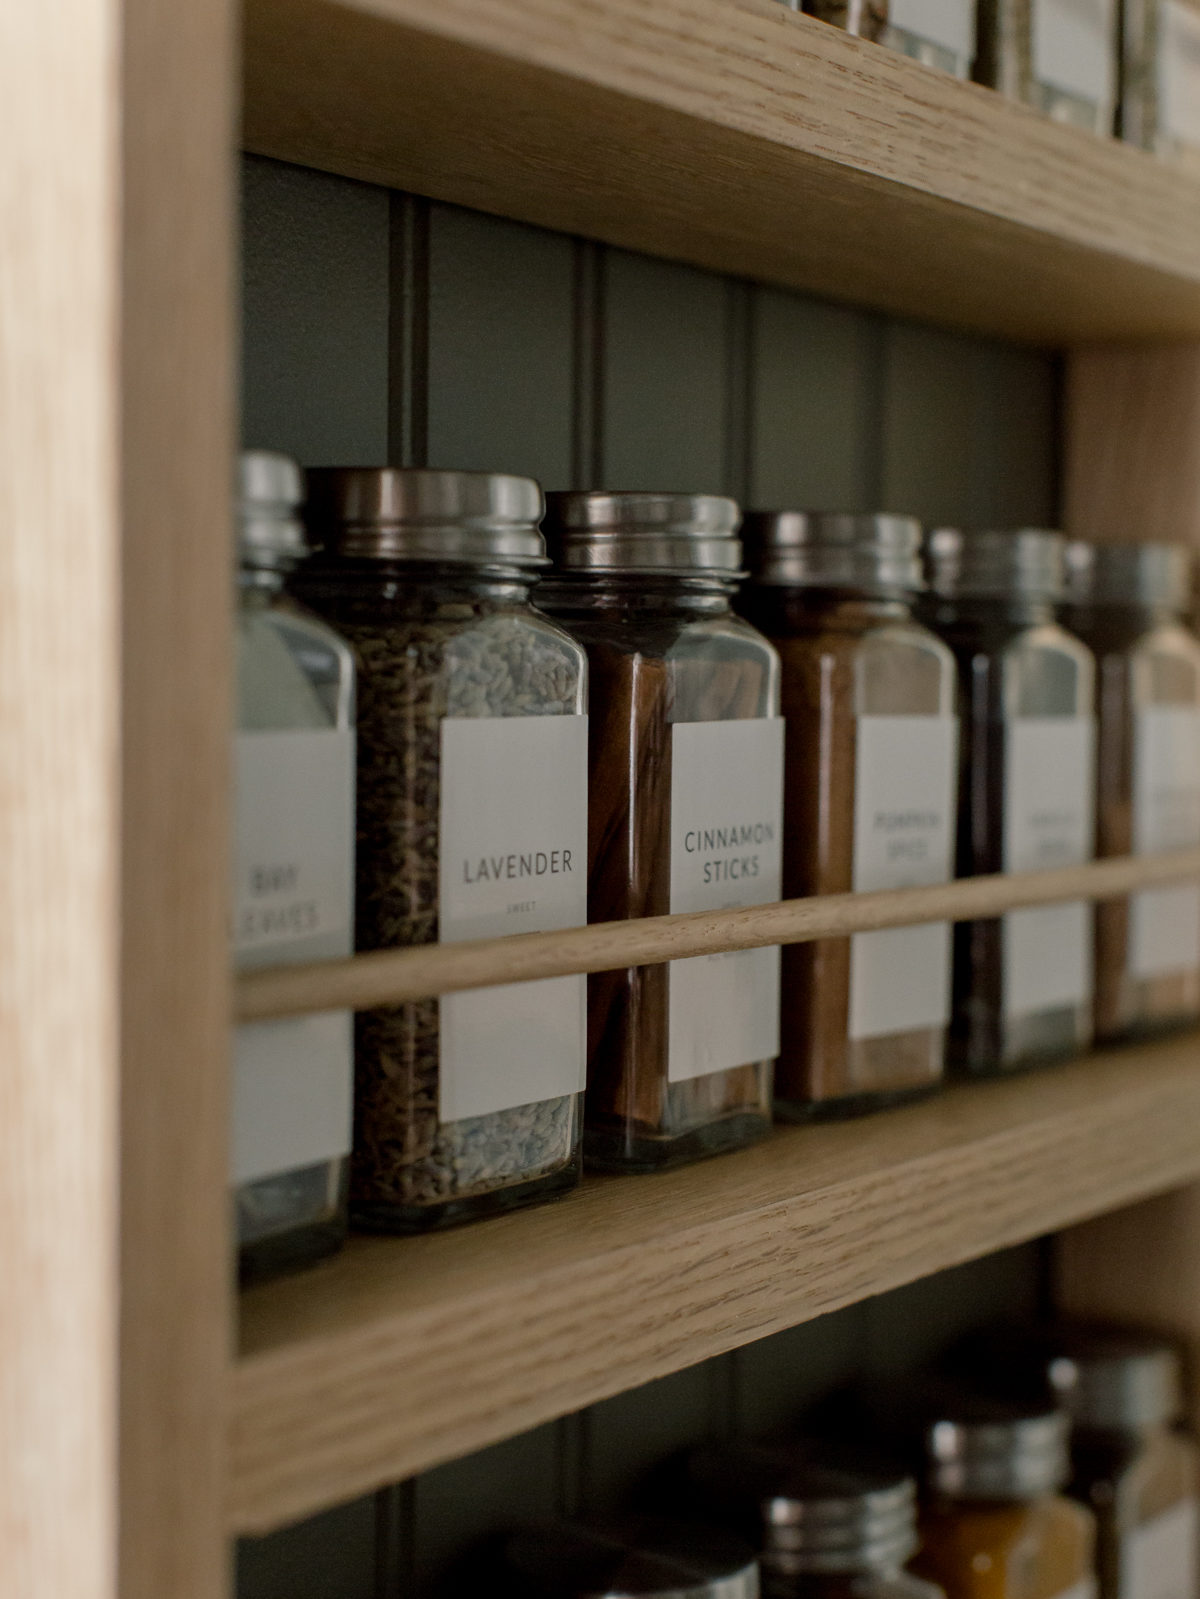
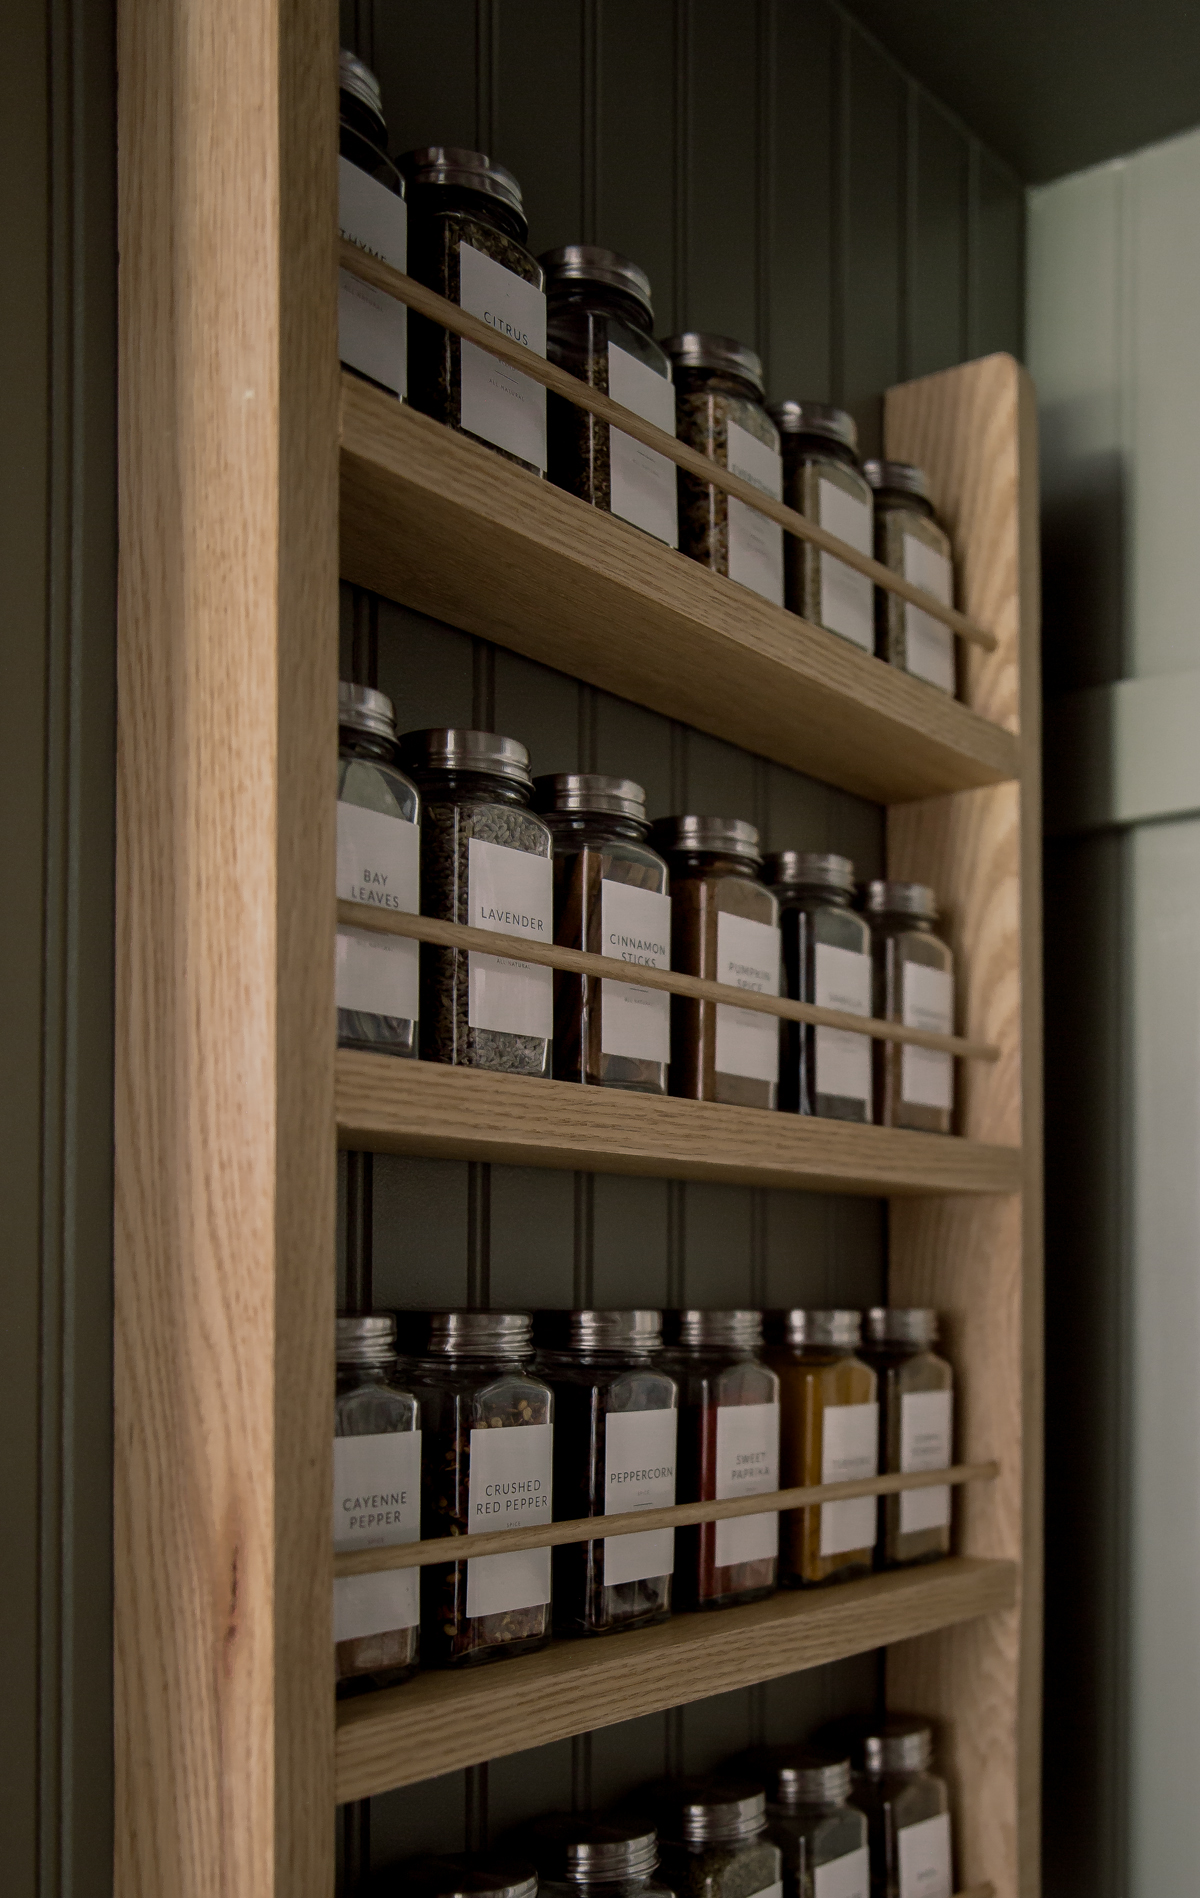
Another thing we did to utilize wall space was install a spice rack on the side wall that Justin made out of oak, you can see the edge of it in the photo below. I wanted to note- the doorway into our pantry is only a 2º so it is challenging to photograph this tight space as a whole without having major lens distortion, but hopefully you get the general idea as to where everything is located.
The other side is now fully functioning since we are able to utilize the entire wall of shelves- we have 6 shelves on the right side that are 43″x13″ with 10″ in between each shelf.
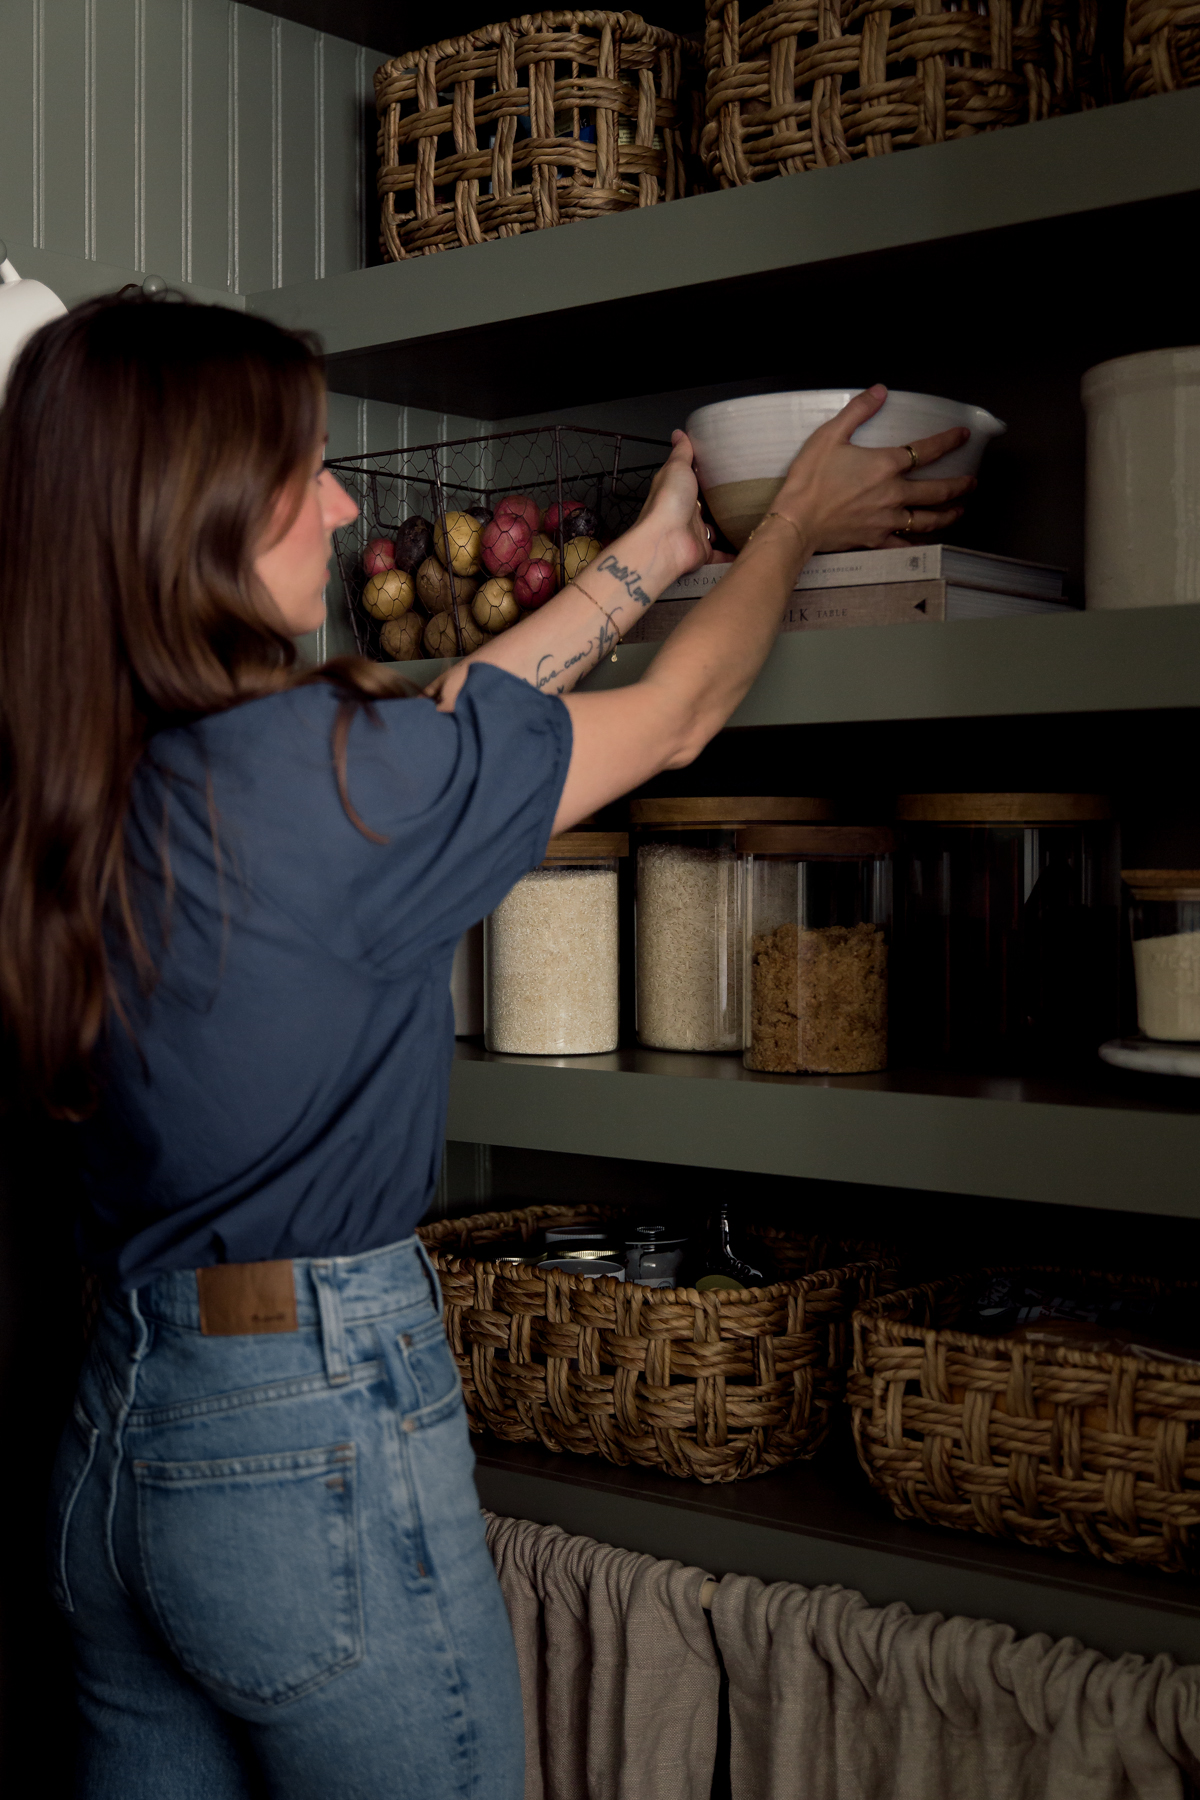
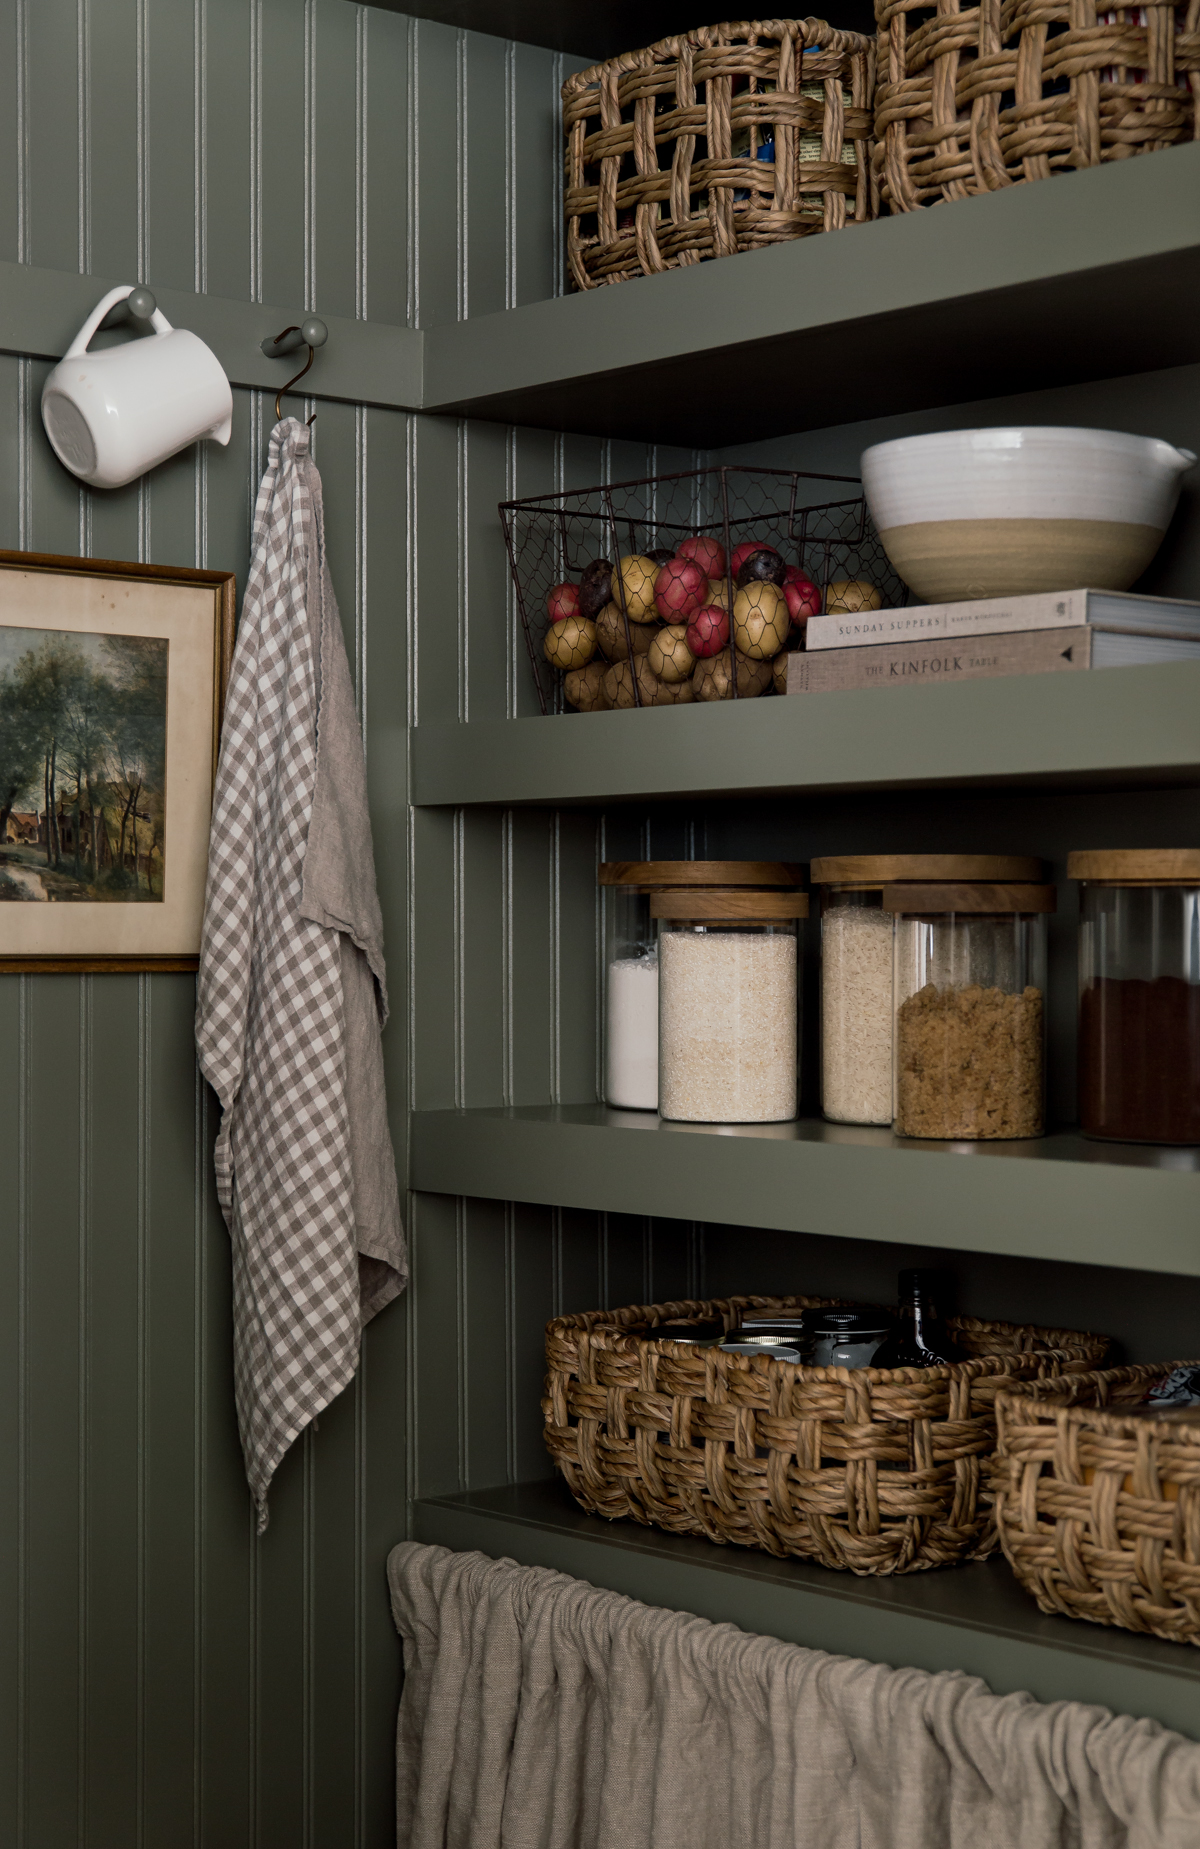
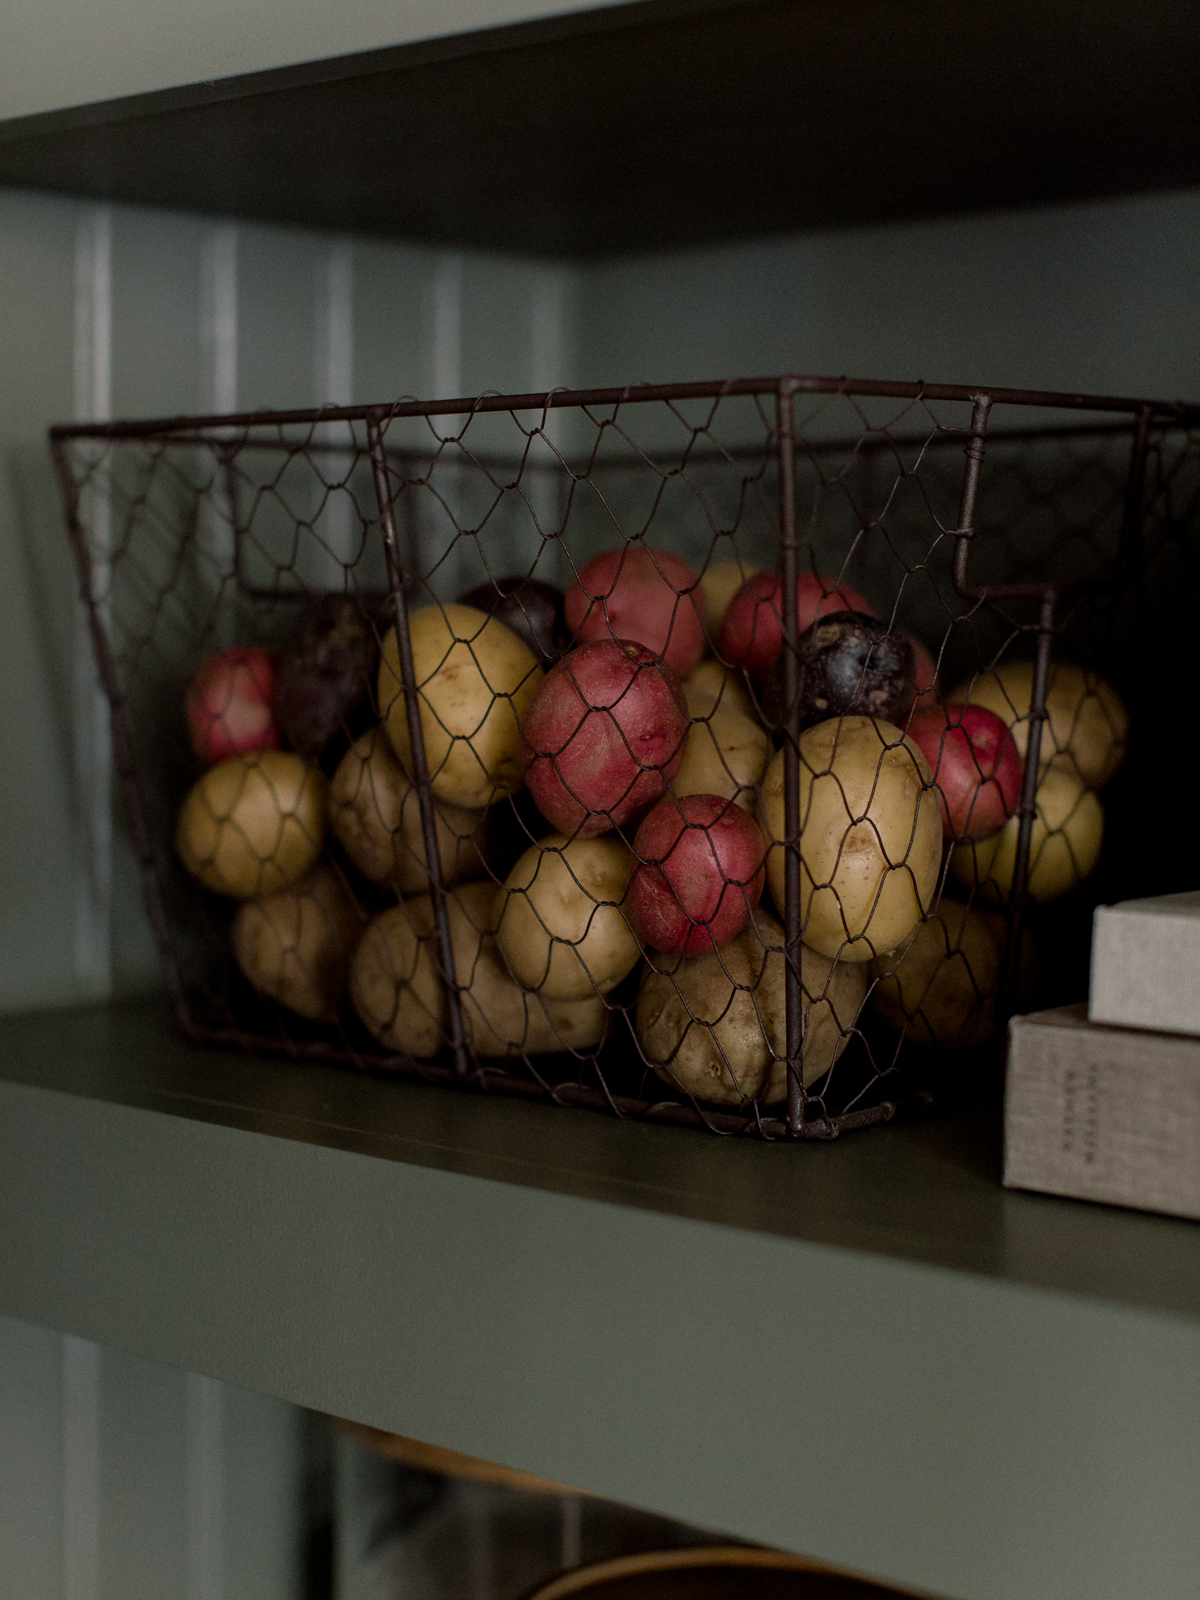
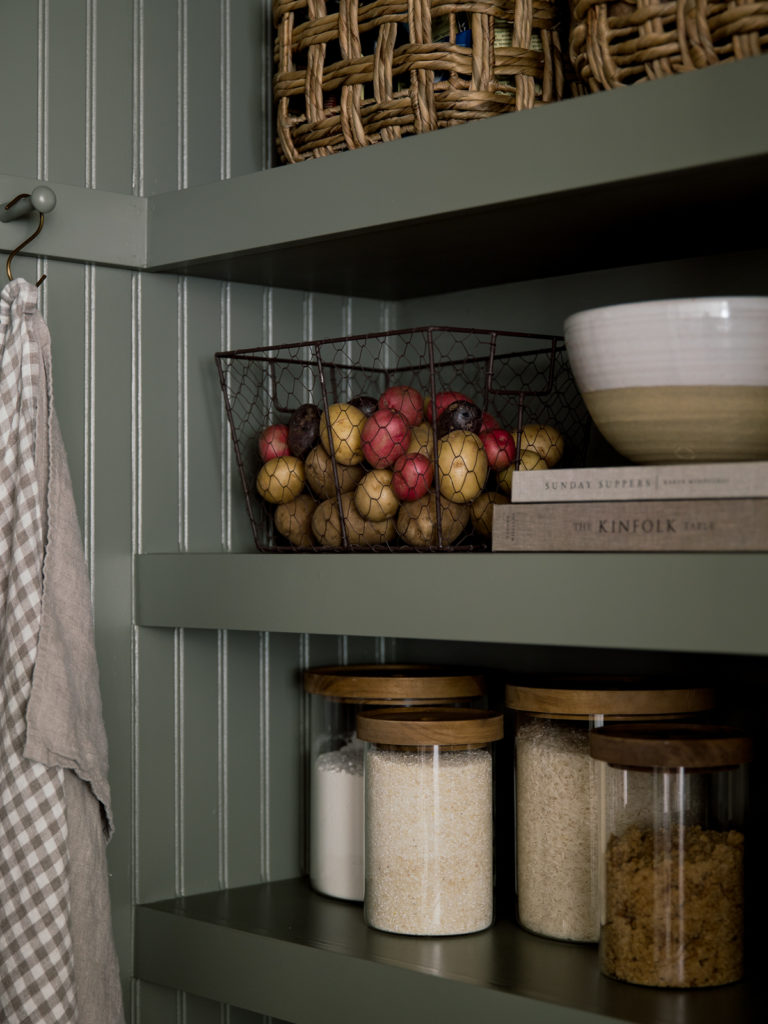
We used a combination of baskets, glass containers, vintage crock, and wire basket to hold and store our pantry goods/food.
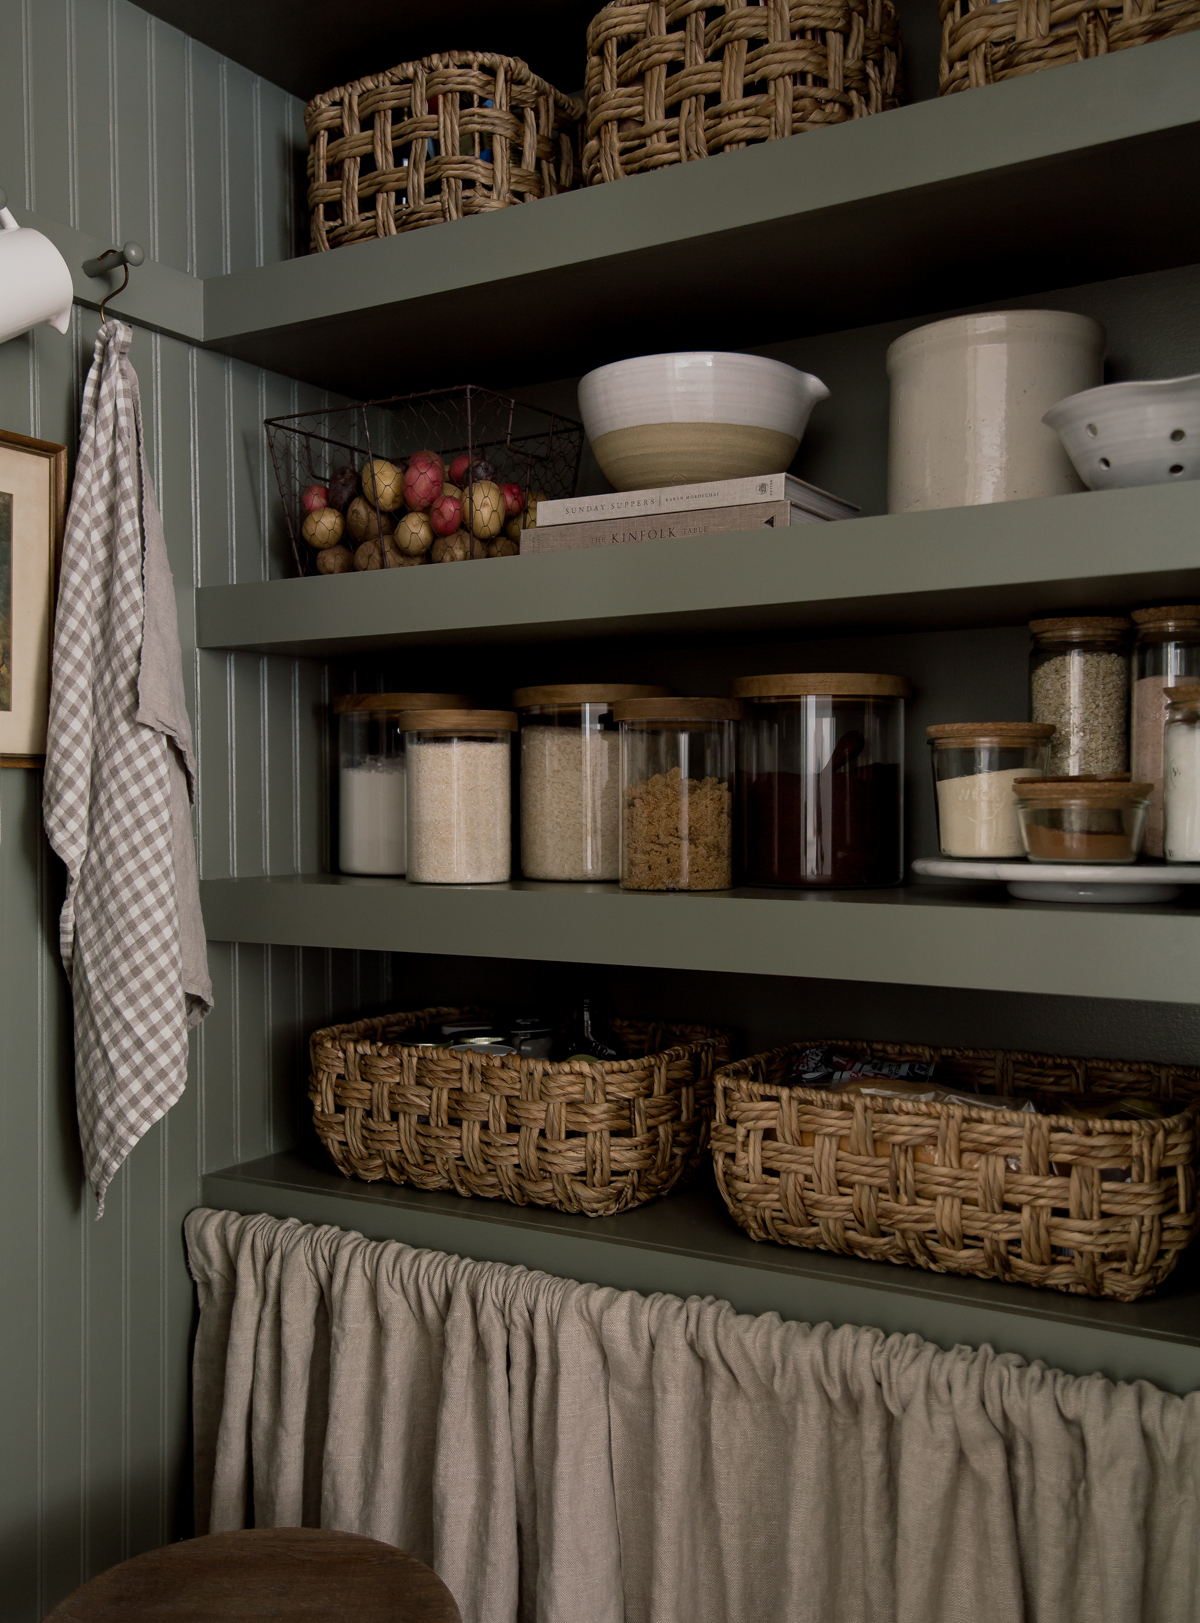
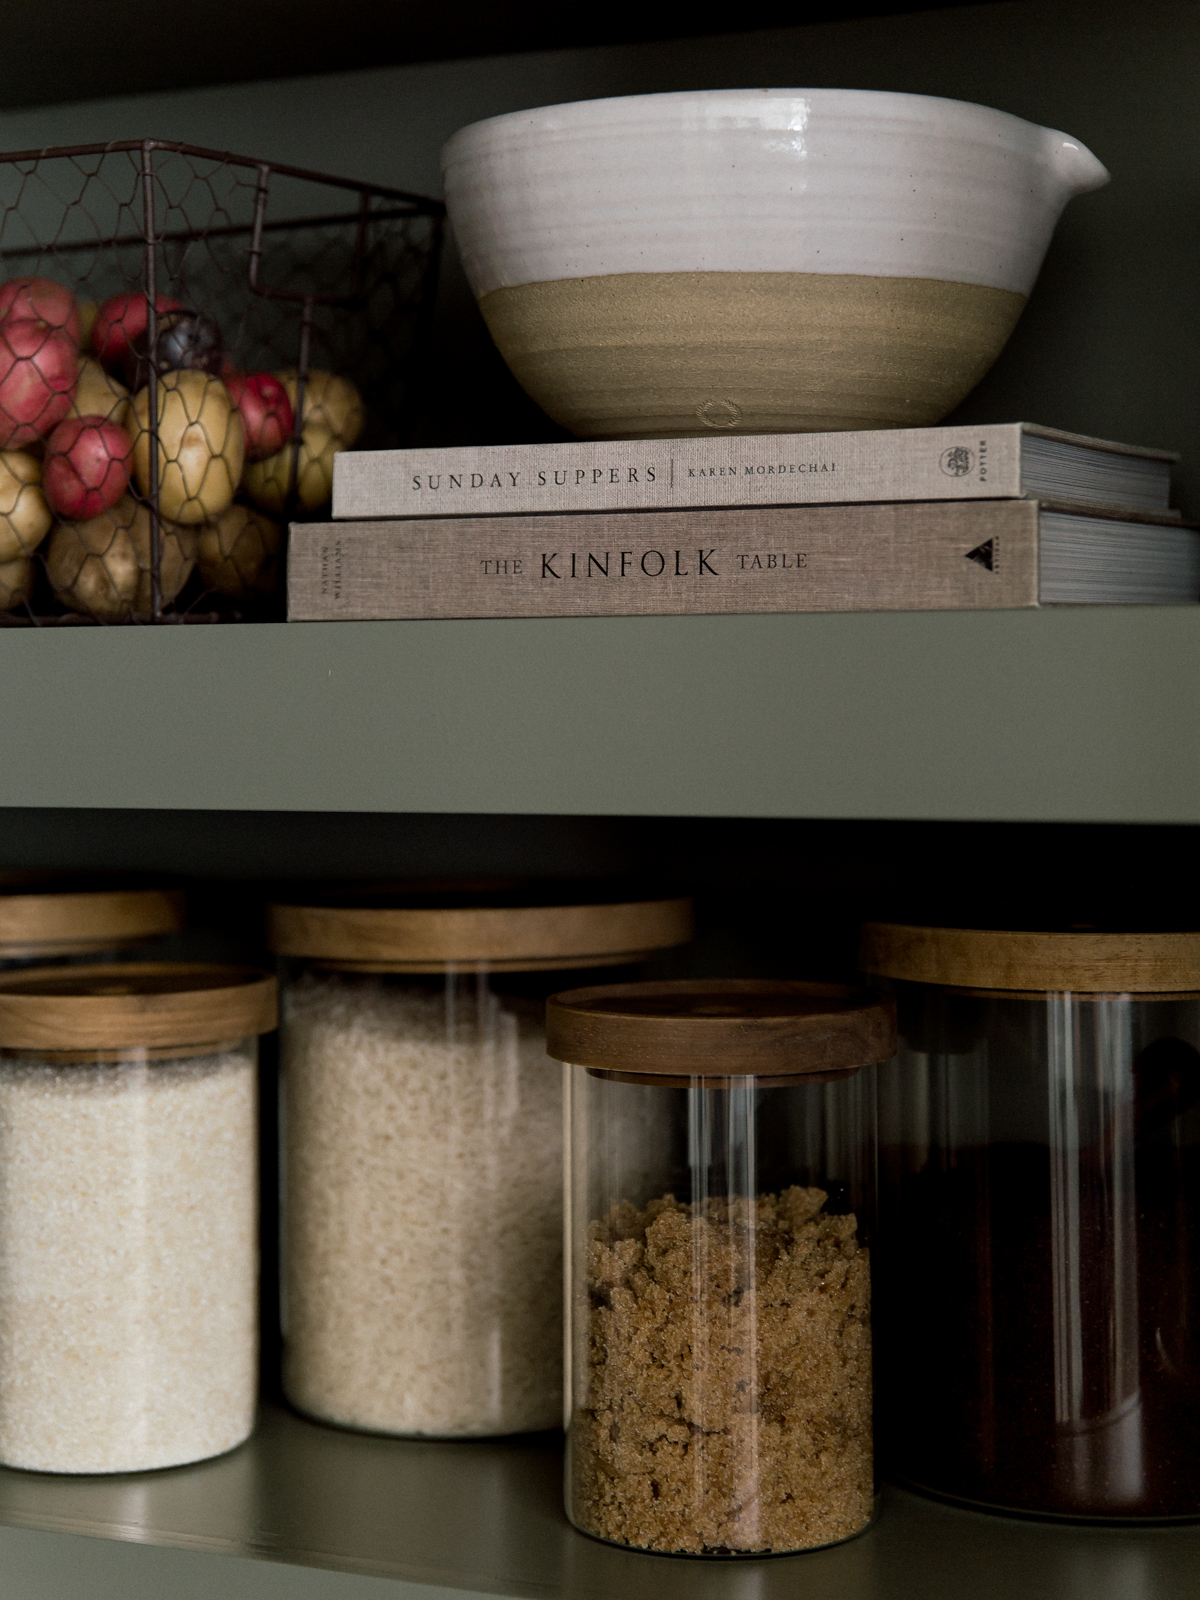
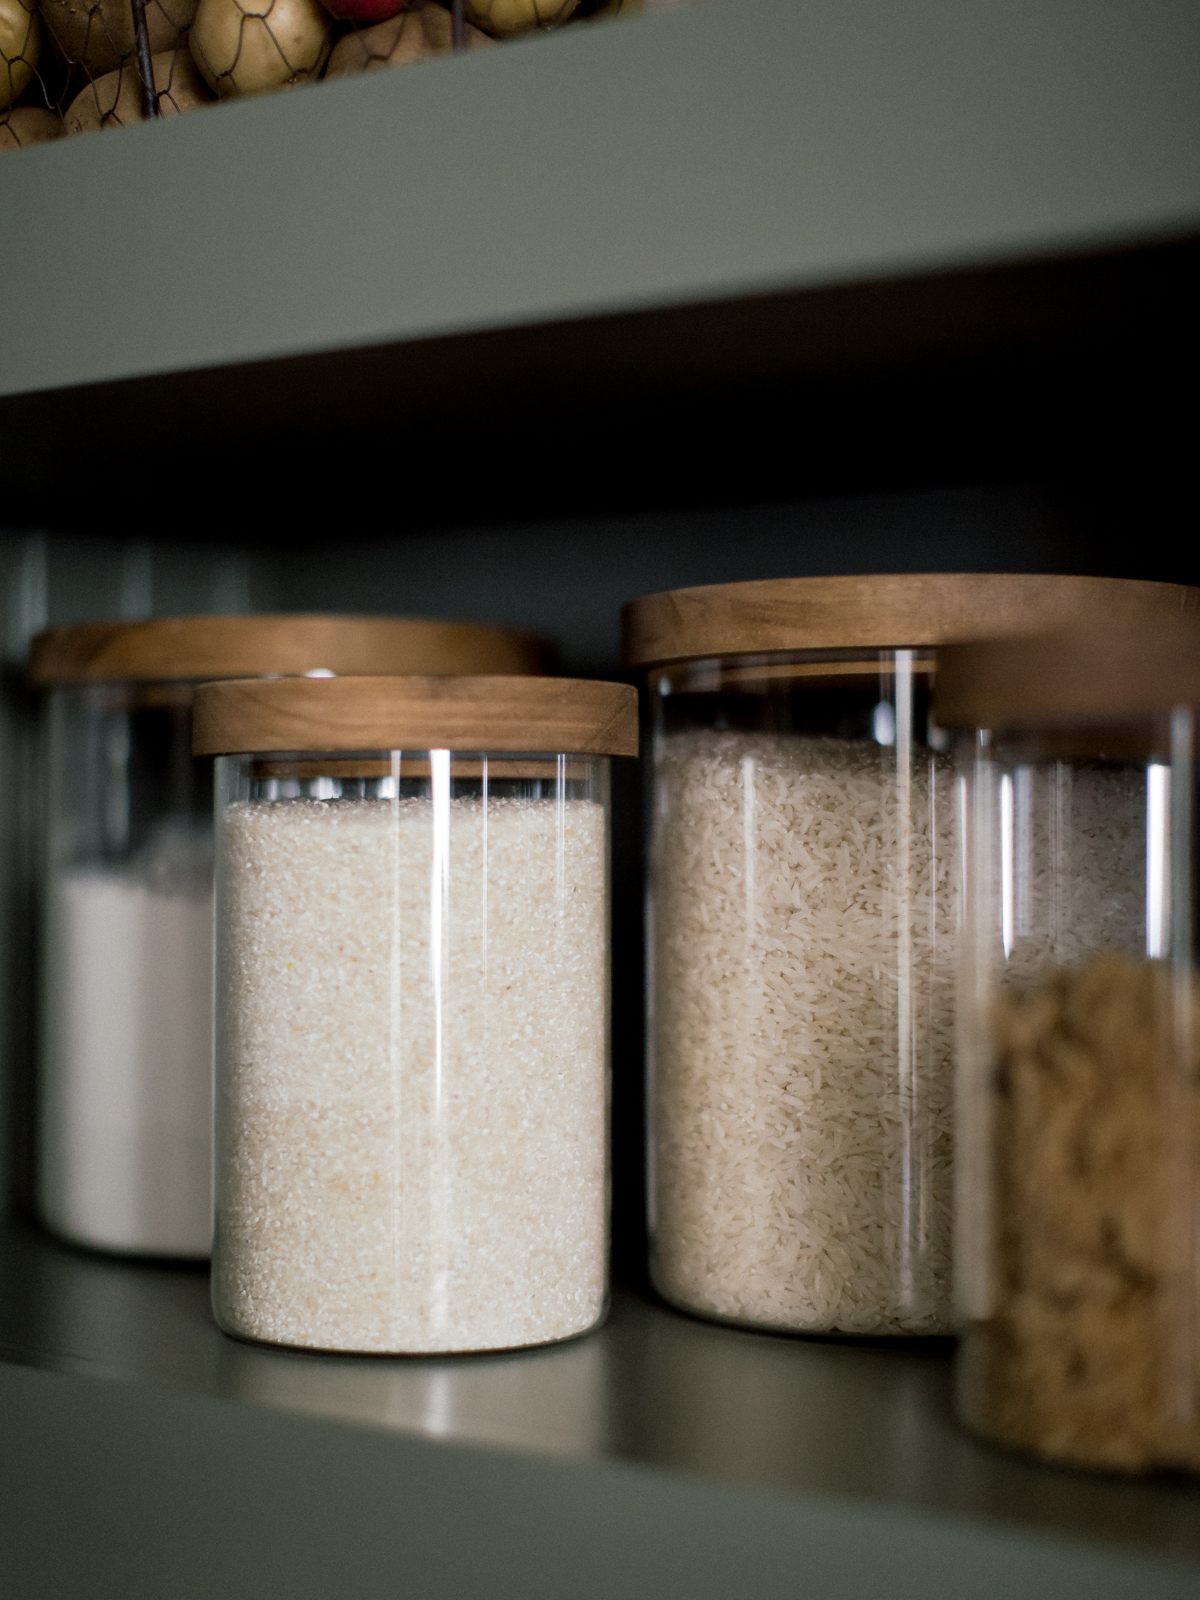
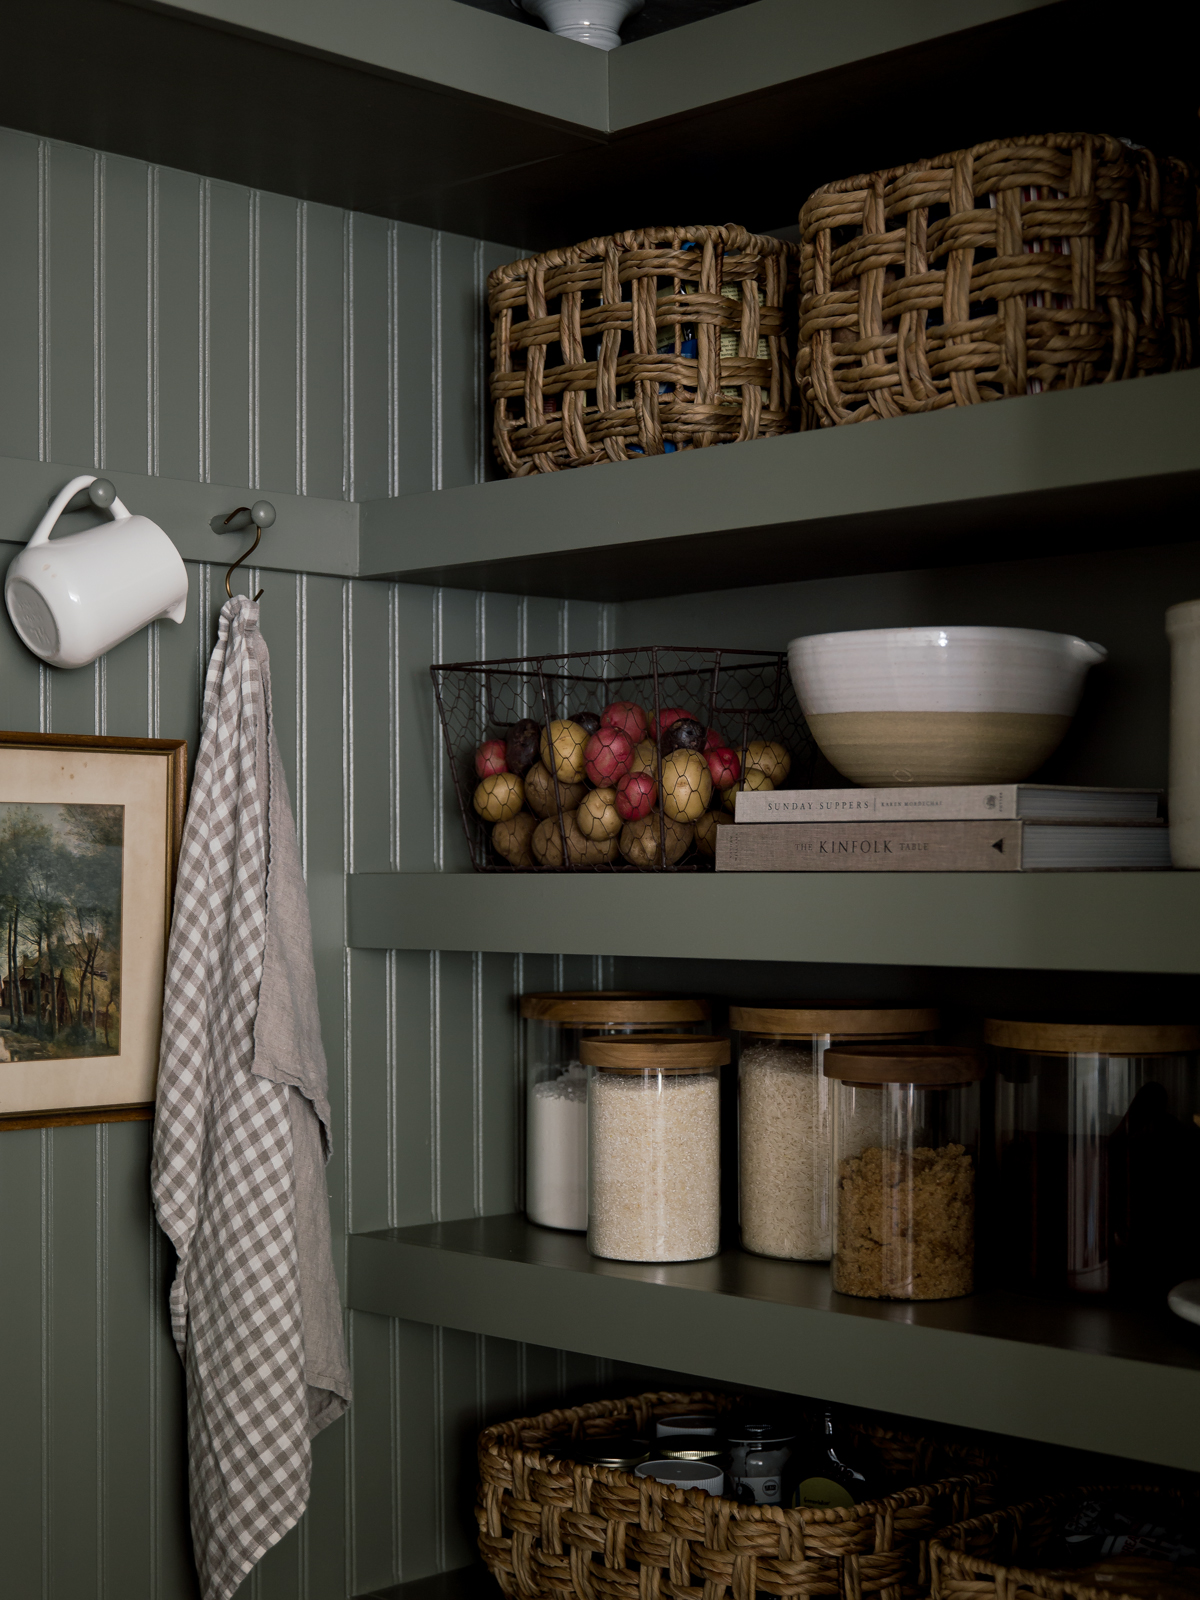
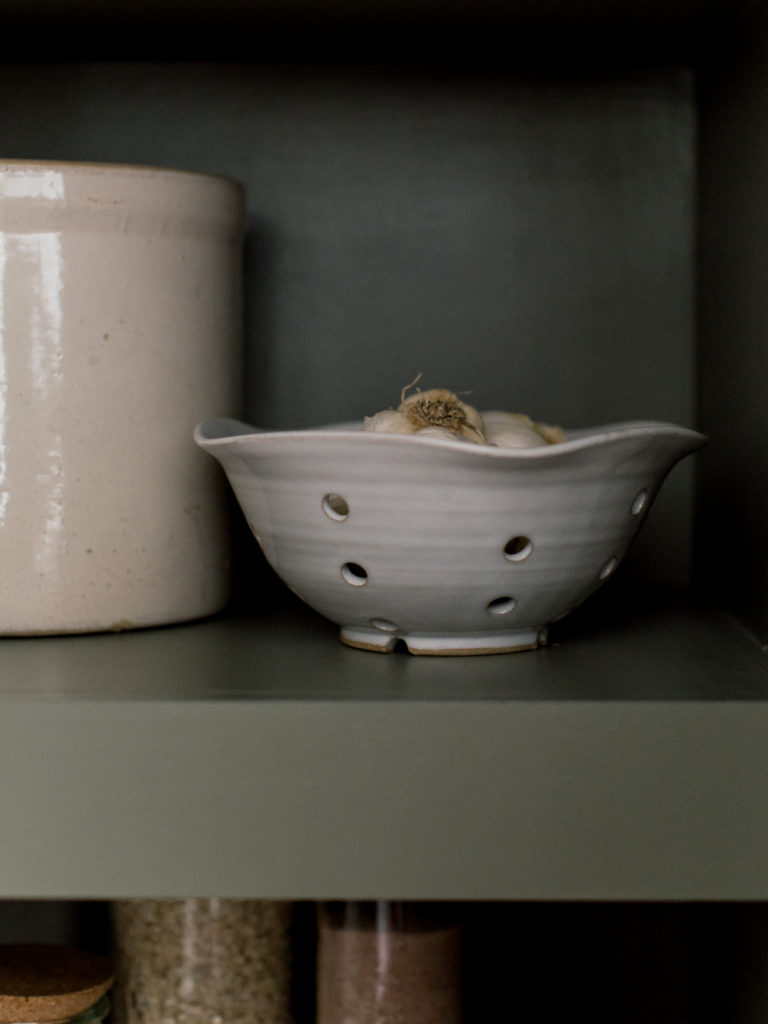
The 3 baskets on the top shelf each hold baking goods, paper goods, and oils. The wire basket holds our potatoes, the vintage crock holds additional produce like onions/sweet potatoes… and garlic is in the small berry bowl. We used glass containers to store flour, rice, coffee, grits, and brown sugar. The marble lazy susan holds weck jars that we use daily- sugar, salts, cinnamon, and oats.
The cafe curtain might be my favorite and I love how practical it is to hide all of the things that aren’t necessarily aesthetically appealing to look at. The baskets on the bottom shelf hold our breads and pastas and spreads and syrups.
It was difficult to get a shot of the top shelf, but it holds our breadboards, cake stands, glass bottles, and kitchen linens. We will share a walkthrough tour over on Instagram so you can see it all on video soon!
The only thing that is not in these photos that we store in here are our canned goods which go where the books and pantry bowls currently are. Justin is going to make an oak tiered shelf for the cans to sit on.
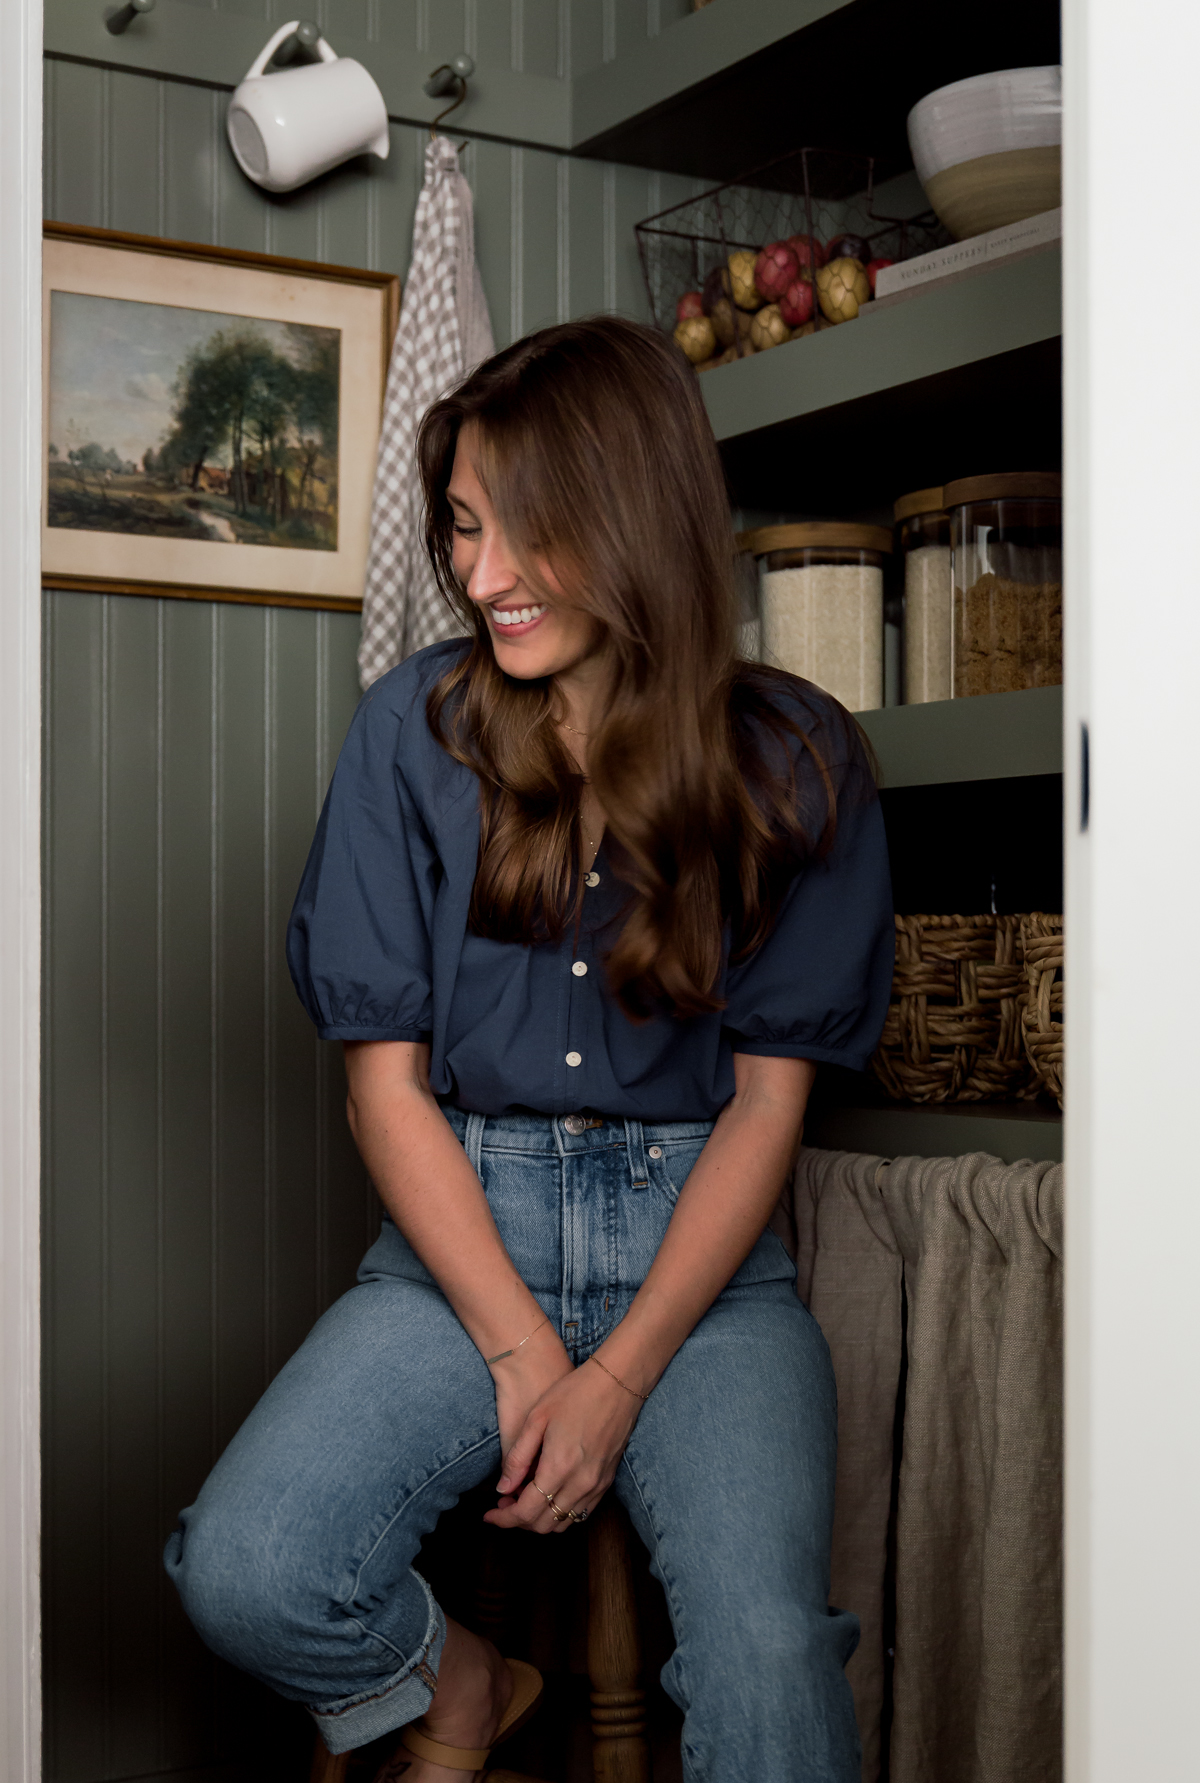
As simple of a project as this was, it has made SUCH a difference and we can’t believe it ever looked like it did before. If you followed along over on Instagram, you know we were hesitant about trying a bolder color, but I am so happy we branched out and tried the green- it is a beautiful neutral green and adds a bit of depth to this dark corner in our kitchen.
I hope this project inspires you to refresh a small space in your home to not only be more practical and functioning for you and your family but enjoyable and beautiful too! Who knew a pantry could bring so much happiness every time I step inside.
Sources
- Paint Color – Sherwin-Williams Mountain Road in Satin Finish
- Small Baskets (handles can be folded in)
- Large Baskets
- Linen Towels
- Wire Basket
- Glass Containers (large and medium)
- Weck Jars
- Marble Lazy Susan
- Pantry Bowls
- Berry Bowl
- Vintage Crock
- Kitchen Books
- Wooden Stool
- Cafe Curtain (you can make a cafe curtain with any 2 curtain panels that you hem)
- Spike Rack – DIY
- Spice Jars
- Spice Labels
- Art – Vintage
- Shirt
- Jeans

Truly a lovely space. The organic colors and textures are beautiful. Inspiration for a revamp of our pantry!
Thank you, Traci! So glad you like it! Small space projects are so rewarding, especially when it is a space that is used daily!
[…] lot of my inspiration came from Laine and Layne’s corner pantry and James May Homes […]