This post is divided into two parts. Part I is the Fire Pit & Part II is the String Lights.
Scroll down for Part II String Lights.
Part I
FIRE PIT AREA
Materials Used :
- Spray Paint (optional)
- Weed Control Fabric
- Fabric Pegs
- No-Dig Edging Kit
- Irregular Concrete Stones
- River Rock or Pea Gravel
- Stepping Stones
- Fire Pit (ours is from Shop Terrain but currently unavailable / see below for our similar picks)
Step by Step :
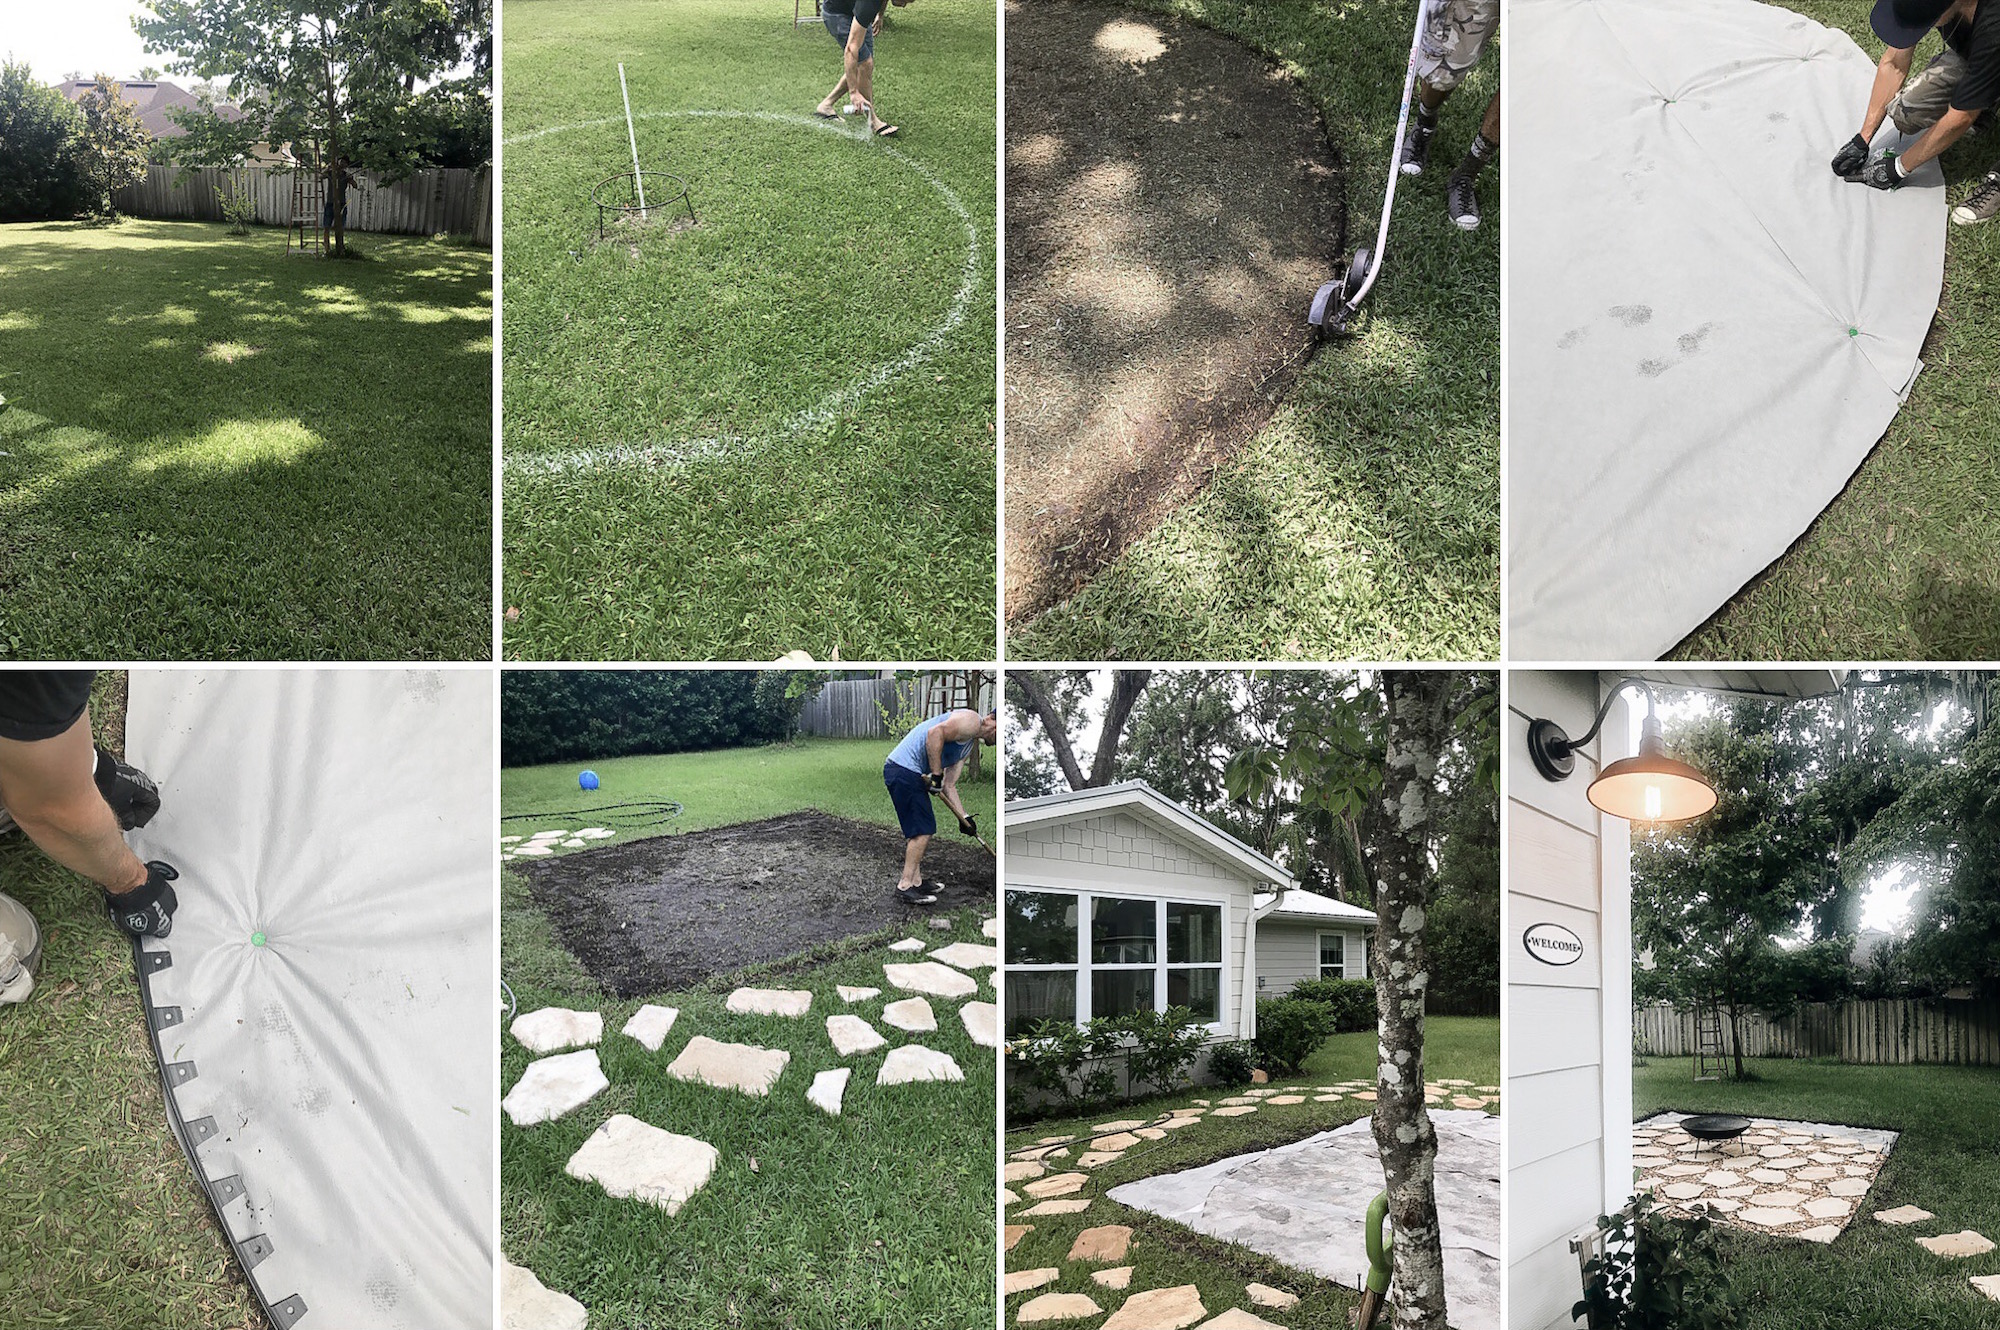
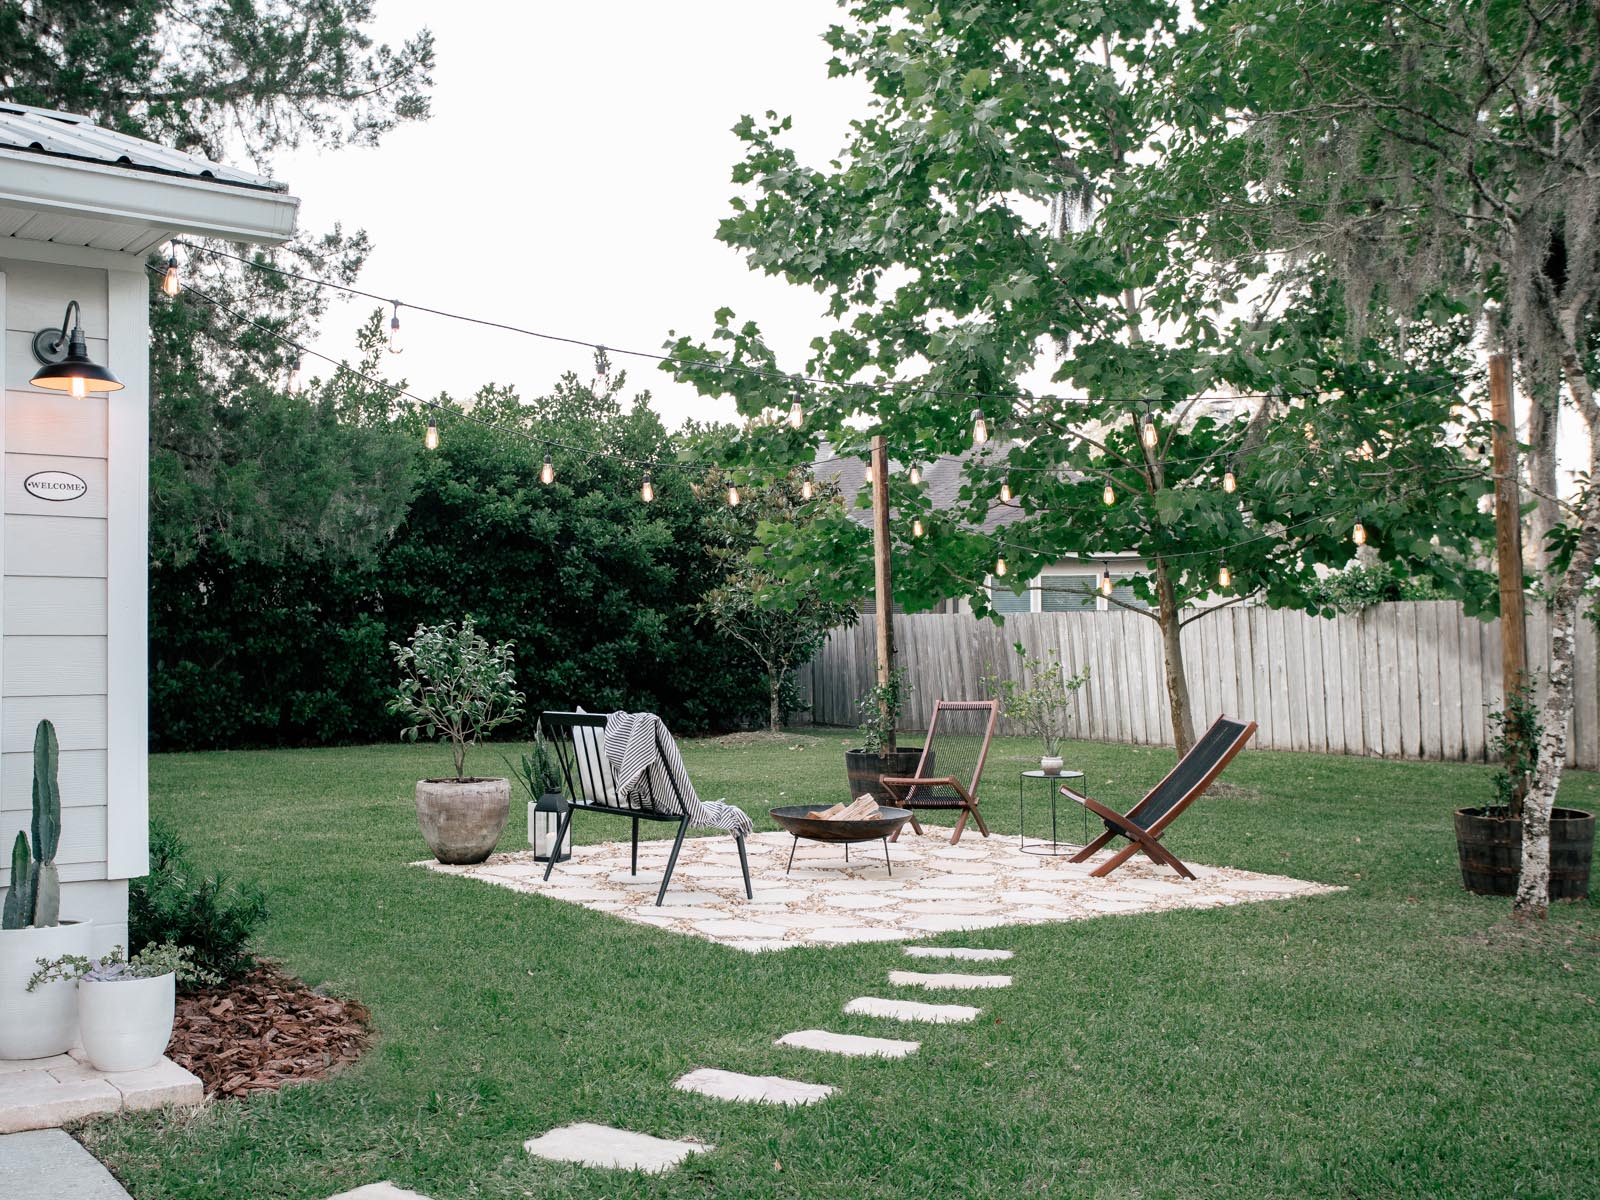
- // Determine your shape and size for your area. We started out with a circle and then changed our minds 3/4 of the way through and decided to do a square instead. The finished size of our Fire Pit area is 14×14
- // Once you have determined your shape and size, map it out in the chosen spot by spray painting onto the grass. This will give a good visual representation of the space beforehand to make sure it is in the correct location and the right size for your space.
- // Once you have your shape mapped out, you can start to remove the grass (if necessary) by weed-eating it down, raking, and edging the sides.
- // Depending on how level your ground is, you may need to level by bringing in dirt to certain areas.
- // Once we leveled the area as best as we could, we laid Weed Control Fabric down and No-Dig Edging.
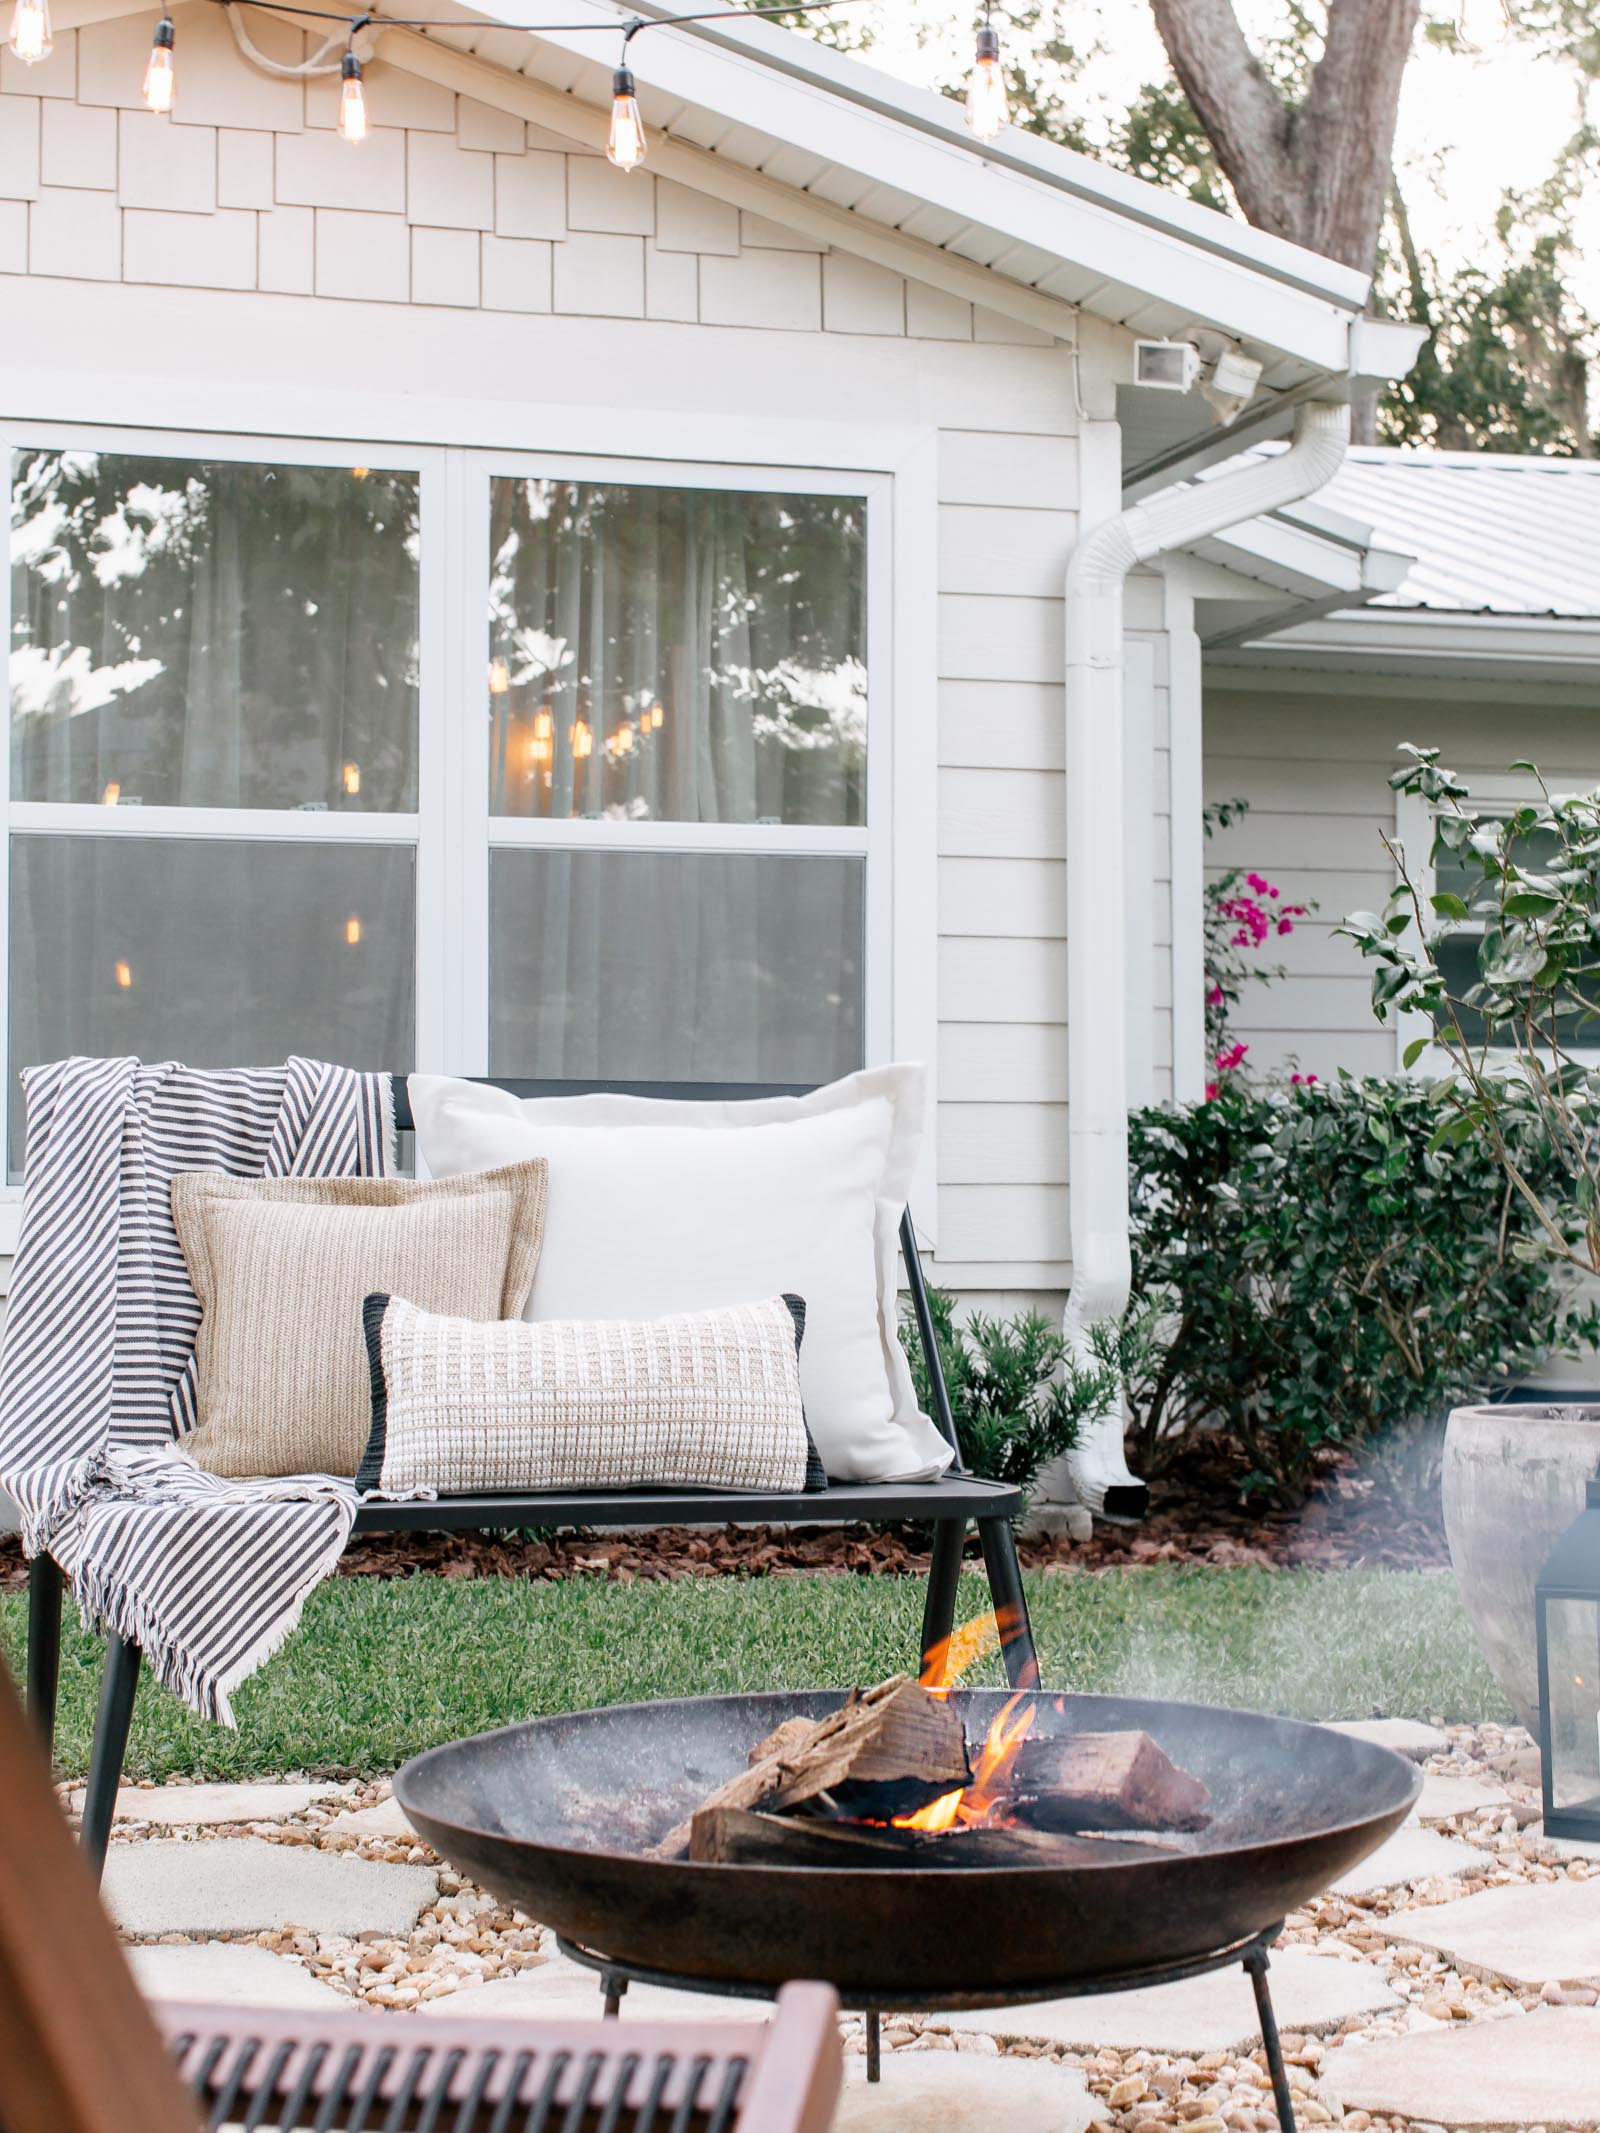
- // We then started to bring in the bigger pieces of Concrete Stone and space them out how we liked. Remember to not space them out too far or your furniture won’t be level.
- // Next, we filled in the gaps with River Rock.
- // We laid the stepping stones from the Fire Pit area to our sidewalk.
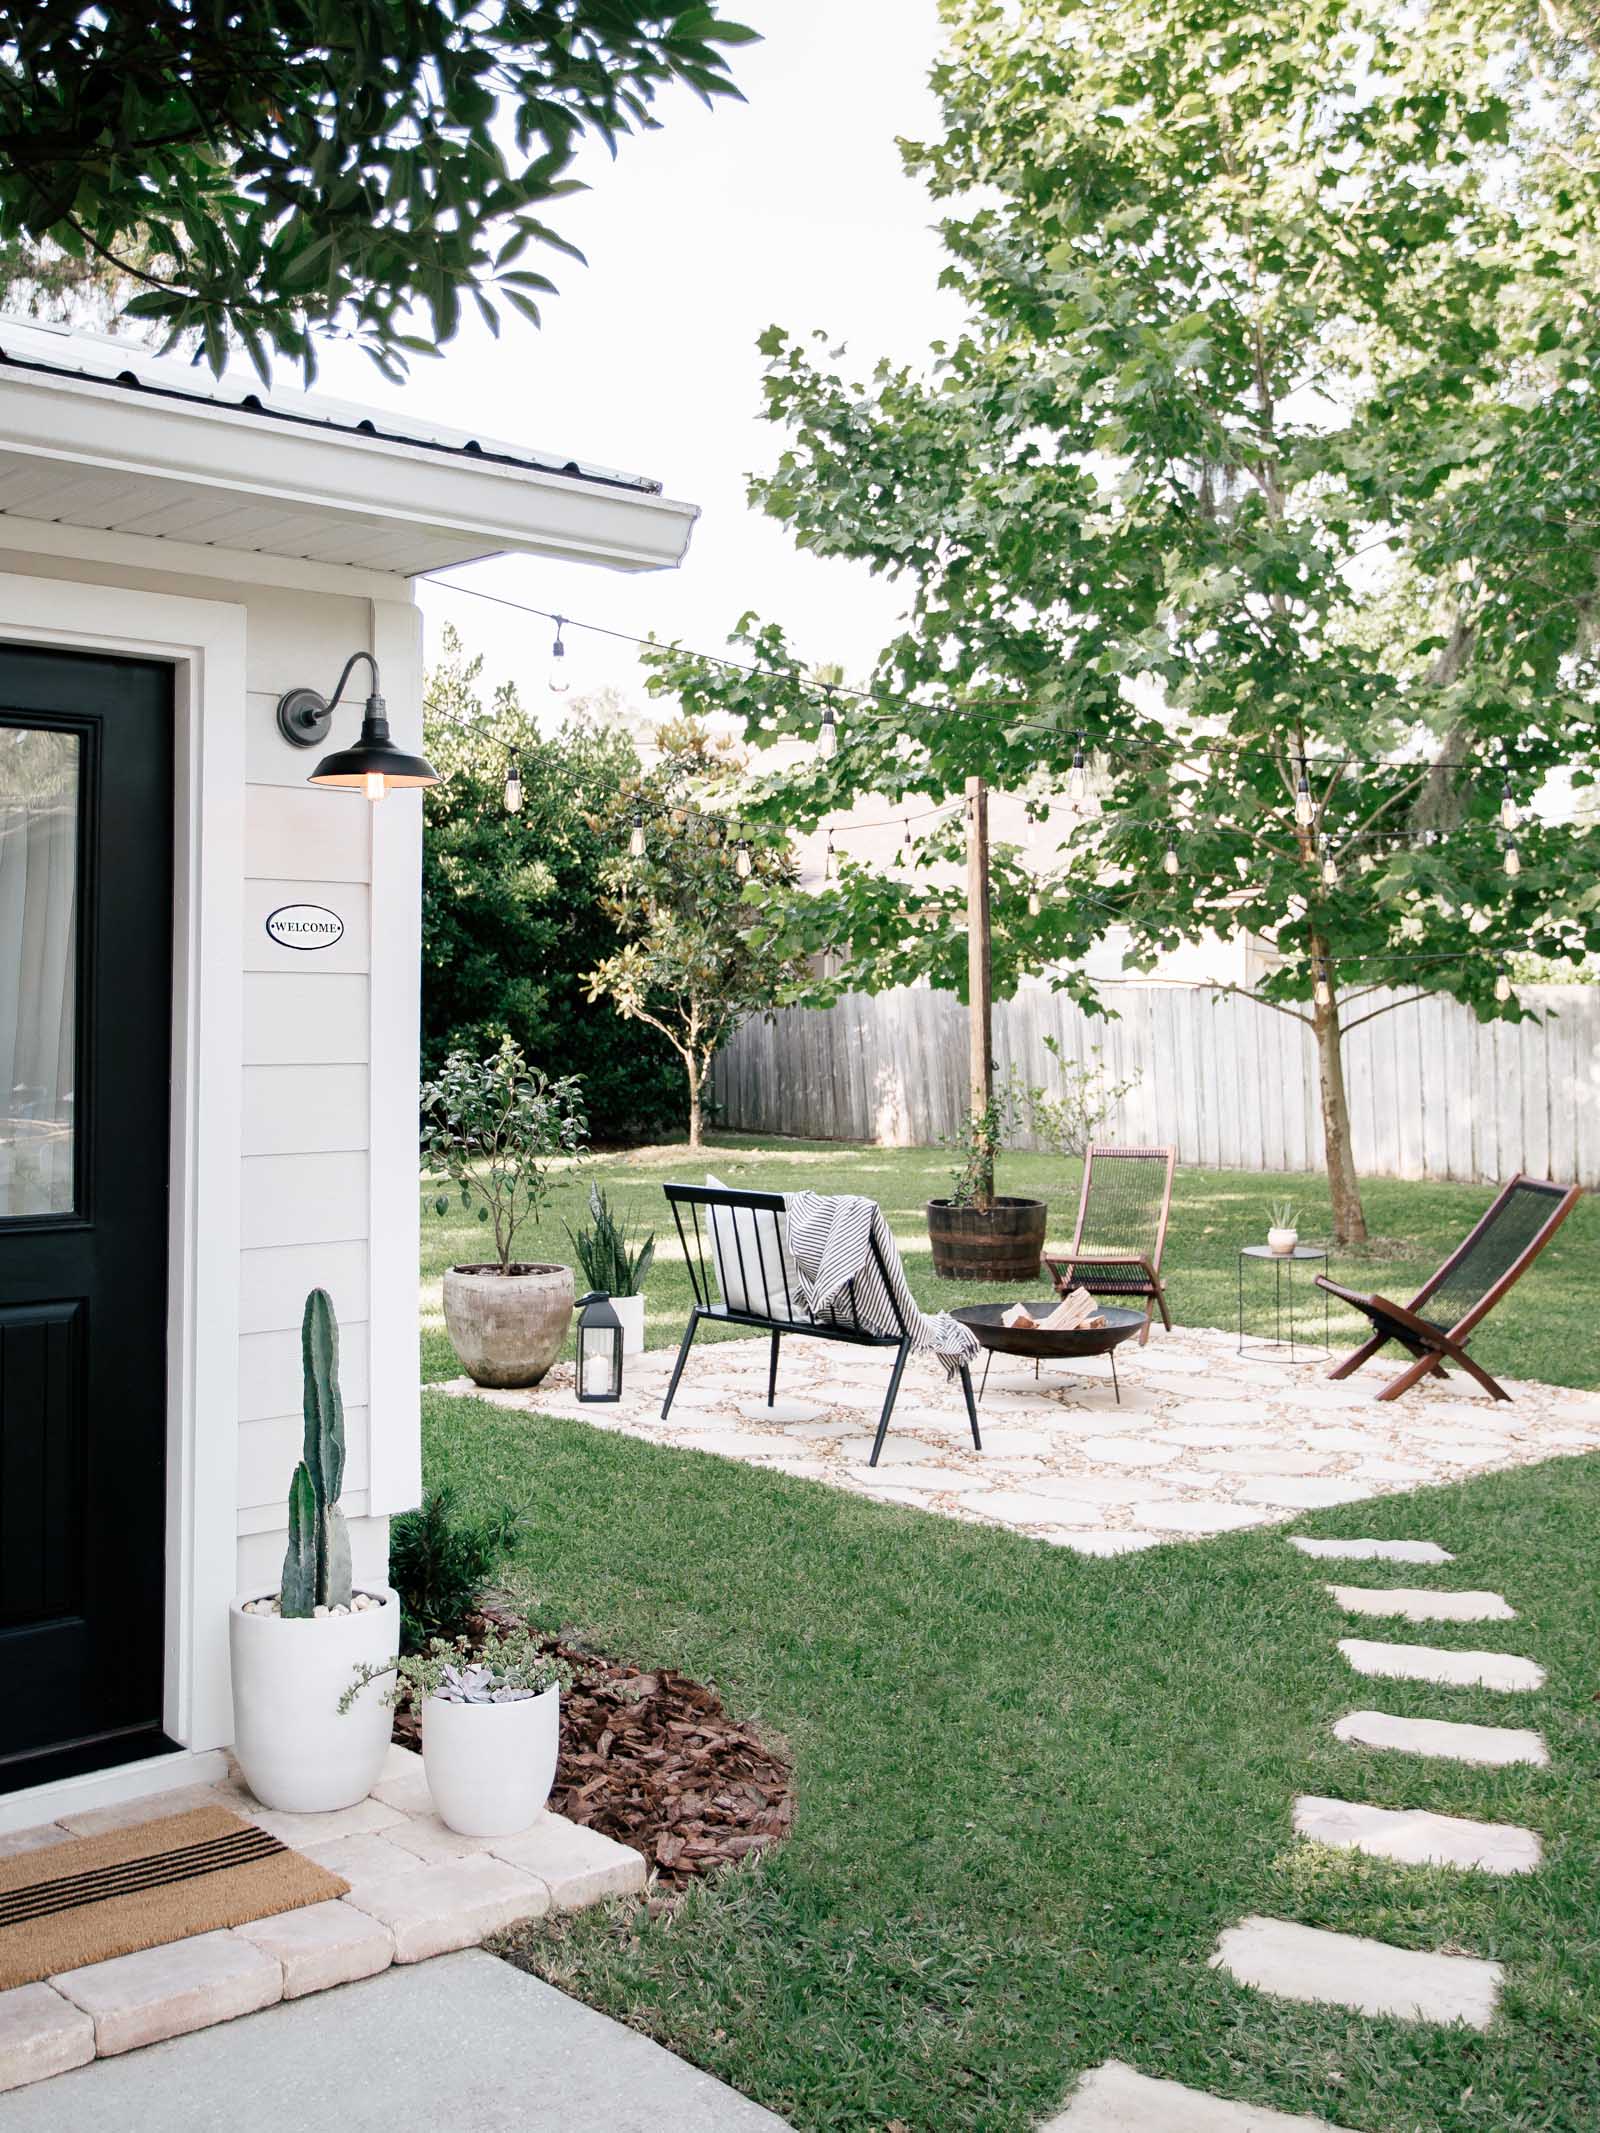
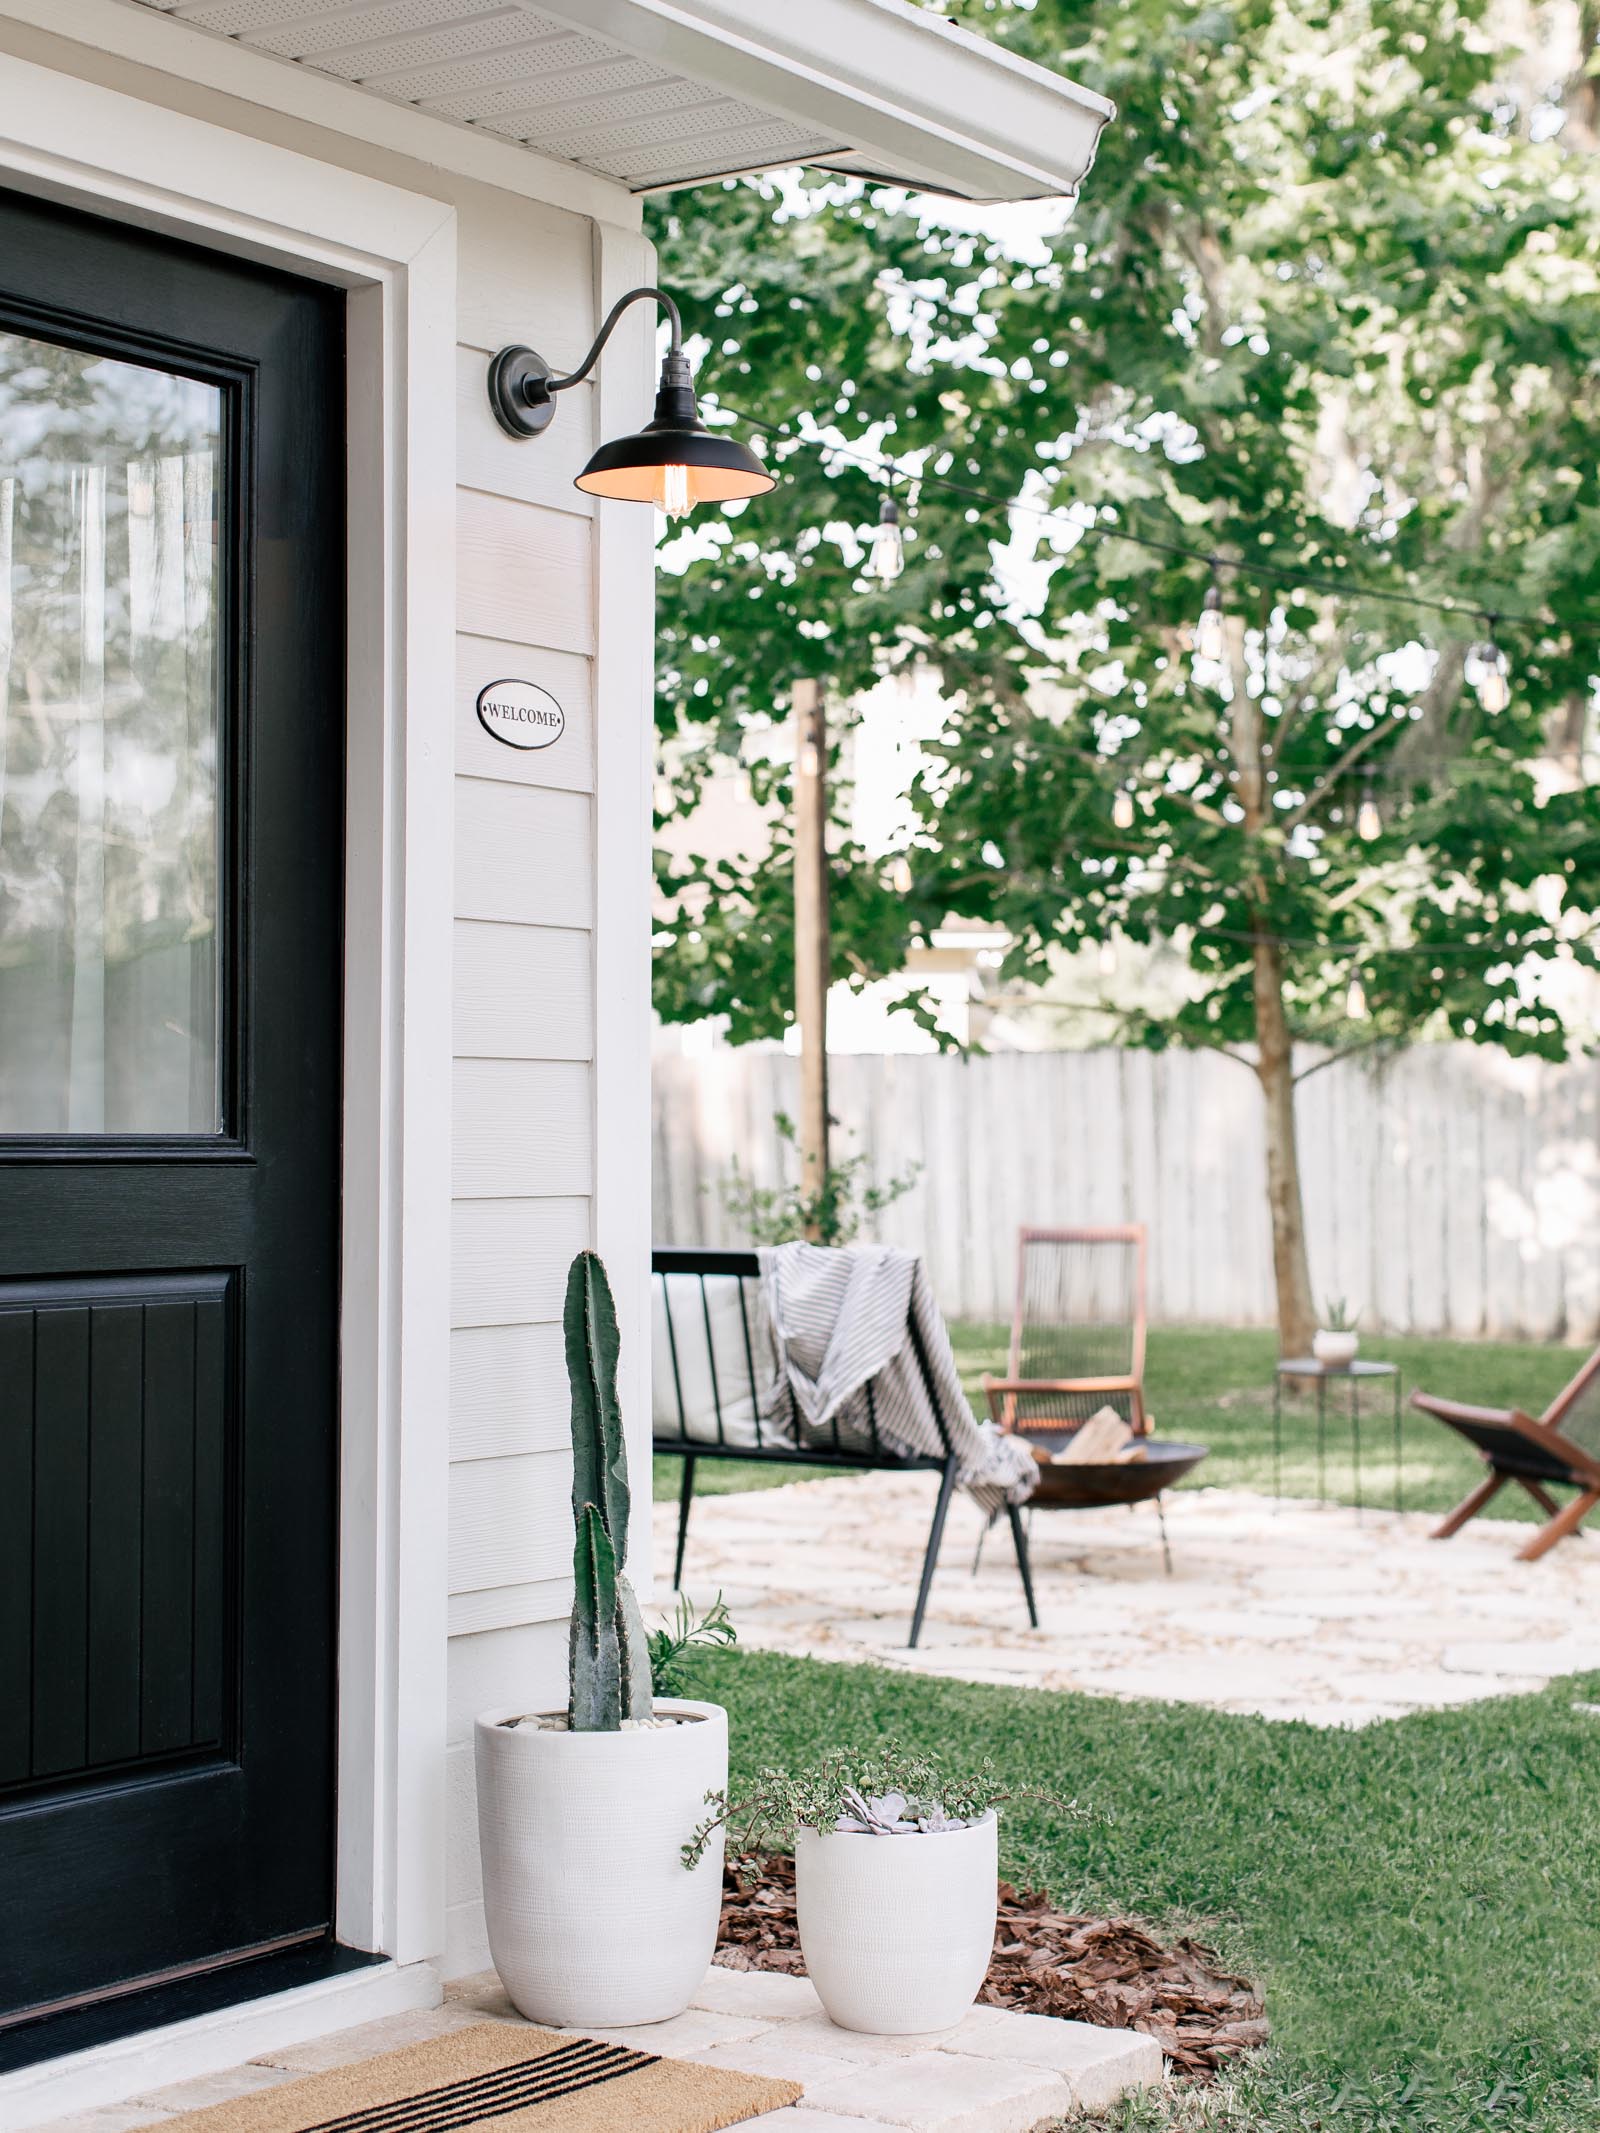
- // Lastly, we placed our Fire Pit in the center and furniture and accessories around.
Part II
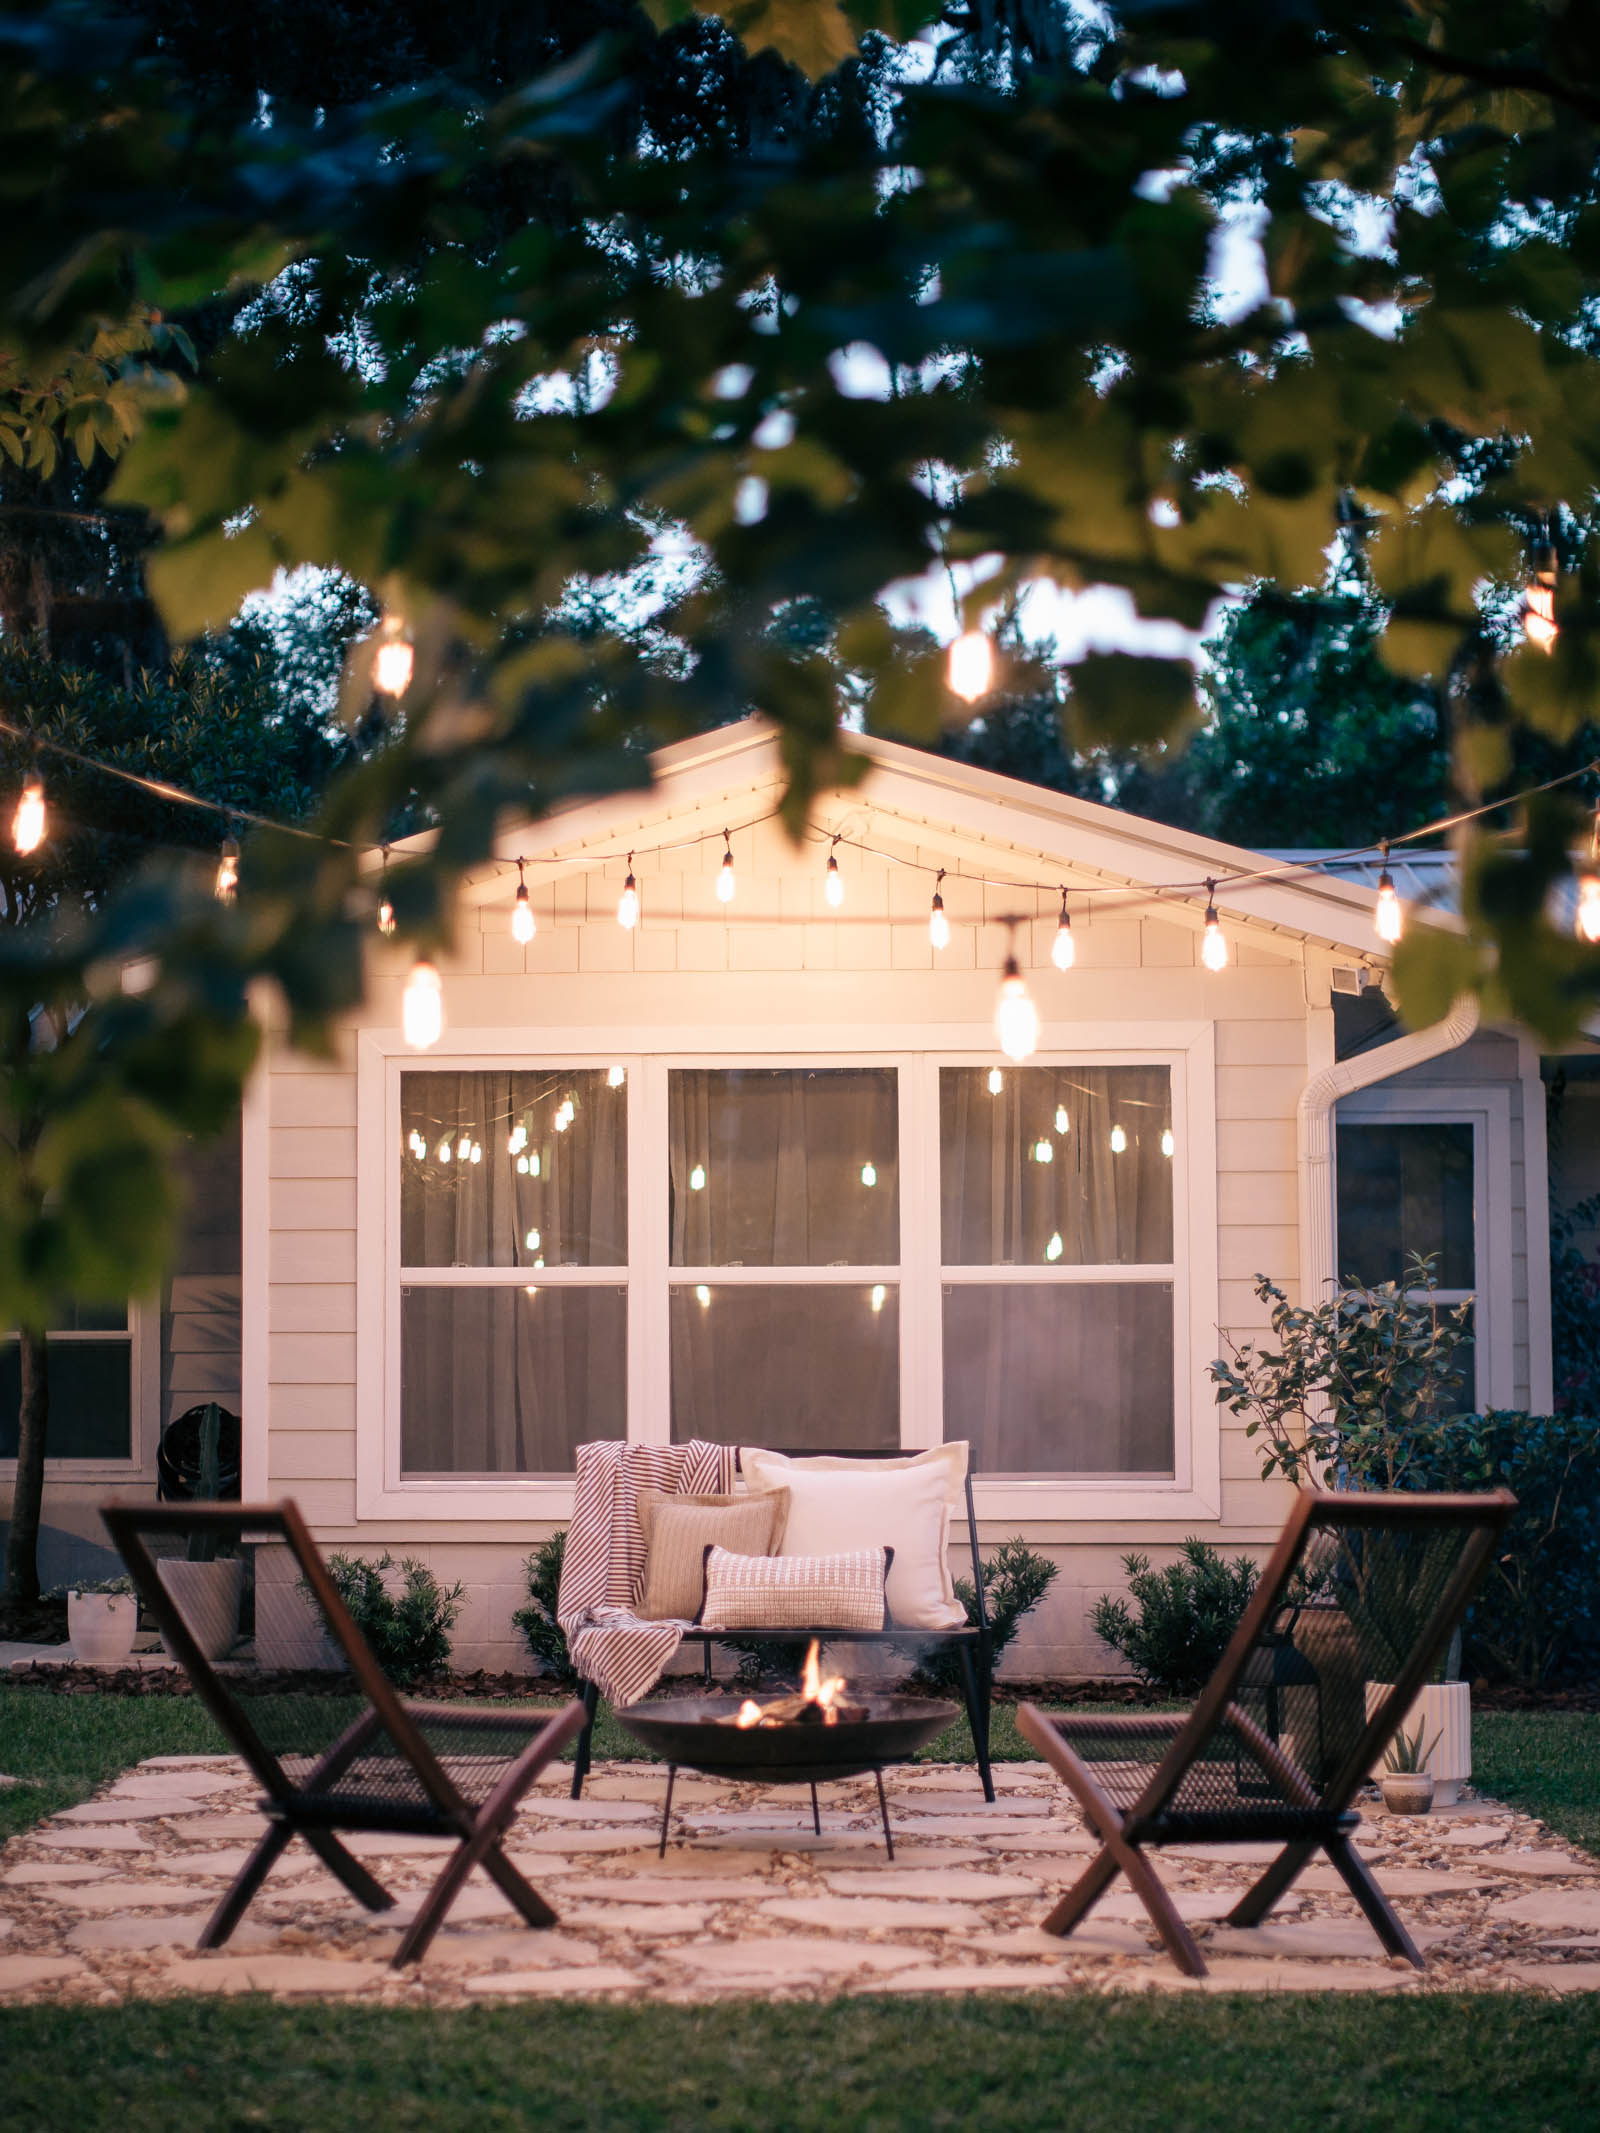
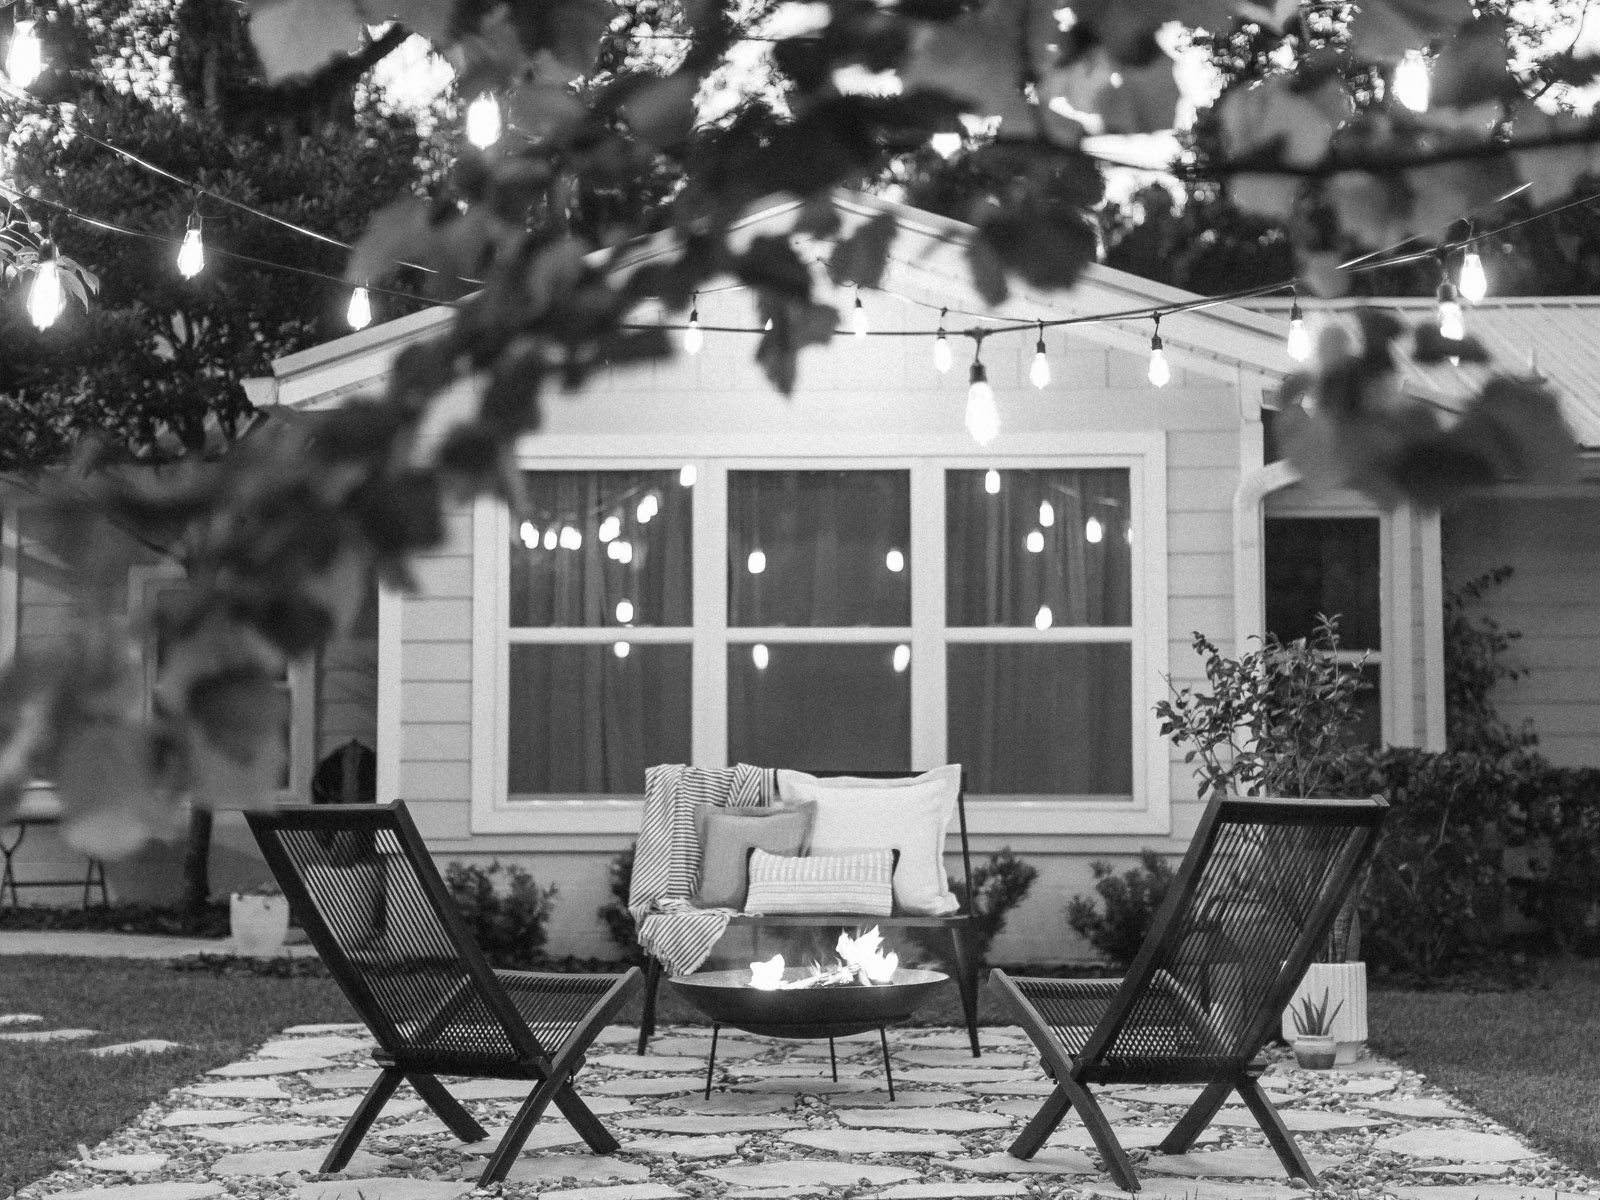
STRING LIGHTS
This section is sponsored by Brightech. All content including opinions are always our own. Thank you for supporting our blog and the brands we love!
We followed Jenna Sue Design’s blogpost found here but made a few modifications.
Materials Used :
- (2) String Lights
- (2) Whiskey Barrels
- (2) 4x4x8 Posts (ours were reclaimed)
- (4) Corner Brackets
- (4 Bags) 50 LB Fast-Setting Concrete
- (4) 1.5″ Cup Hooks
- Screw Hook
- Zip Ties (optional)
- Exterior Extension Cord (optional depending on where your outlet is located)
- Coax Staples (to tack extension cord to house)
- Black Duct Tape & White Duct Tape
- Potting Soil
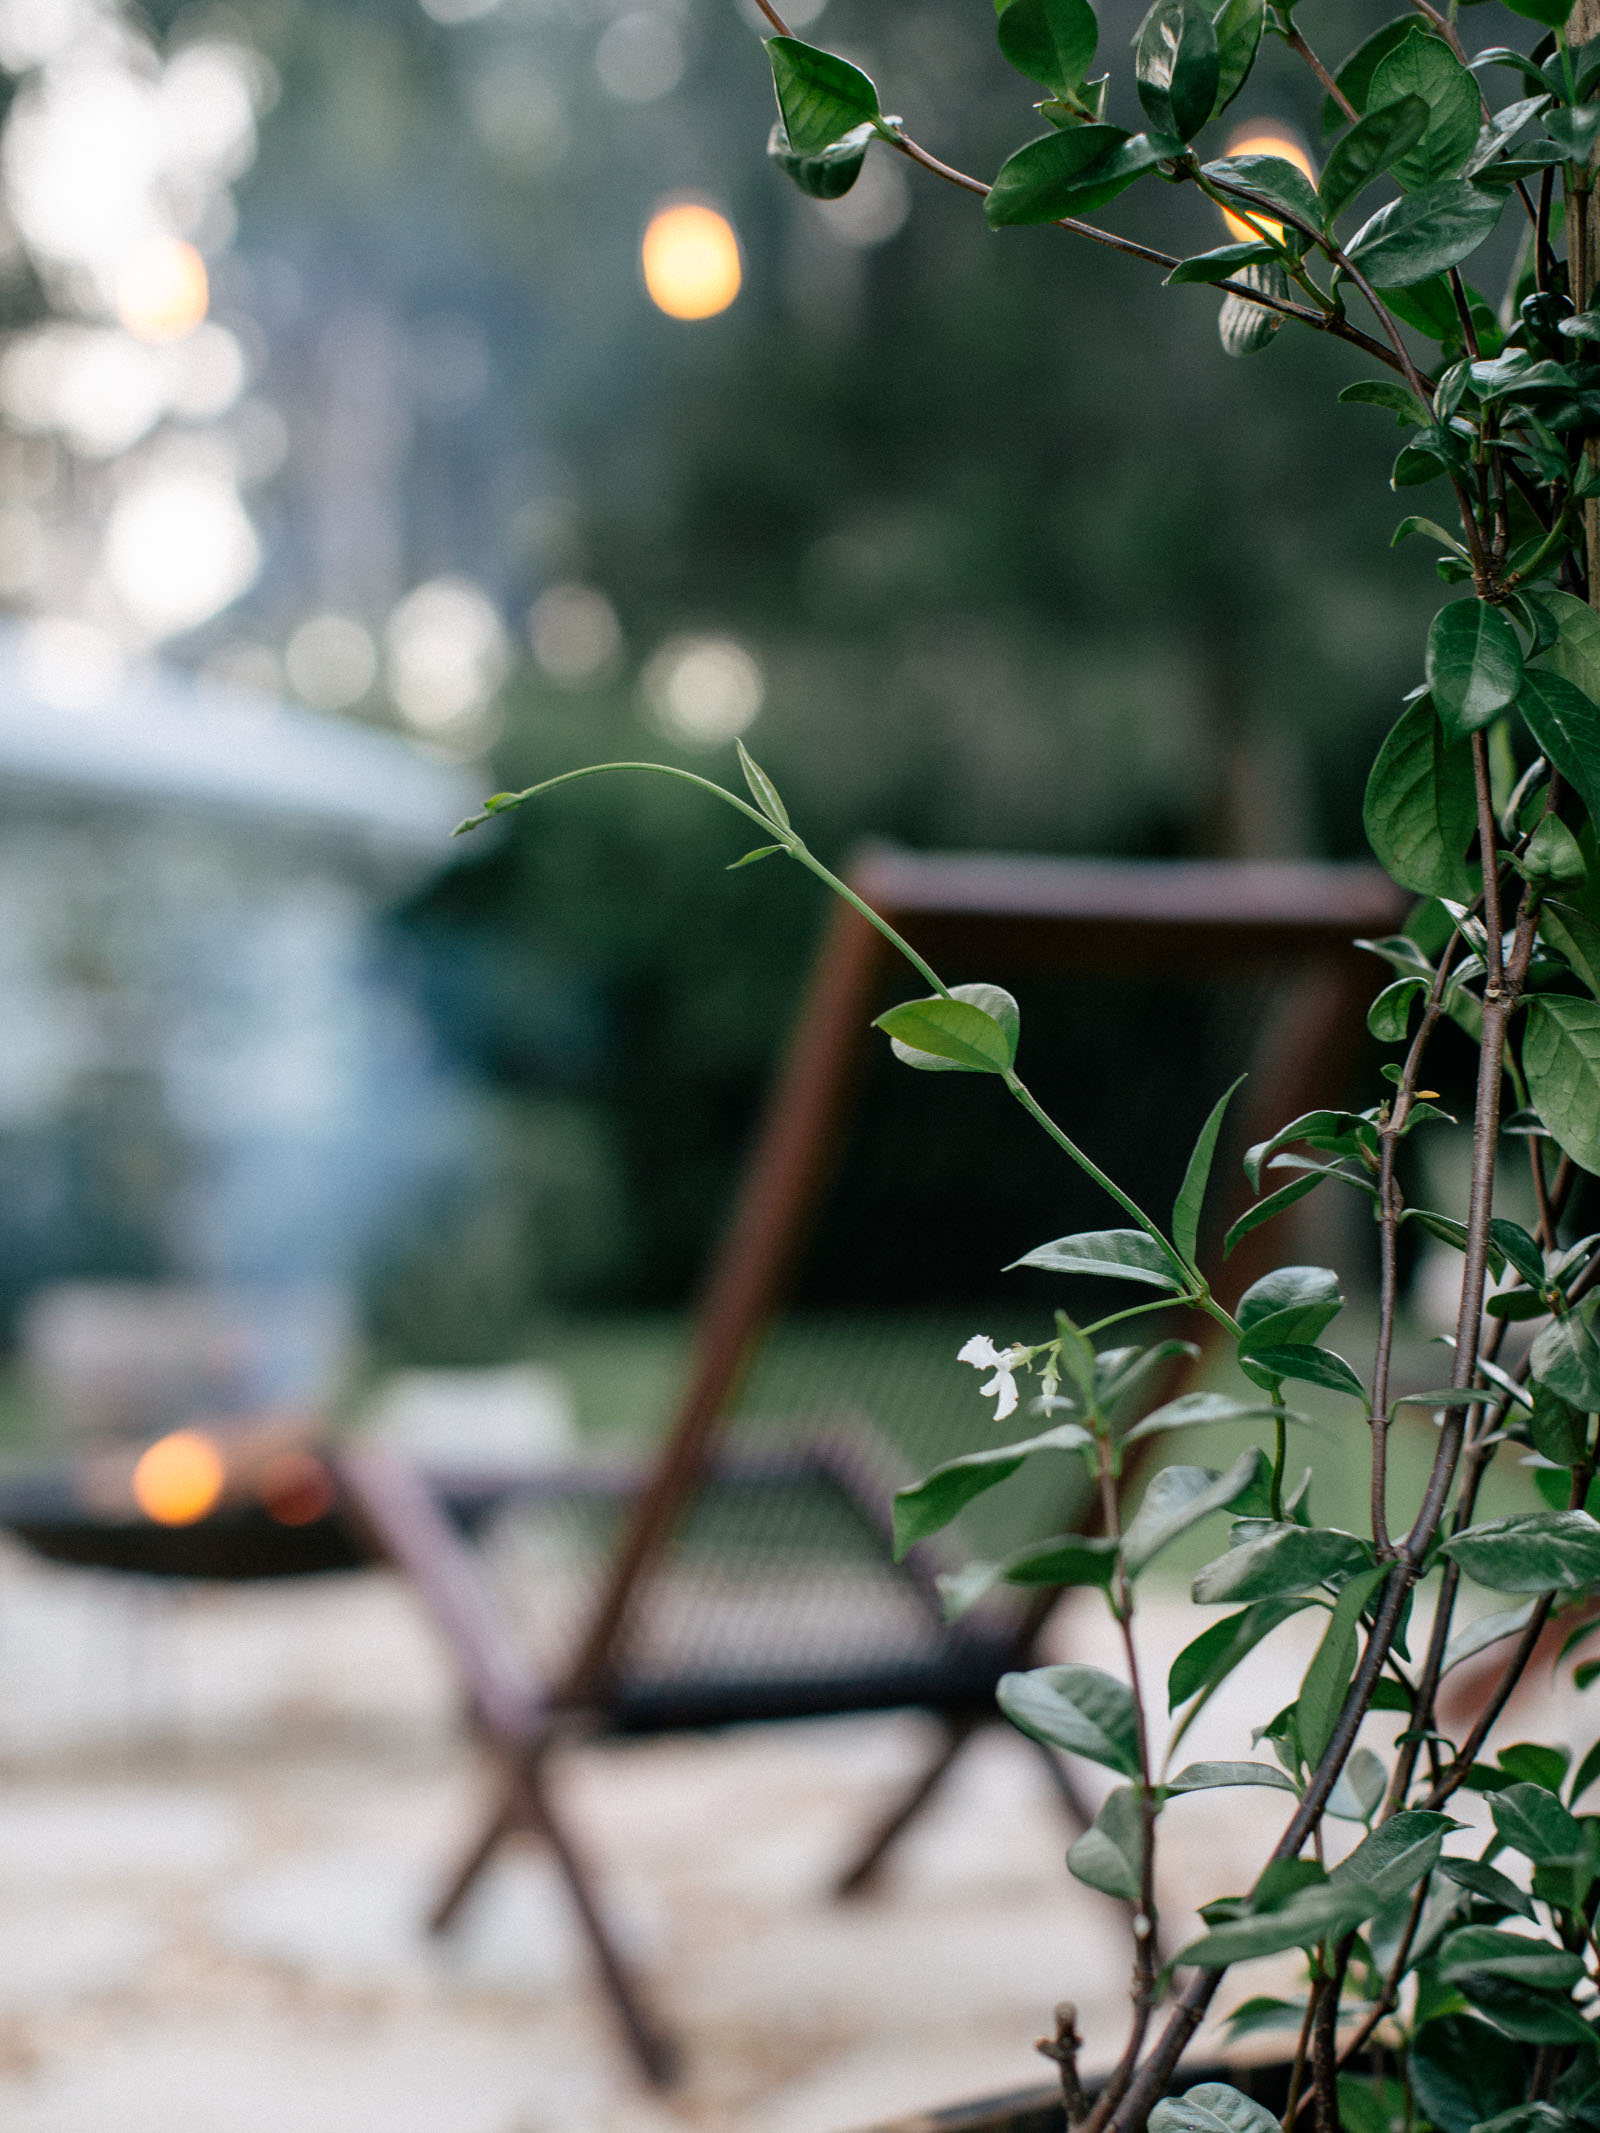
- Confederate Jasmine (or your choice of greenery)
Step by Step :
- // Determine your starting point for your String Lights. Typically people start from their closest exterior outlet or they burry an extension cord and run it to the desired location. Since our exterior electrical outlet is located beside our air conditioner which is behind our sunroom, we ran 2 exterior white extension cords from the outlet, tacked under our Hardie Board siding using Coax Staples up to the center of the pitch on our Sunroom.
- // Once you have determined your starting point, now you will need to choose the direction your String Lights will go and how many feet they will cover. This is the trickiest part as it requires a little bit of math and trial and error.
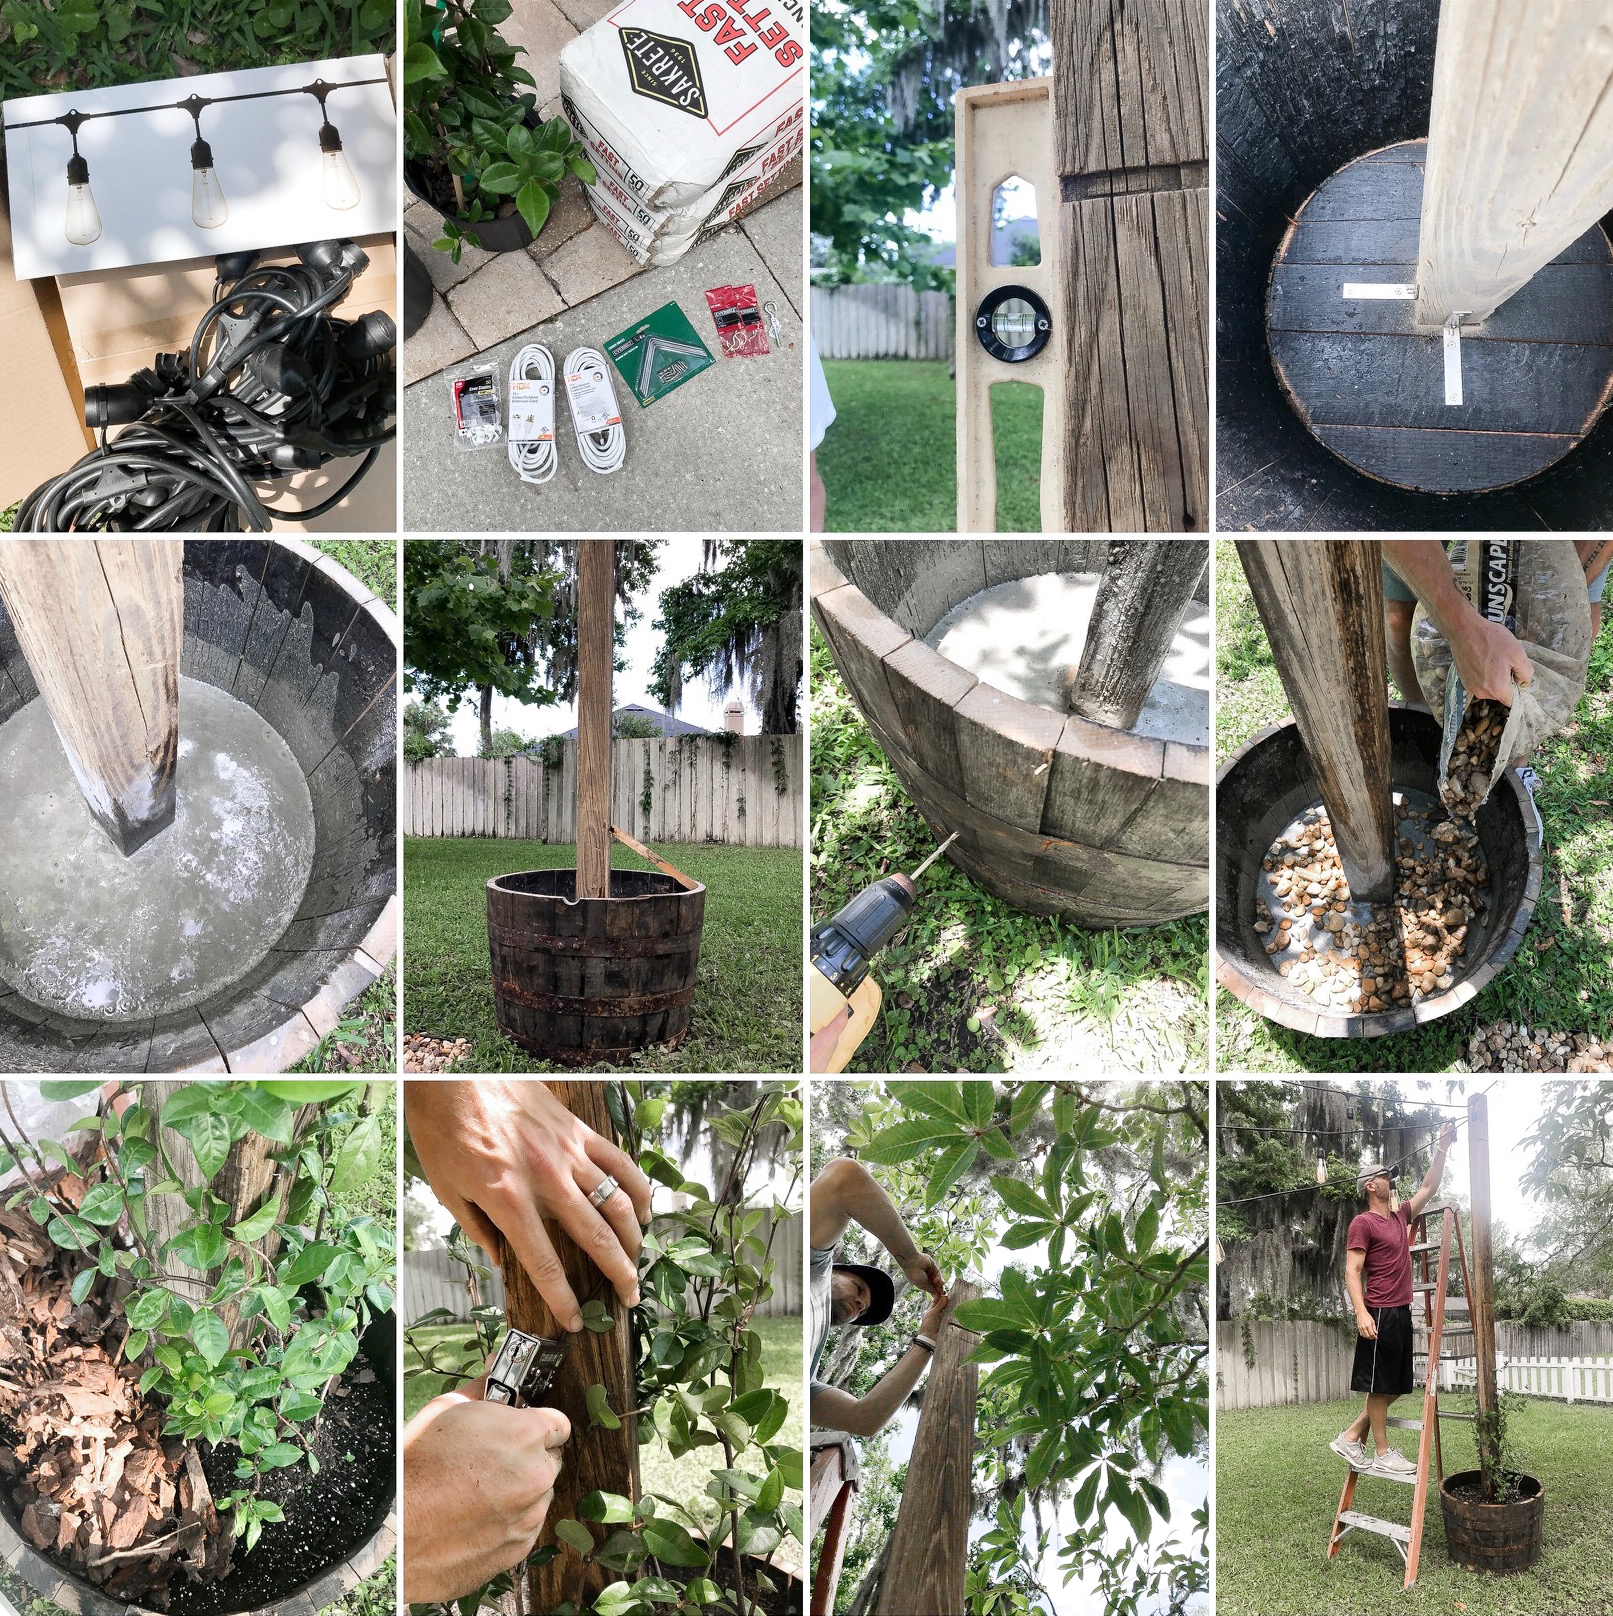
- // After you have determined your starting point, and the direction your lights will go, you will be able to place your Whiskey Barrels in the exact locations.
- // Once your Whiskey Barrels are placed, you will need to attach your Poles to them. We placed our Poles in the center of the Barrels and held a level to them to ensure they were straight.
- // Then we attached corner brackets to two sides of the Poles for stability while we poured the Fast-Setting Concrete.
- // Follow the Fast-Setting Concrete Instructions. We used 2 Bags per Barrel. You start by adding your water to the barrel and pouring in the Concrete and mixing together, quickly.
- // After the Concrete has set and the Poles are sturdy, we drilled holes in the sides of the Barrels right above the Concrete to allow for proper drainage.
- // We poured some left over River Rock we used for our Fire Pit on top of the concrete to also help with drainage before adding Potting Soil and our Confederate Jasmine. We topped the soil with Bark to help seal in the moisture. We planted the Confederate Jasmine because we wanted a climbing vine that would climb up the Poles.
- // We used heavy-duty staples to begin attaching the vines to the Poles to encourage climbing.
- // Next, we attached the cup screw hooks to the tops of the Poles for our String Lights to rest on.
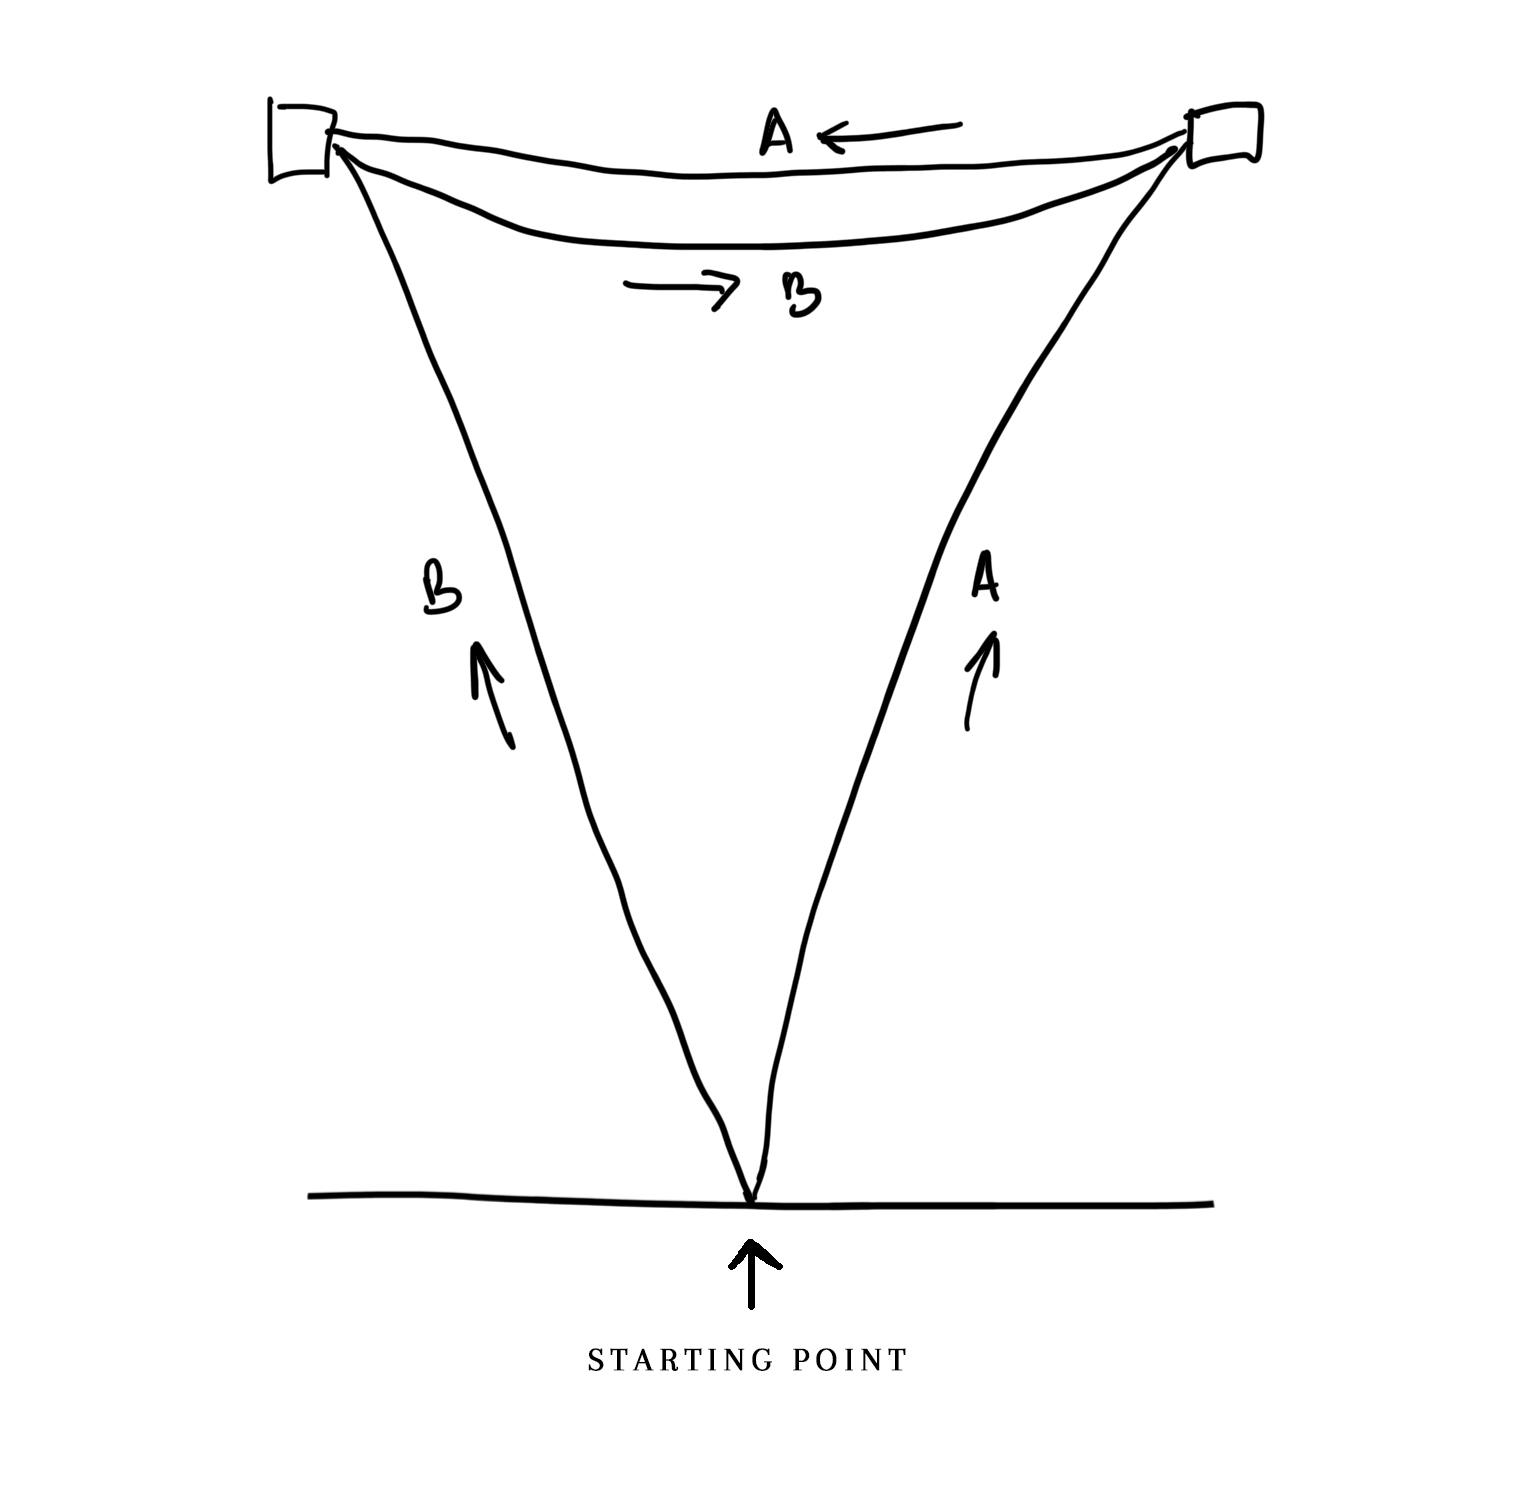
- // We started both of our string lights from the center pitch of our house by screwing a screw hook into the Hardie Board Siding. One String runs from the house to one Pole and then across to the other Pole and the excess of the String is dropped down the Pole and taped off with duct tape for protection. The other String runs to the second Pole, dropped about one foot down the Pole, and then across to the first Pole and dropped down and taped off like the first String. We secured the String Lights to the Cup-Hooks using Zip Ties. (see diagram below)
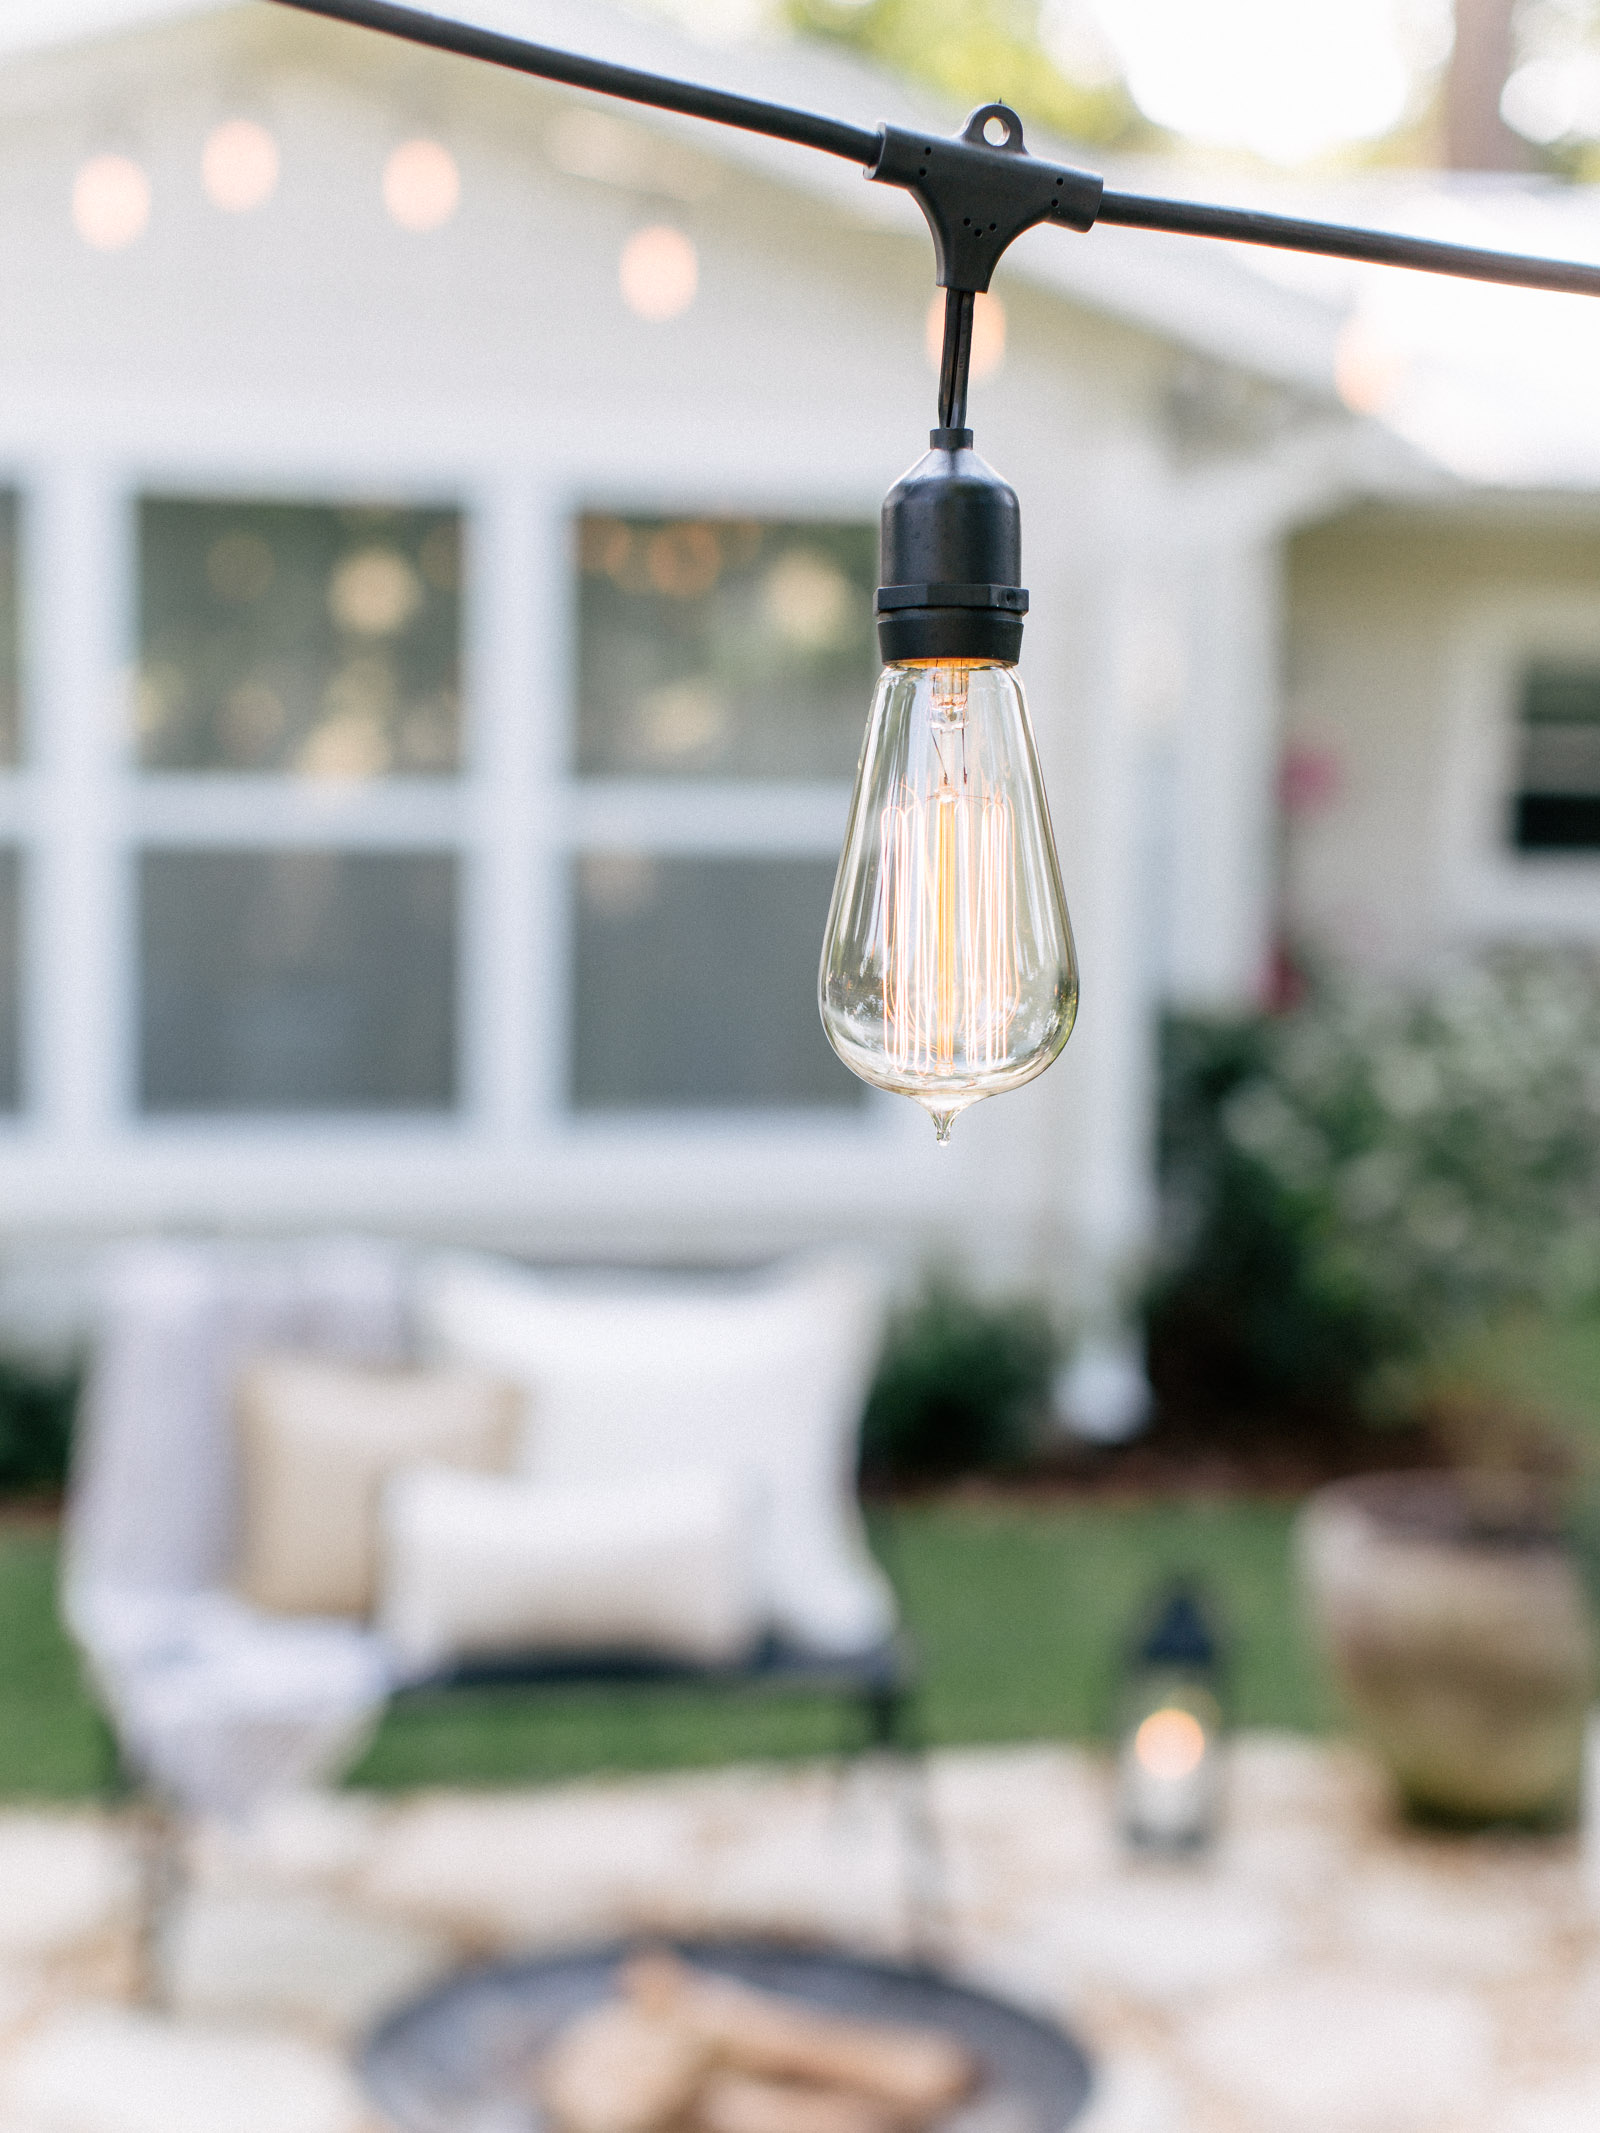
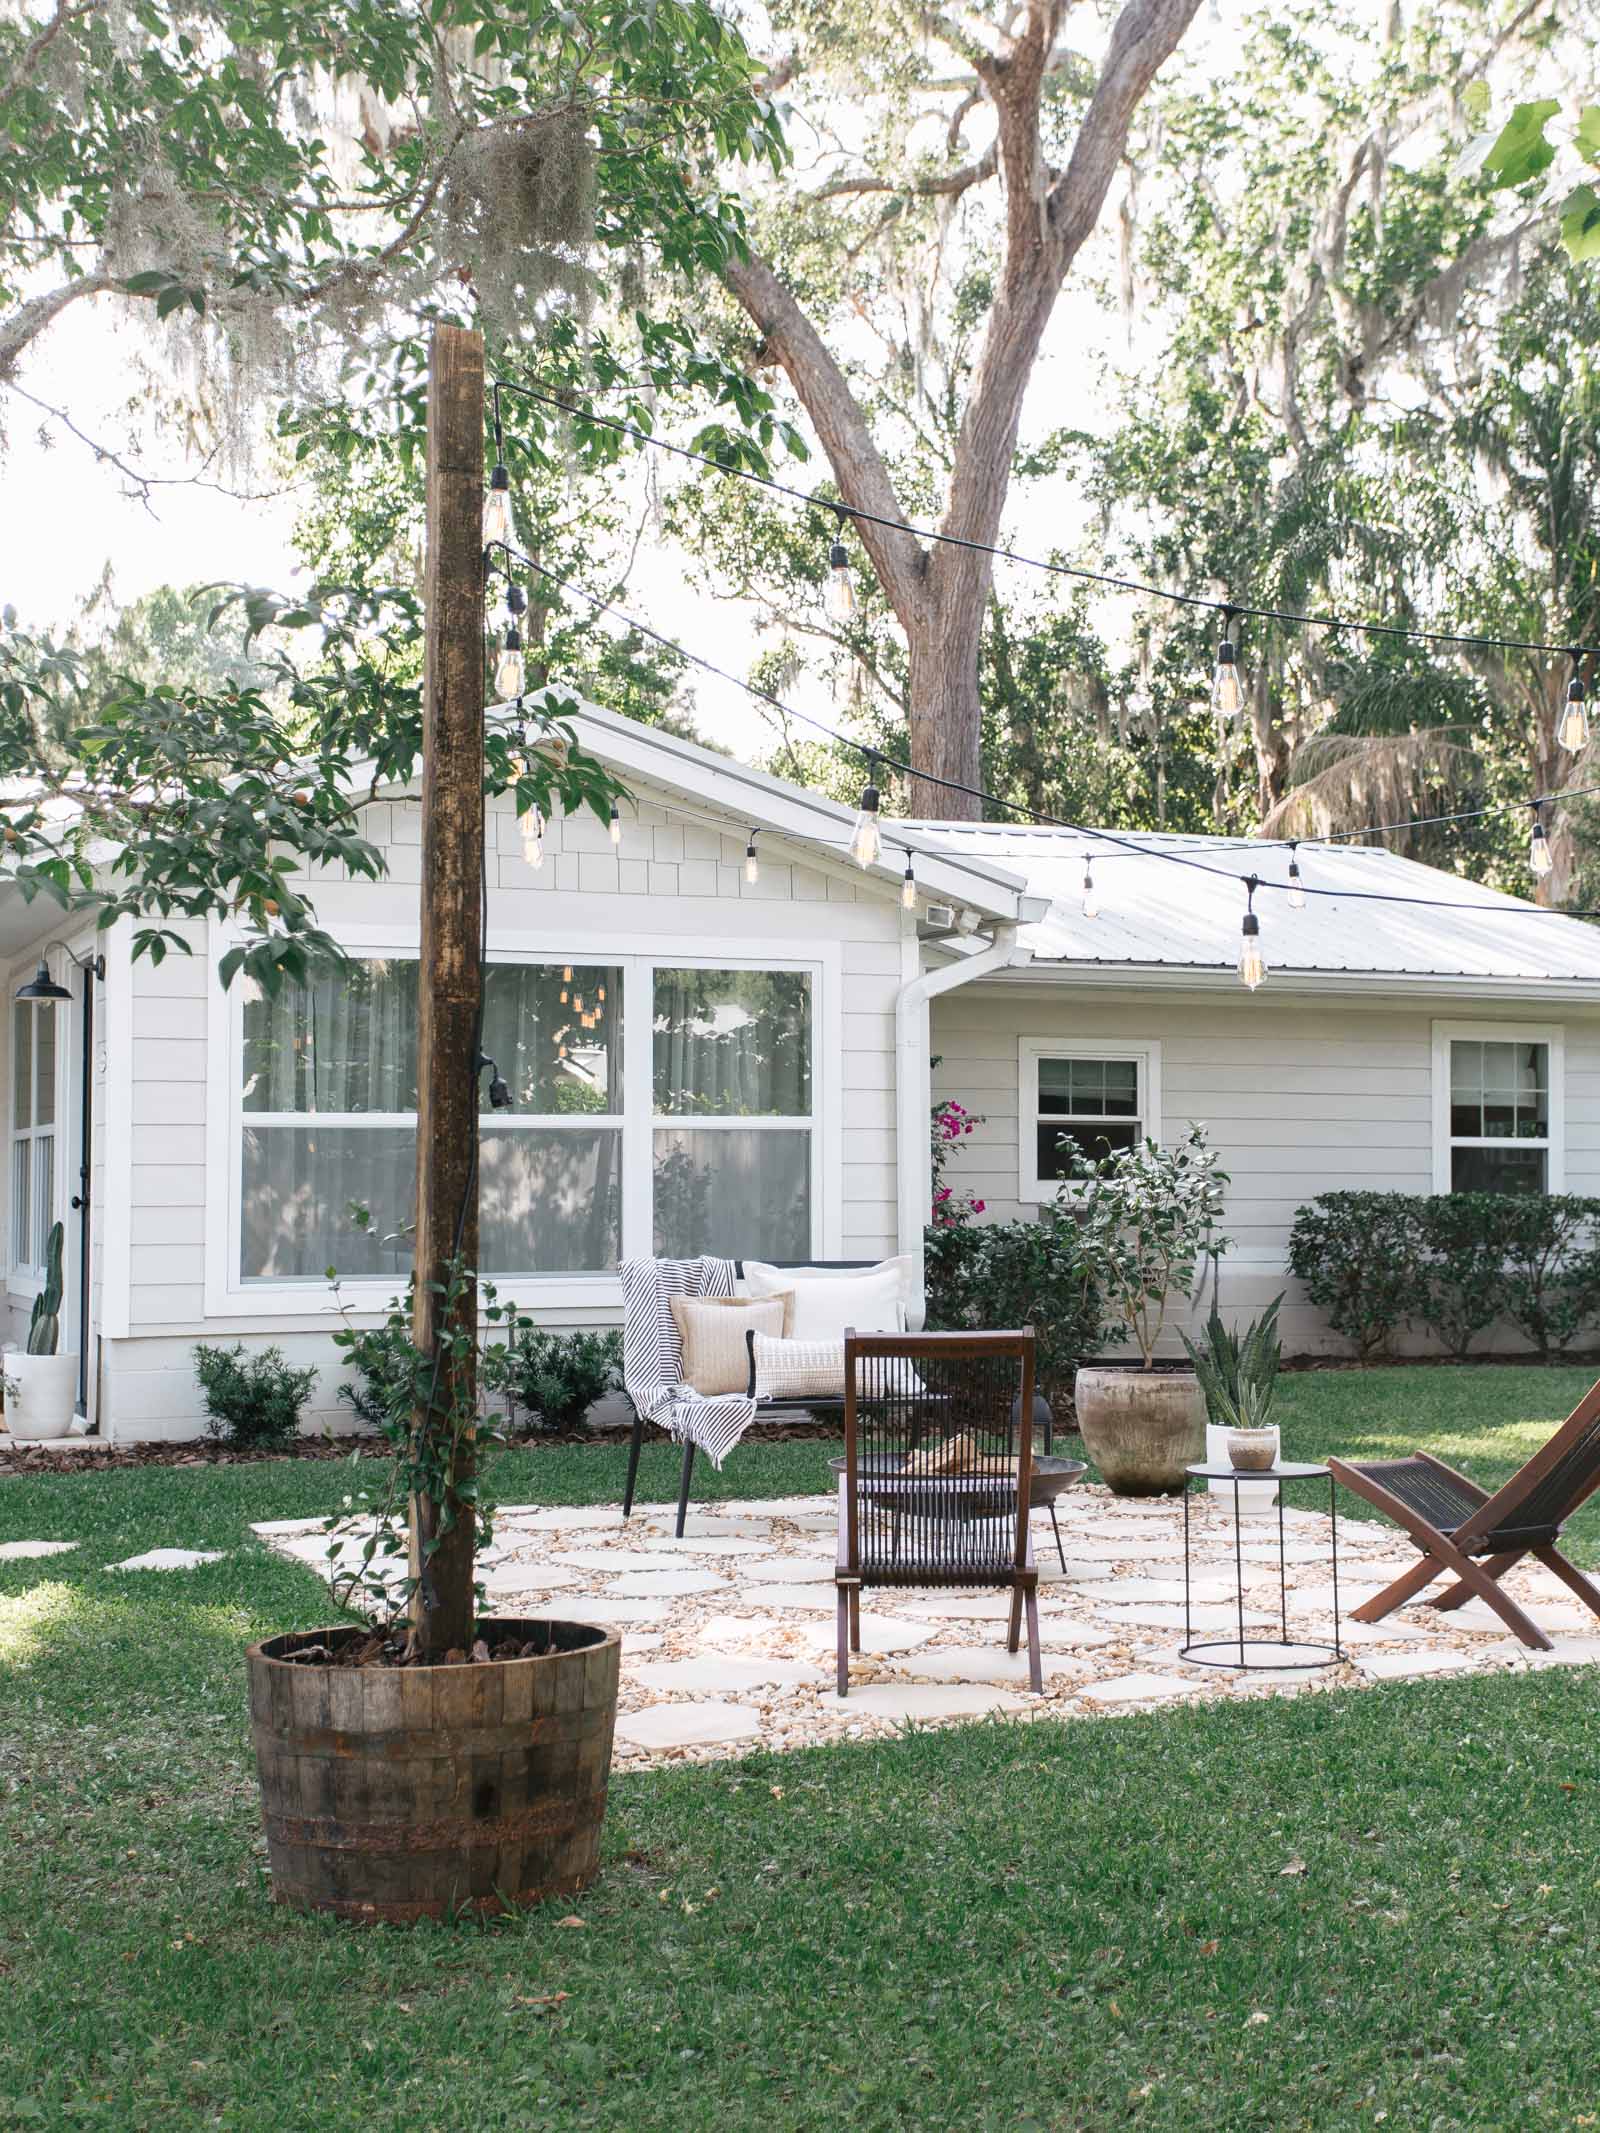
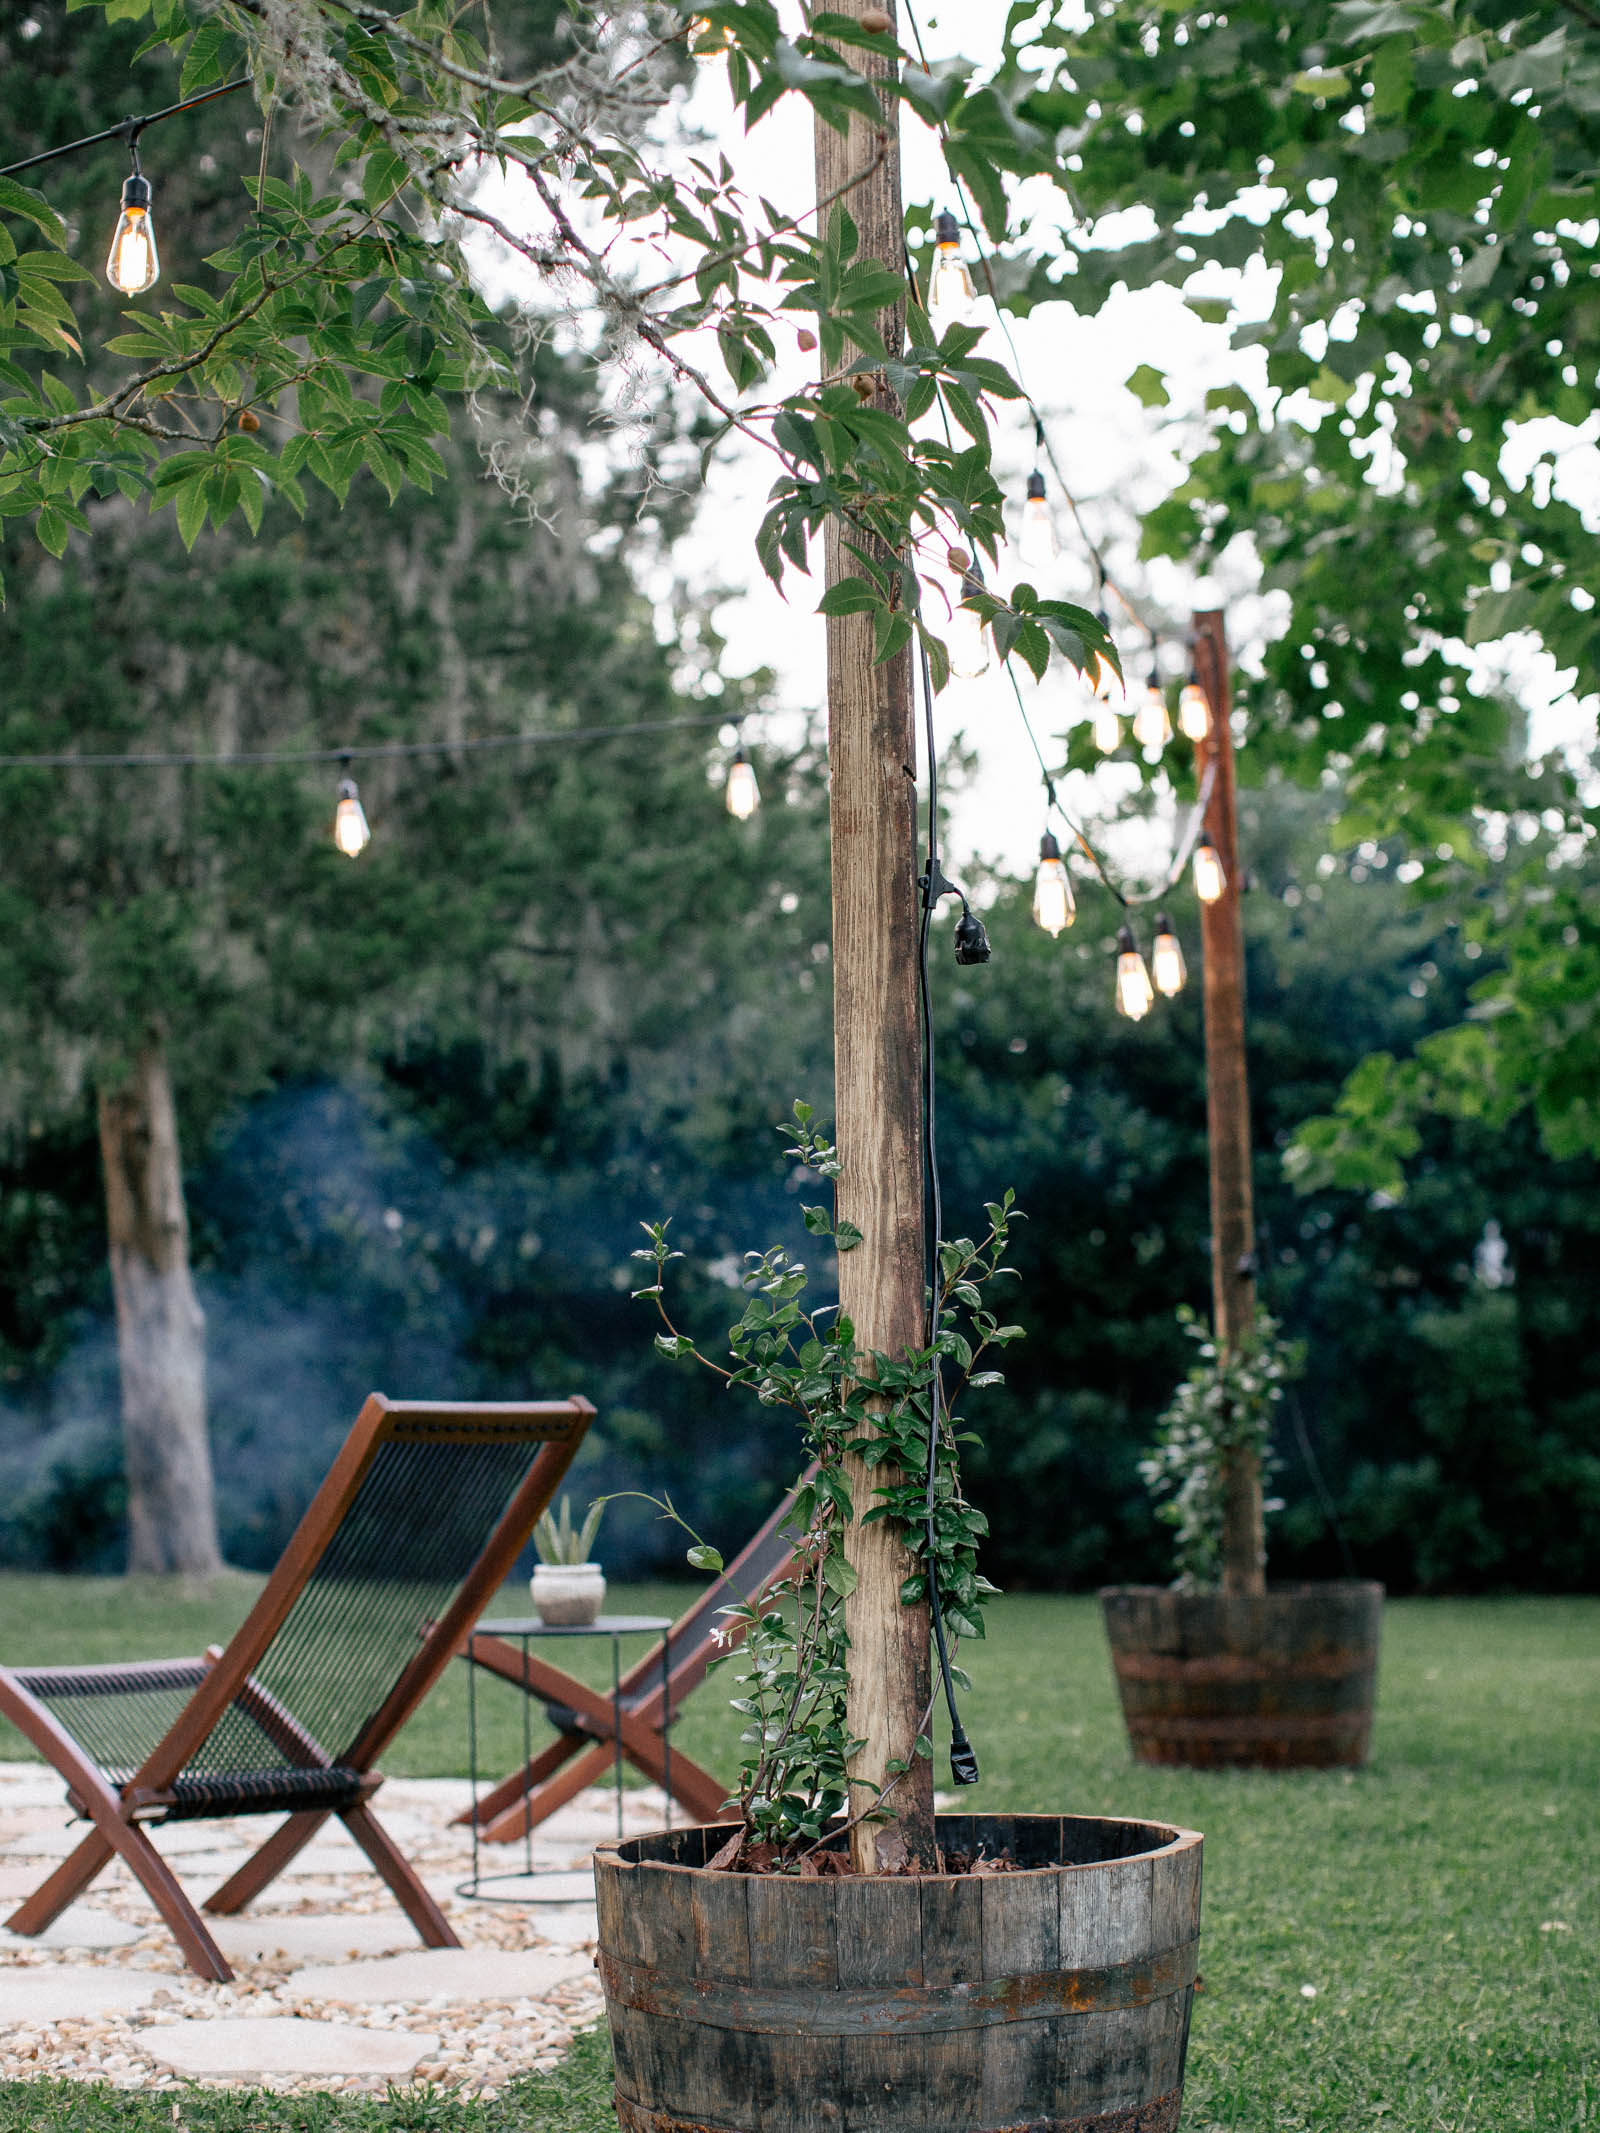
- // Last step is to screw in the bulbs, plug in, and enjoy!
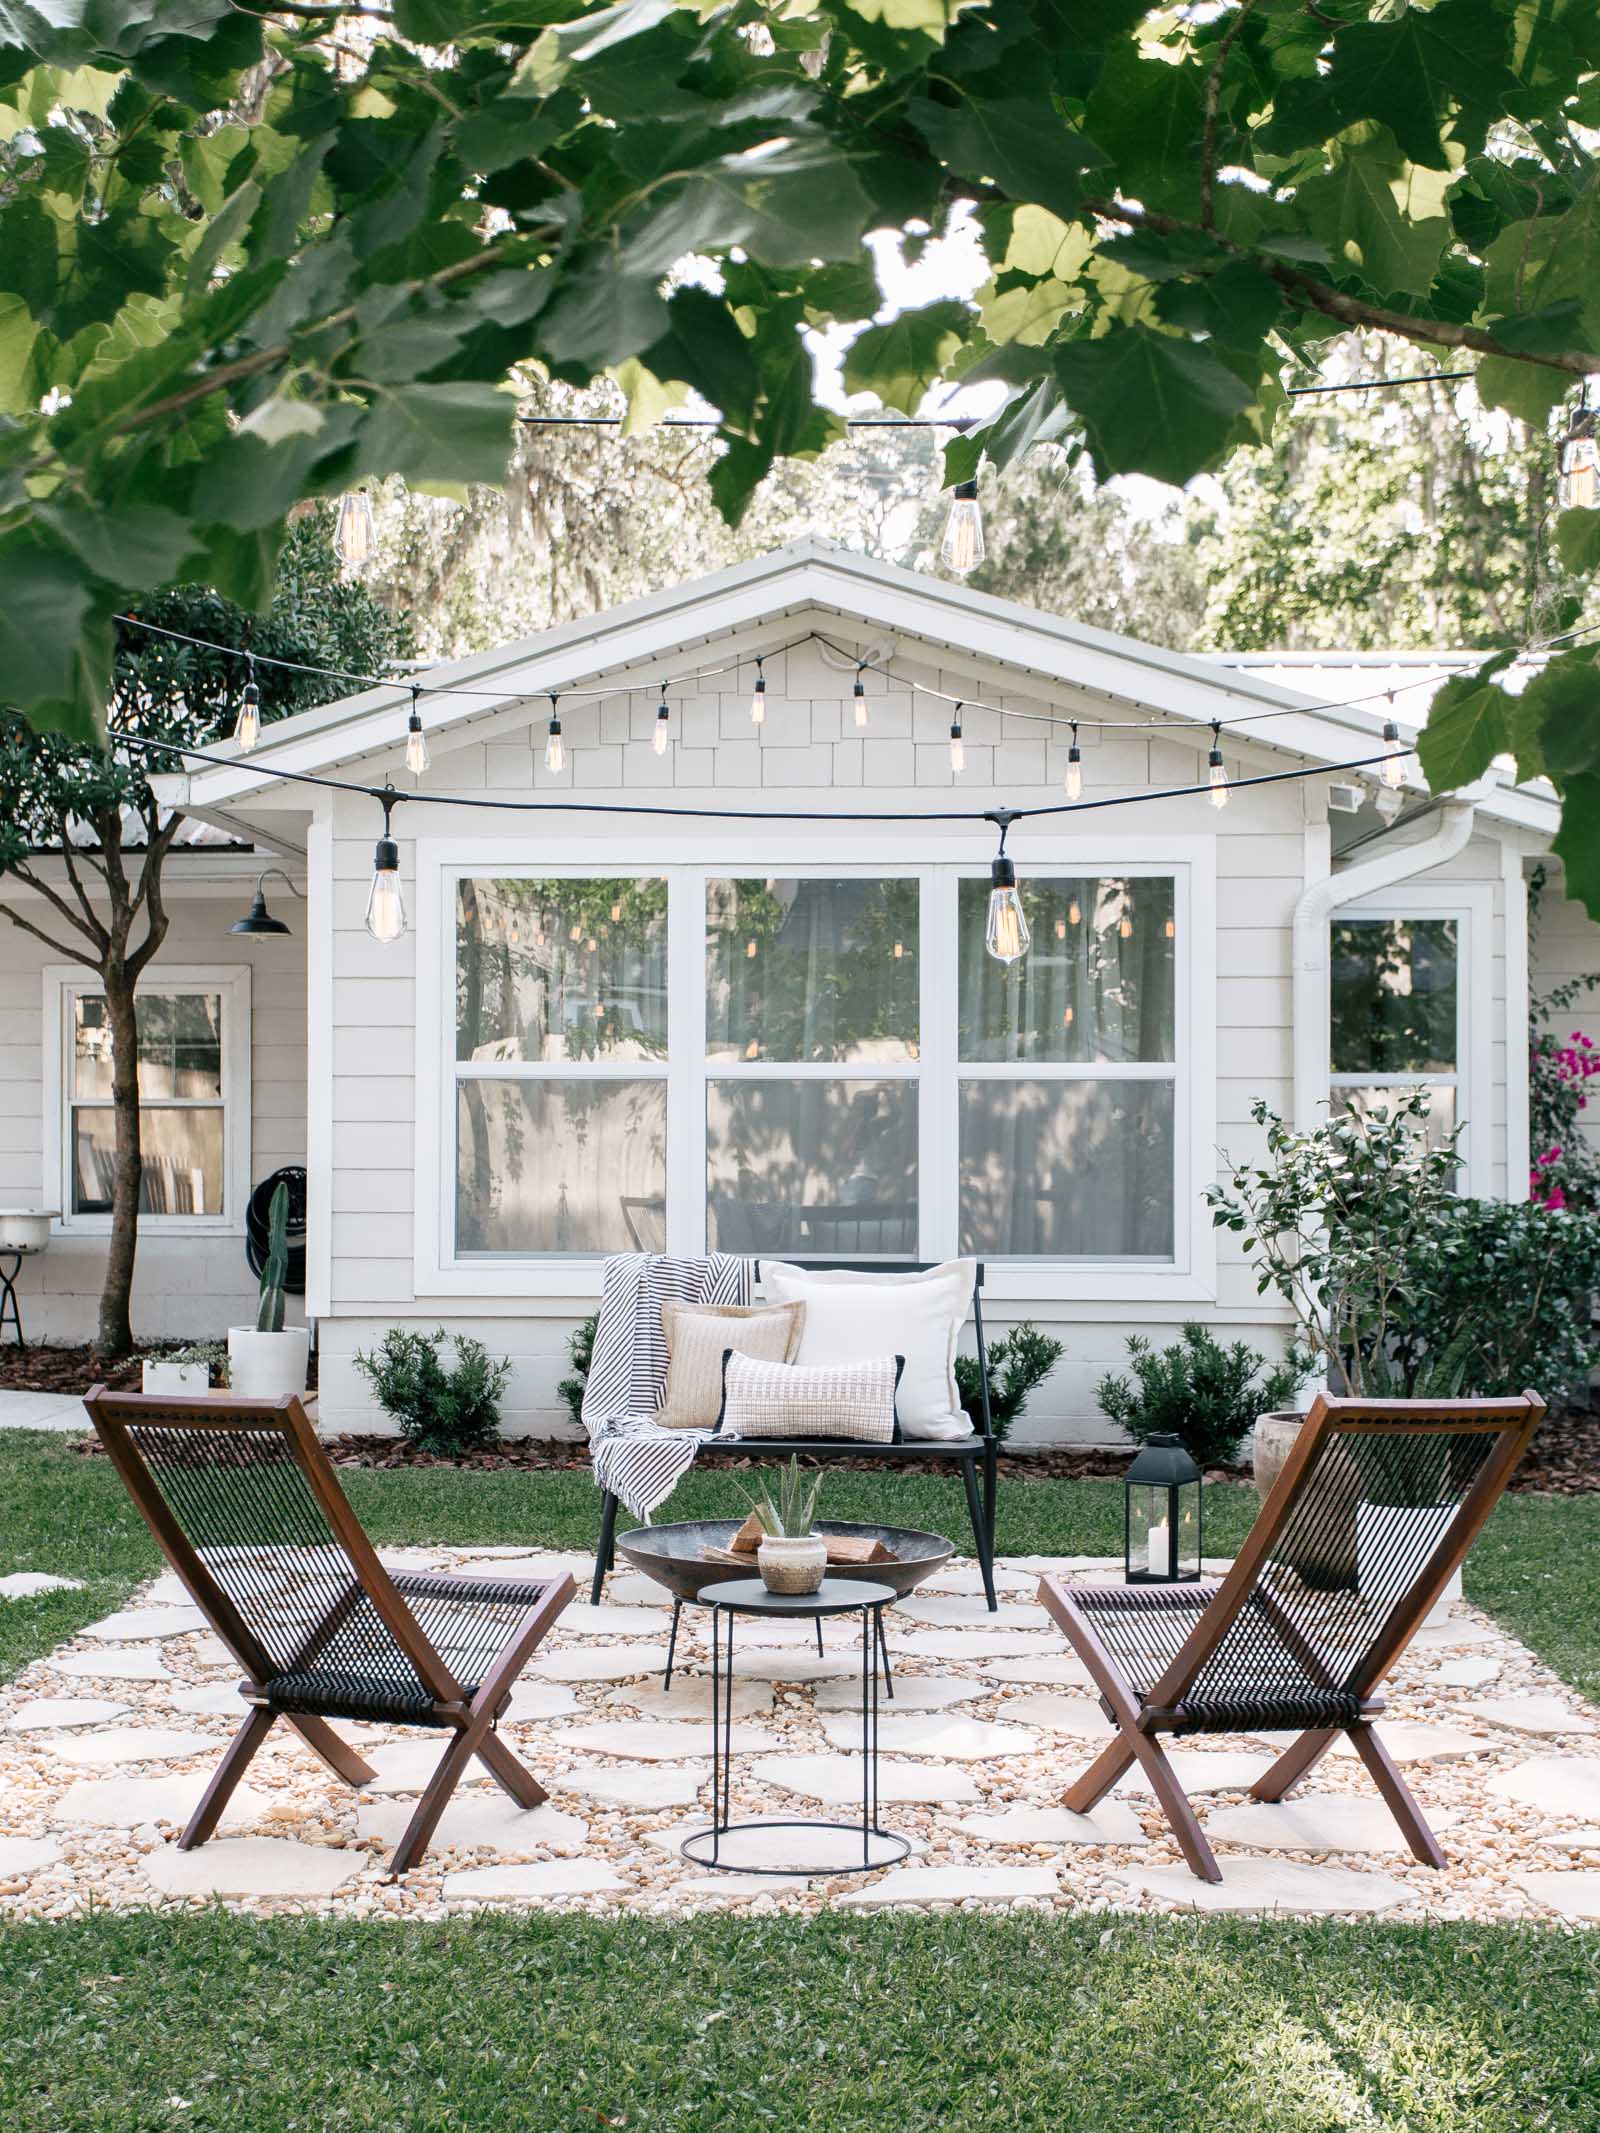
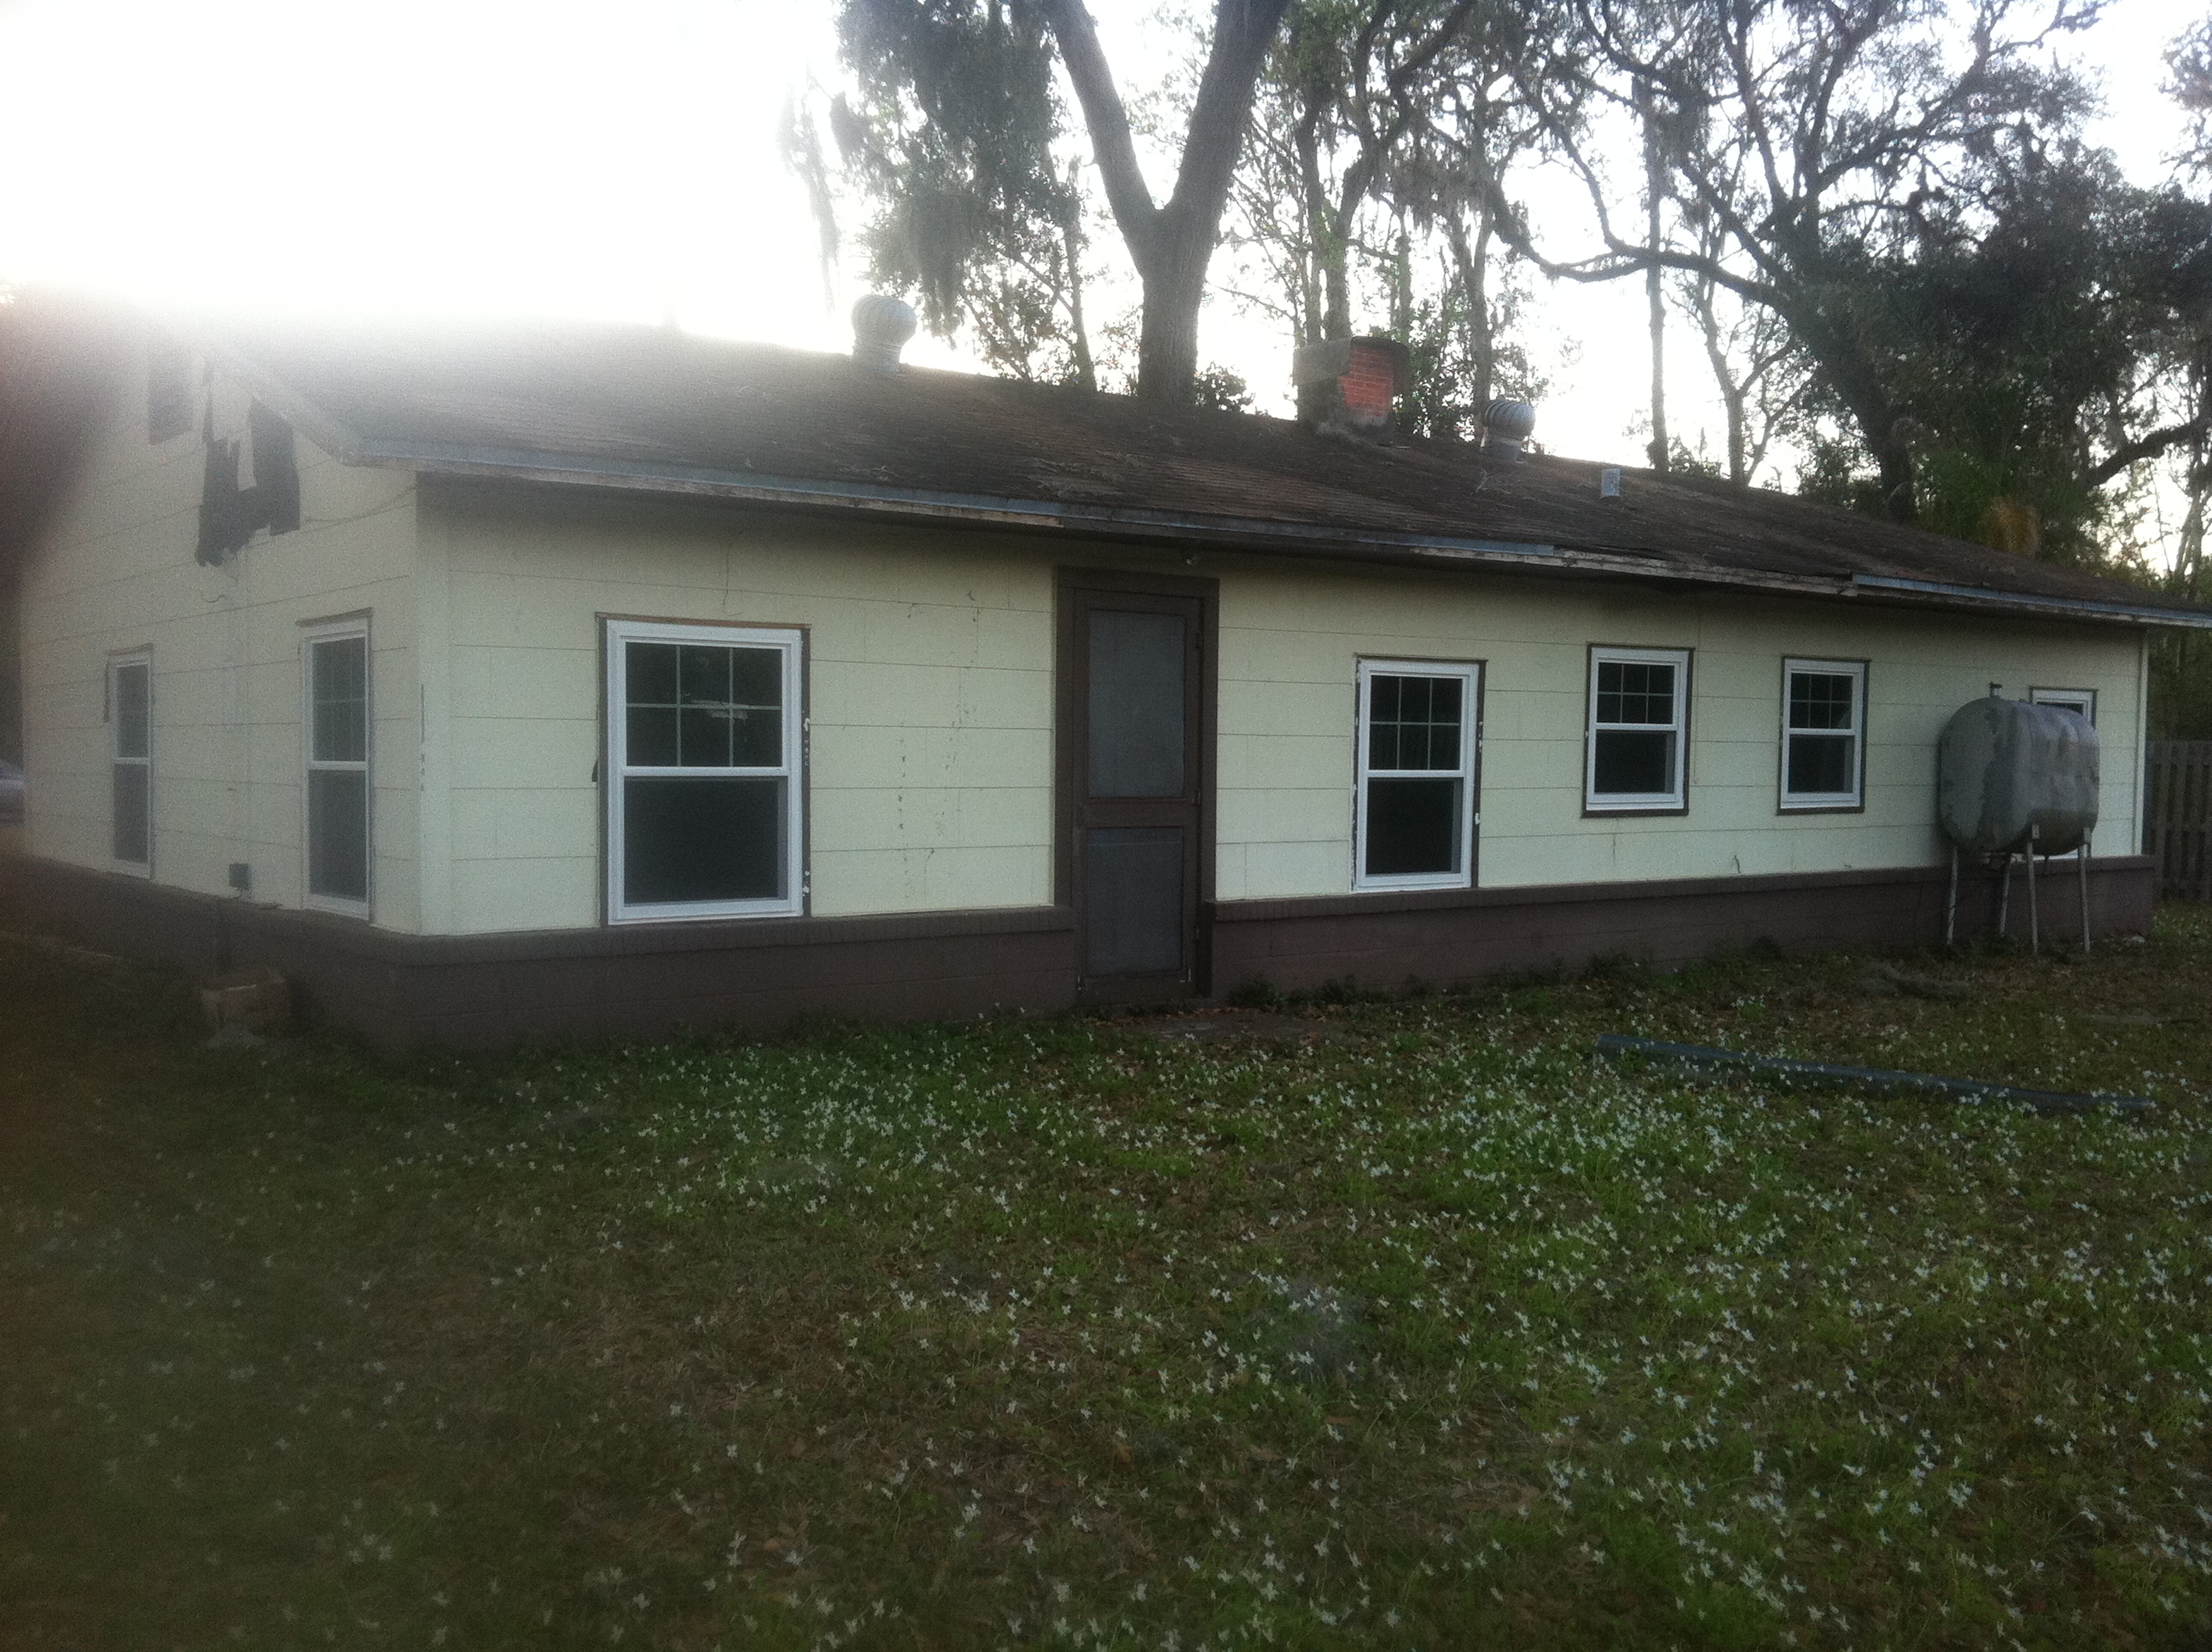
Just for fun, here is a BEFORE of the back of our home and our back yard when we acquired it.
Fore more behind the scenes photos and videos, Click Here.
Comment below with any questions you have and we will be happy to answer!!
Shop The Post :


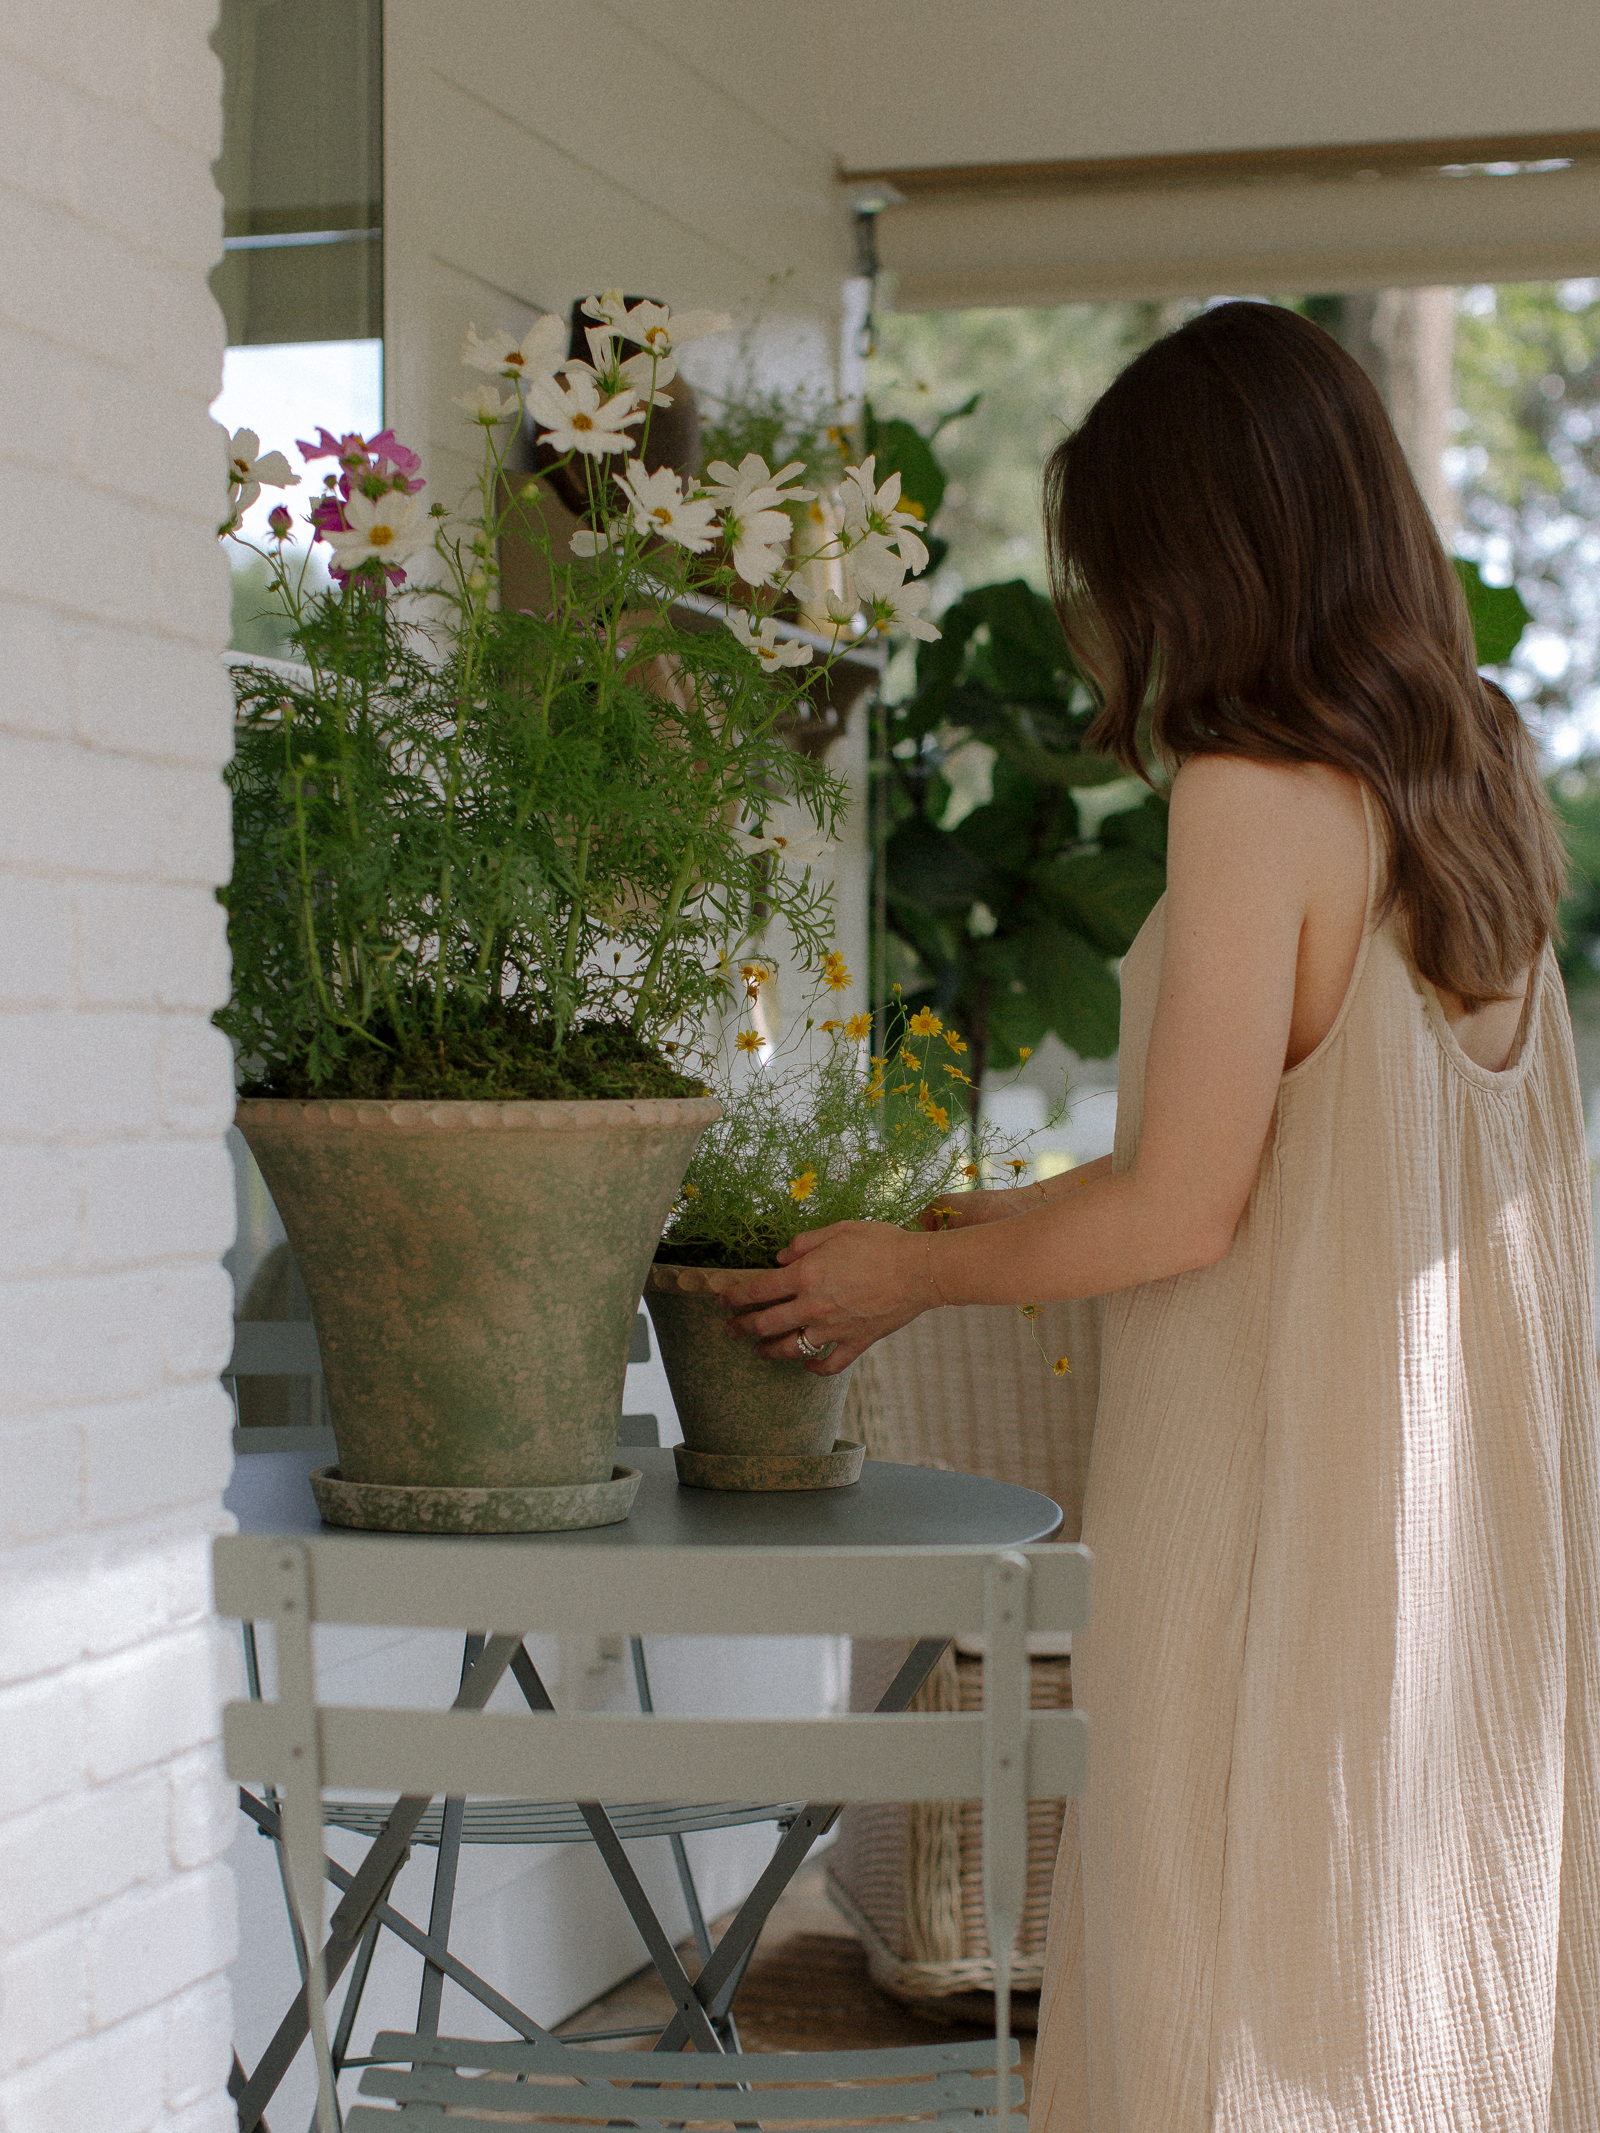
Hi, great job! Looks lovely! Can you tell me what kind of small plant/tree is in the planter? Thanks!
Thank you! In the large vintage pot is a Camellia bush.
[…] loved turning our backyard fire pit area into an outdoor dining space for an early evening dinner with our family! We created a fresh herb […]
Hi’ do you mind sharing where your chairs are from? Thanks! Looks great!
Thank you so much! The chairs are from IKEA!
[…] you haven’t seen our back entry, we had the exterior door painted Sherwin-Williams Tricorn Black earlier this year, and after […]
[…] DIY Fire Pit With String Lights […]
[…] Photo by Justin and Chelsi Shaw […]