First, not to confuse you with this space, which use to look like this… but we recently moved our vintage oak dresser over by our front door to create a fall-styled entry moment, which you can see here. Since moving the dresser, we needed something to fill this space and it needed to be more substantial than the side tables we had on hand… so we happened upon this vintage oak table with bobbin legs. Today, we are sharing all about the entire process on how we refinished it!
Get the Look

Before
In order to really appreciate this transformation, which honestly turned out way better than we ever anticipated, here is what we started with…
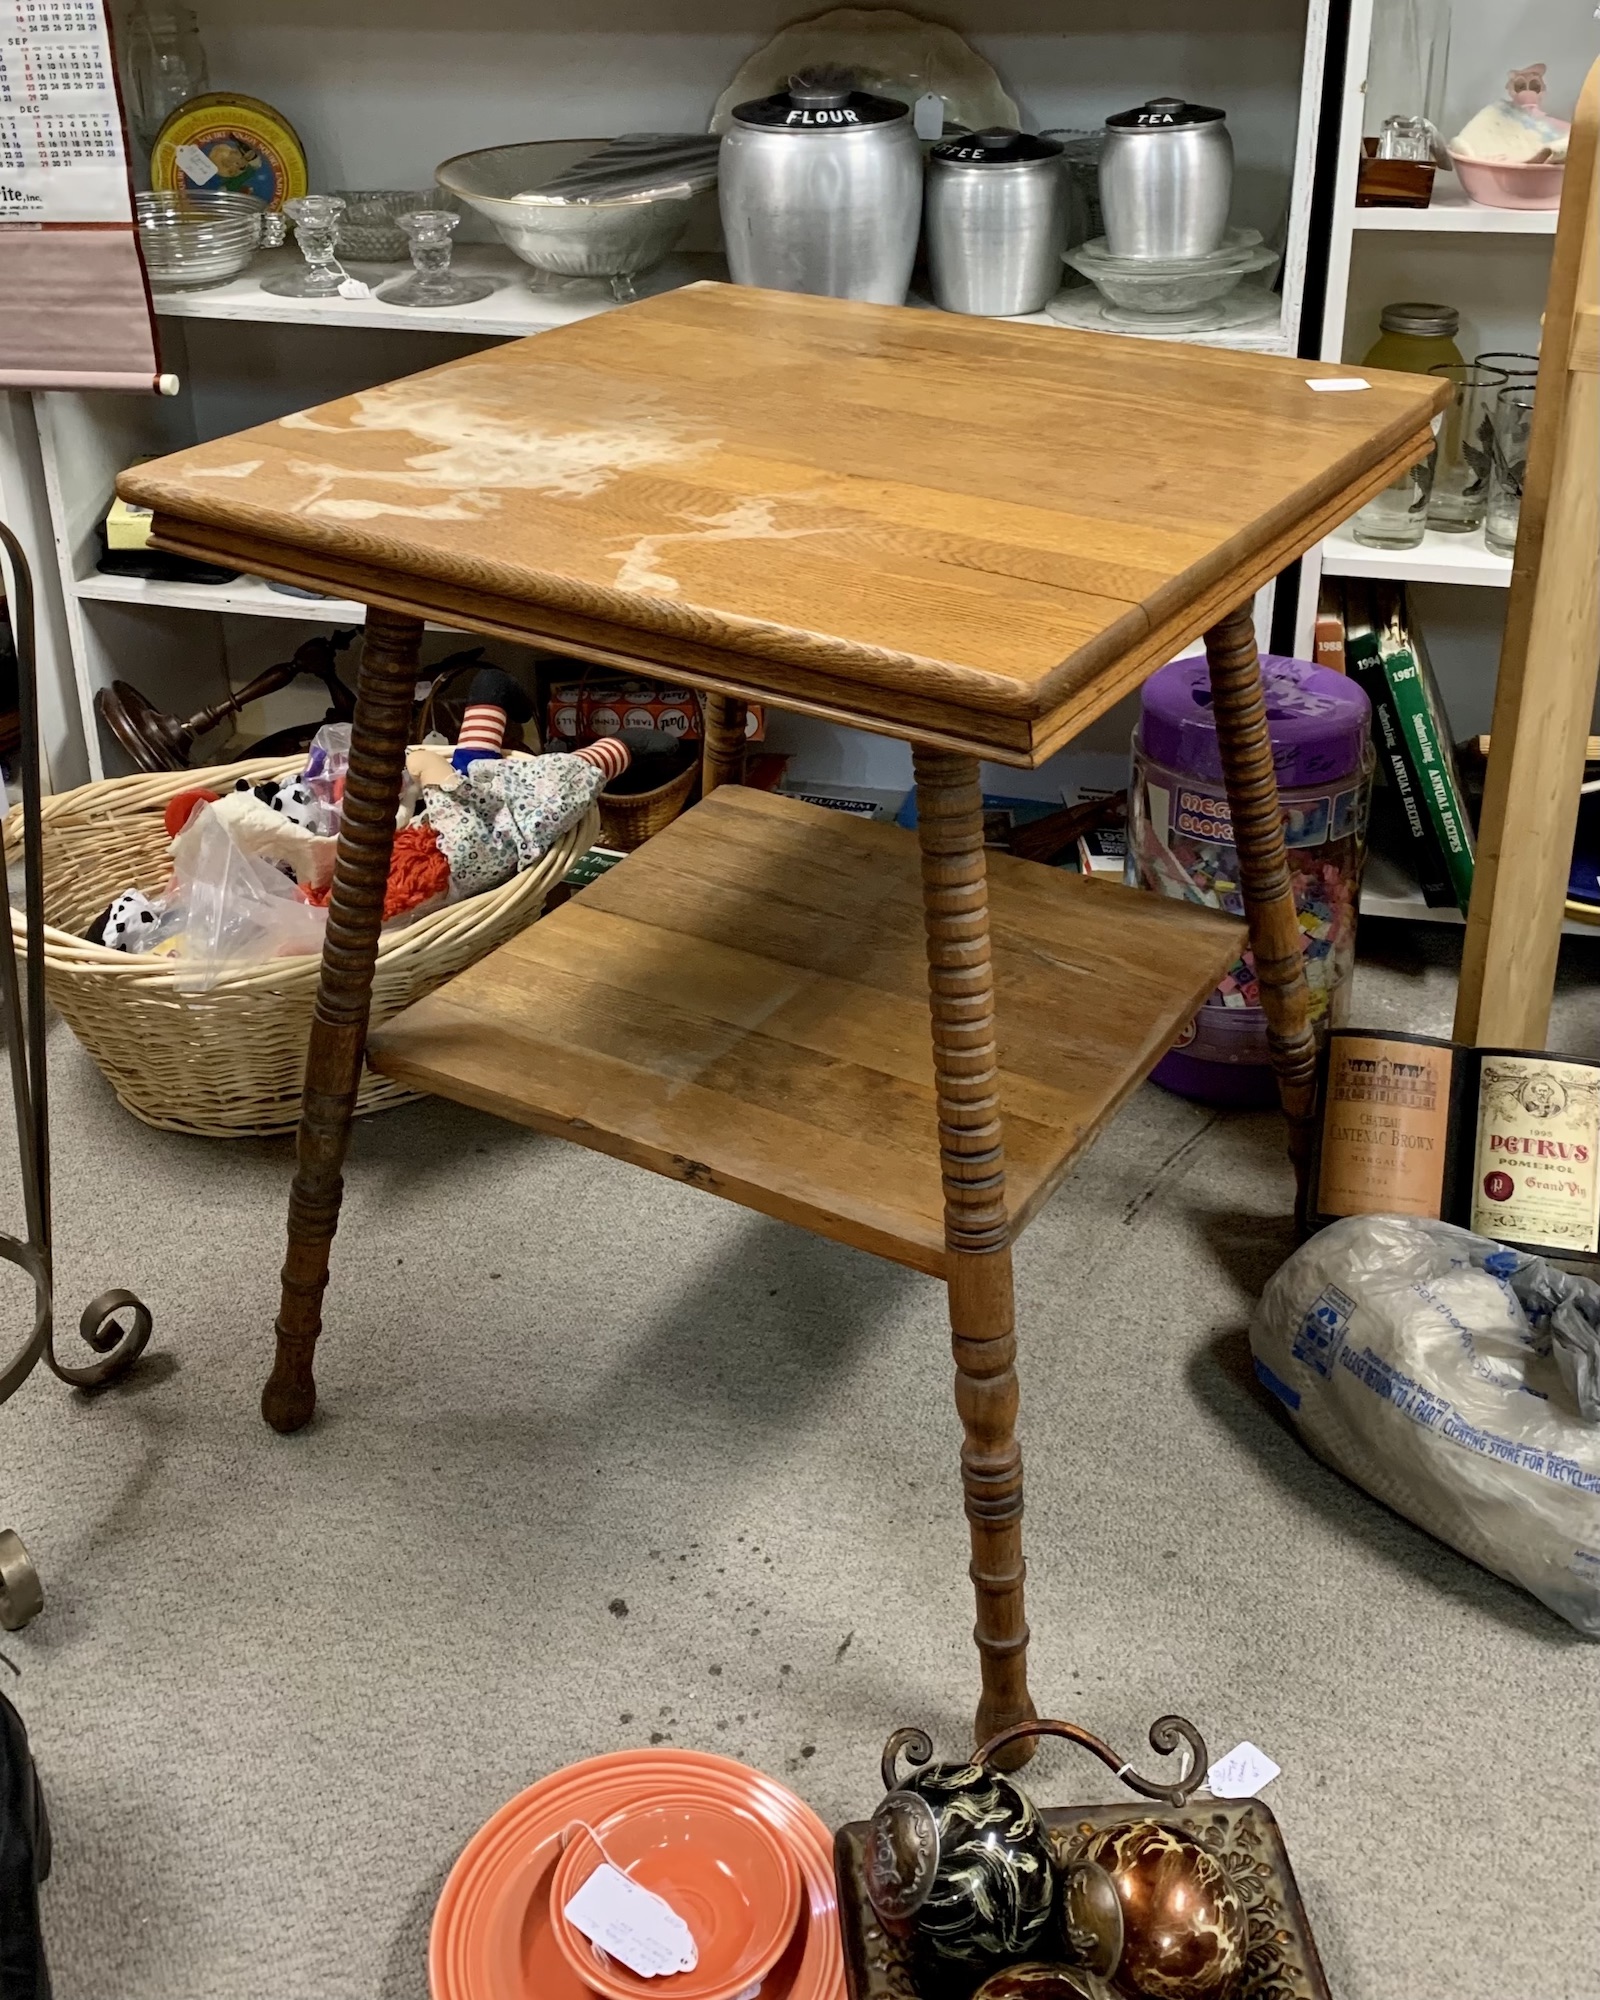
Notice the water stain on the top that was pretty bad since it had stripped away all of the color completely, and the table was a bit wobbly- but nothing that I knew couldn’t be fixed! We negotiated the price down from $125 to $50, which is amazing for a solid quarter sawn oak table and especially amazing when you compare what they sell for here, here, and even here.
These tables are pretty easy to come by in our area… and I bet you could find a great deal on Facebook Marketplace too. You can search keywords like- vintage oak table, early American oak table, vintage table with bobbin legs, bobbin leg table, antique oak table, vintage parlor table with bobbin legs…
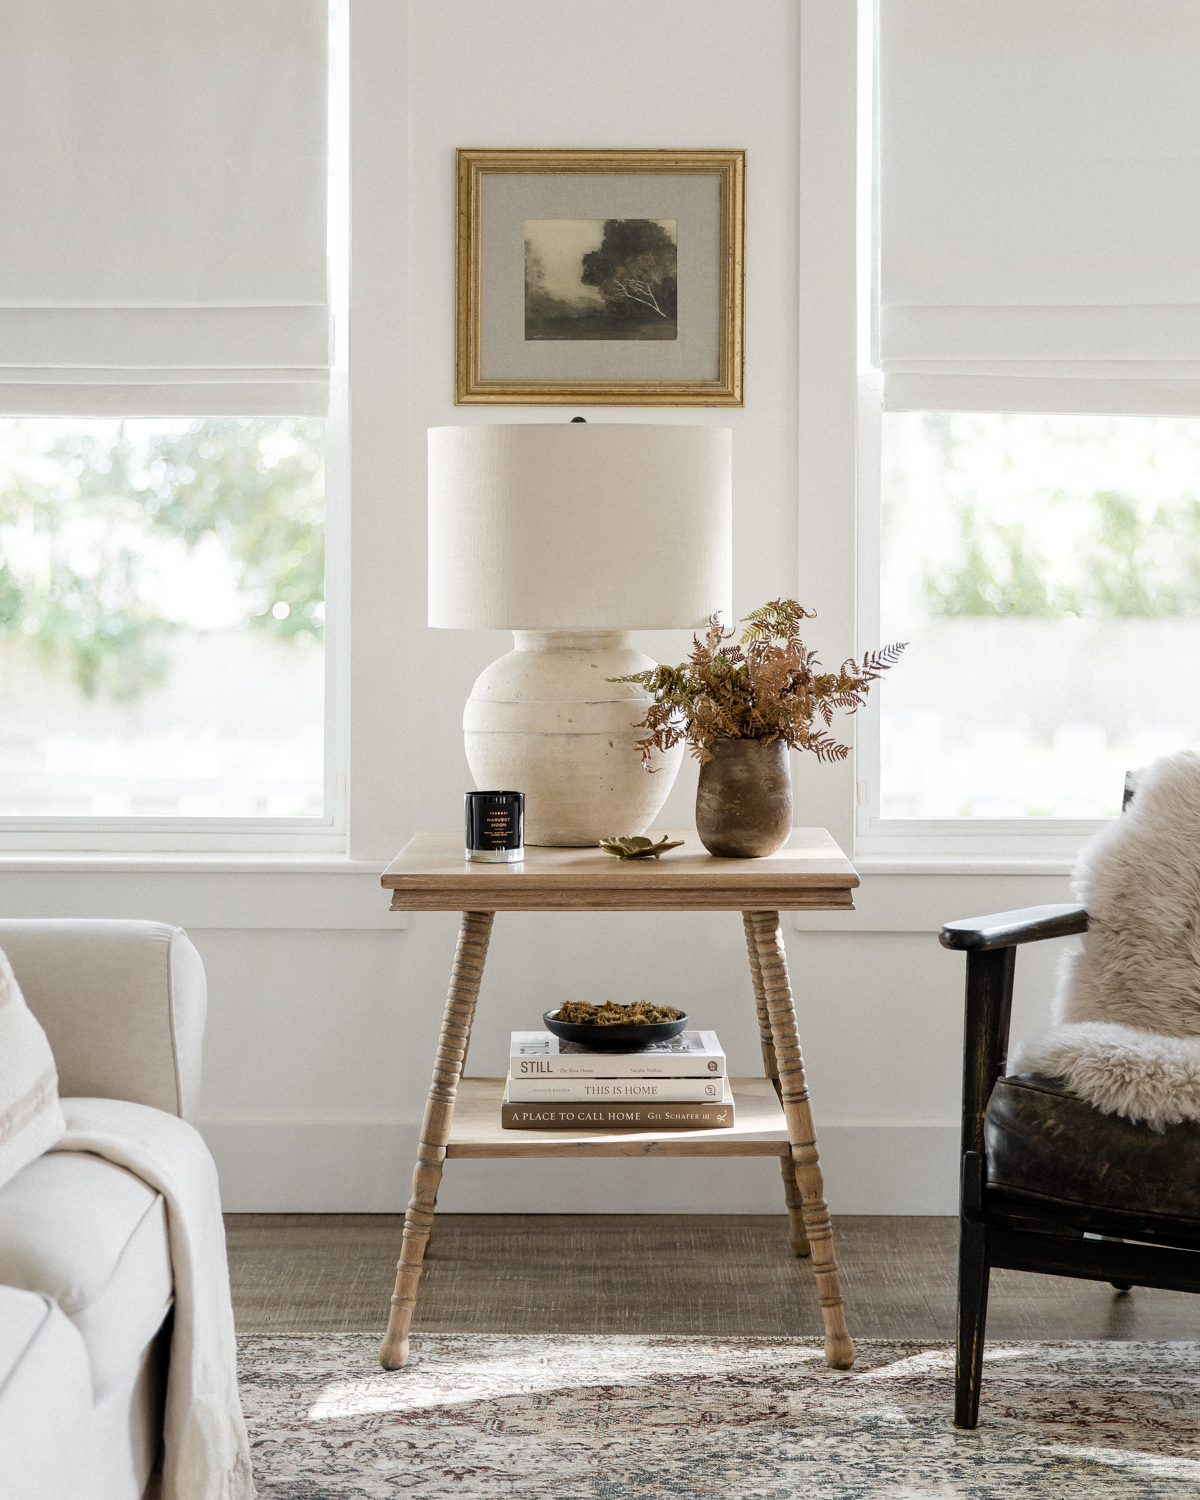
After

The Process
Let me preface this with saying two things- one, the top of the table and the shelf was quite the experimental process so there are a number of steps. While the legs didn’t take as many steps to achieve the color we wanted, sanding the bobbin legs was QUITE tedious! Ok, now that you know this wasn’t an overnight project 😉 let’s get to it!
DISASSEMBLE : First, we disassembled the table by removing the screws that held the shelf to the legs and then we removed the legs from the top by hammering them out of the grooves.
STRIP : We then applied Citristrip over the top, shelf, and legs… a pretty liberal coat, and we let it sit for about 30 minutes before we removed it with a plastic spackle knife and cloth.
SAND : After we removed all of the paint stripper, we sanded everywhere using our orbital and mouse sanders and 120 grit. We got into the grooves as much as we could on the legs, but I didn’t mind leaving some of the original color since it added dimension to the legs.
MAGIC ERASER : After sanding, we wiped the entire surfaces and legs with a magic eraser, let that dry, and then we did it one more time. You could also try wood bleach, but we didn’t have any on hand and we knew magic erasers have a similar effect!
WHITE WAX : We applied this white wax everywhere, let sit for 15-20 minutes, and then lightly sanded off with our orbital sander and 220 grit paper. Don’t freak out after you apply the wax and it doesn’t look how you think it would… it lightens the wood and looks really beautiful after sanding/buffing it! Note : we had to sand the legs by hand.
LEGS ARE DONE at this point… but the top and shelf still had some work since there was the water stain and a lot of tone/grain variation.
SET OVERNIGHT : After applying and sanding the white wax, let the top and shelf set overnight before applying the stain mentioned next.
WOODSCAPES MOUNTAIN ASH : I first talked about this product in this post, where we used it to refinish our dining table. This is a Sherwin-Williams product and we already had it on hand from where we stained our wood posts on our front porch which you can see here. What this does is neutralize any of the the red/orange tones in the wood.
STAIN : Now, this is the part that was experimental… after the Mountain Ash stain dried on the top and the shelf, I brought it inside to look at it compared to our other wood tones in the room and I liked it but felt like it needed a little bit of warmth, so I applied a very QUICK layer of Puritan Pine, and then wiped it back off. This brought out the warmth but was a little bit too red, so next, I sanded.
SAND : Lightly sand with 220 grit.
WOODSCAPES MOUNTAIN ASH : Since the Puritan Pine warmed up the top a bit too much, I applied one more light layer of Mountain Ash to dull down those tones.
SAND : I lightly sanded one more time with 220 grit.
WHITE WAX : and applied one final coat of white wax.
SAND : and then buffed out the wax by doing a light sand AGAINST the grain. This will make the top have a nice smooth finish.
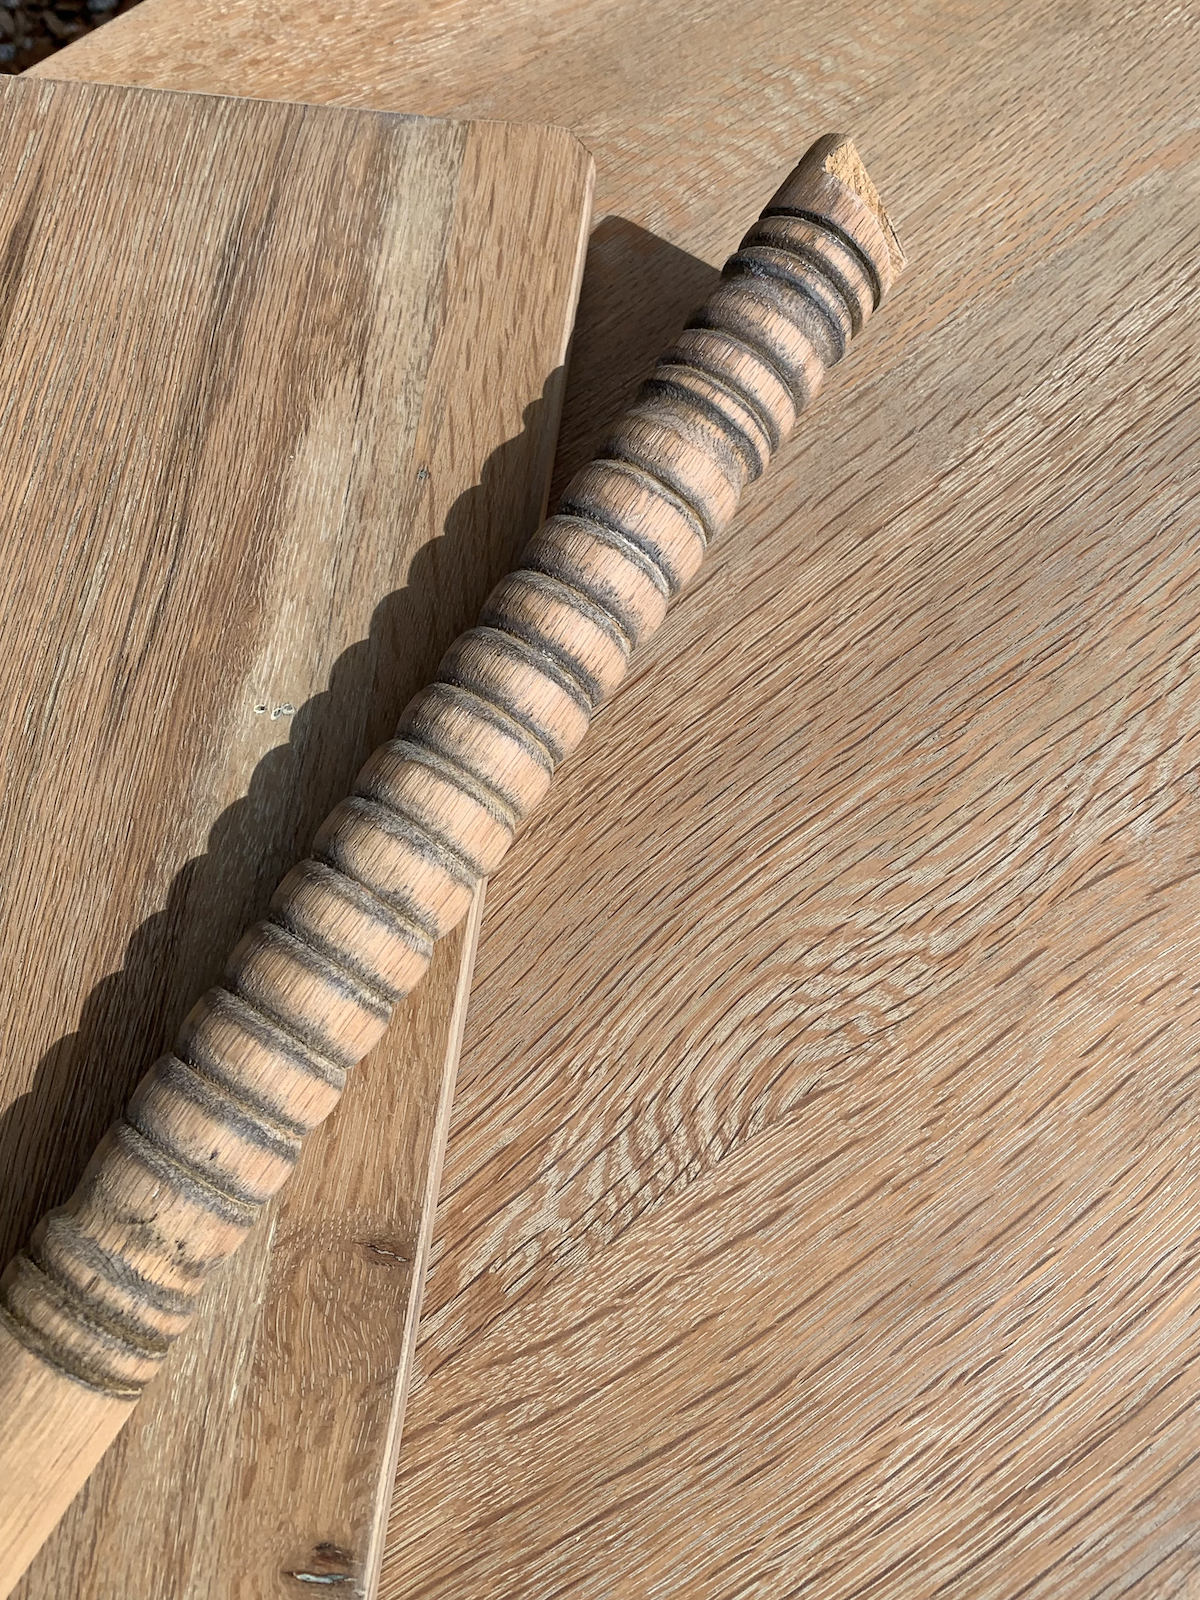
Here is an unedited photo of the table outside before we reassembled it.
REASSEMBLE : We reassembled the legs with wood glue and by adding some wood shims into some of the grooves where the legs were a bit loose to sturdy up the table!
DONE! (Insert cry laughing face)
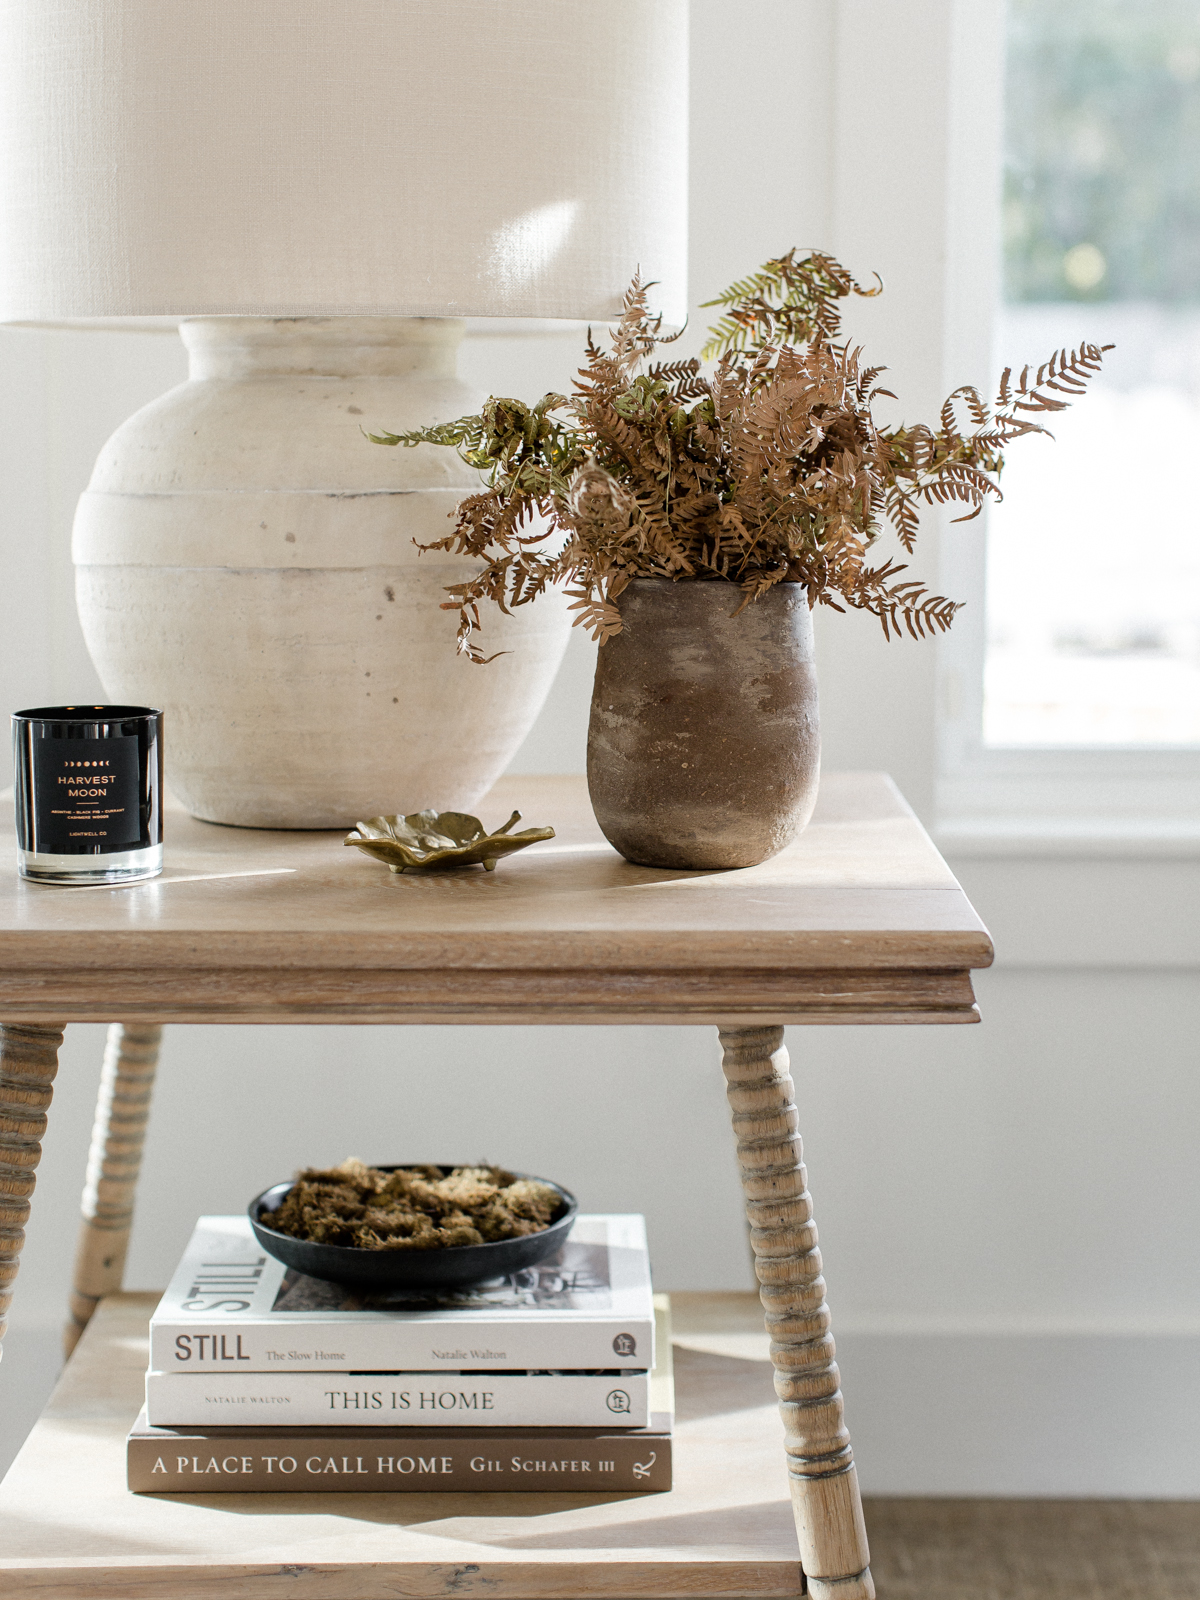
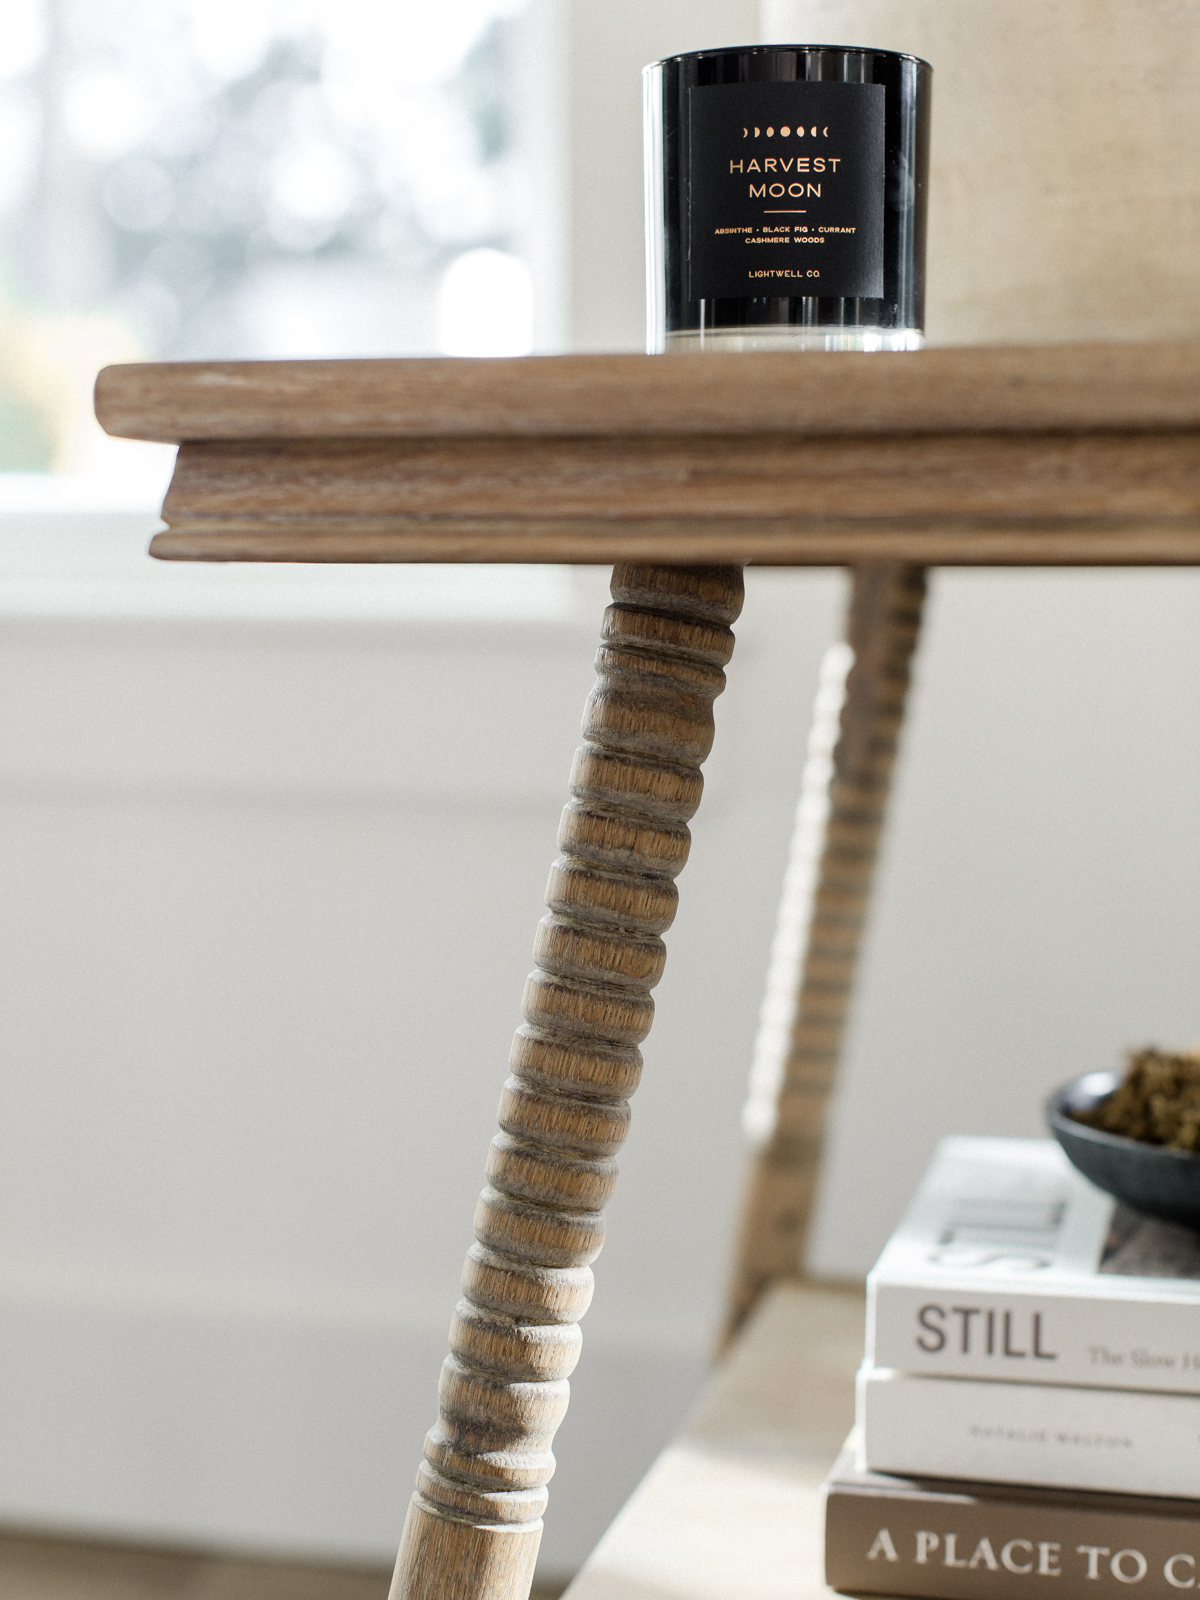
Honestly, it was QUITE the process, I know… but look how pretty it turned out!
You can’t even tell there was ever a water stain!
This piece is now one of our favorite pieces of furniture… it’s amazing how much appreciation you have for something you invest your TIME into.
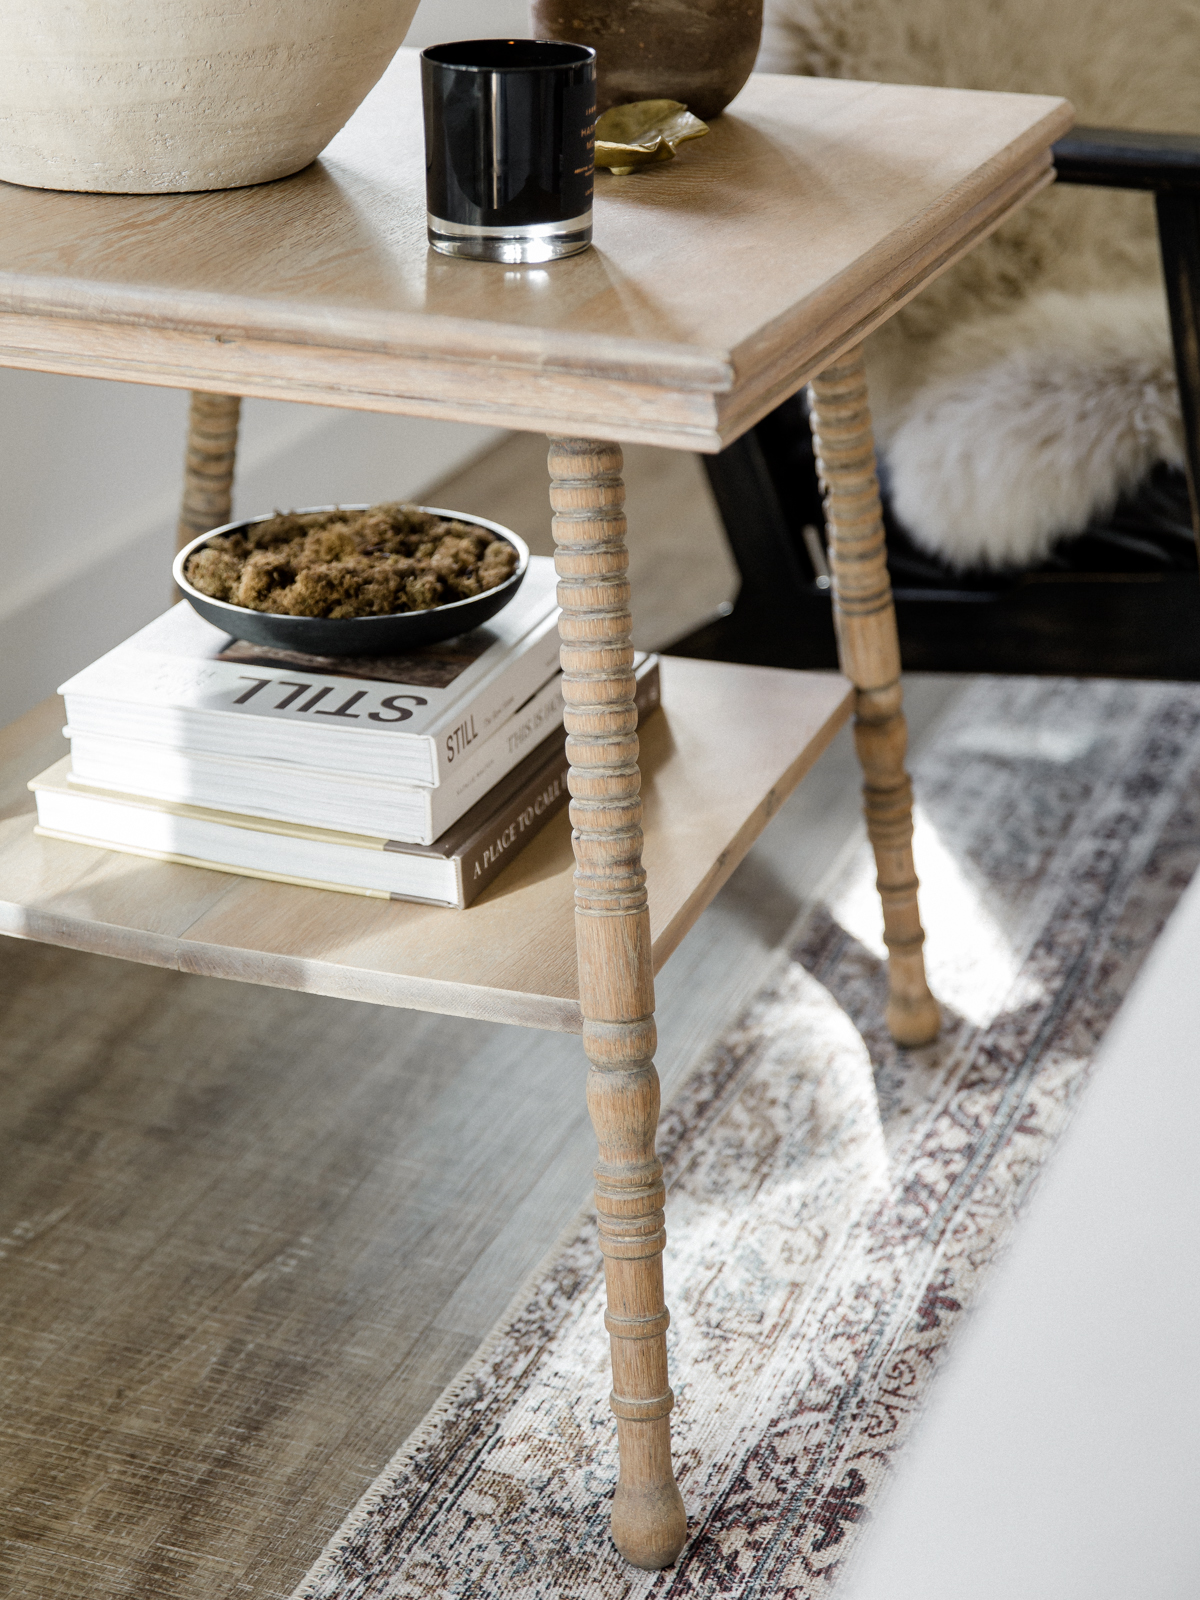
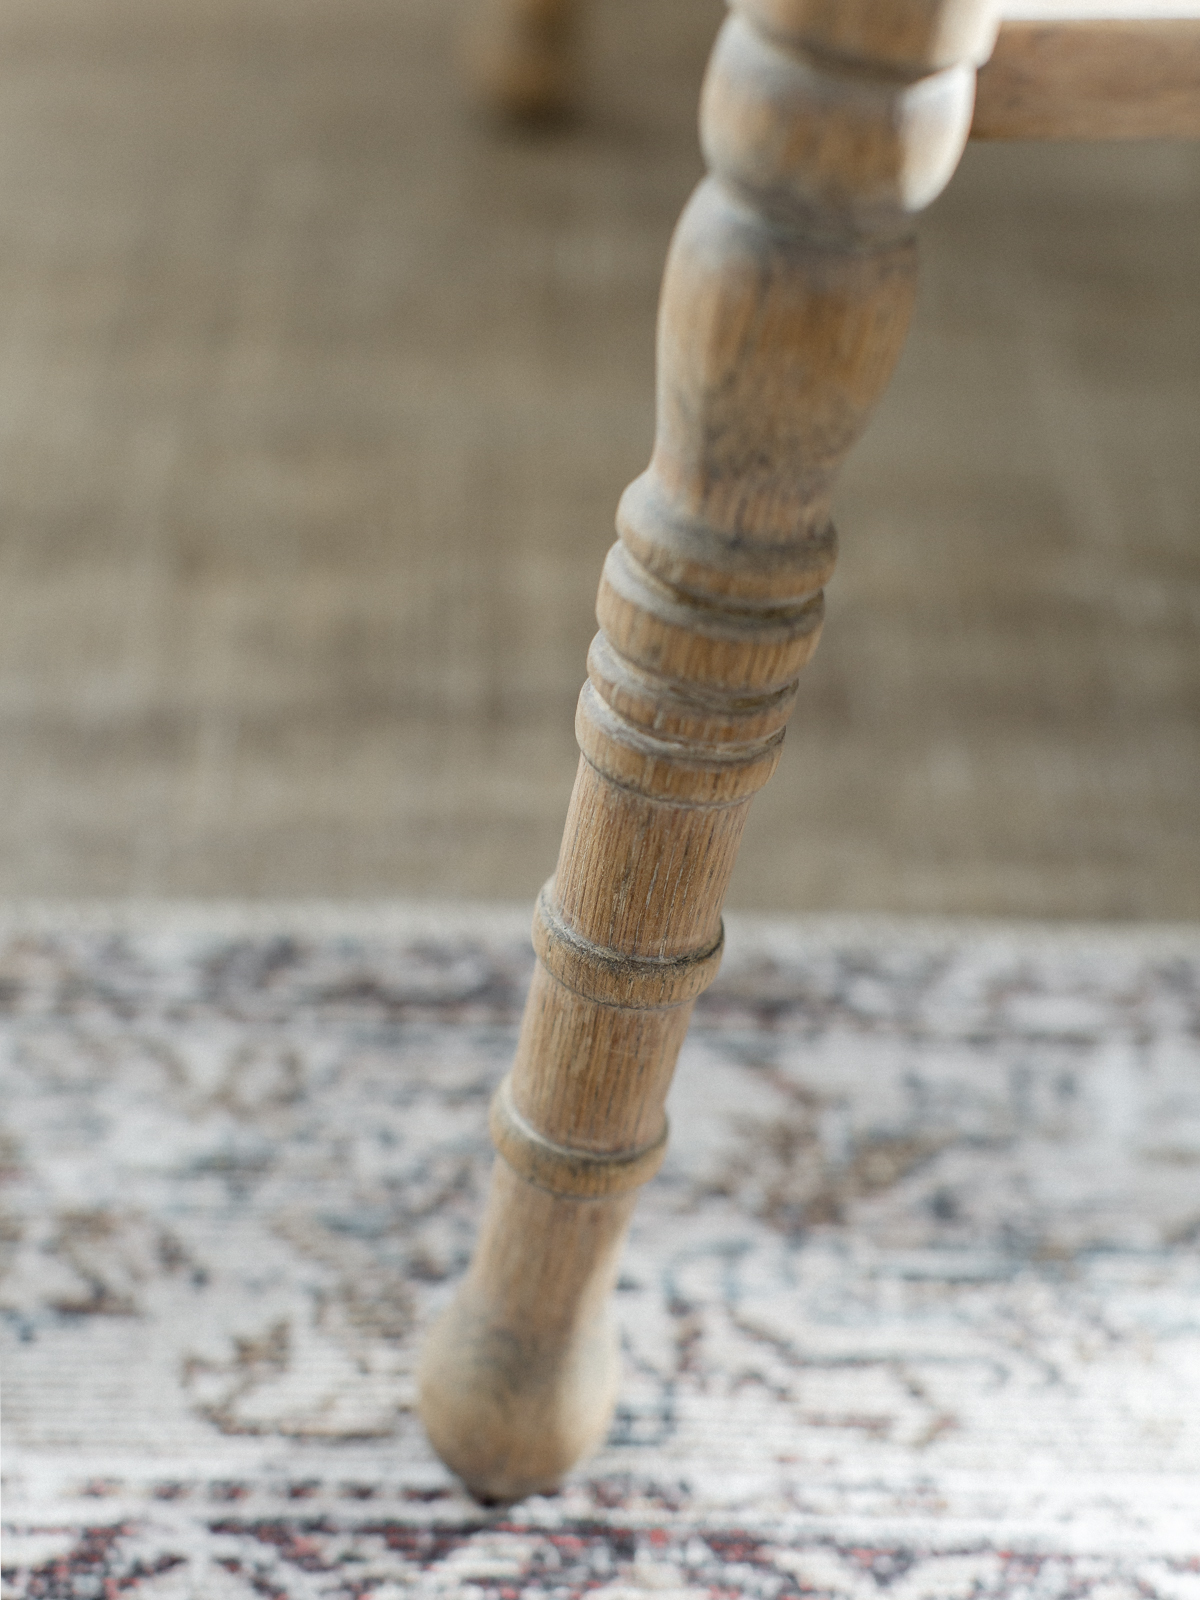
One last leg shot, because… they are my favorite.
Are you going to try this process? Would love to hear your thoughts on how it turned out!
Sources
- White Wax
- Lamp
- Roman Shades
- Art
- Rug
- Vase – see DIY here
- Candle
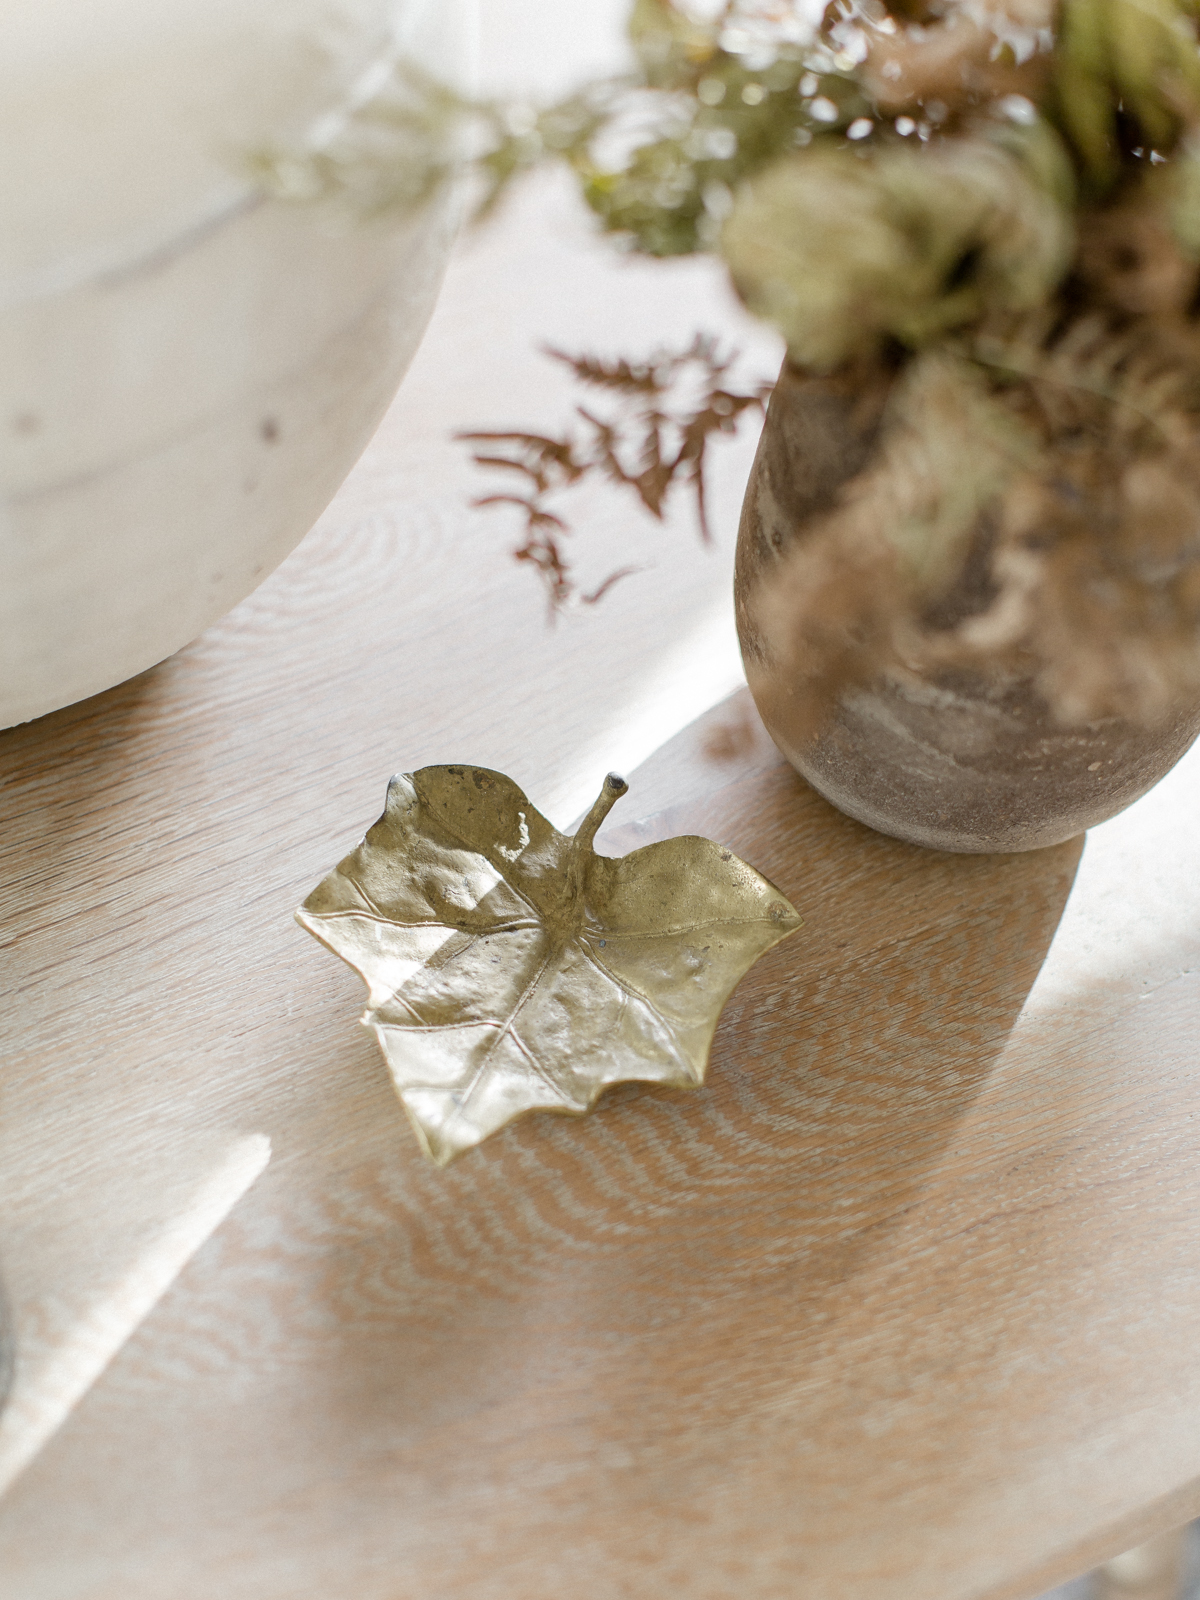
- Brass Leaf – vintage
- Soapstone Bowl
- Moss
- Book 1, 2, 3
- Armchair
- Sheepskin

That is a beauty, I am going to try the Magic eraser on my oak table. I have stripped it down and sanded, it sure is a lot of work.
I will also purchase the Mountain Ash stain you used. Thanks so much for your step by step post. I was at a loss of how to get this finish.🤗Happier now!
Thank you, Anita! So happy it was helpful! 🙂
Did you sand underneath the table too?
No we did not 🙂