Repeat after me, the perfect stain does not exist- if you’re anything like us, you have a stock pile of stains- enough to open up a small hardware store… we are always tricked into buying stains based on the photo on the can thinking “oh! this one is going to be it!” We know better now… one perfect stain doesn’t exist, but by keeping a few simple tips in mind, you can create a stain that works best for the piece of furniture you are wanting to refinish.
Our Dining Table Process
This was suppose to be an easy process- sand the table down, stain it, and we’re done! Instead, here’s how it went…
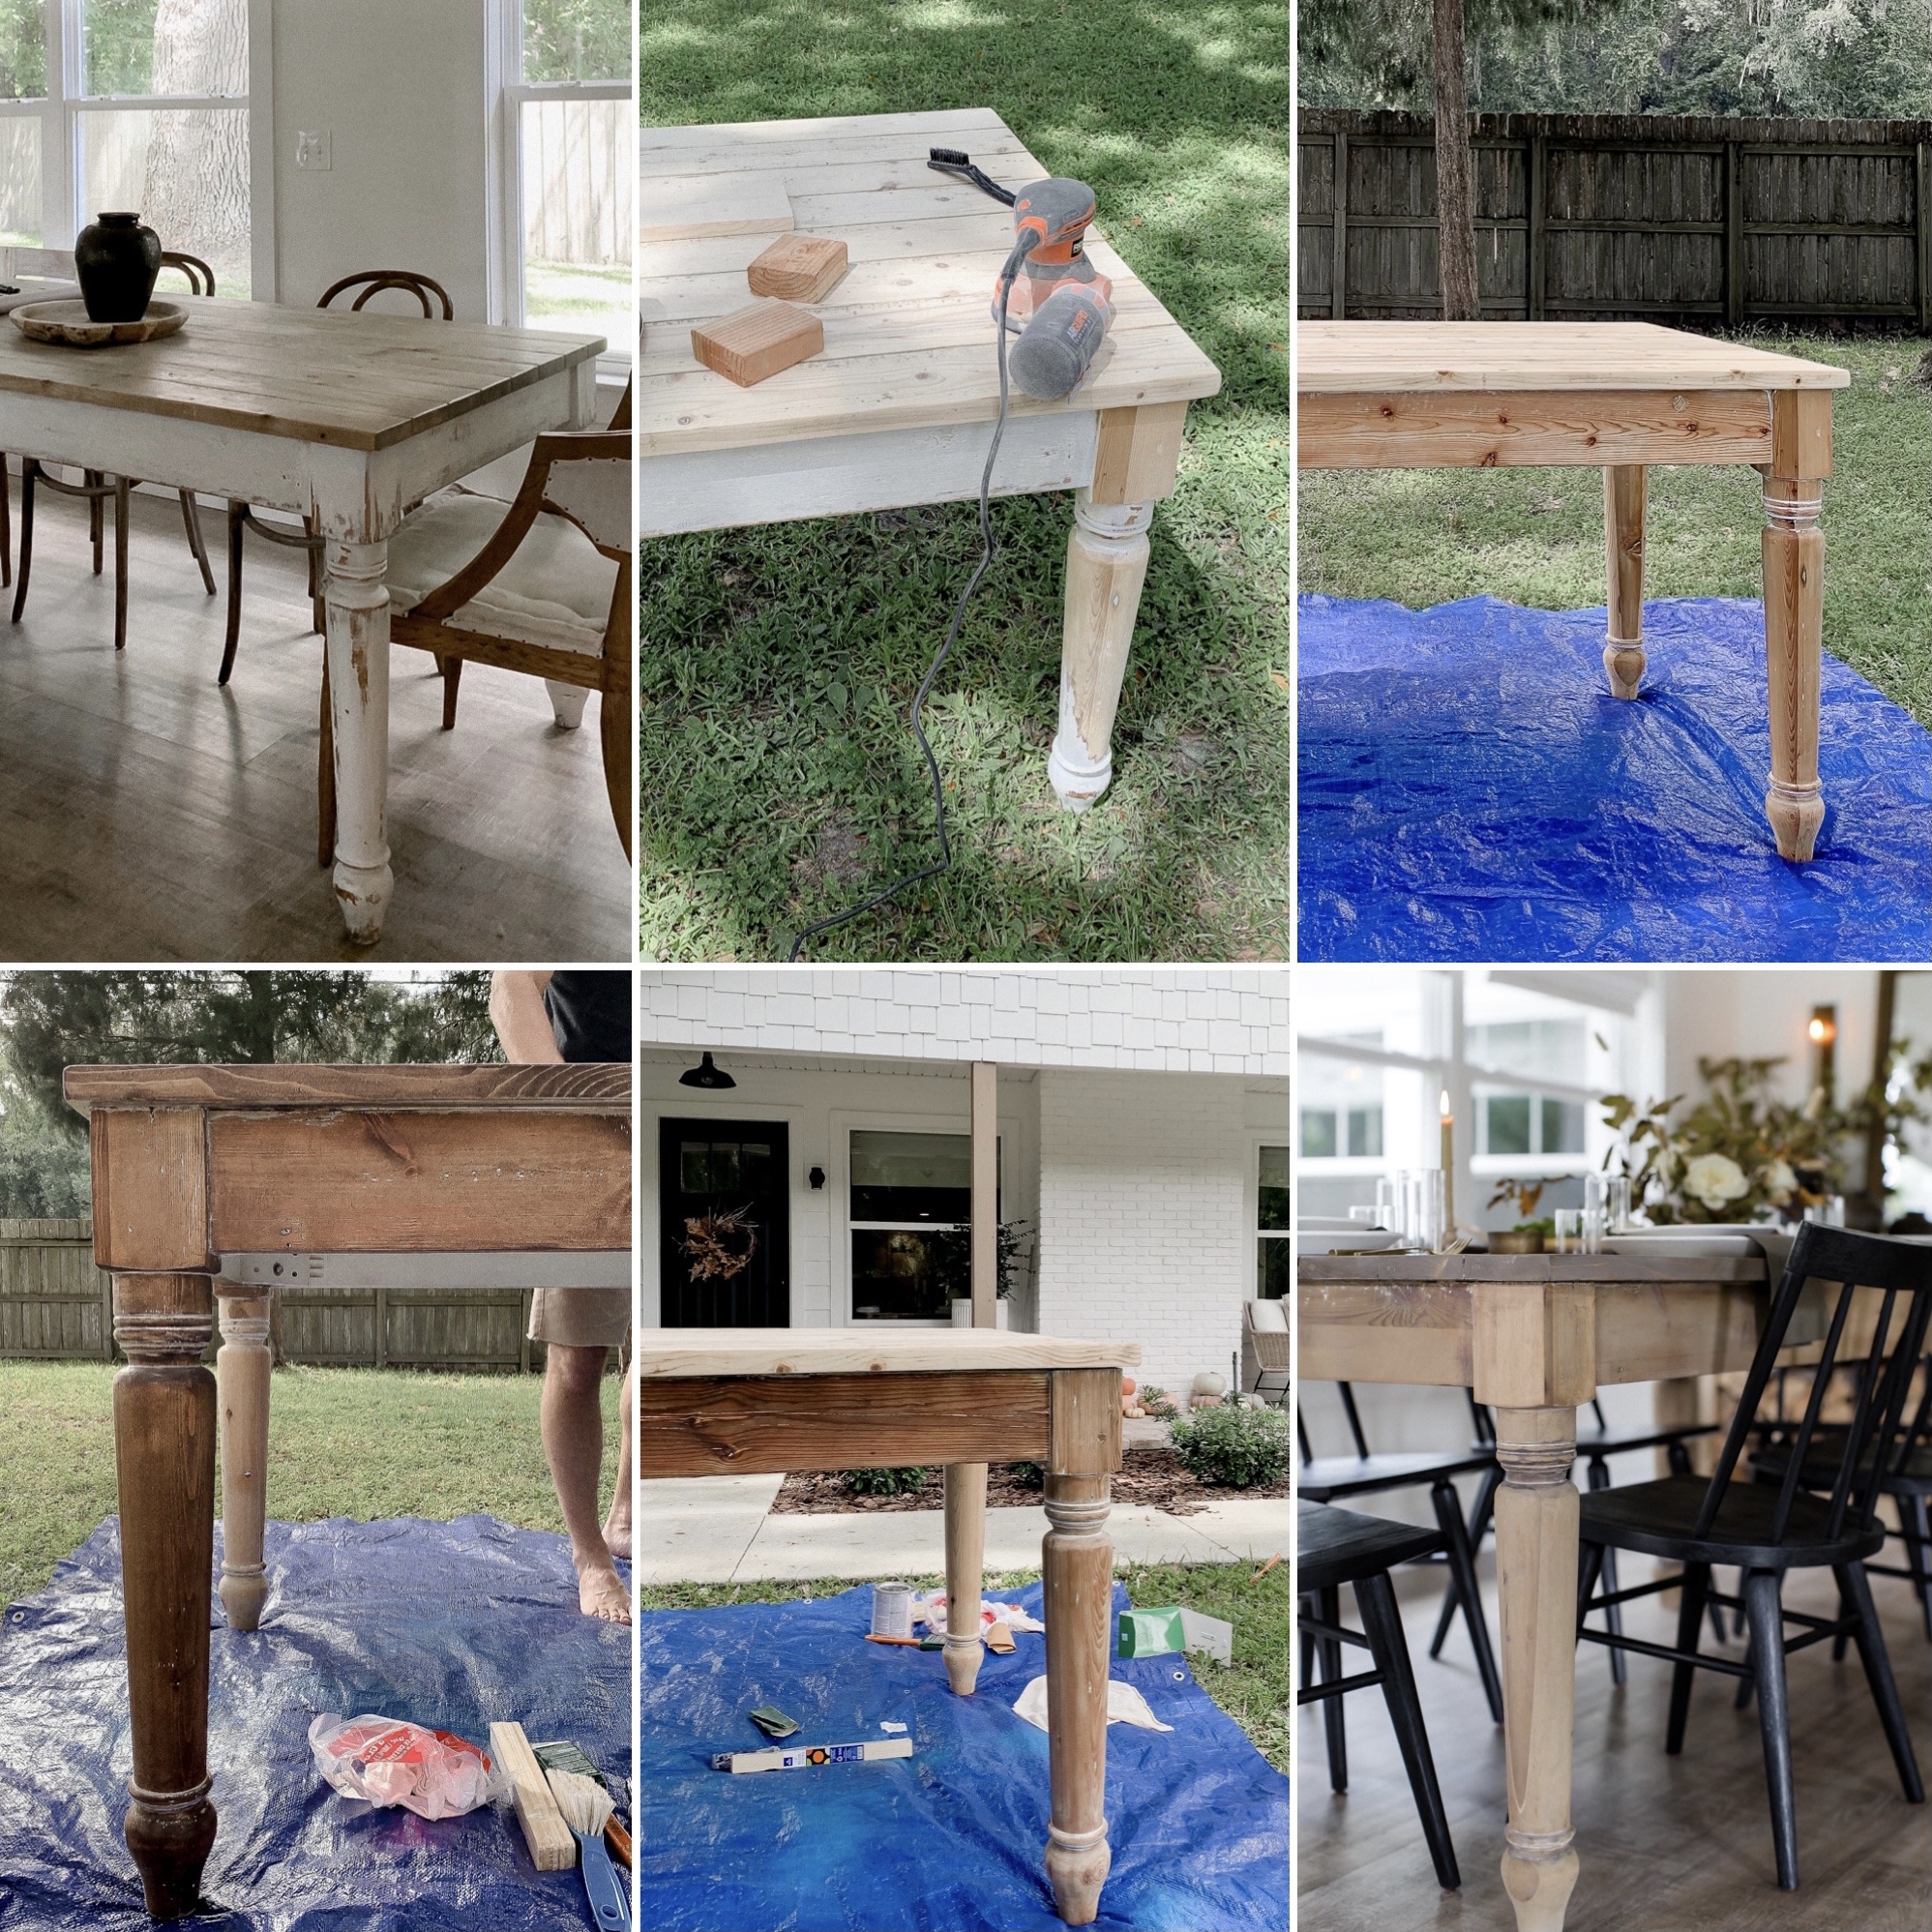
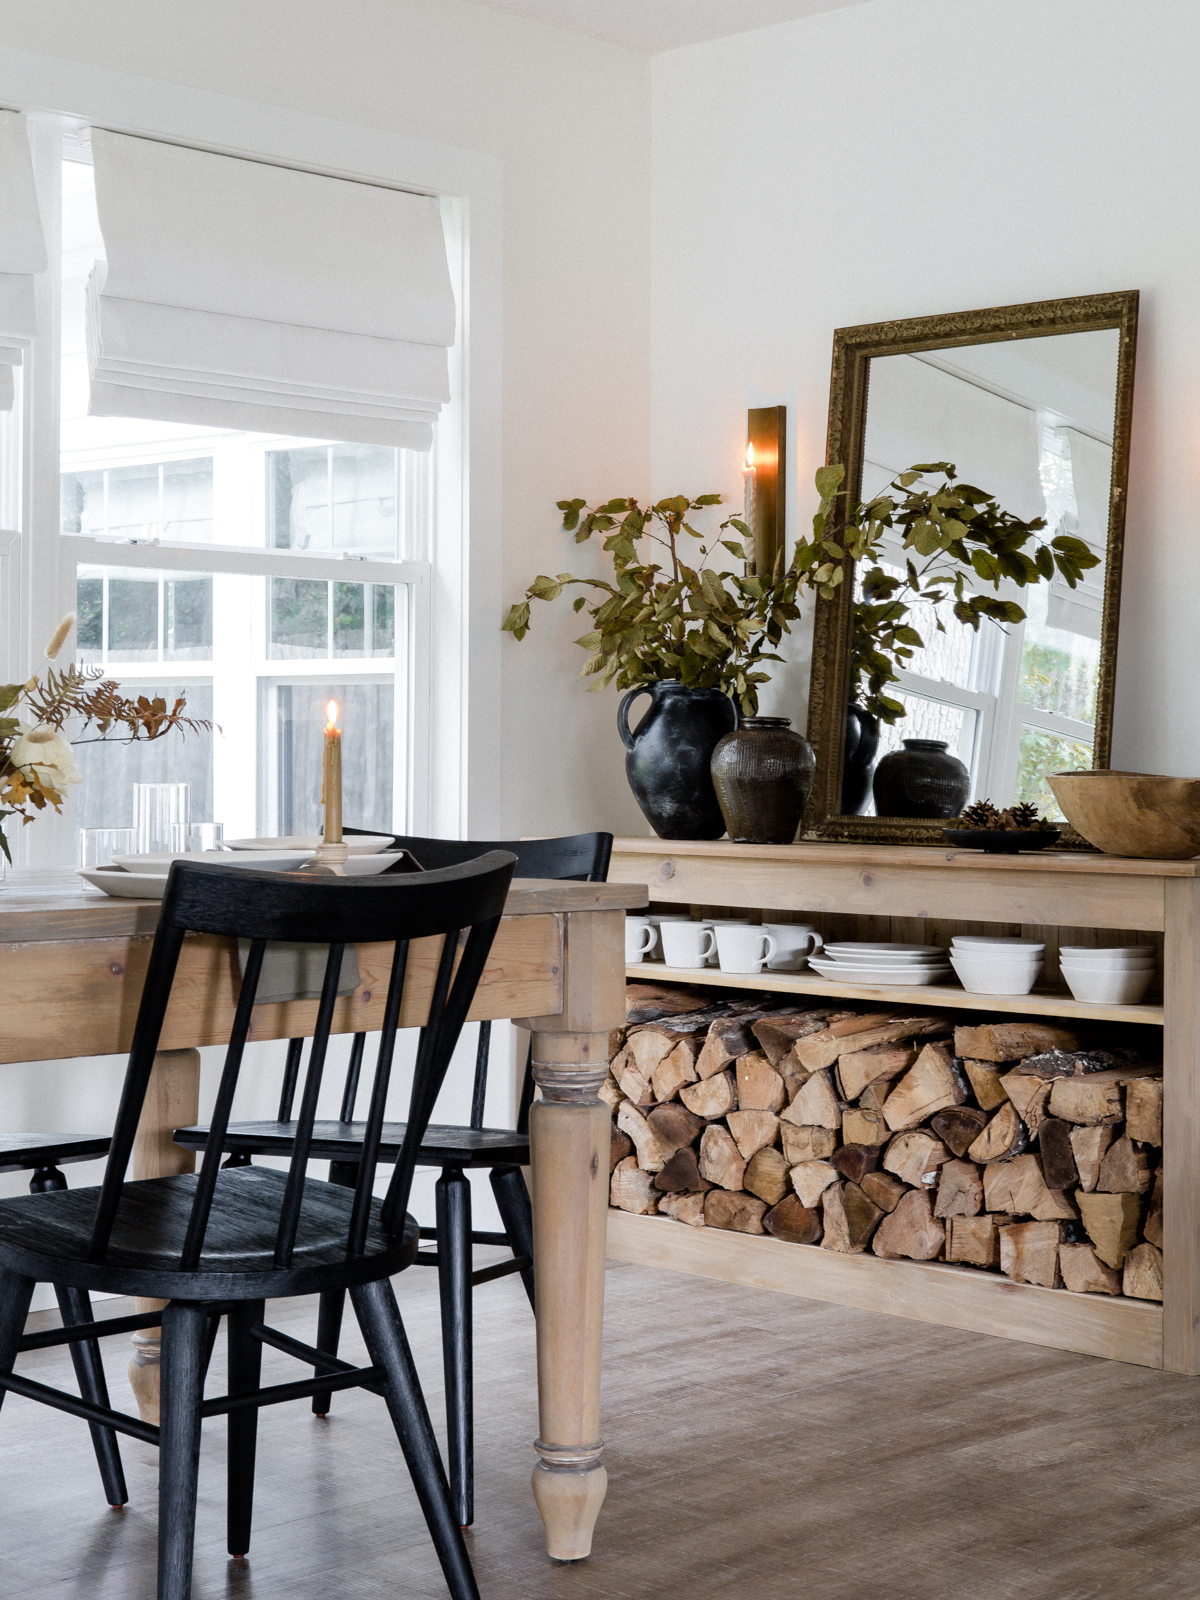
- A before photo of the table- quick back story… when our dining table was delivered from RH (Old English Pine Table made from reclaimed wood) the bottom was distressed yellow and I had to paint it white that same day! We didn’t want it to be two-toned anymore so we sanded it down.
- Once we started sanding down, we realized the top was made of new Pine while the base was made of reclaimed Pine which you can see in all of the variation in tones.
- After many suggestions- we applied a wood conditioner to the table to hopefully help the stain to adhere evenly over the table. We had never worked with a wood conditioner before and it saturated the table quite a bit making the lighter tones appear more orange and wet looking. Knowing what we do now, we will skip this step next time!
- We stained the table in Special Walnut, which is a really beautiful color, but since the table already had orange tones in it, it made the table too red.
- So, we sanded the table down… again! And began testing difference stain combinations ON the actual table!
- The perfect stain combo for our table…
Tips For Creating Stain & Staining
Test on the actual piece of furniture. We tested various stains on a Pine board prior to staining the table, but we found that testing on small areas of the actual table was much more reliable than the Pine board. There are many different species of wood, and depending on the age and other factors, the stain will adhere differently. We ended up testing a few small areas on the table that could easily be sanded down.
Color Theory. Throwing is back to our college color theory class days… we had to remember how to cancel out certain colors and tones with the opposite colors on the color wheel. For example, if your furniture piece is made of Pine and has a lot of yellow or orange tones in it, you can use a stain with blue and grey tones to help neutralize those tones. Same goes for if your piece is Cedar and has red/orange tones. Or if you are trying to neutralize green tones in the wood, you can use a warmer stain with red tones.
Sand and Clean Surface. Make sure your piece is evenly sanded and cleaned from all dust/debris prior to applying the stain. In some areas of our base that were darker, we even wiped it with a Magic Eraser to help lighten it! (thanks to Kaitlyn for this tip!)
Wipe on, Wipe off. We found that by using lint-free cloths was the easiest way to apply the stain. Depending on the saturation of color we were trying to achieve, depended on how long we would let the stain sit before wiping it back off. We had two cloths in hand- one that we dipped into the actual stain can, and one clean one we used to wipe off.
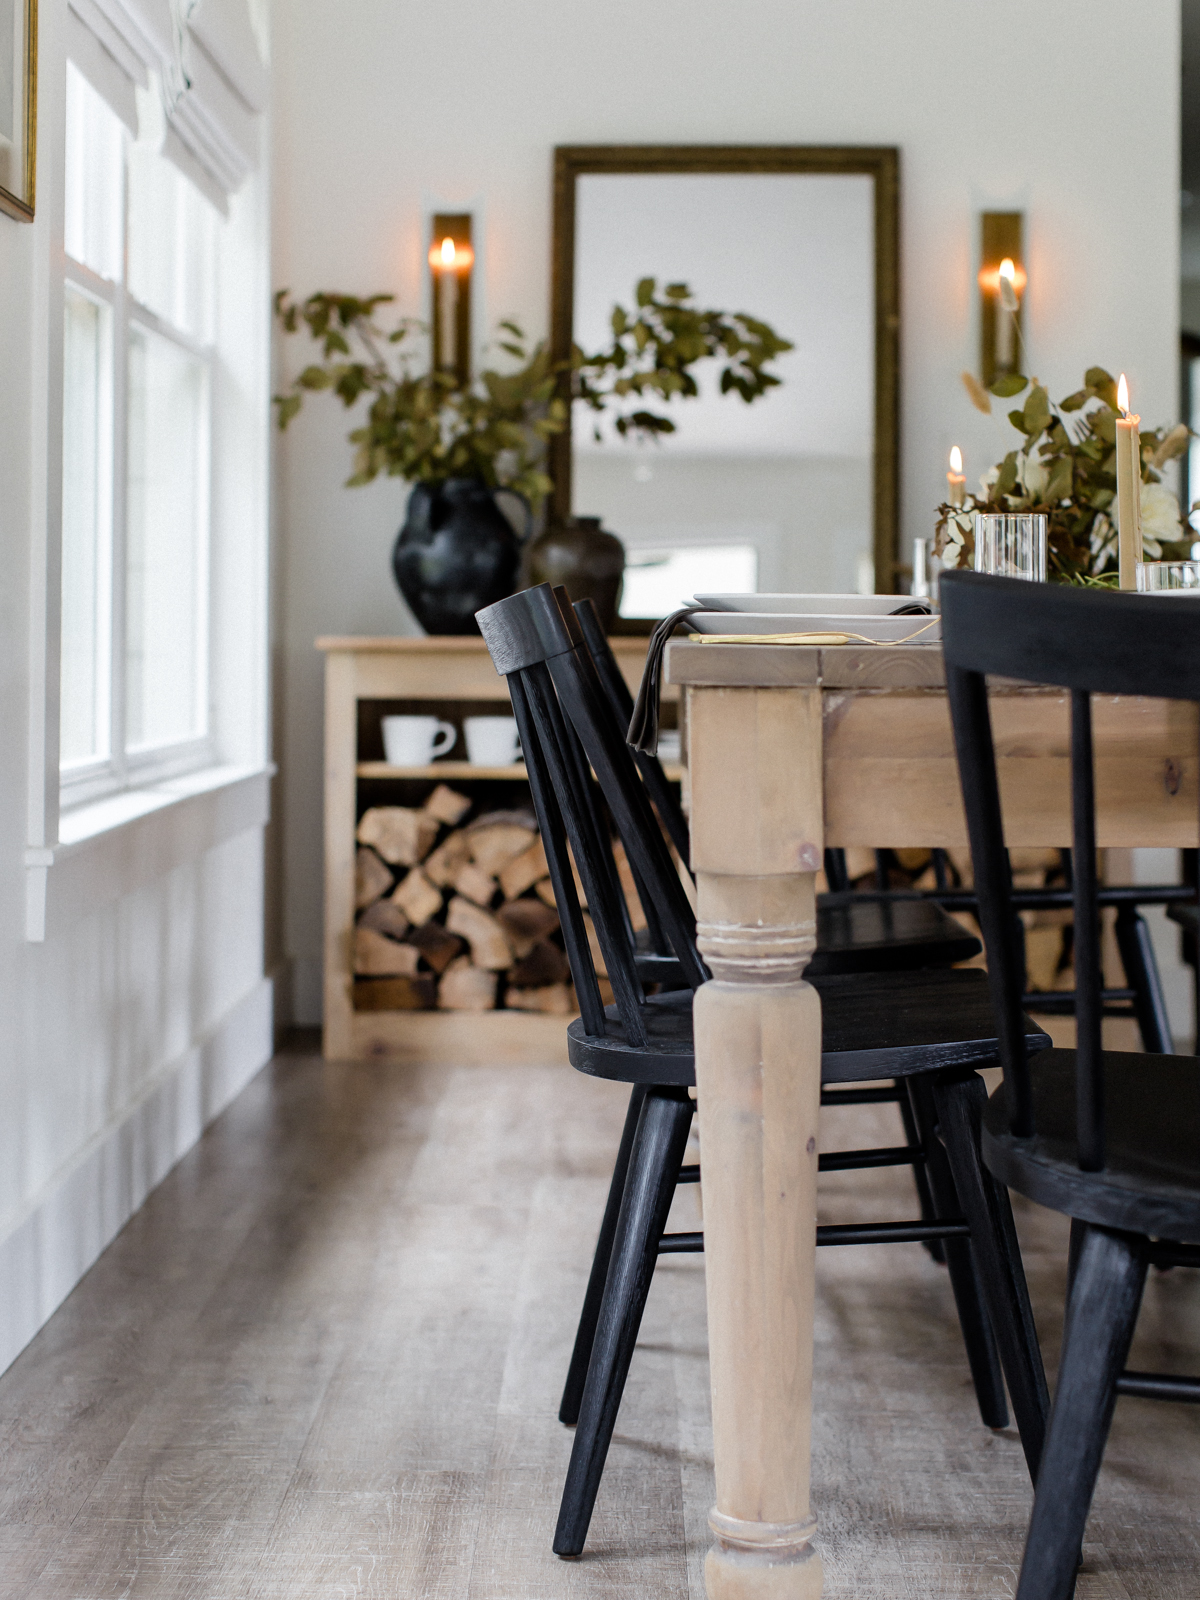
Because we were trying to neutralize orange and red tones in the reclaimed Pine table base and in our Cedar console table, the same stain combination worked on both species of wood!
The Stains We Used
We started with a base layer of Sherwin-Williams WoodScapes Mountain Ash that we let sit and adhere for a minute or so before wiping off any excess. If you can’t make it to your local Sherwin-Williams or find where to order their Woodscapes brand, you can try Varathane Weathered Oak as your base layer, OR mix Weathered Oak and Antique White together as a base layer.
Then, we applied a quick layer of Minwax Puritan Pine on top- wiped on, let sit for maybe ten seconds, and then wiped back off.
For the top, we applied an additional layer of Minwax Puritan Pine.
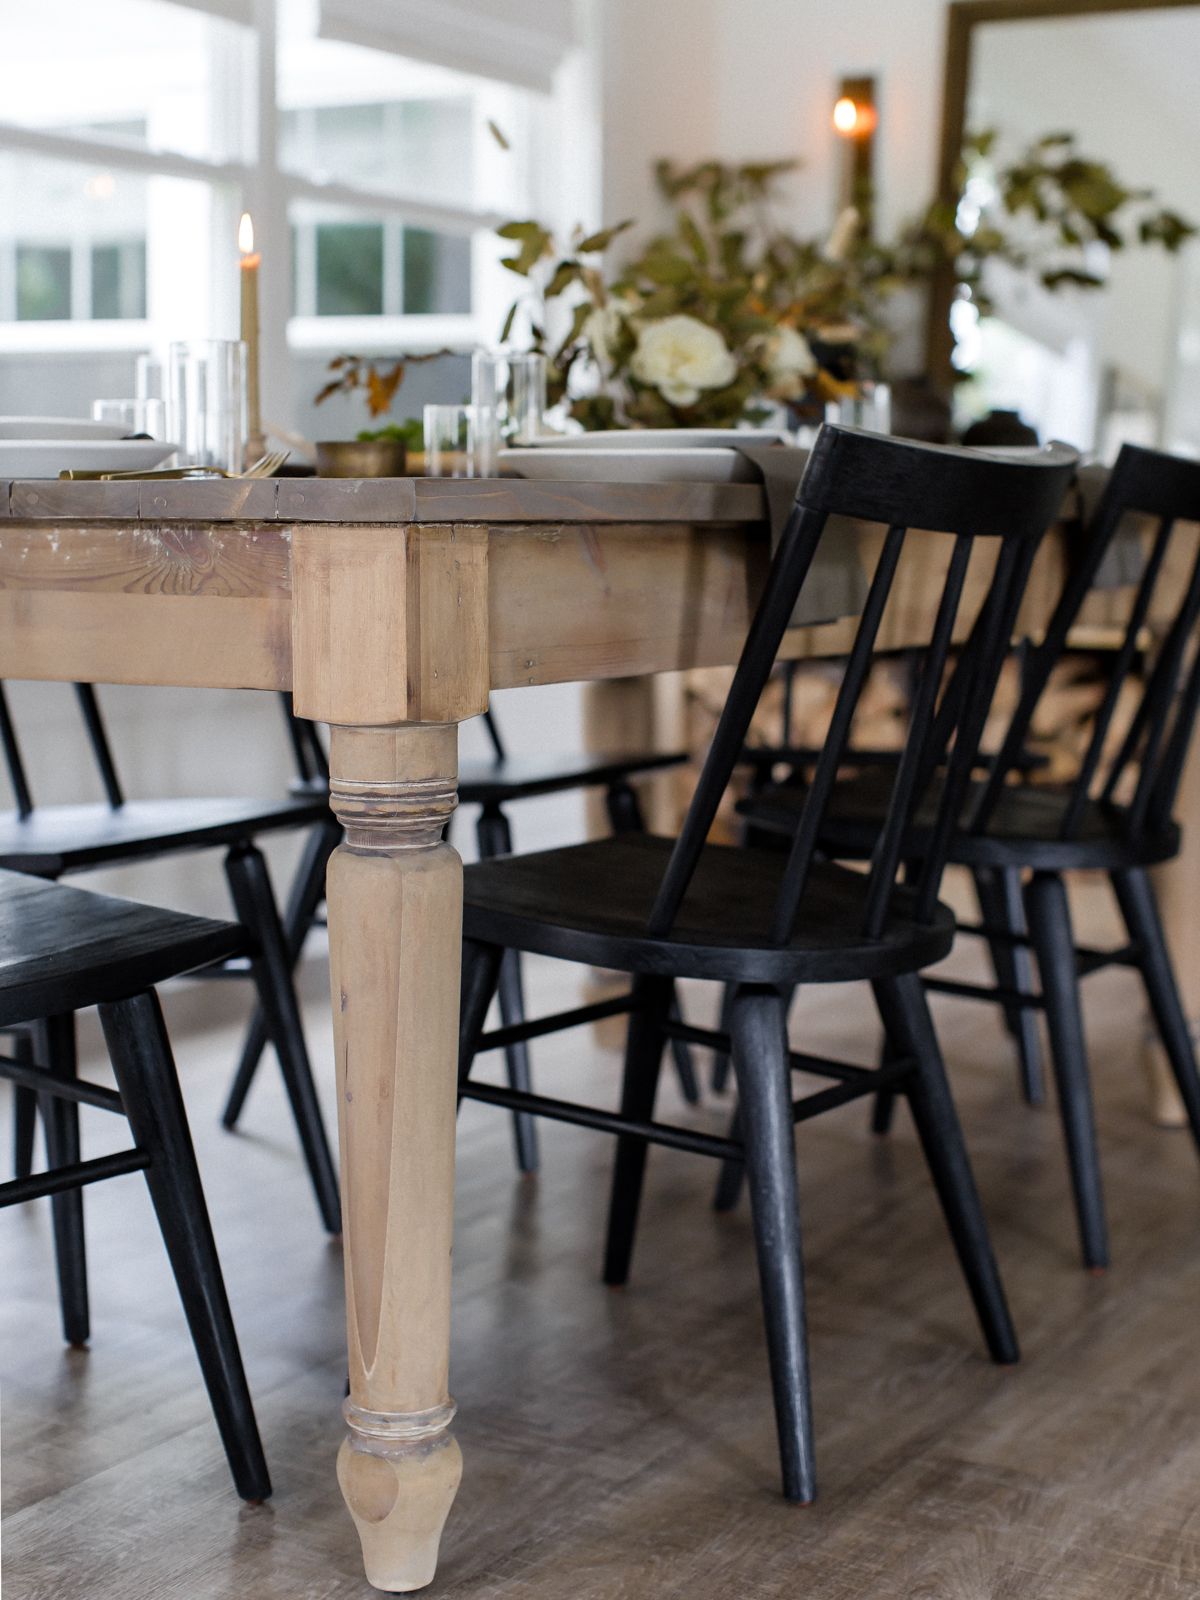
Do you see that slightly lighter color just to the left of the chair on the side of the table? That is where we tested Varathane Antique White as a base layer, we didn’t think it made much of a difference… until the table was finished and we brought it inside and could see where that area was lighter, so if you are wanting a lighter finish, I would recommend applying a base layer of the Varathane Antique White prior to the Mountain Ash and Puritan Pine.
If you want to add a finishing layer or to lighten the piece a bit, you can apply a thin layer of white wax over the the top. We have only used this wax, but love how it applies and looks!
Sources

Looking for Dining Room Sources? Check our Fall Dining Room Inspiration and scroll down to the bottom of the post where all the sources are linked 🙂

Hello! Love everything about this dining room!! Please tell me where you got that buffet/wood storage unit!! If you made this, tell me where to send the check ! 🙂
Hi Jolene! Thank you so much! Yes, the firewood holder console table was a DIY! Justin is putting the blogpost together now for it… it was a pretty simple build, check back soon! 🙂
[…] we scraped, and scraped some more… then sanded, then I applied the same technique we did on our dining table and I finished it with white wax. Whew… it was a beast of a project to tackle, but worth […]
[…] We stained and finished it following this method […]
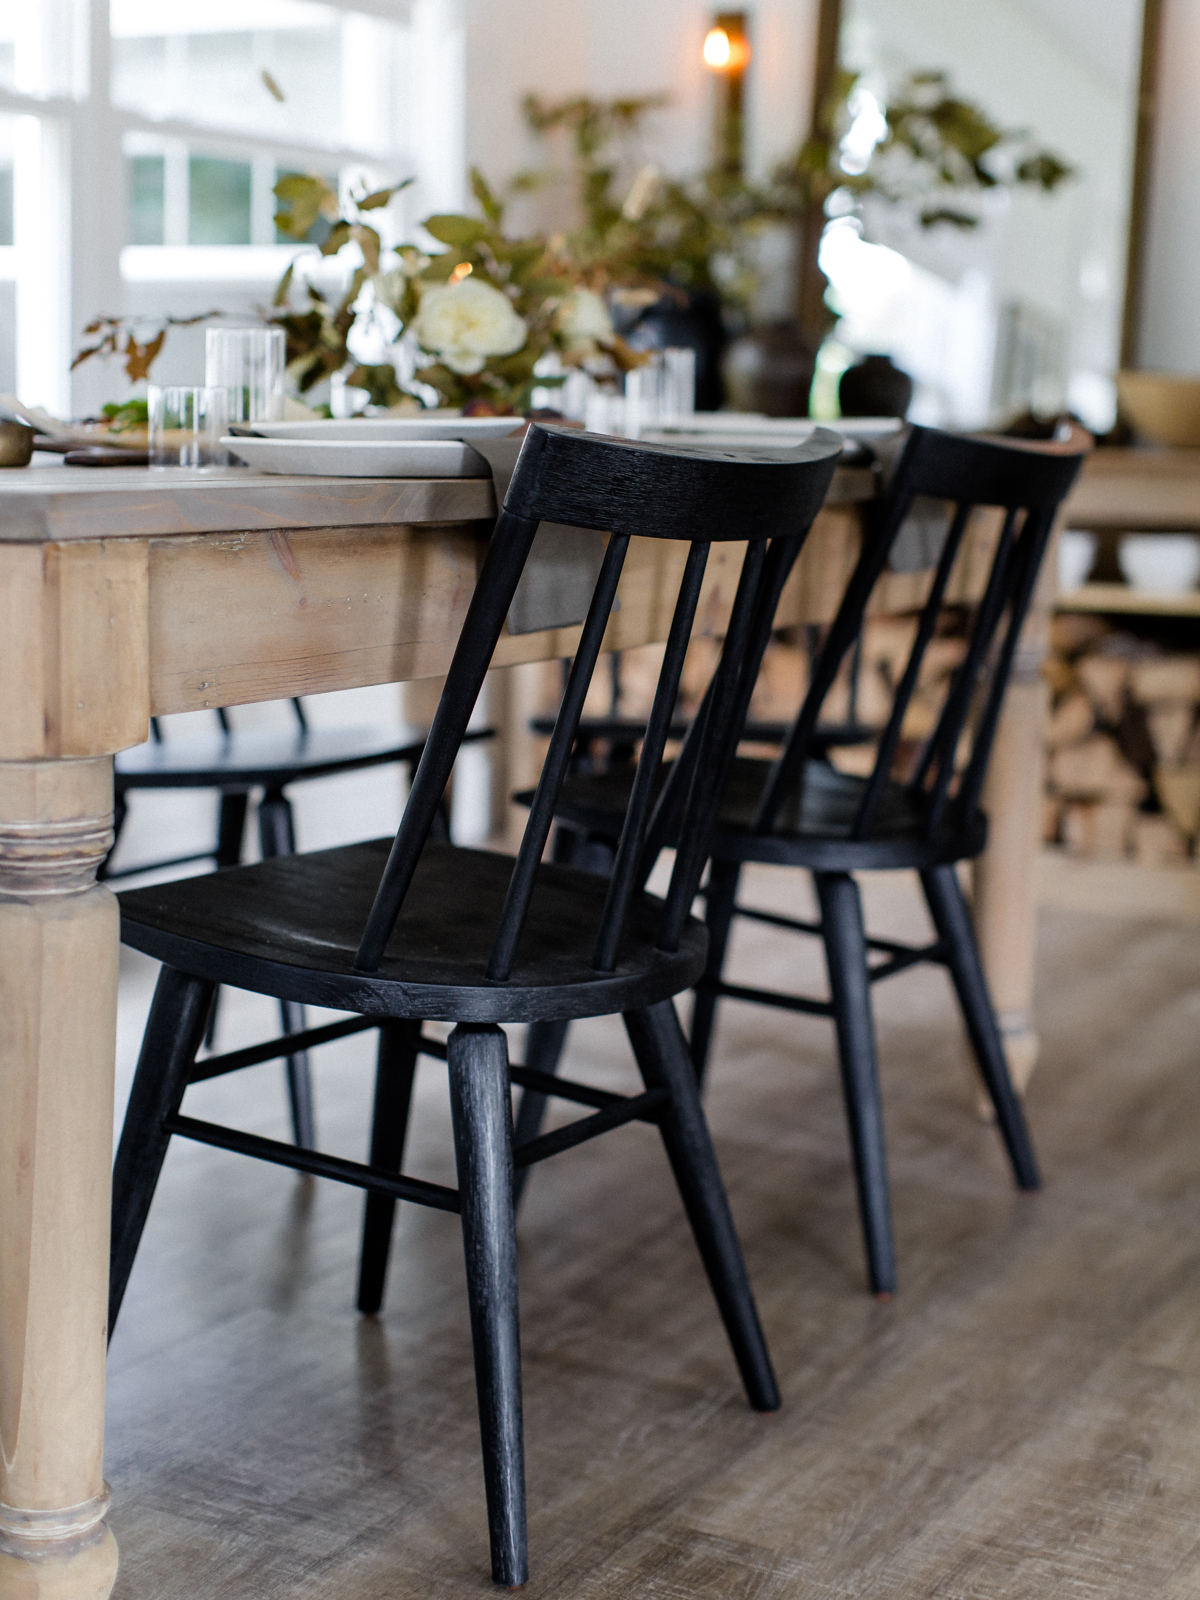
Which chairs are these?! Love them and looking for something similar
Hi Lauren, thank you! You can find all of our dining room sources here.
I love this finish! I feel like there is clearly some grey on the top, but you don’t list anything grey. It definitely look two-tone and I’d like to mimic it because it’s beautiful! Did you add grey to the top?? Thanks!
Hi Joni, the SW WoodScapes Mountain Ash is grey which provides the grey look and neutralizes the different tones in the raw wood.