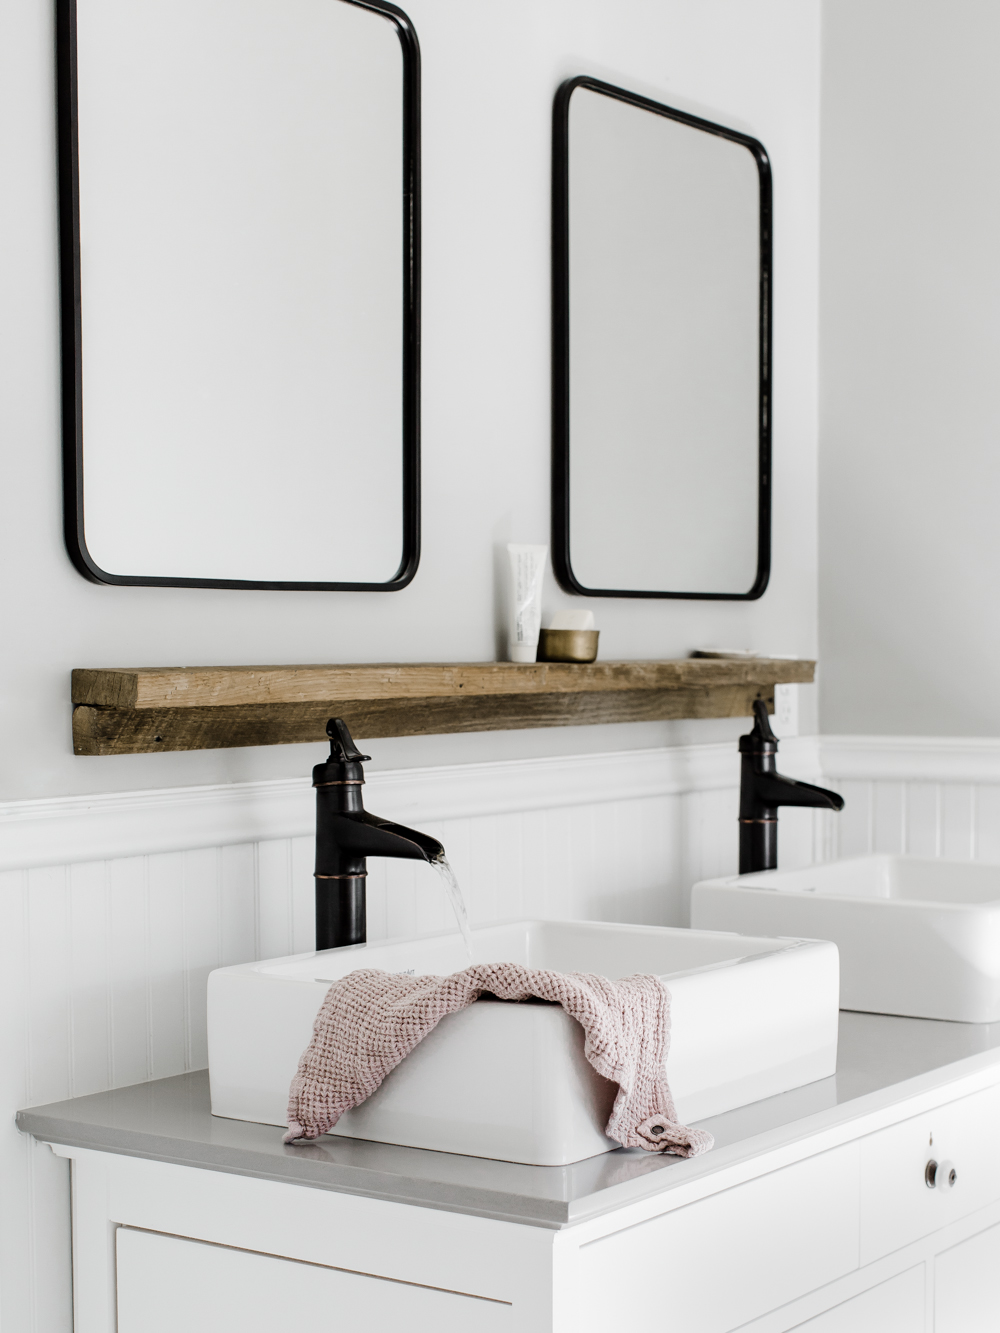
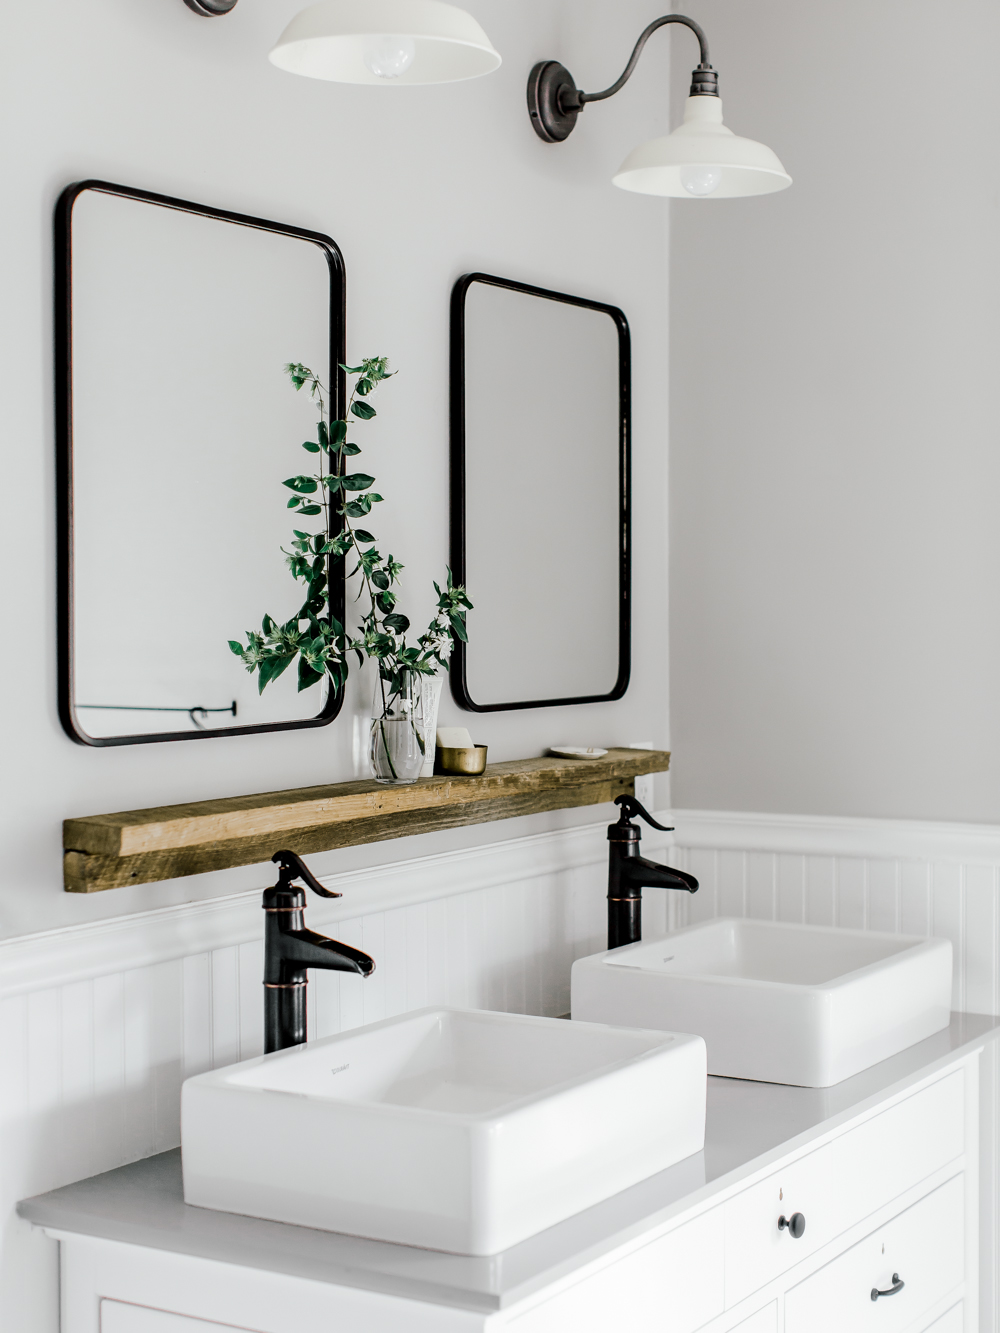
Our barn wood bathroom shelf may be our most asked about project, so we are excited to finally share all of the details with you!
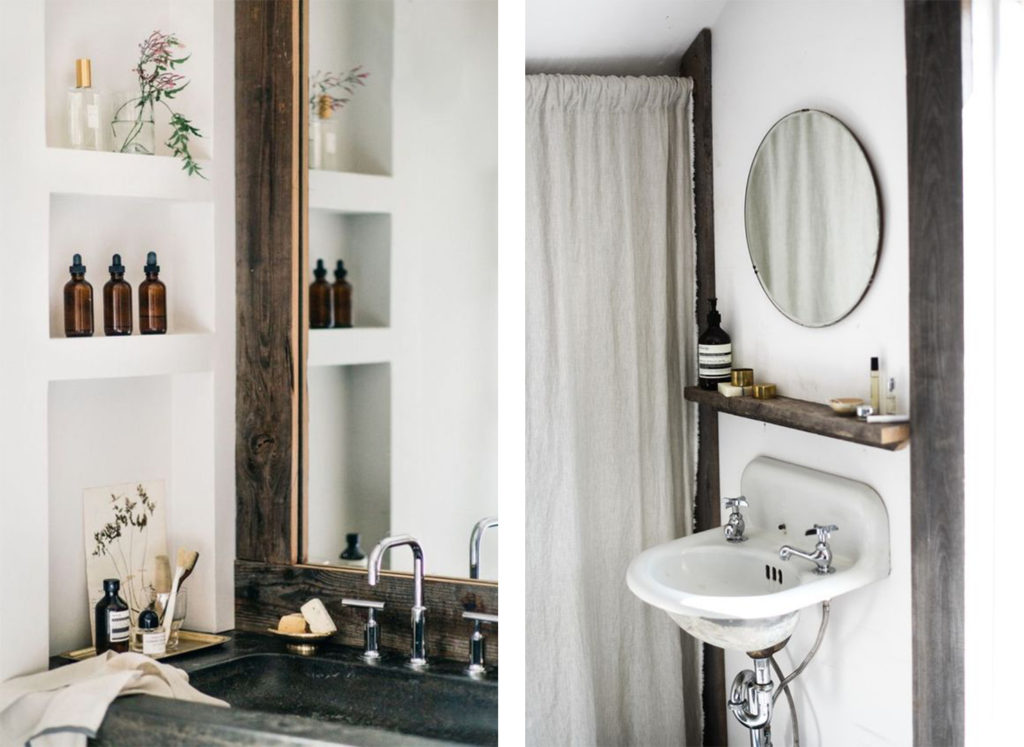
Before we get to the step by step instructions, we wanted to share our inspiration for this shelf. After updating our vanity mirrors to something more modern, we knew we wanted to warm up the space by adding a natural wood element and what better way than to include something that is both beautiful and practical.
Step by Step :
MATERIALS
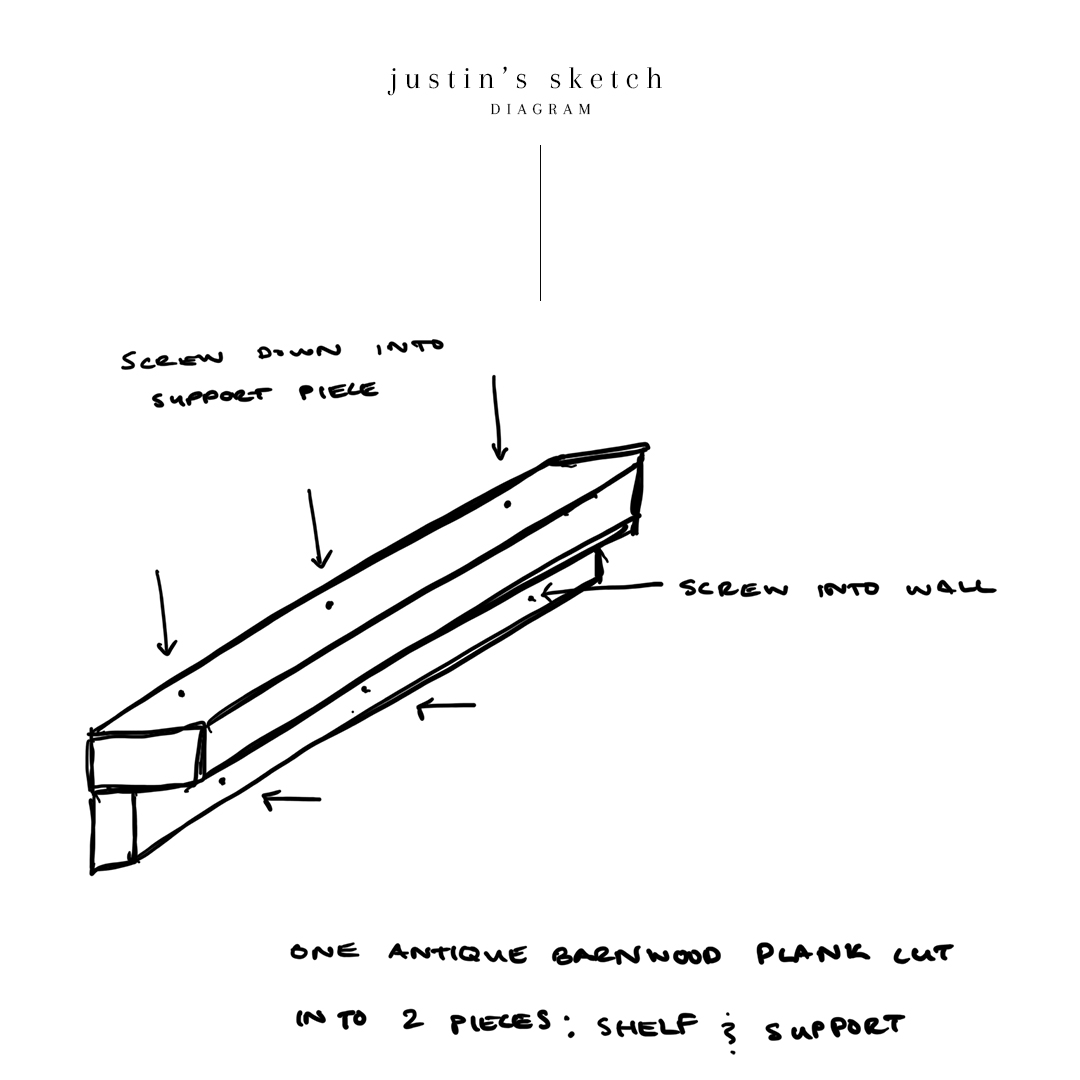
01 // Choose your piece of wood for the space. It needs to be at least 6″ wide since you will be running it through a table saw long way to give you your support board and your shelf. We chose an antique piece of barn wood from a local salvage yard. If you decide to use an old wood board like we did, be sure it has been treated/fumigated to ensure there are no bugs.
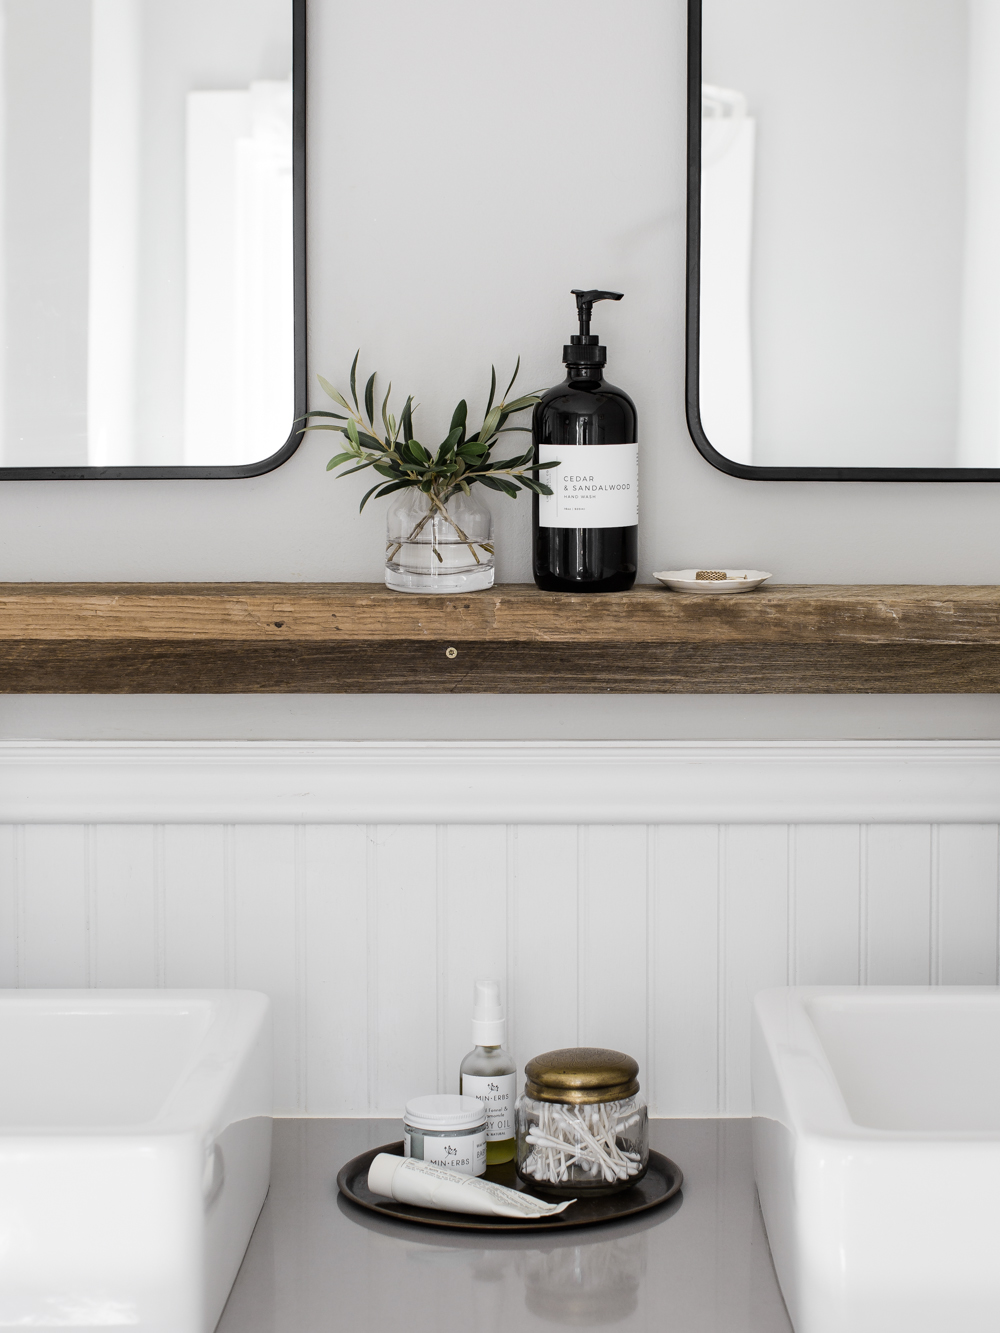
02 // 2 1/2″ Construction Screws. We chose gold screws instead of silver since you will see them. We drilled the construction screws into our wall studs for more support, but you can always use anchors if you do not want to/ or can not drill into your studs. 50lb Dry Wall Anchors are what we use when we cannot drill directly into our studs.
INSTRUCTIONS
01 // Give your board a nice sanding just to remove any splinters or rough areas. Run your board through a table saw which will split your board in to two pieces giving you your shelf and support boards. Note : Our shelf is approximately 3 1/2″ wide and our support board is 1 3/4″ wide.
02 // Find your studs in the wall and mark them with a pencil. Typically studs are about 16″ apart. See above if you cannot drill in to your studs.
03 // After you have found and marked where your studs are, you can assemble the shelf by attaching the shelf and support boards together. This part is helpful to have two people- one who can hold the two pieces together while the other screws one board down into the other.
04 // Your boards will have two fresh cut edges from the table saw. When assembling the shelf together, make sure your shelf board cut edge will be facing the wall, and your support board cut edge will be facing up touching the shelf board underneath.
05 // Screw the boards together. Our shelf is 50″ long, and we used 3 screws spaced out evenly to assemble the shelf together. Note : If you are using an old piece of wood, like we did, for an easier assembly, drill pilot holes into the shelf board first.
06 // After you have assembled the shelf, hold it up on the wall so you can mark the support board where your studs are.
07 // Drill pilot holes into the support board. Drill your screws directly through the pilot holes in the support board into the wall studs. Remember, if you are using anchors instead of screwing in to your studs, you will need to screw the anchors into the wall before drilling through your support board into the wall.
As always, if you have any questions, you can ask us in the comments below!
Shop this post :


[…] WANT TO SEE MORE OF OUR MASTER BATHROOM? CLICK HERE […]
Did you use oil rubbed bronze fixtures or black? Also, I Love the light fixtures… where did you get them? Thank you!
Hi! They are Oil Rubbed Bronze and linked directly in this post! Just scroll and click on the photo of the faucet under the ‘Shop This Post’ section! 🙂
[…] one of our favorite DIY projects to date. If you want to see how we made and hung ours, you can read about it here. Not only did it add character and warmth to our bathroom, it has provided storage and […]
[…] Bathroom Barnwood Shelf DIY […]
[…] Barnwood Shelf […]
[…] all of the boards. Last up on our DIY list was the shelf to go under our mirrors. I followed this tutorial and it turned out even better than I […]
It turned out so awesome! Thank you for sharing!!
What is the colour of paint you have used here?
Sherwin-Williams Light French Grey