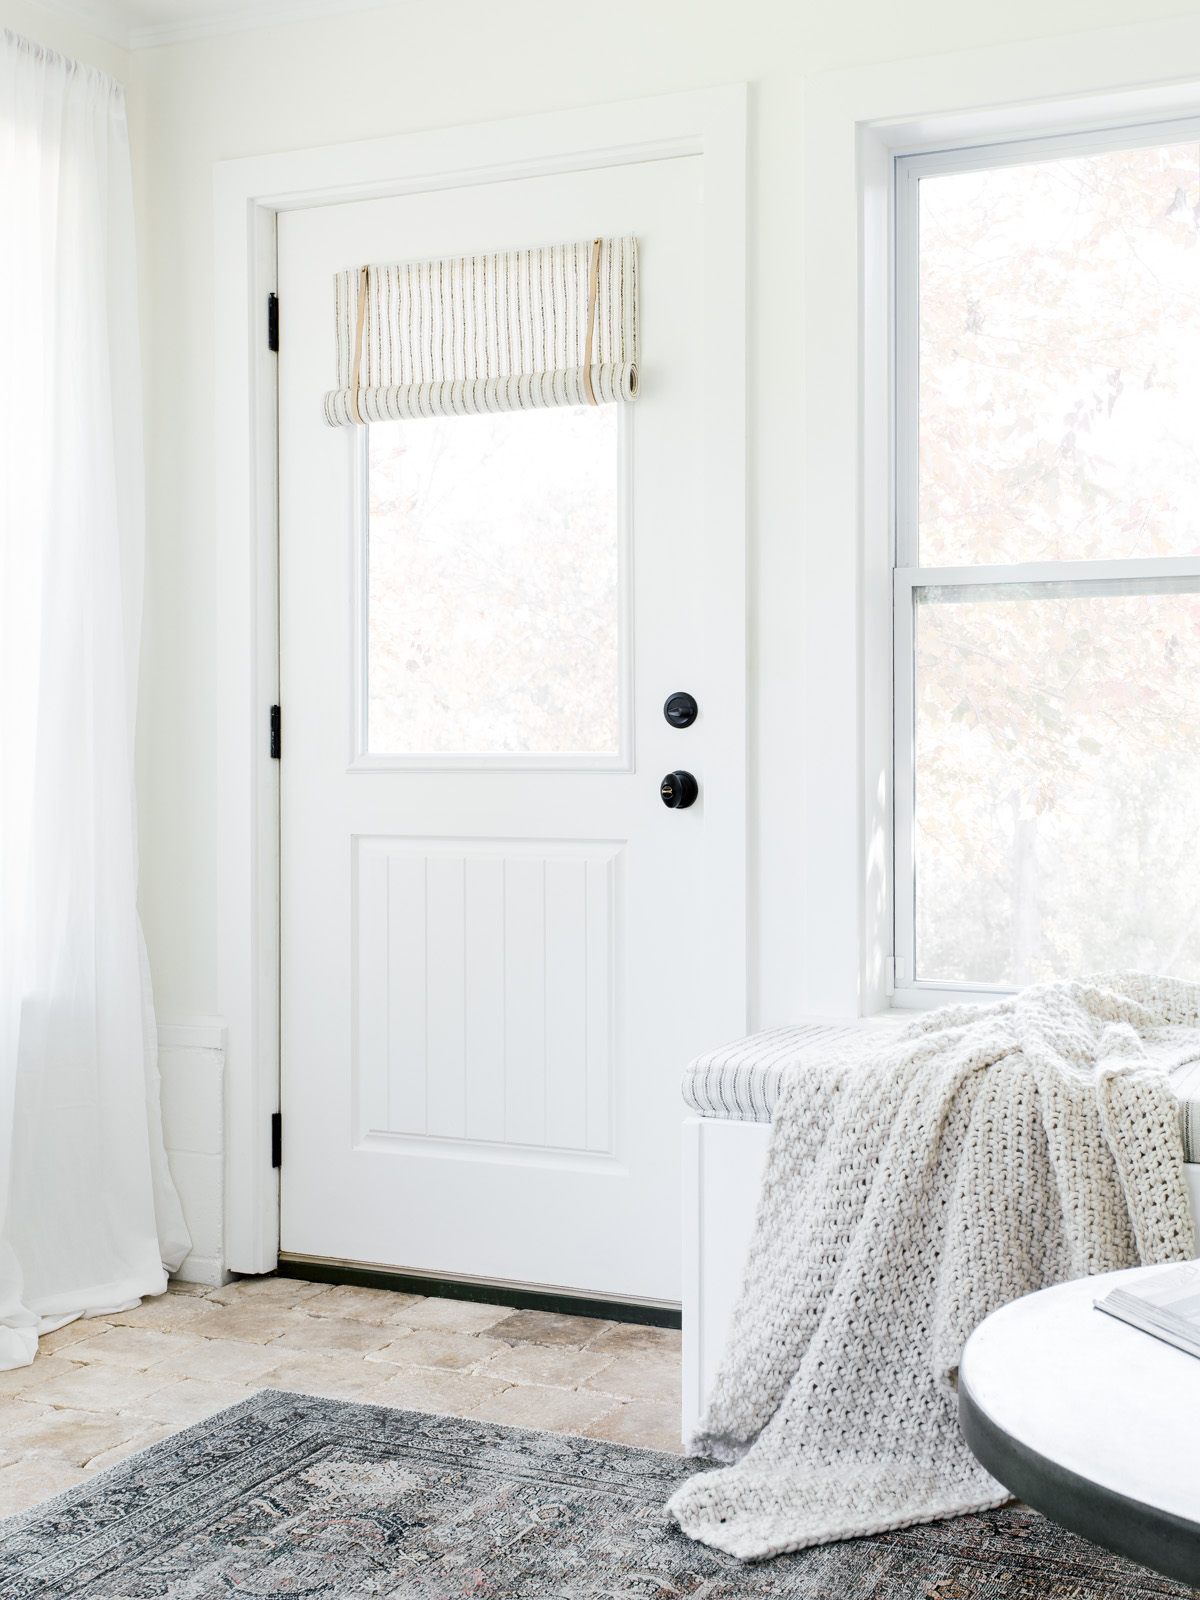
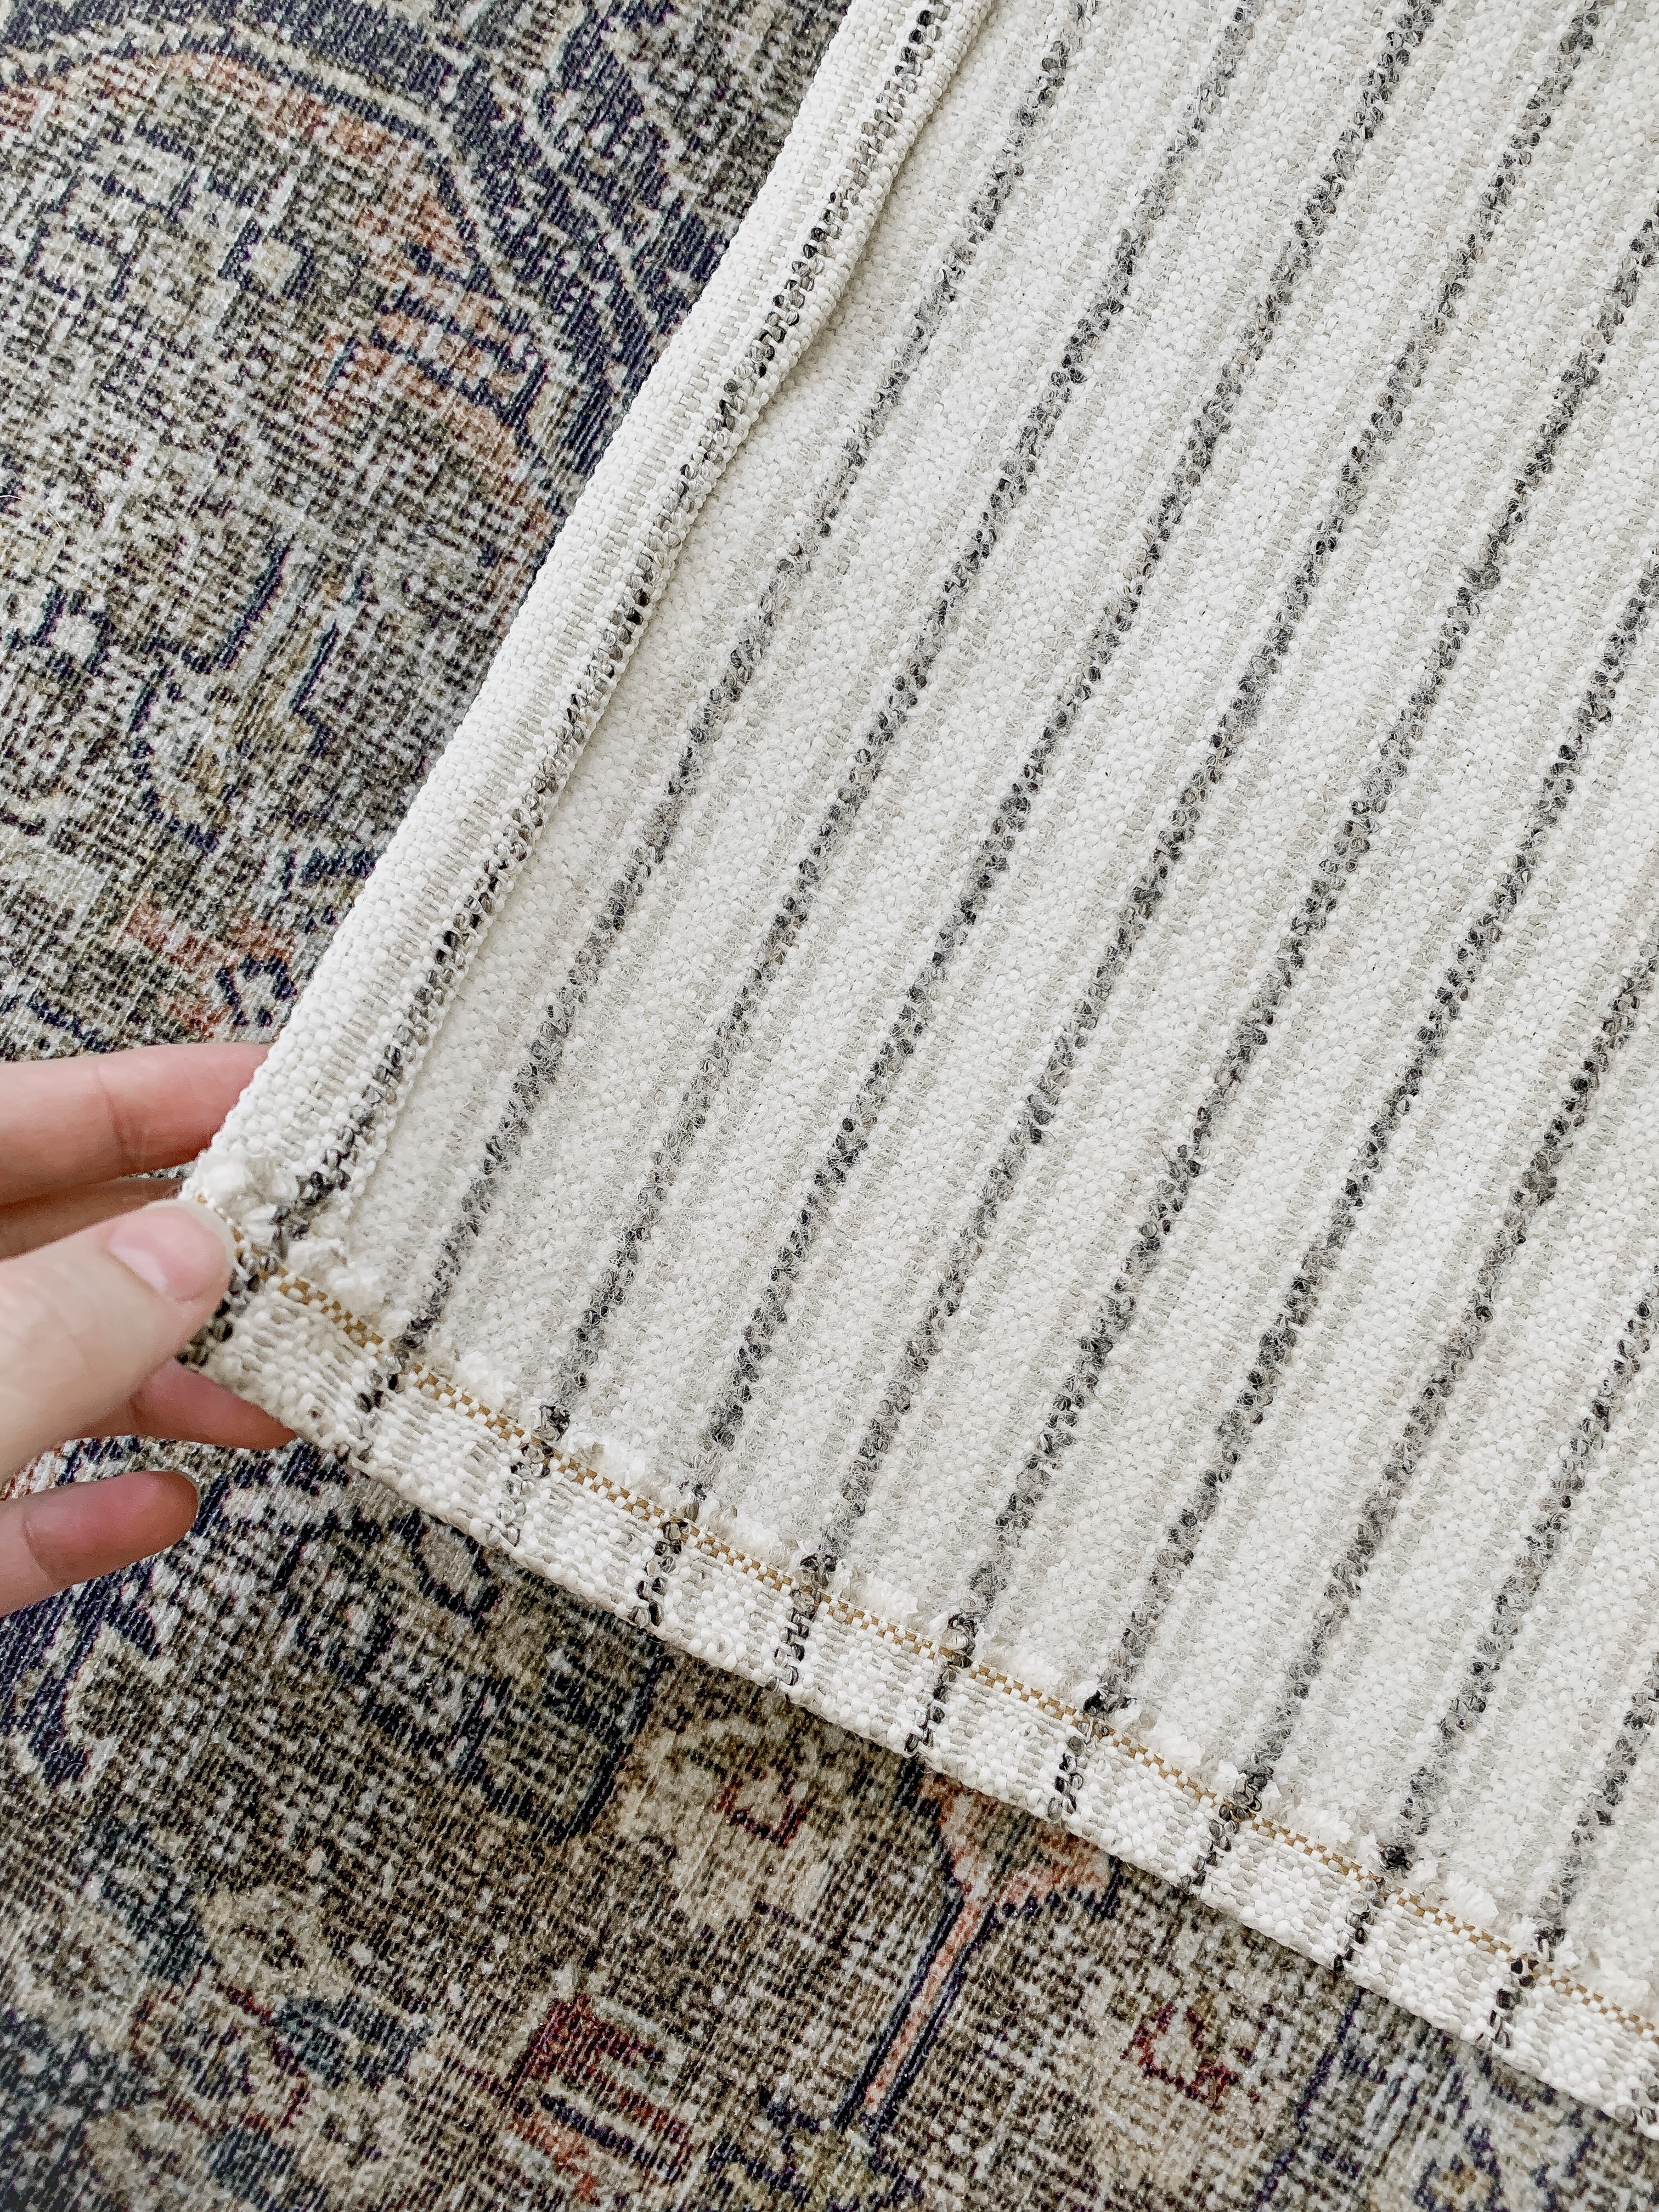
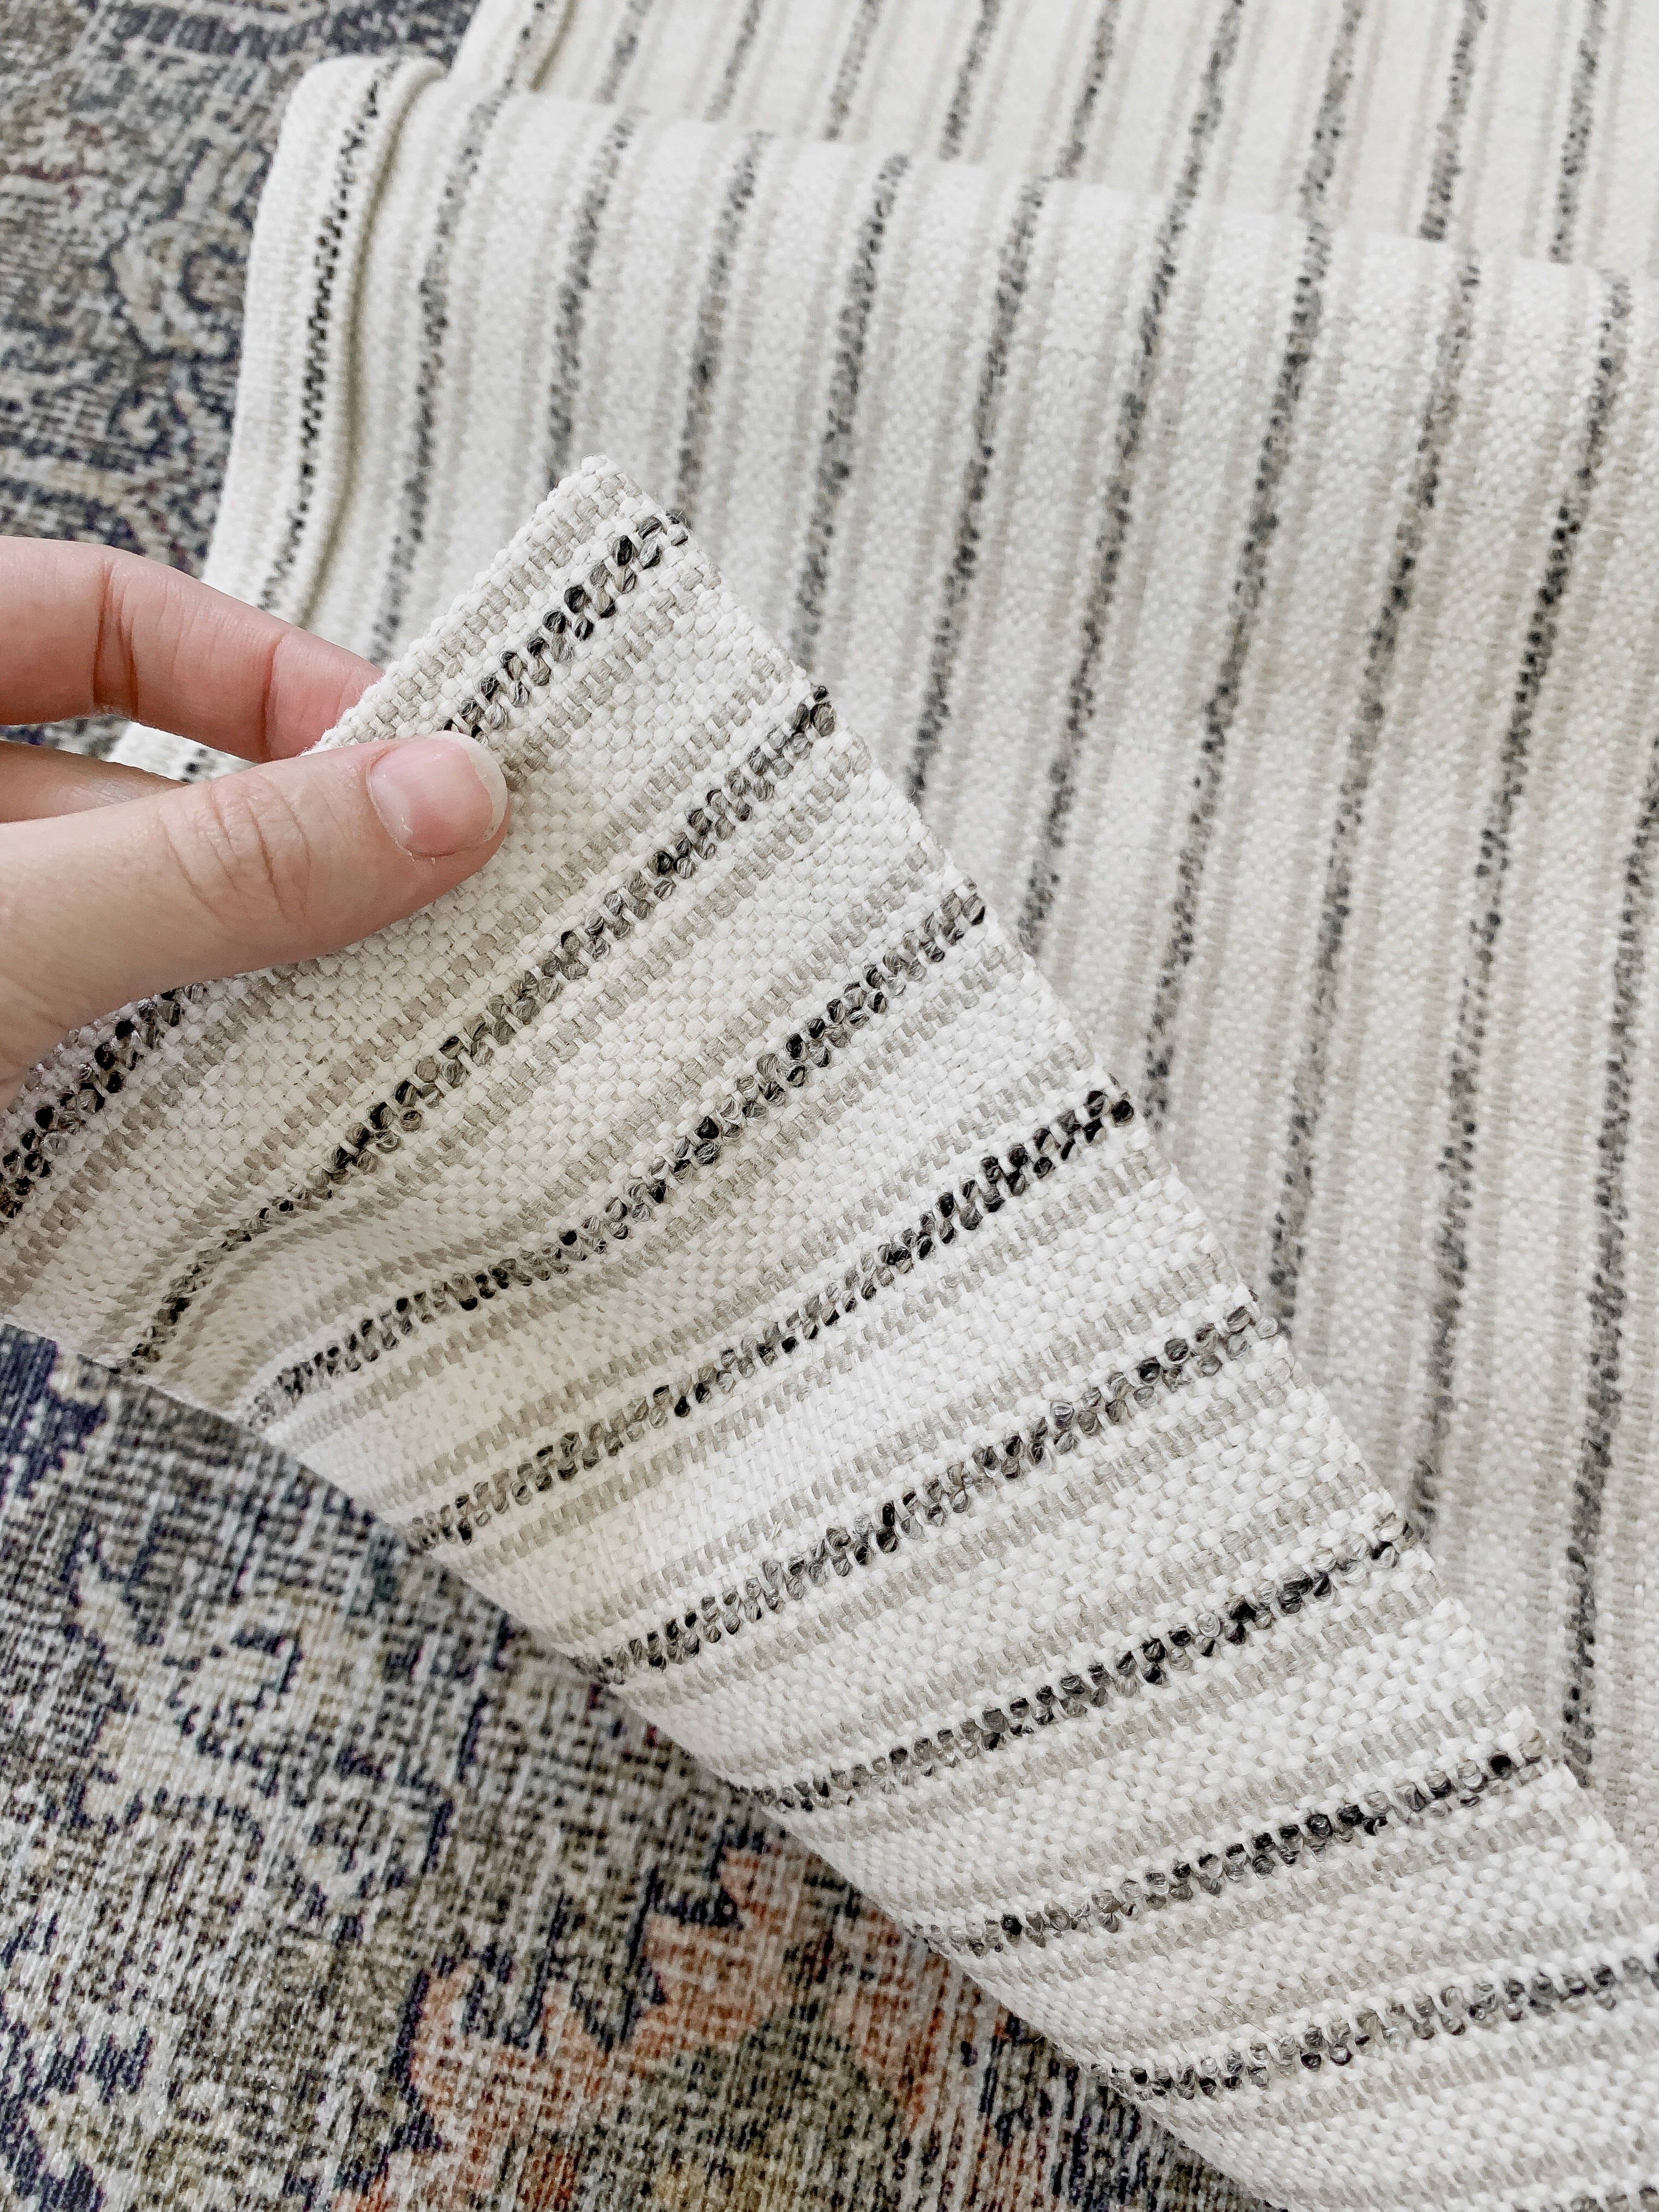
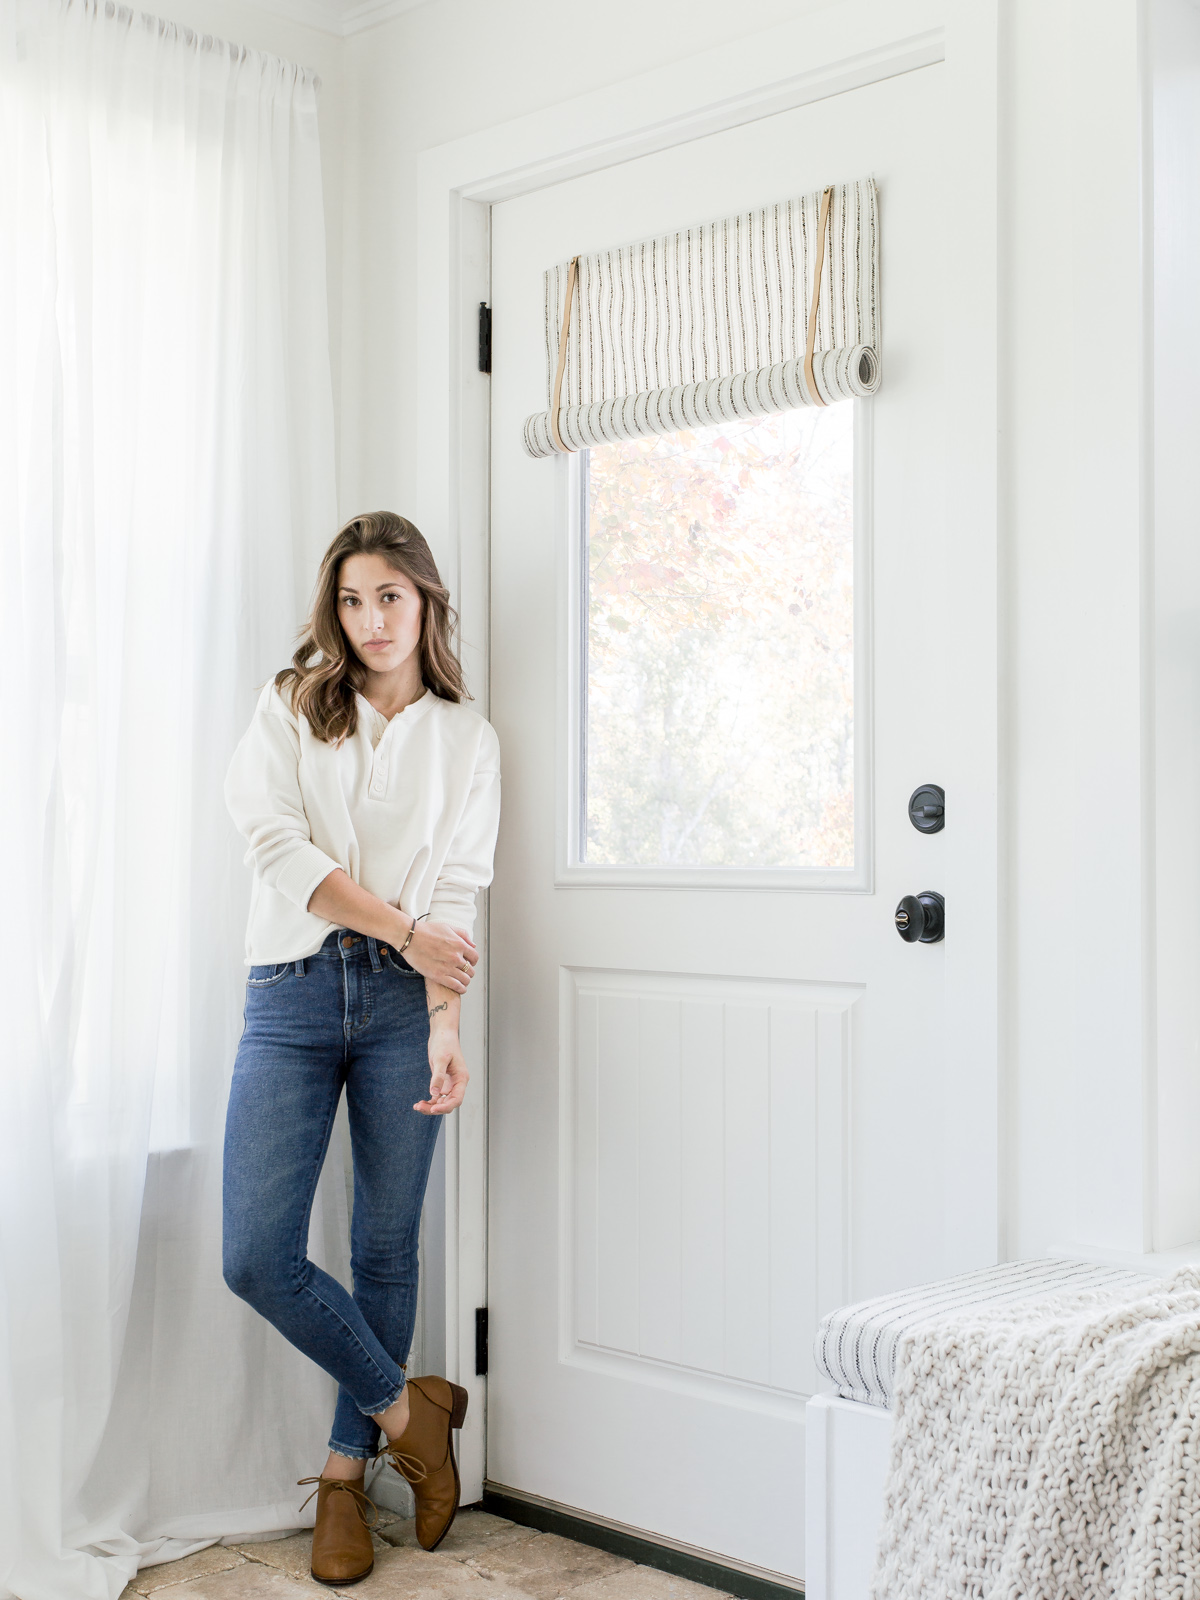
We had just enough fabric left over from our bench cushions to make a shade for the glass in our back door. This project only took about two hours and we love how it finishes the door adding a little bit of character and how it ties in the bench.

Materials
- Fabric
- Permanent Hemming Tape (found at local craft store)
- Hole Punch (found at local craft store)
- Eyelets (found at local craft store)
- Eyelet Tool (found at local hardware store)
- Leather Straps (found at local craft store)
- Cup Hooks (found at local hardware store)
- Drill to make a pilot hole in your door (optional)
How To
Measure the area you are covering- we wanted the fabric to cover the trim around the window as well, so our finished fabric size was 25″ x 35″ after hemming the sides. We allowed for approximately one inch on all sides of the fabric to hem.
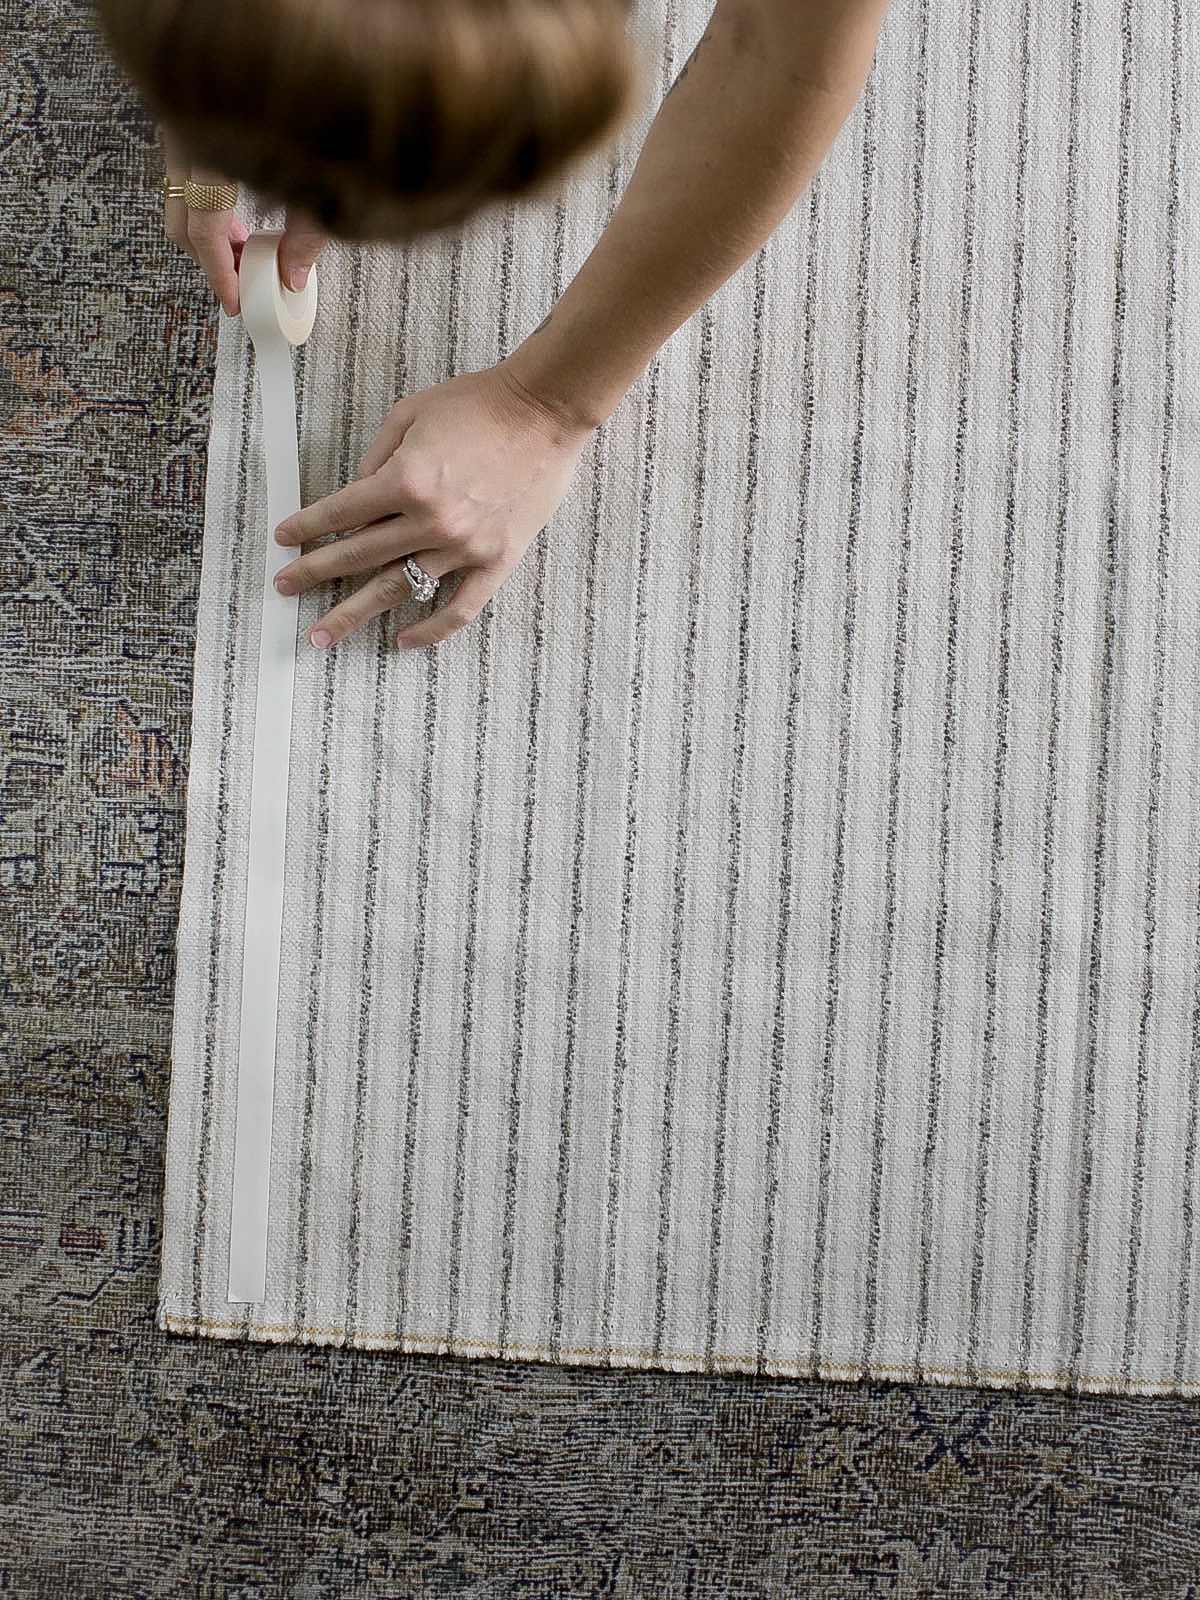
We laid down the tape where the fabric would fold onto and began folding the fabric over twice. The first fold was 1/2″ in and then folded again onto the tape to allow for a nice edge and to hide the cut edges on the sides. We didn’t double fold the top when hemming since you cannot see the backside of the shade at the top.
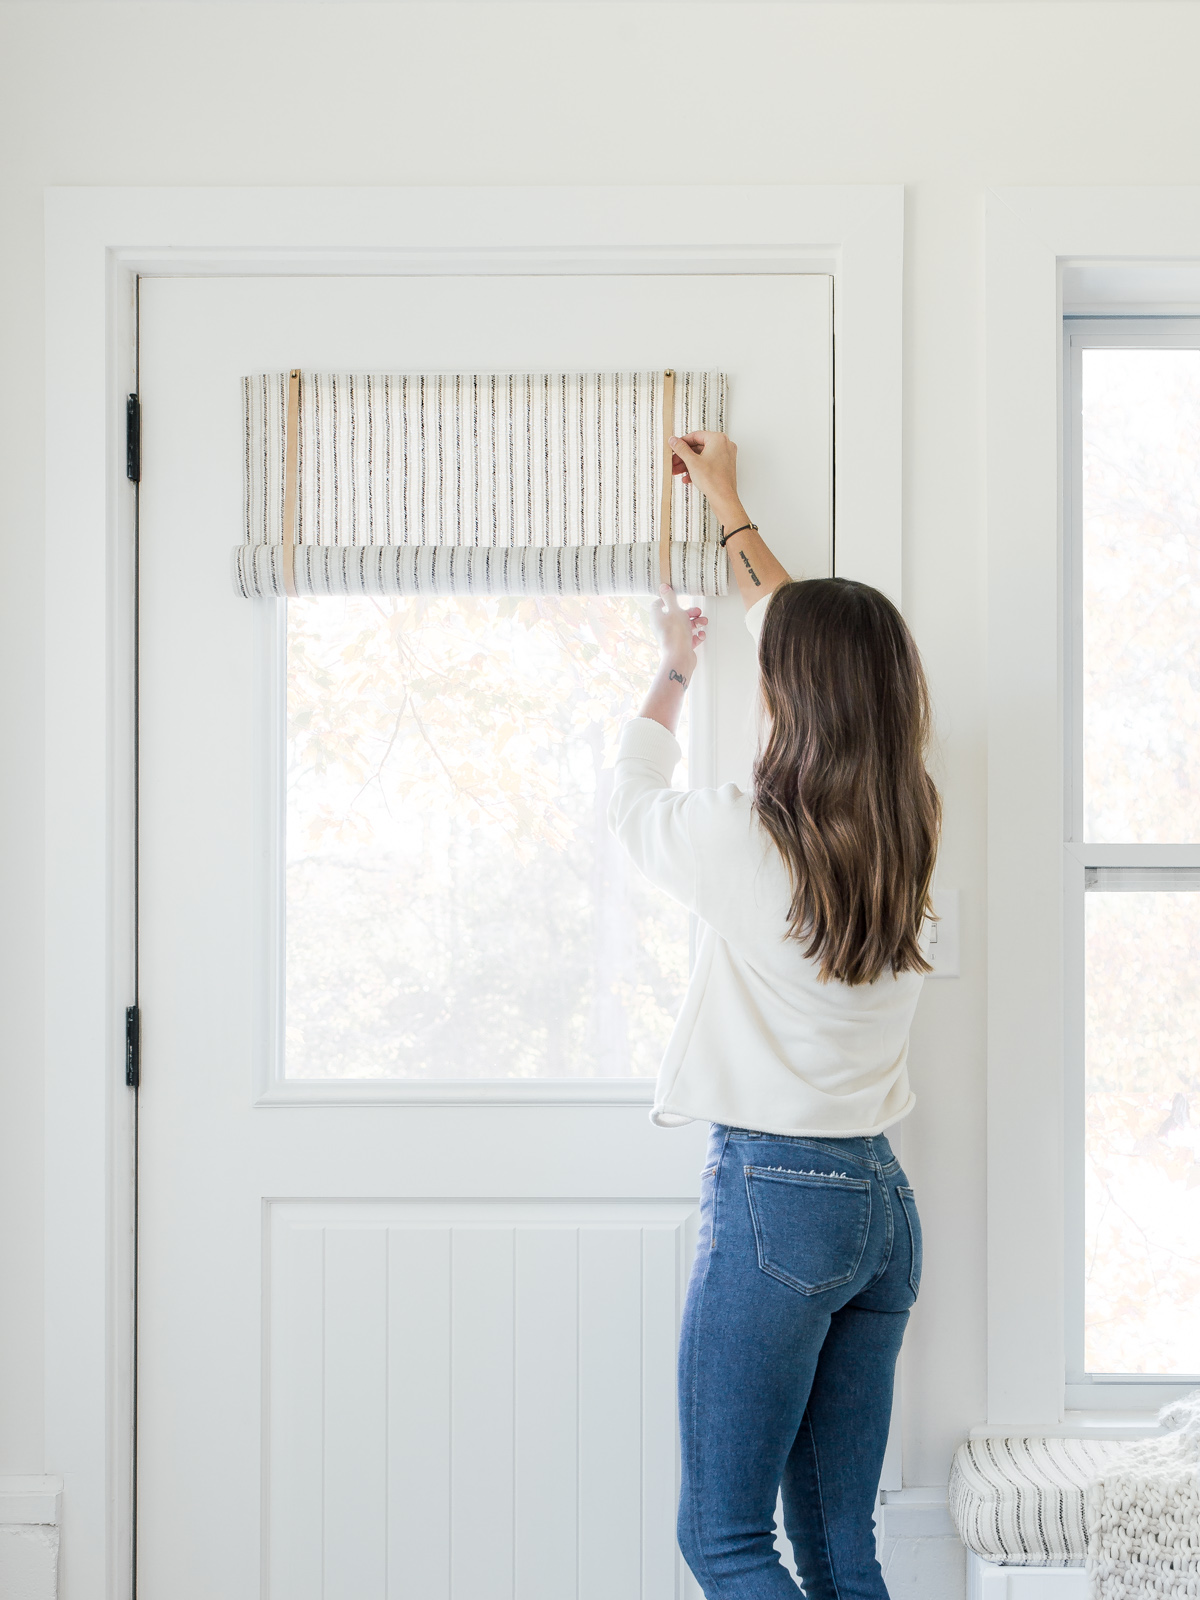
After we hemmed the fabric using the hemming tape, we held up the fabric over the window and determined where to place the Cup Hooks. We decided to come in 3″ on either side of the top of the trim and drilled tiny pilot holes into the trim around the window. Once the pilot holes were drilled, we screwed the hooks in easily.
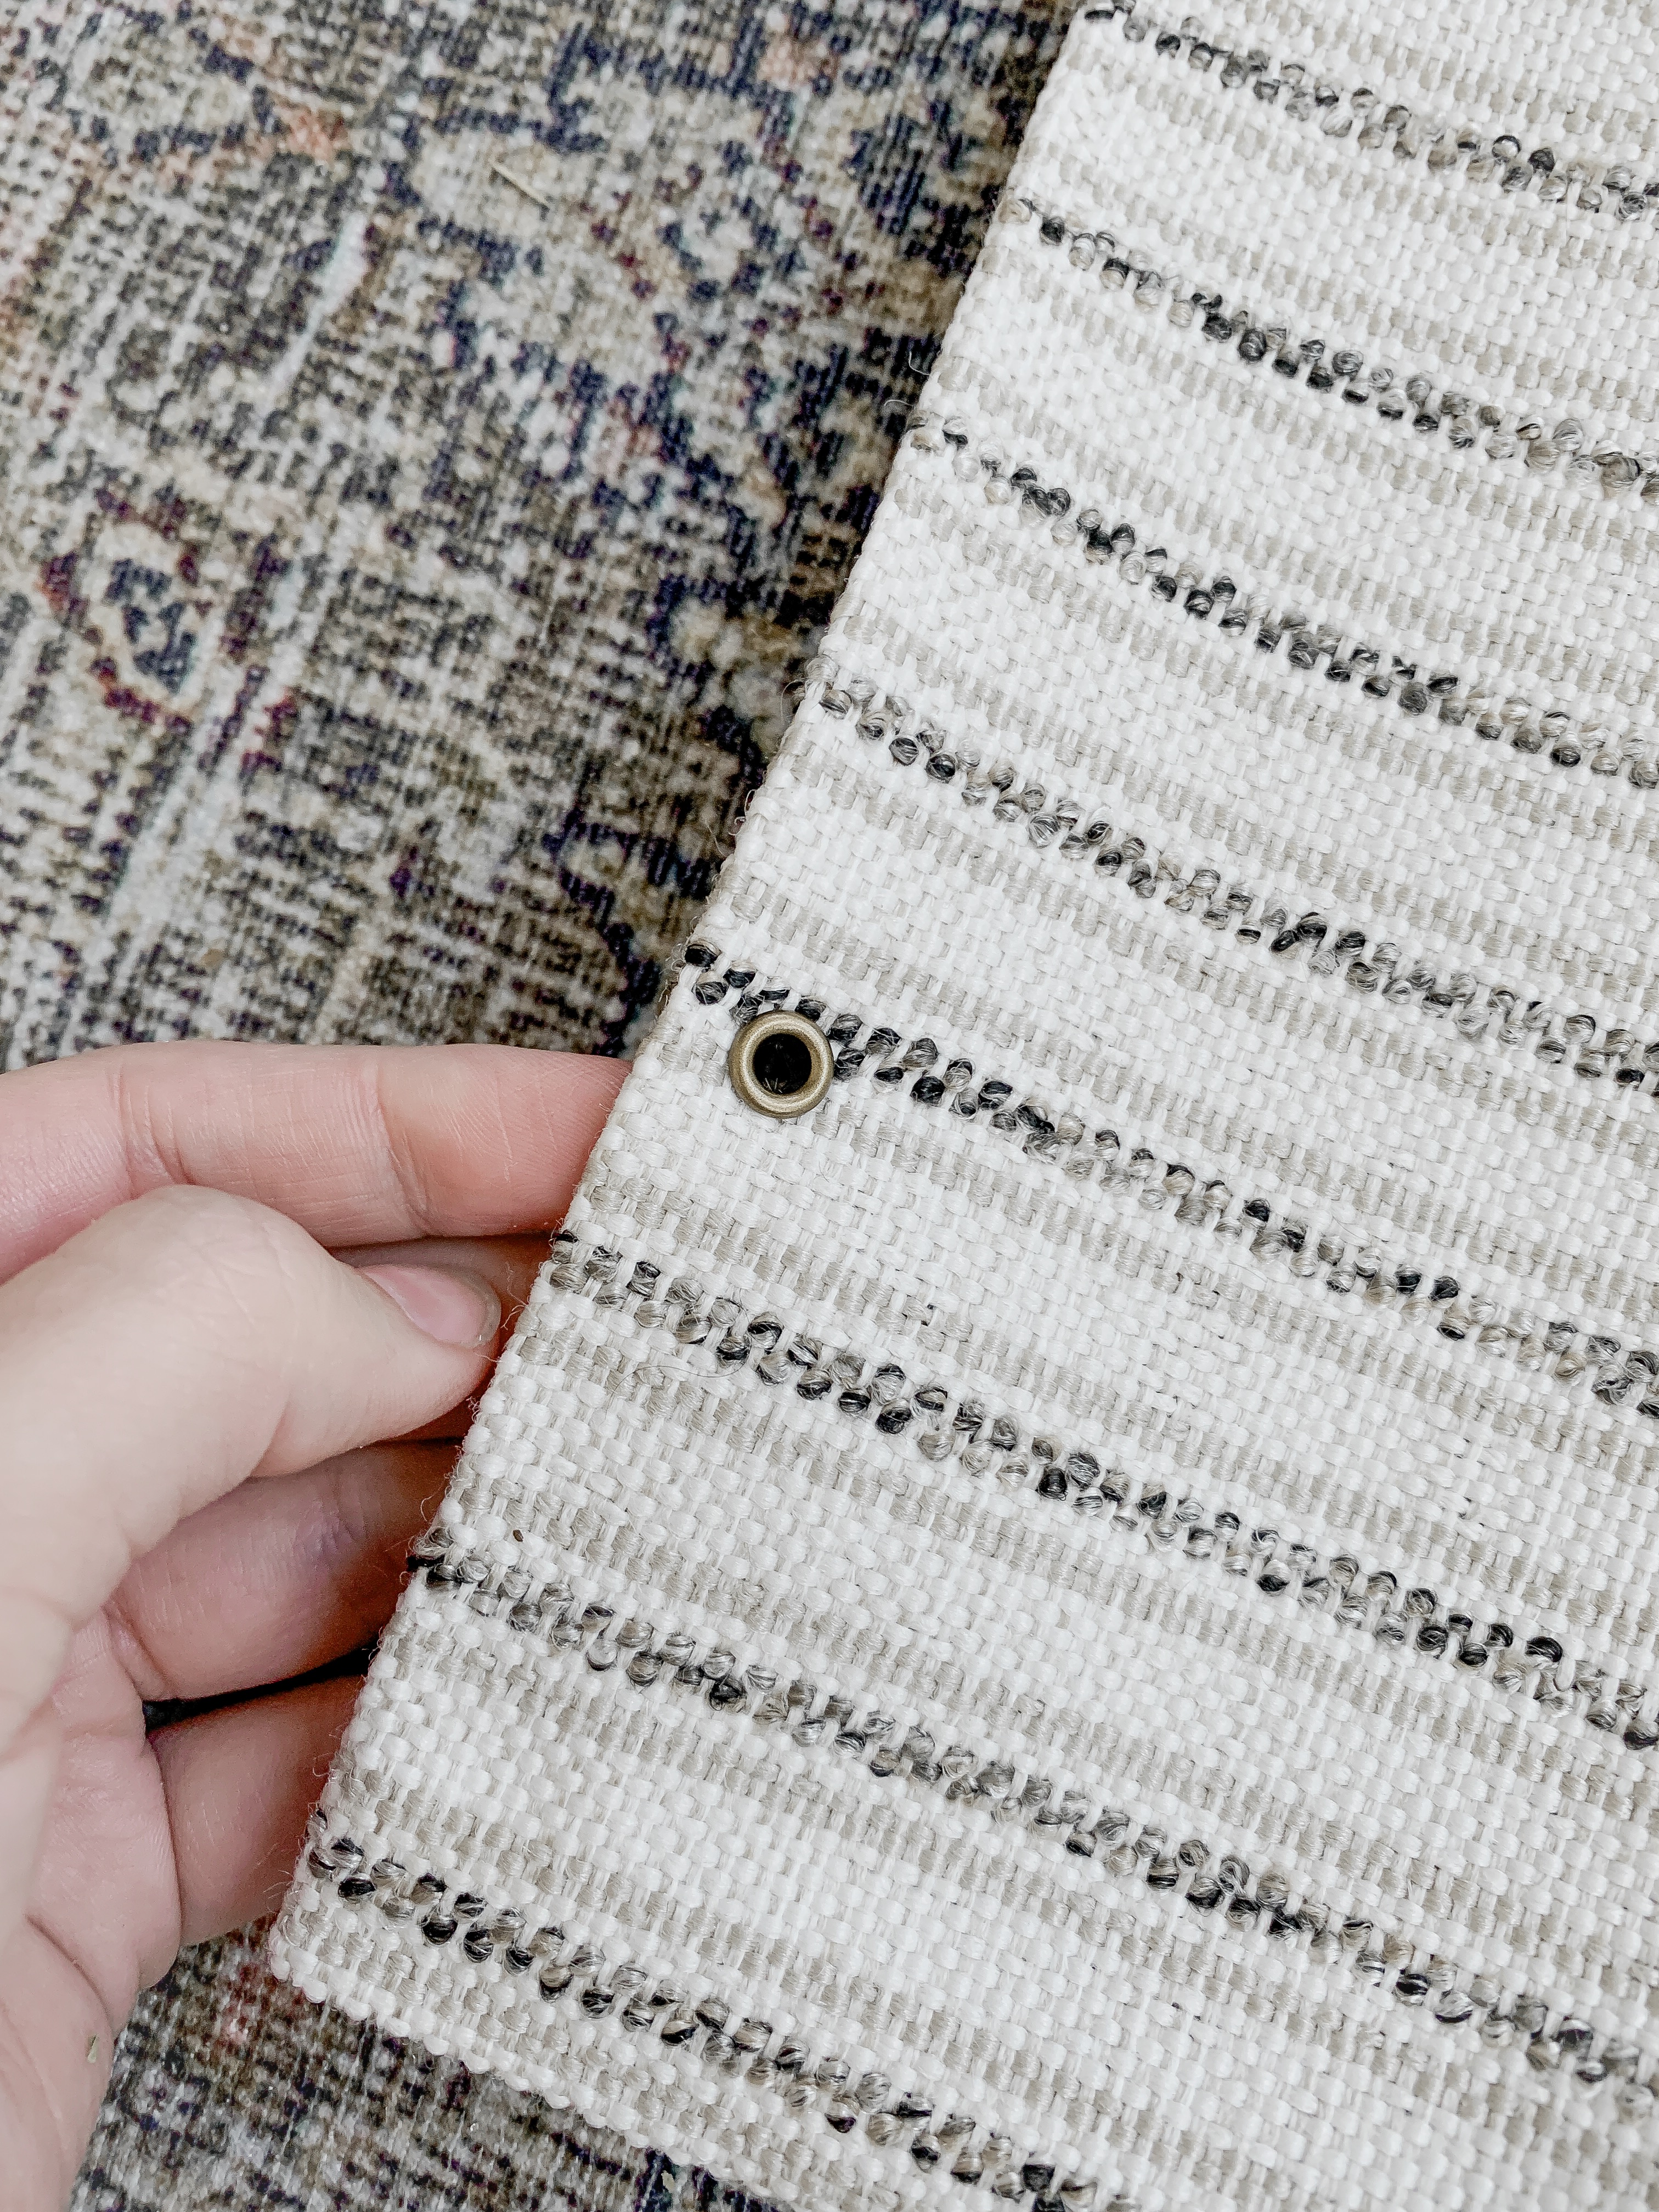
We held the fabric back up just underneath the hooks and marked on the fabric with a pencil where the eyelets would go- approximately 1/2″ from the top.

We took a hole punch and made small holes in the fabric before placing the eyelets into the fabric. After placing the eyelets in the fabric, we used the eyelet tool to secure the eyelets. Be sure not to press too hard or you will bend the eyelets.
Once the shade itself was finished, it was time to decide how long our leather straps needed to be to hold the shade. We hung the shade onto the hooks by the eyelets and rolled the fabric up to the height we liked. The shade hangs down 12″ from the top when rolled up.
We held the leather strap by the hook, behind the fabric, and came down and back up on top of fabric and measured the length we needed the straps to be. Our straps needed to be 25″ long to hold the shade in place at the height we wanted.
We cut the two leather straps the same size and punched holes on both ends of the straps before placing the eyelets in the leather. Once the holes were the right size, we worked the eyelets in carefully and used our eyelet tool to secure the eyelets onto the leather just as we did for the fabric.
We took the shade off of the hooks, placed one end of the leather strap on the hook by the eyelet, and then hung the shade back up. We rolled the fabric to the right height and hooked the other end of the leather straps to hold the fabric in place.
Simple, easy, and quick DIYs are our kind of projects! 😉

Where did you get that amazing fabric? Or do you know what its called?
It is linked in the post if you click on “Fabric” under the materials section!
I’m currently trying this but I’m slightly confused on how the leather strap attaches at the end when the shade is rolled up?
Hi Jackie! The leather strap has holes on each end, one end goes on the hook first, then the rolled up fabric shade, and then the other side of the leather strap onto the hook to hold the shade up.
how did you connect the fabric to the door?
By hanging the shade on two brass cup hooks
Love this idea!! Exactly what I want to do on our door !! Thank you for sharing!!
So glad you love it Mandy!
Do you have any photos showing how the shade looks when it’s down? I’m interested in understanding what the leather straps look like in that situation. Love the choices you made for this project!
Hi Lindsey! I don’t have any photos of the shade down, but essentially you just unhook the straps and unroll the shade. The straps just hang on the backside when the shade is unrolled. Hope this helps!
Can this shade be lowered for privacy?
Yes it can! Just remove the leather straps and unroll 🙂