Today, we are sharing our cozy fall bedroom we created all inspired by linen! Remember this post of our Bedroom Reveal from over the summer? Well, if you were following along over on Instagram, you know we decided to rearrange our room (again) in preparation for our new babe coming in December and this arrangement just works SO much better and allows for perfect symmetry for our bed and nightstands with ample room on either side!
Get The Look

This post is sponsored by Pottery Barn. All content and opinions are always our own. Thank you for allowing us to share the brands we love to support.
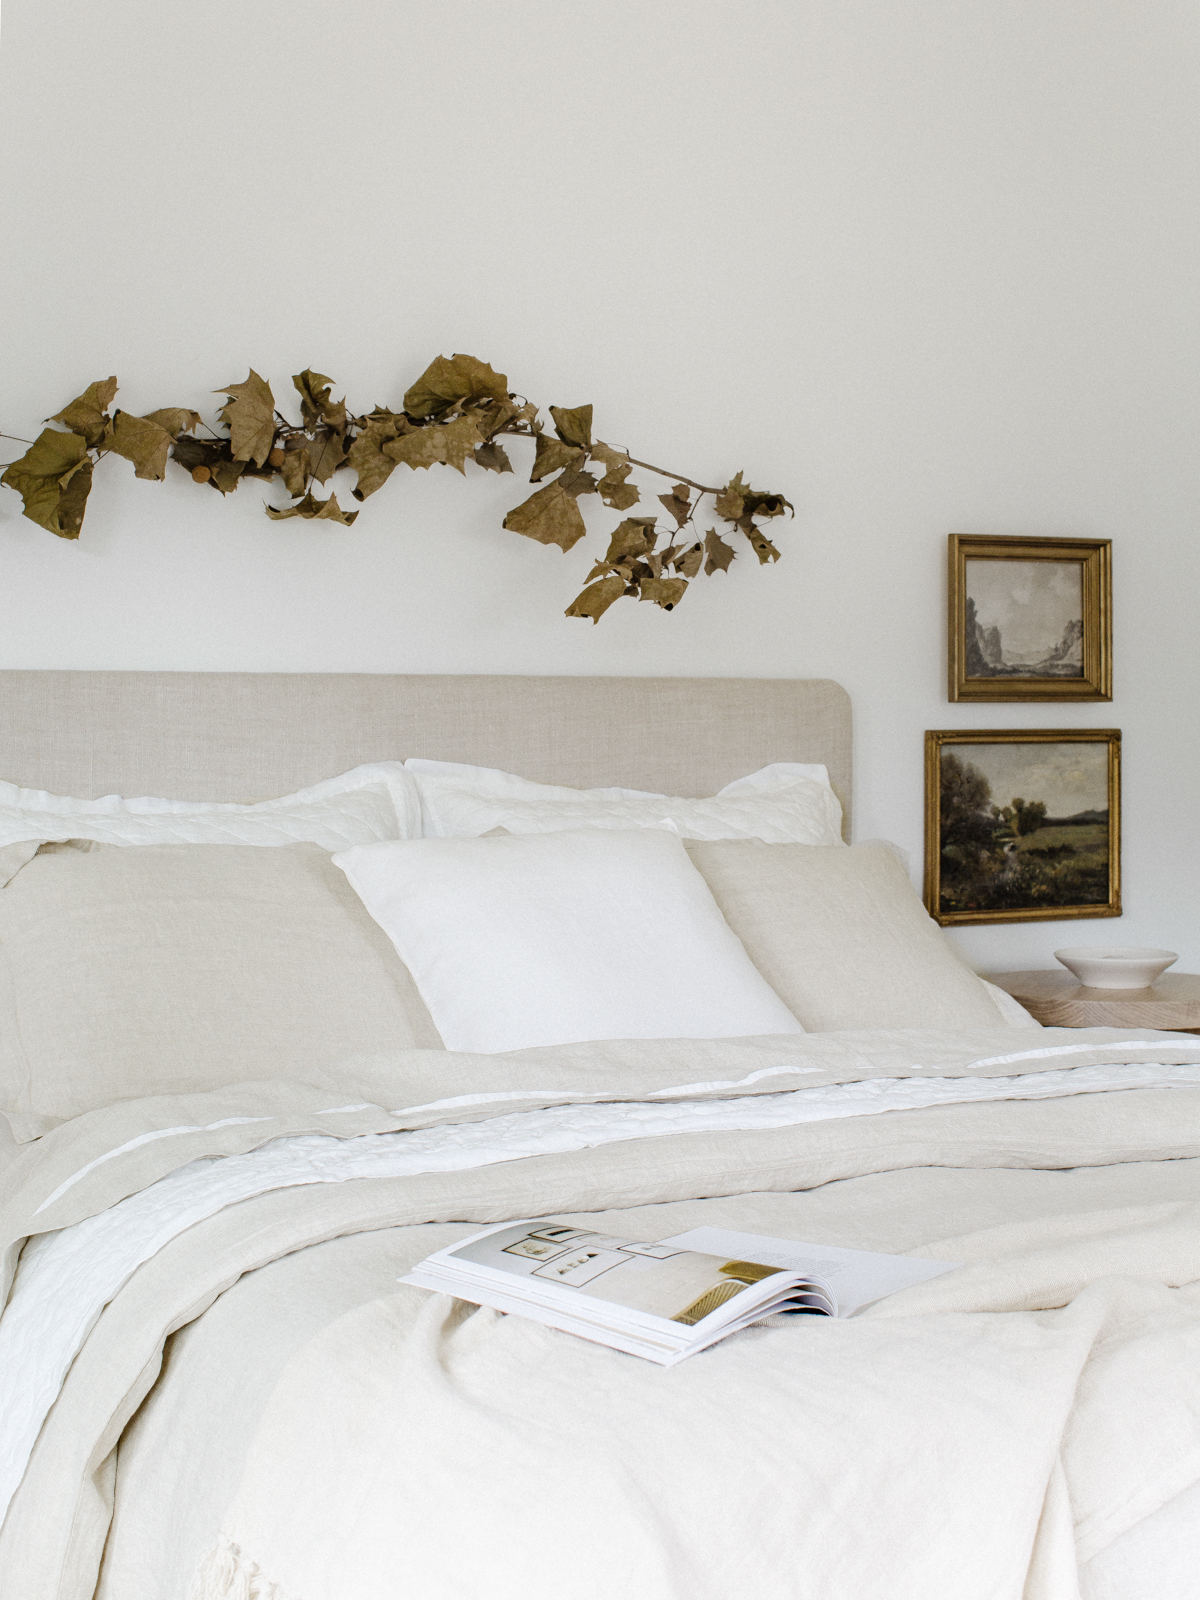
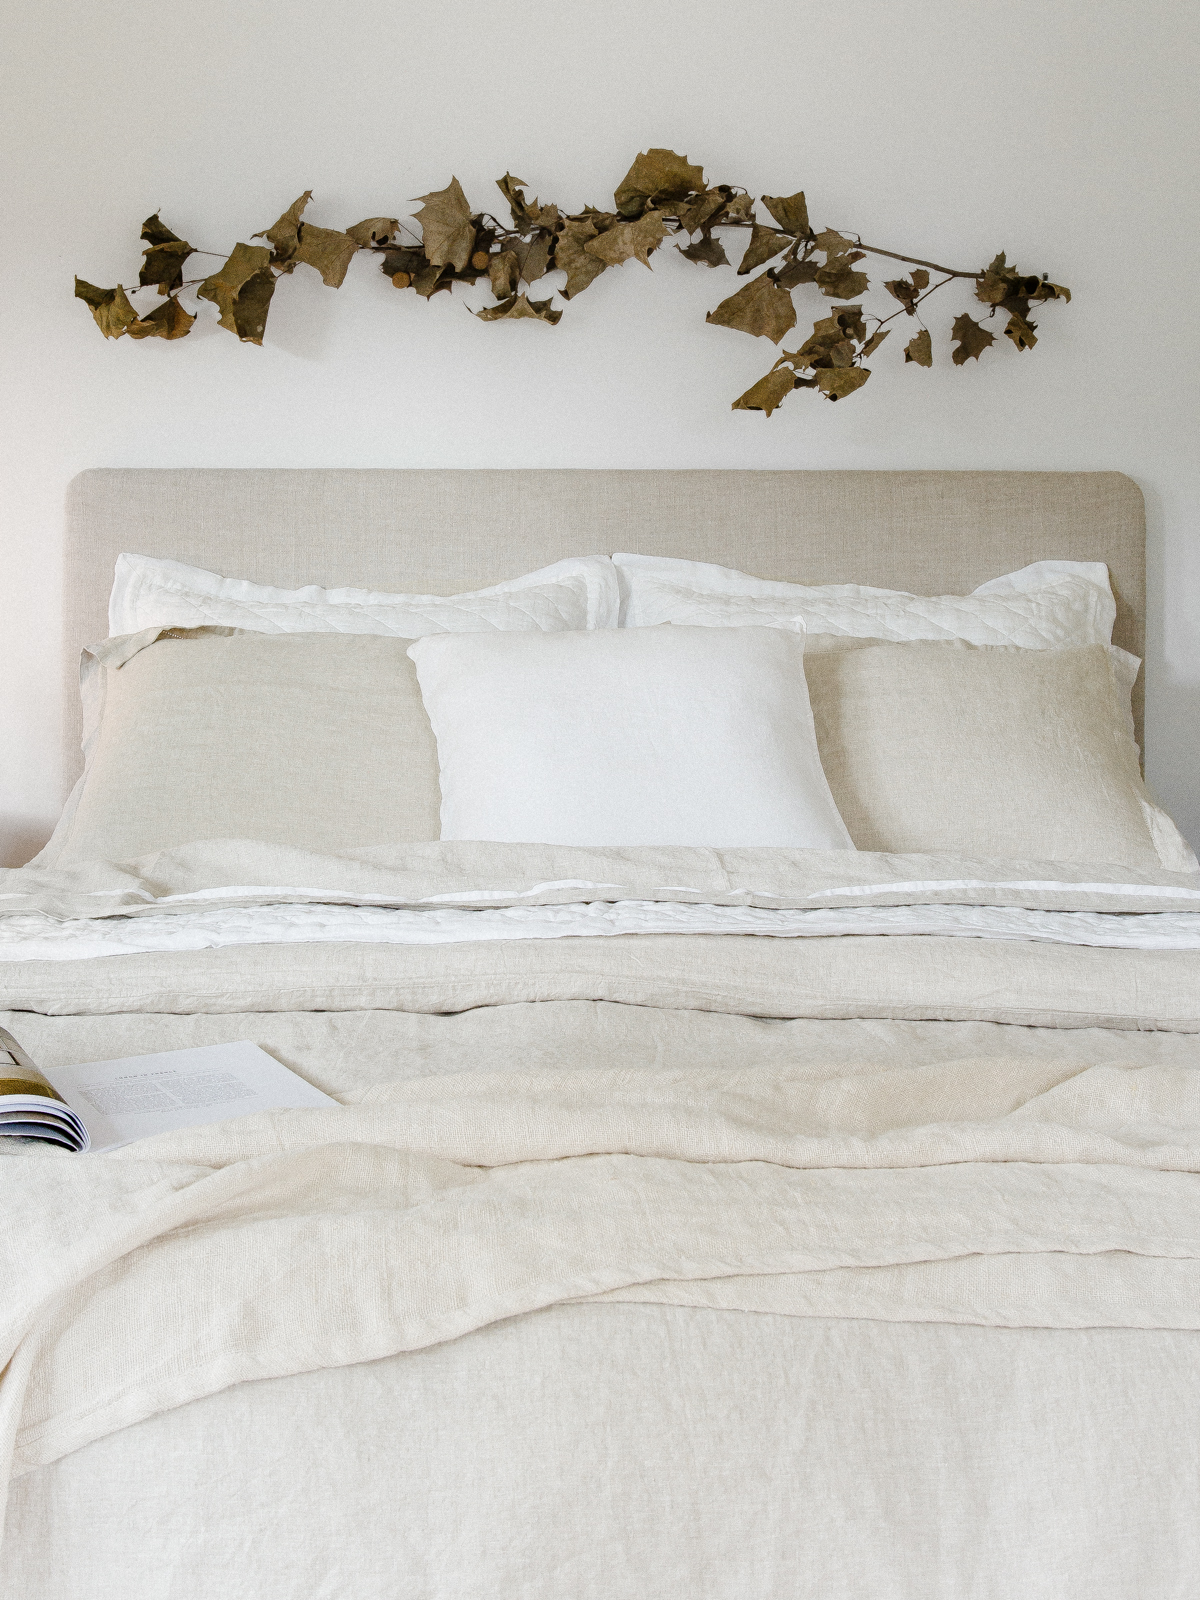
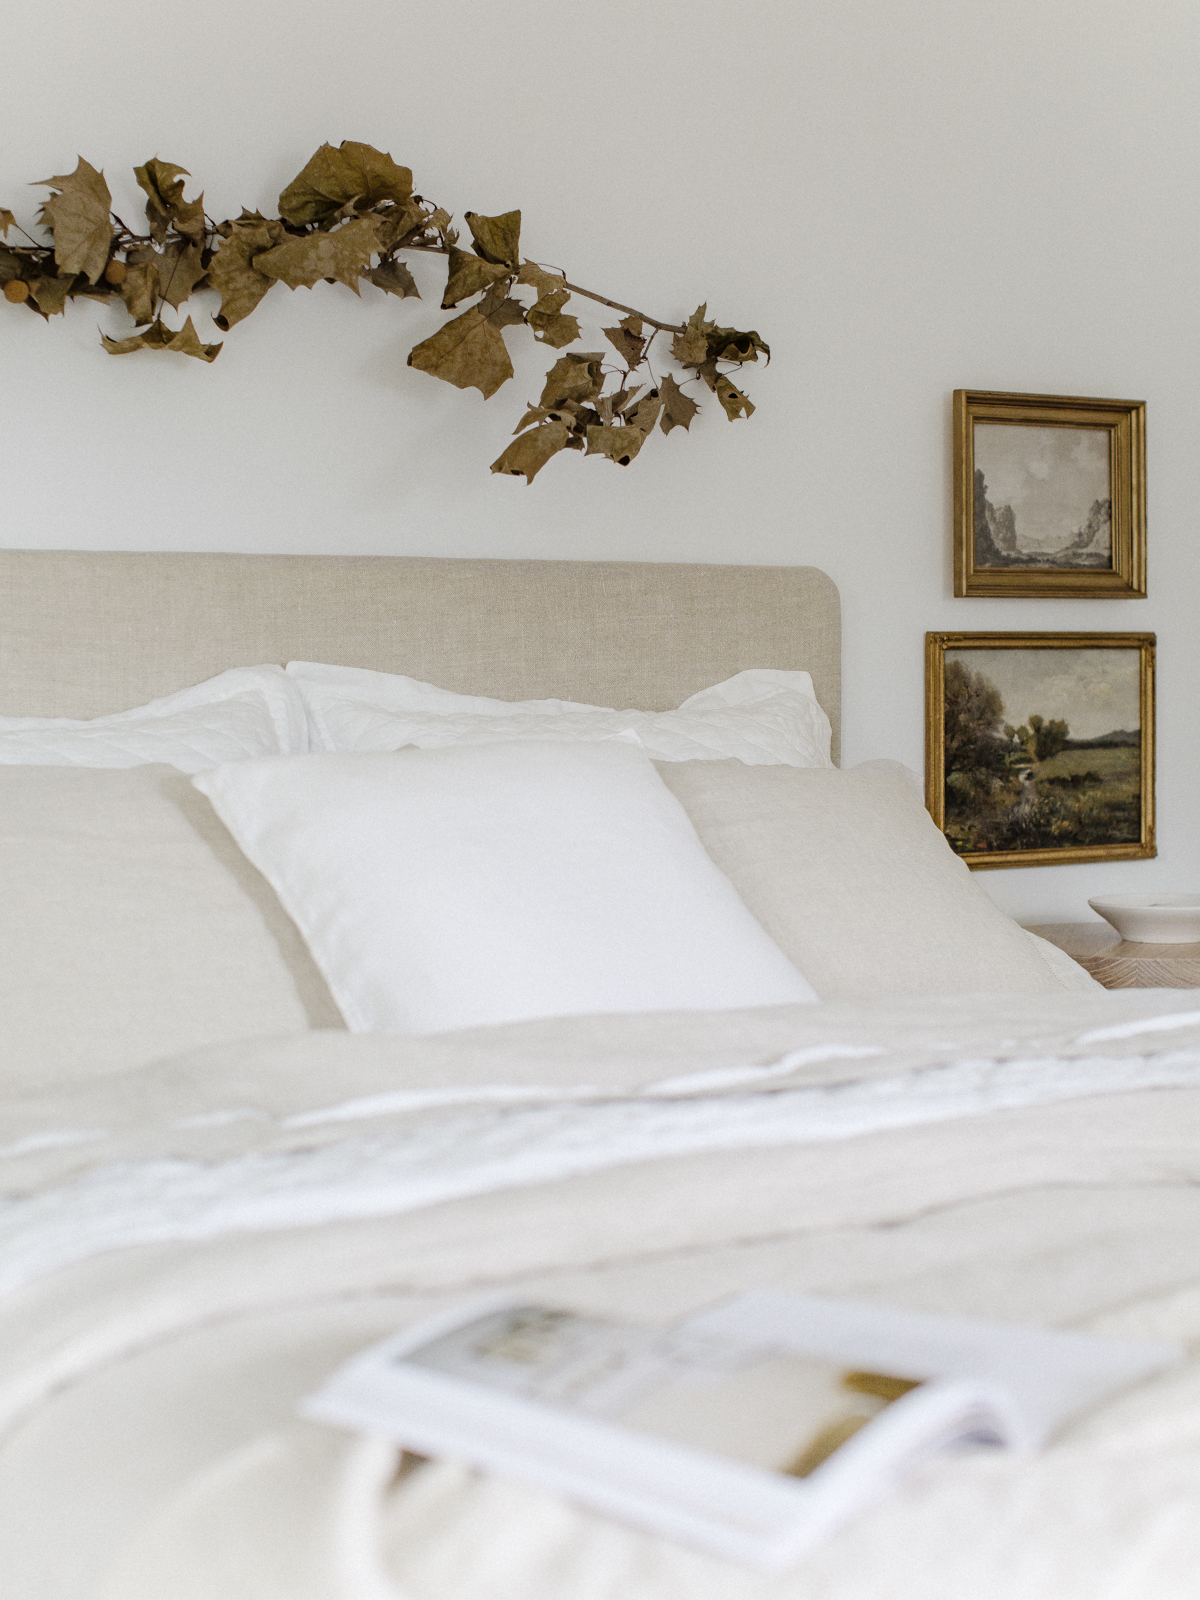
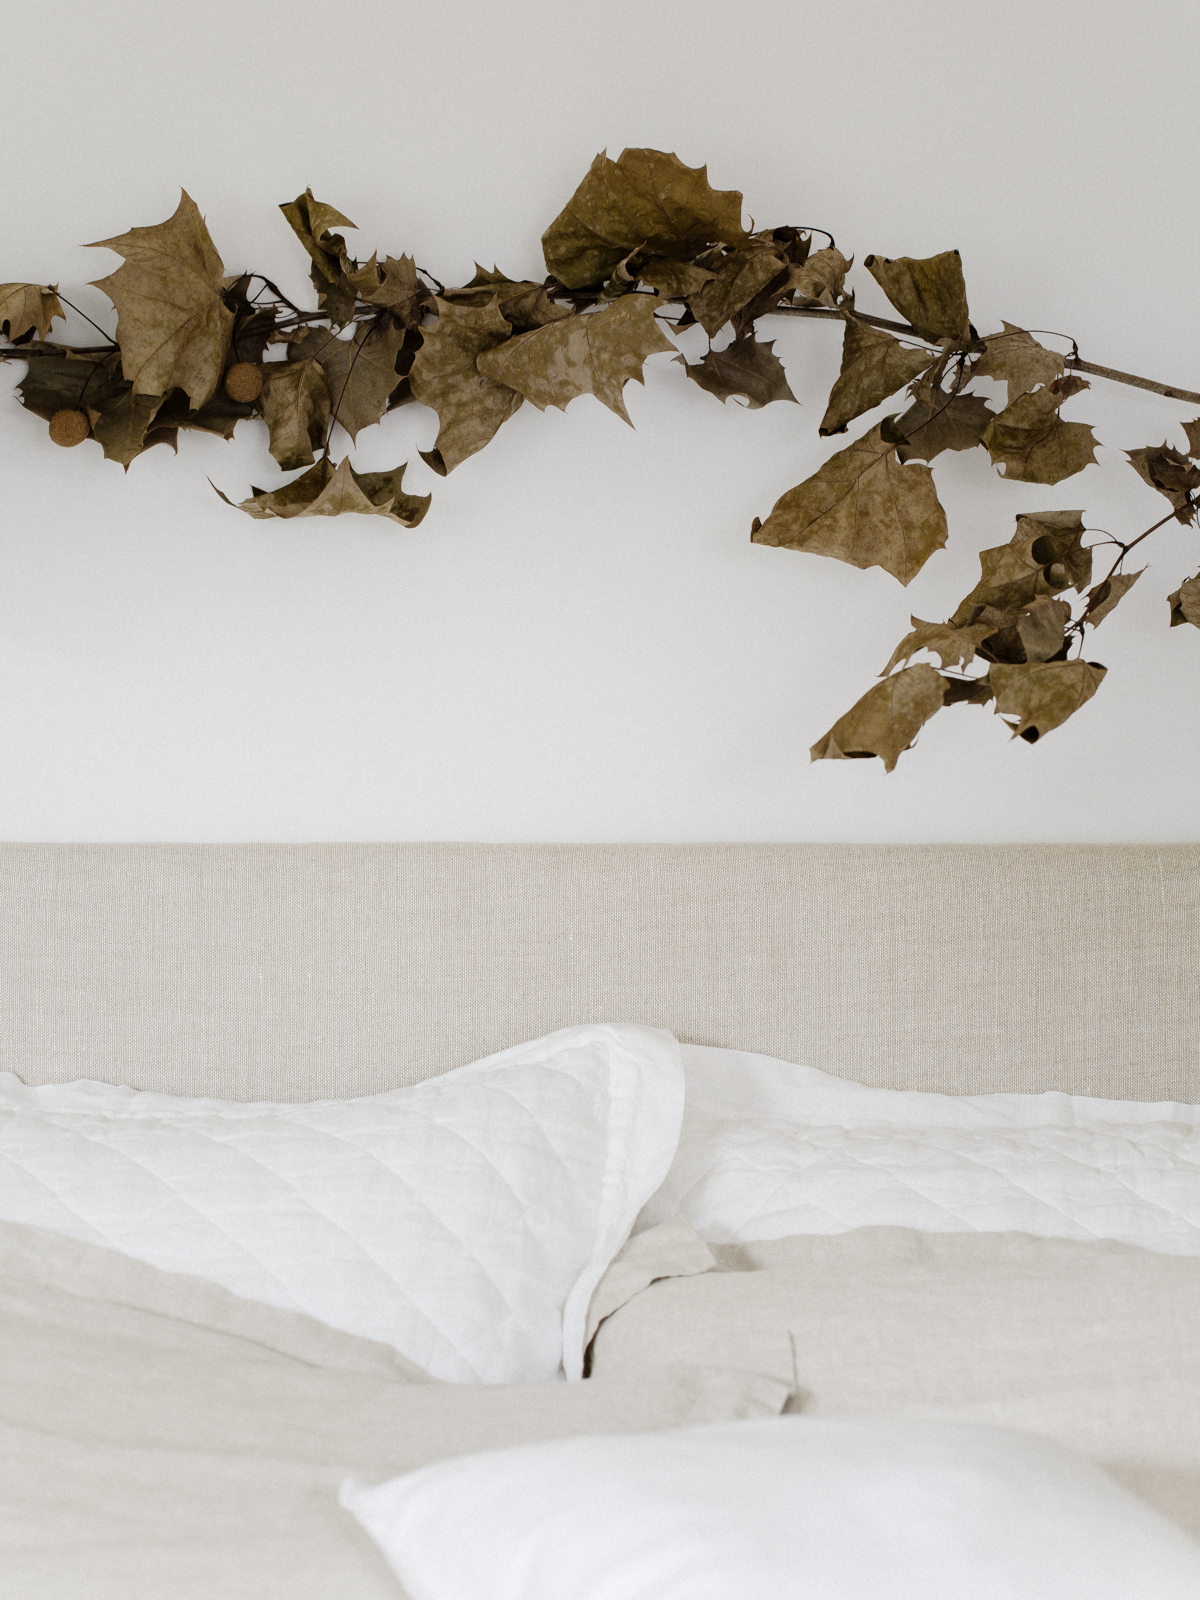
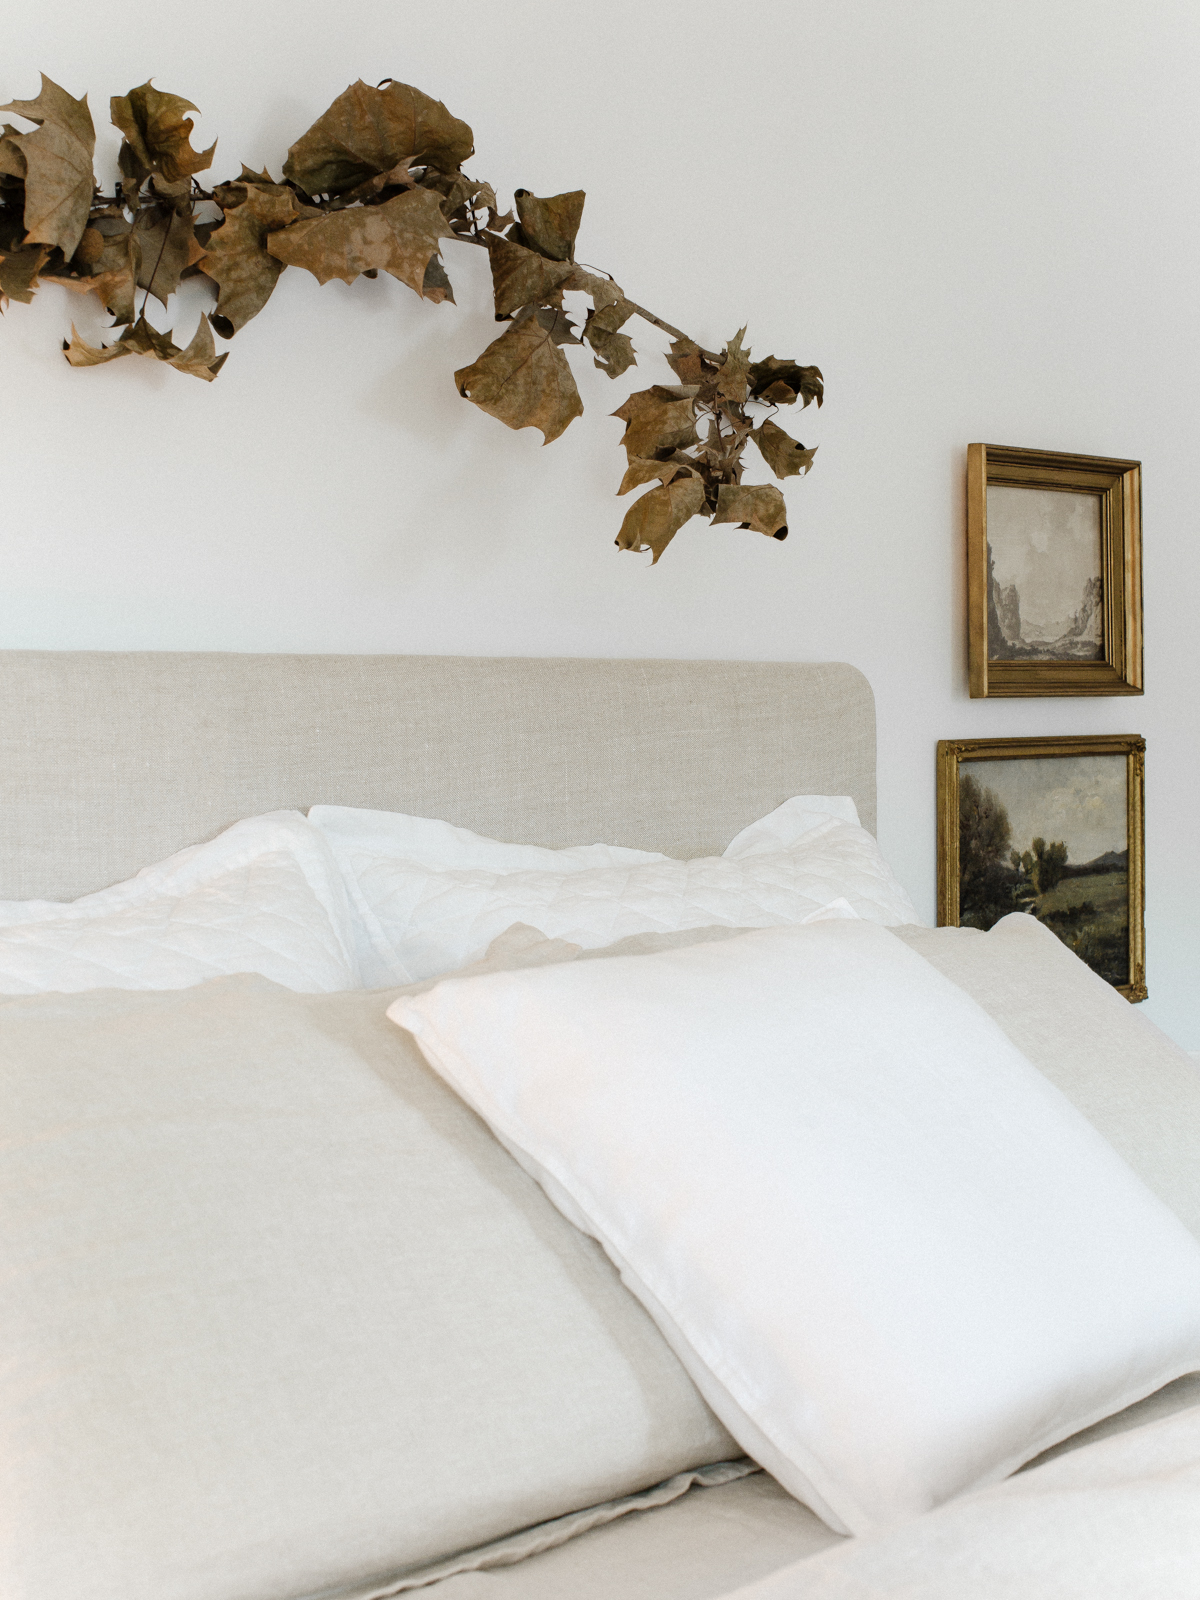
We still have a lot to do before we share our completed bedroom – hang curtains, wall sconces, get a dresser… BUT one thing we did do was update our headboard by wrapping it in 100% European Linen in a natural flax color to match our Fair Trade Linen Bedding from Pottery Barn and we can’t believe how much better it looks!
* We are sharing the easy steps how to create this same headboard at the very end of this post.
Can we talk about all of that linen for a second?! Not only is Pottery Barn’s linen bedding extremely soft, great quality, and has many color options to choose from- all of the bedding seen in this post is part of their Fair Trade Certified products which means when you purchase a Fair Trade product, you are shopping ethically.
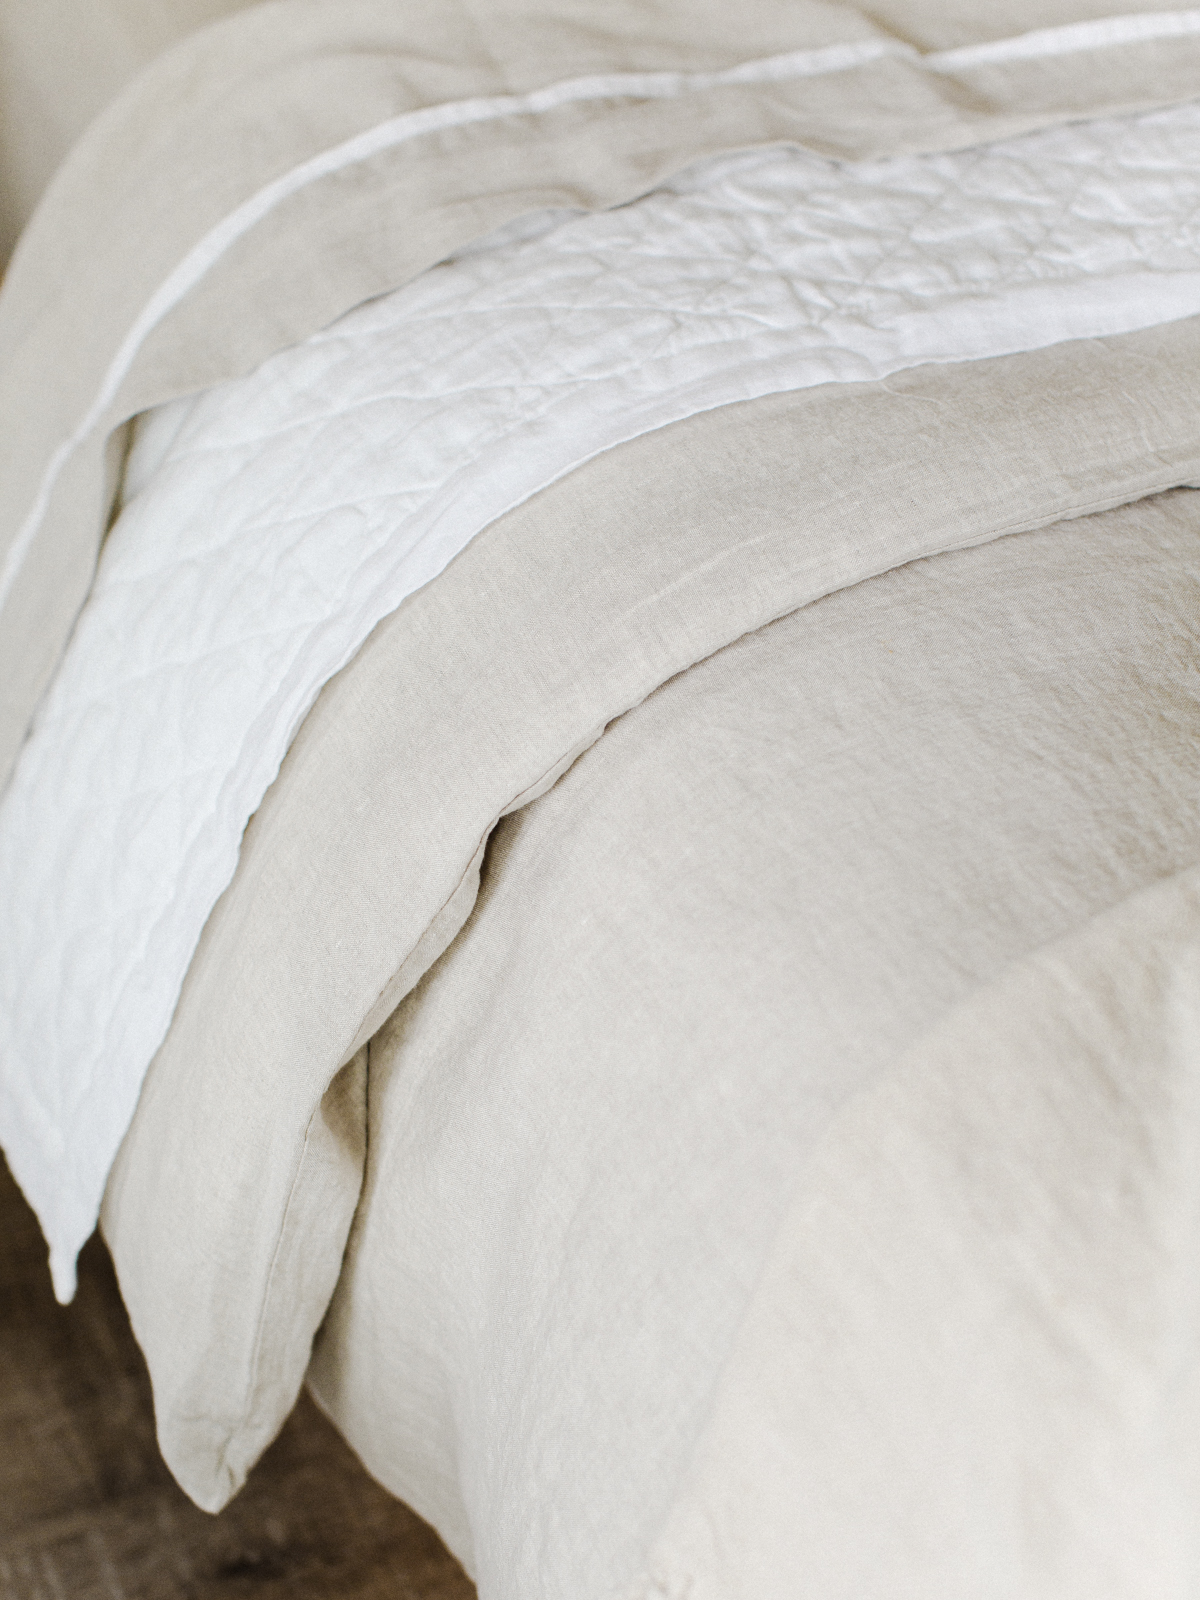
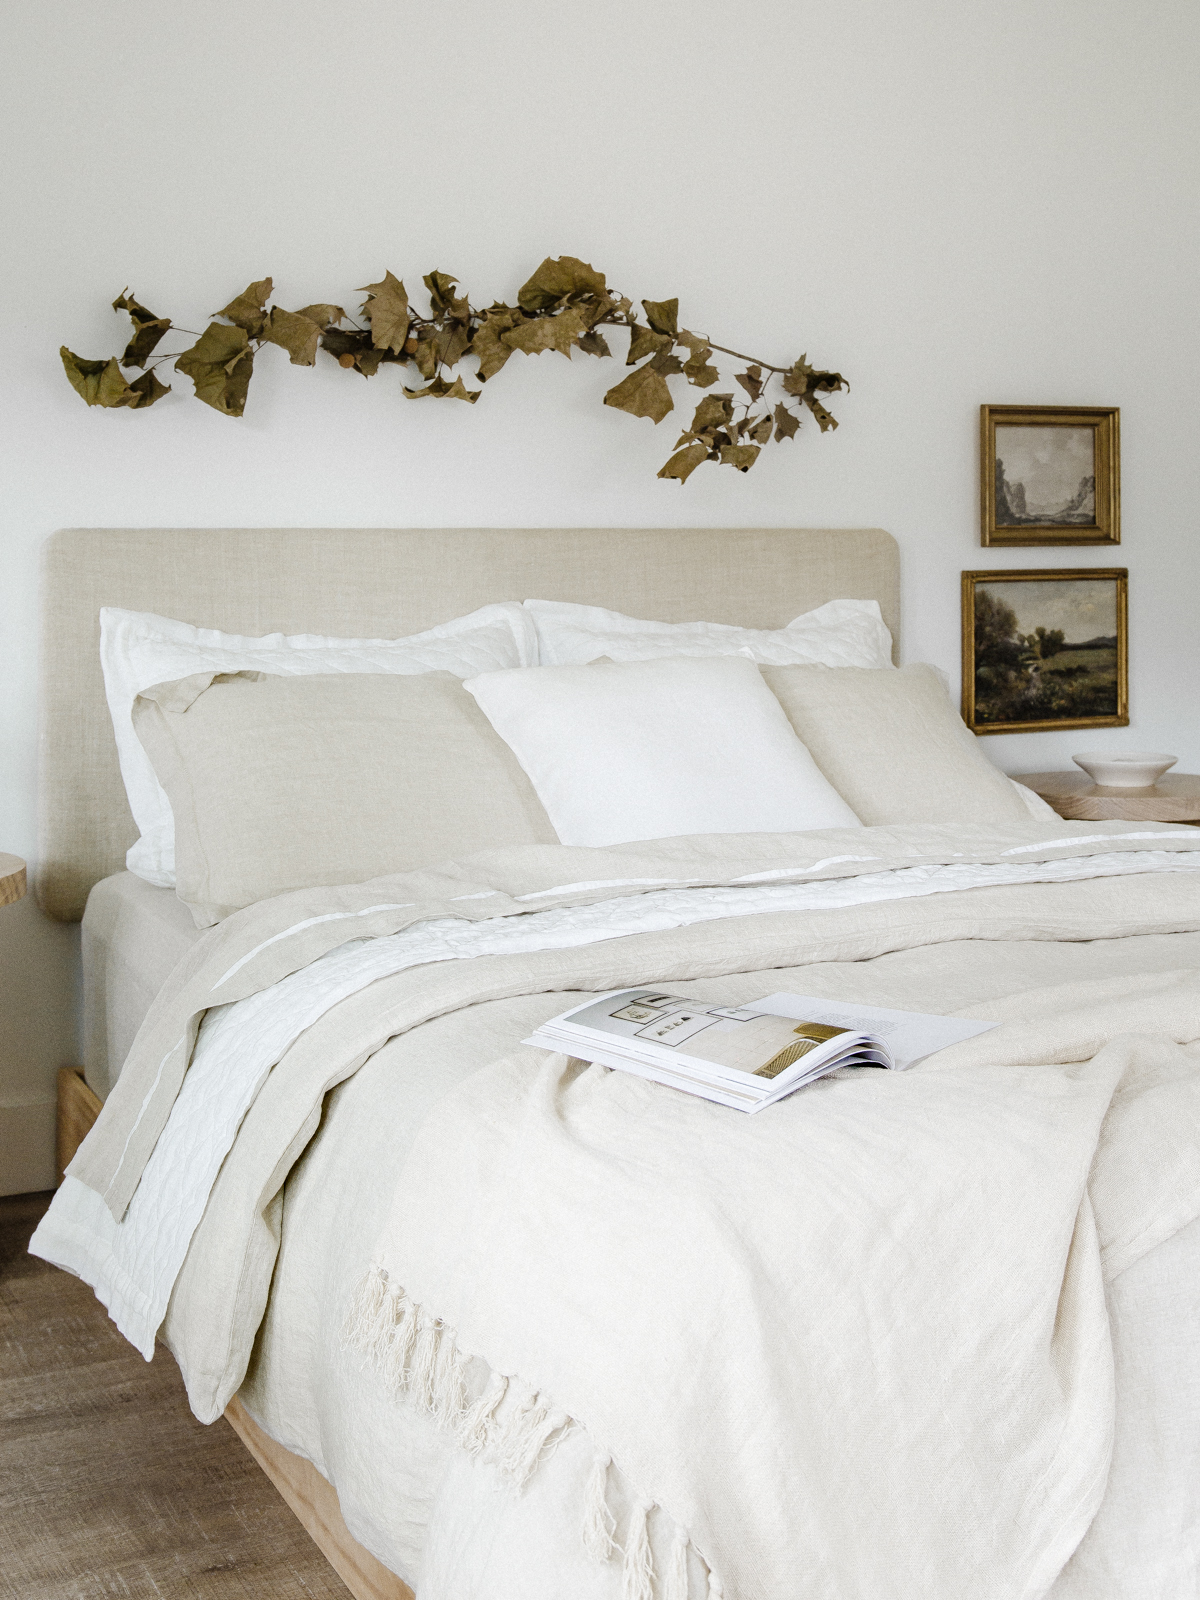
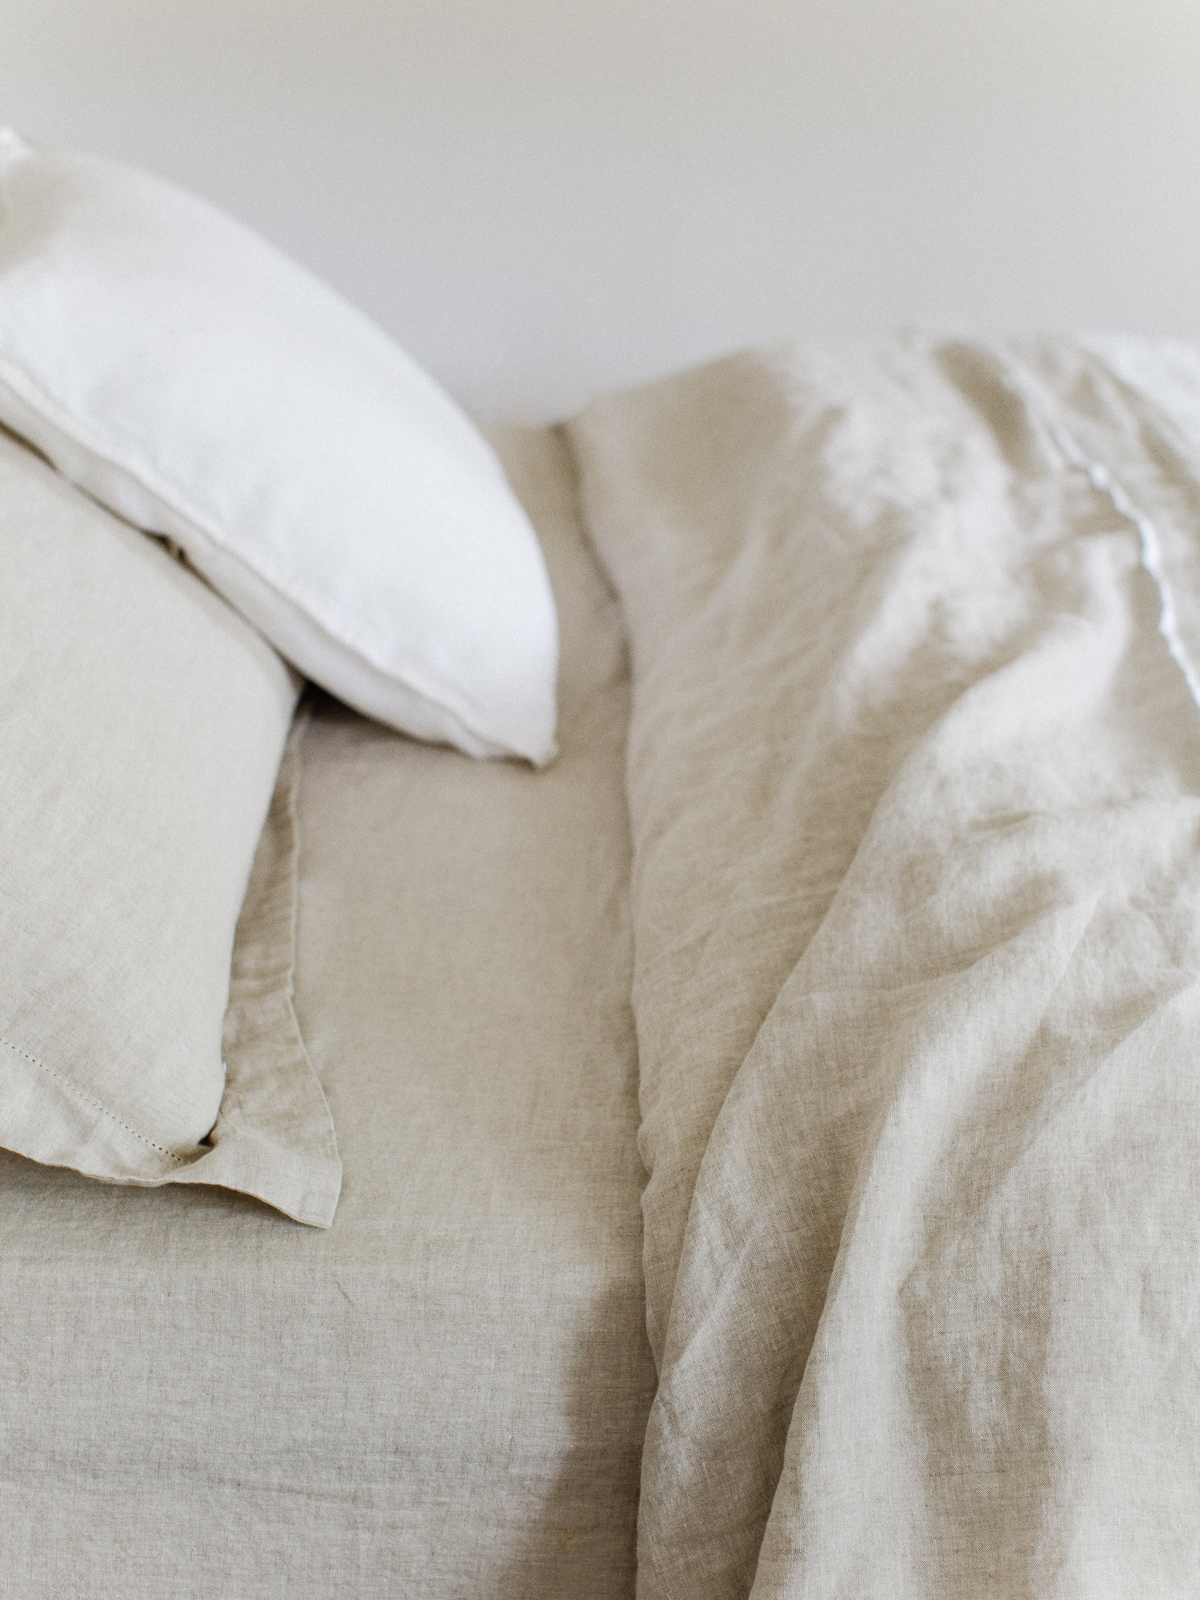
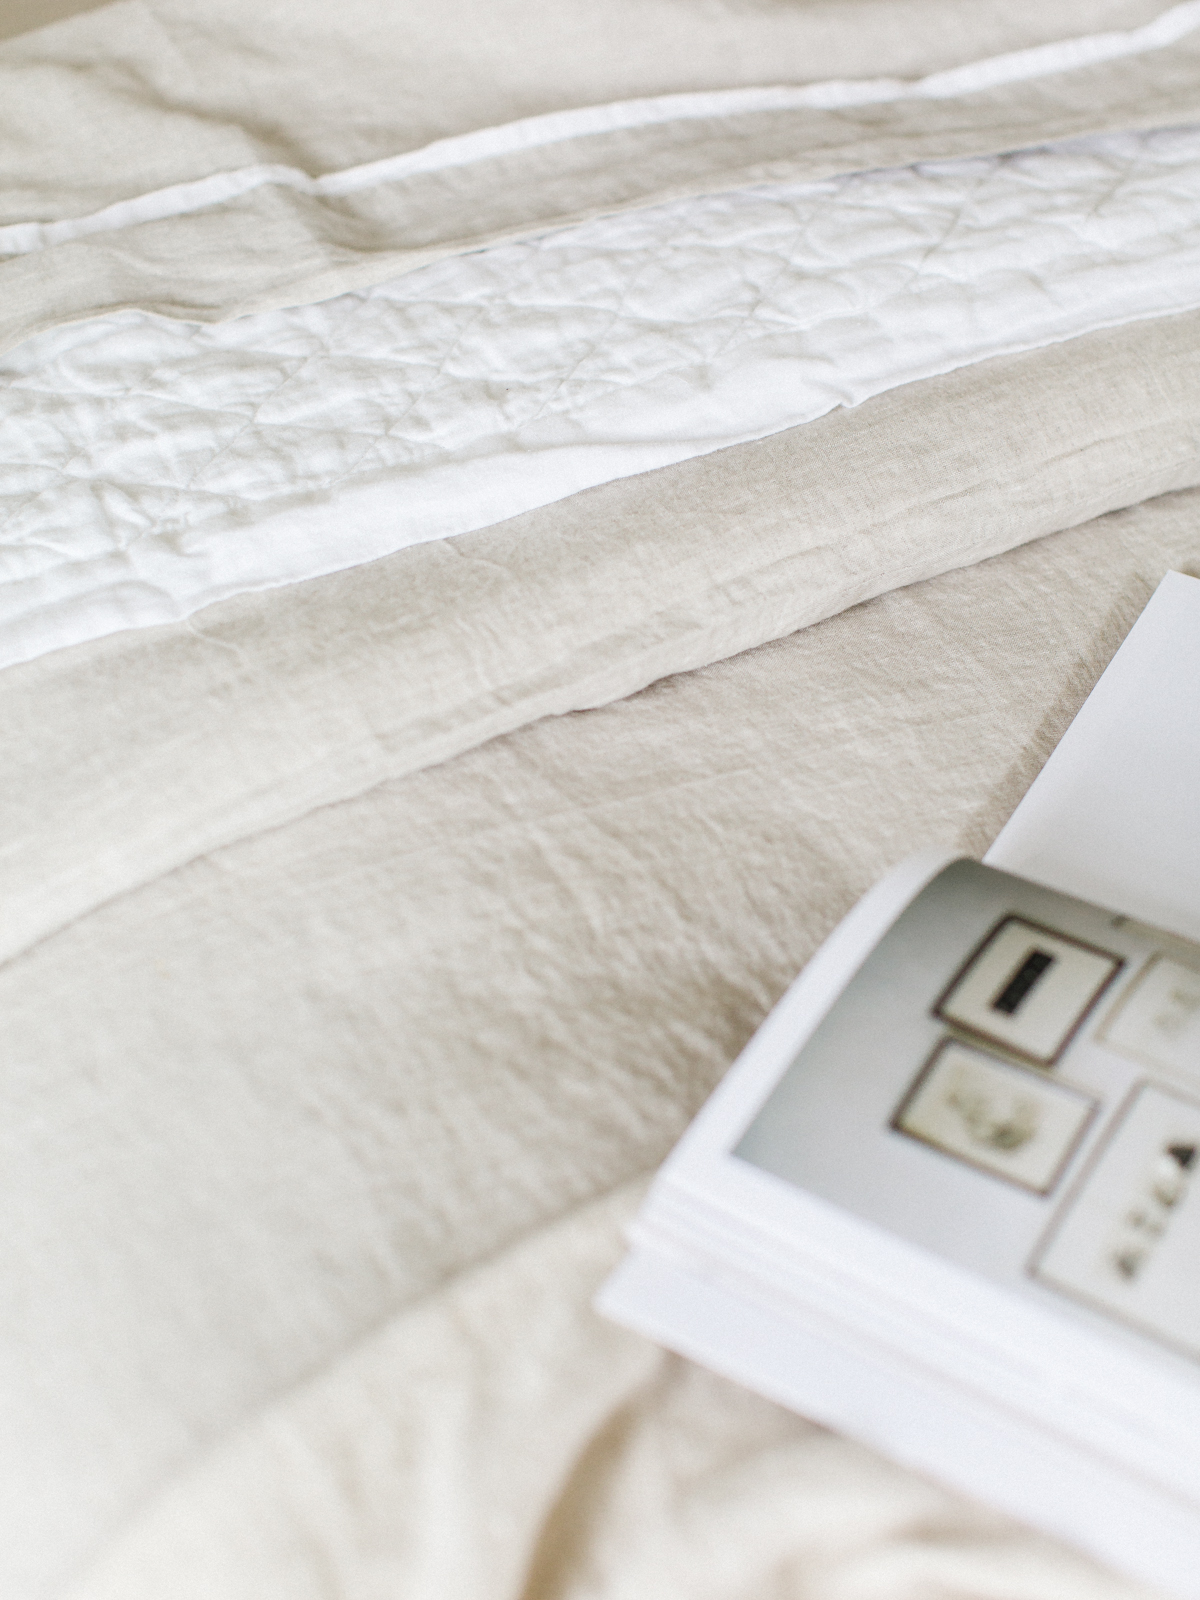
Here you can see the cozy texture and perfect neutral colors of their Belgian Flax Linen Contrast Sheet, the Linen Diamond Quilt in White, and the Belgian Linen Natural Duvet Cover and Shams.
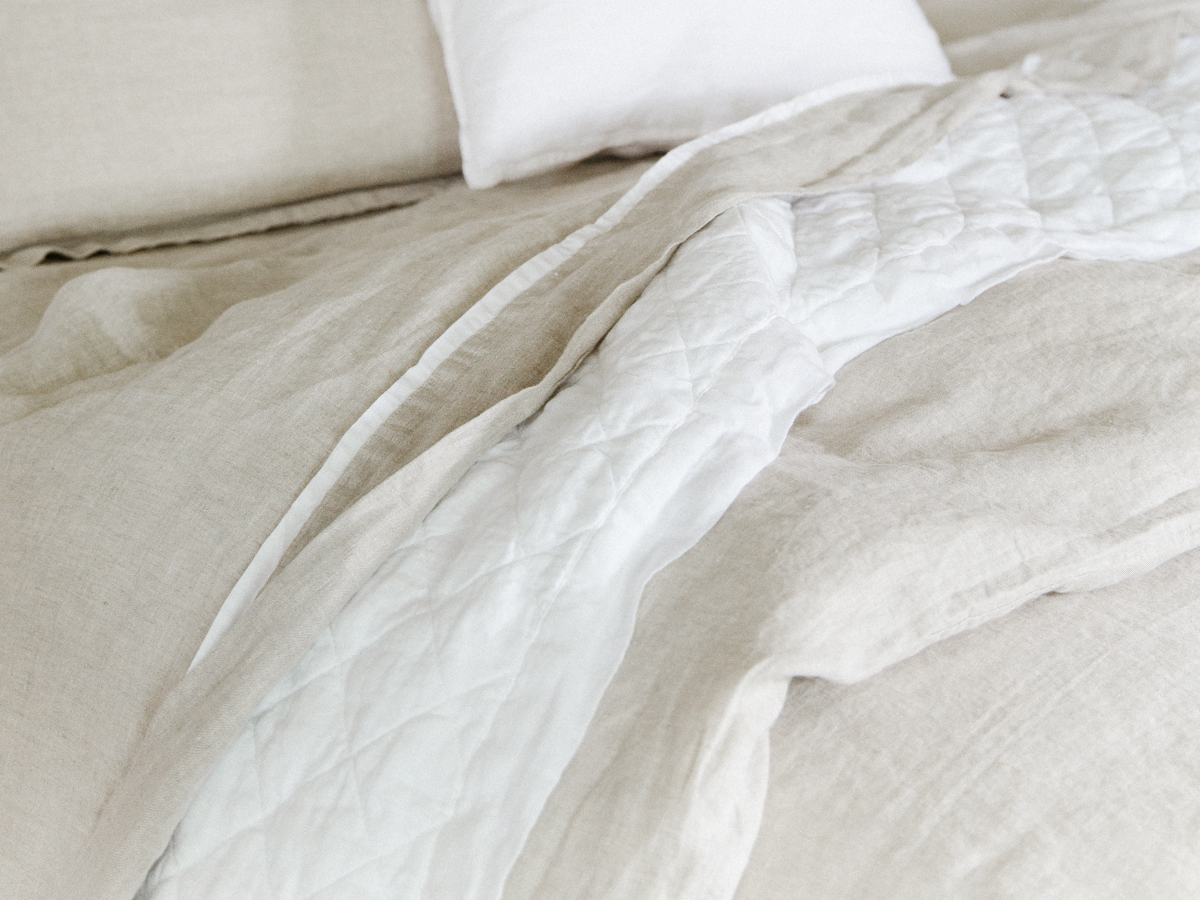

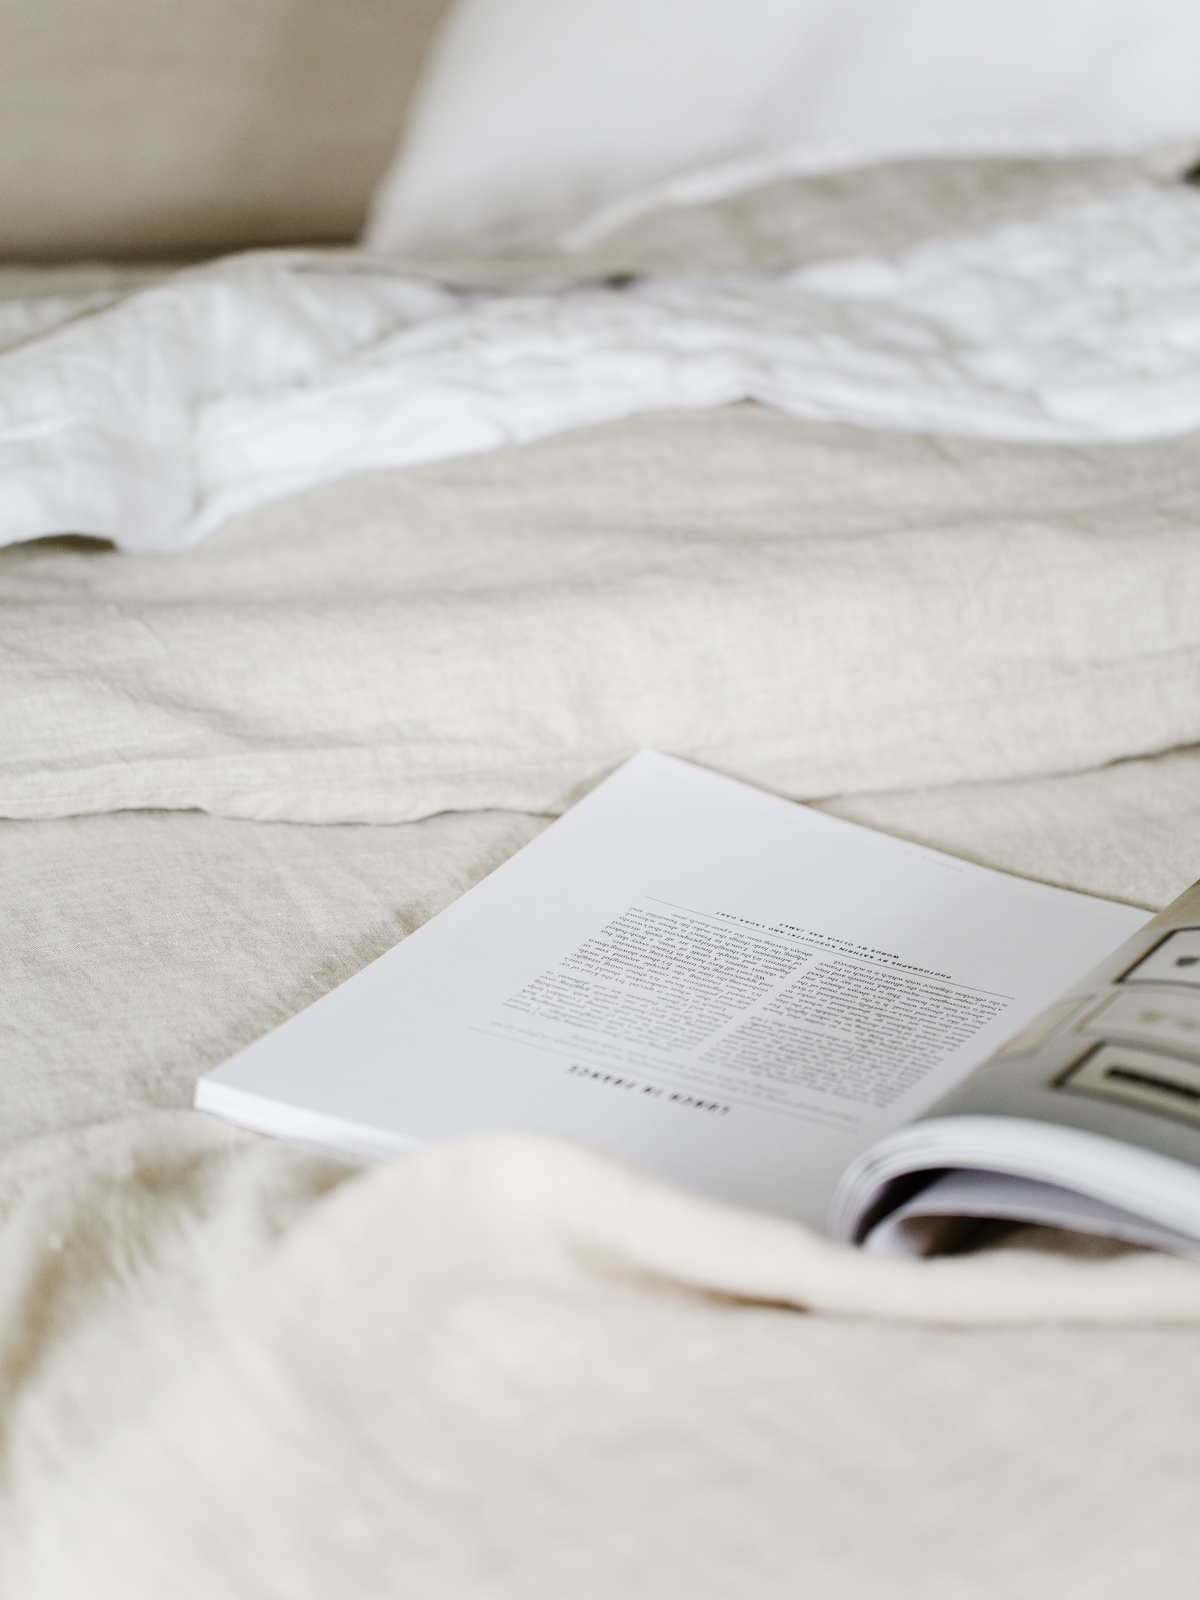
We love the look and feel of linen, and there is just something about all of the layers together during the cooler months that makes crawling into bed after a long day that much better.
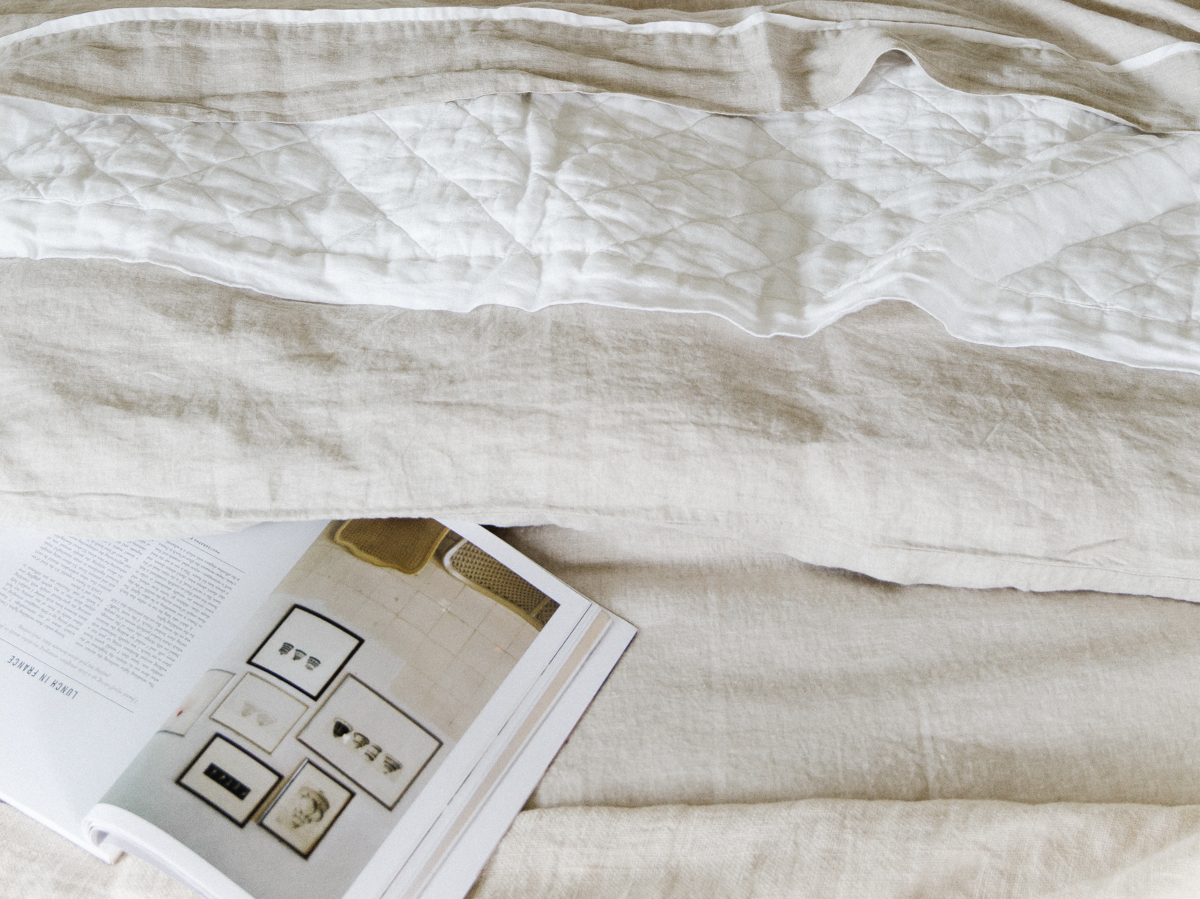
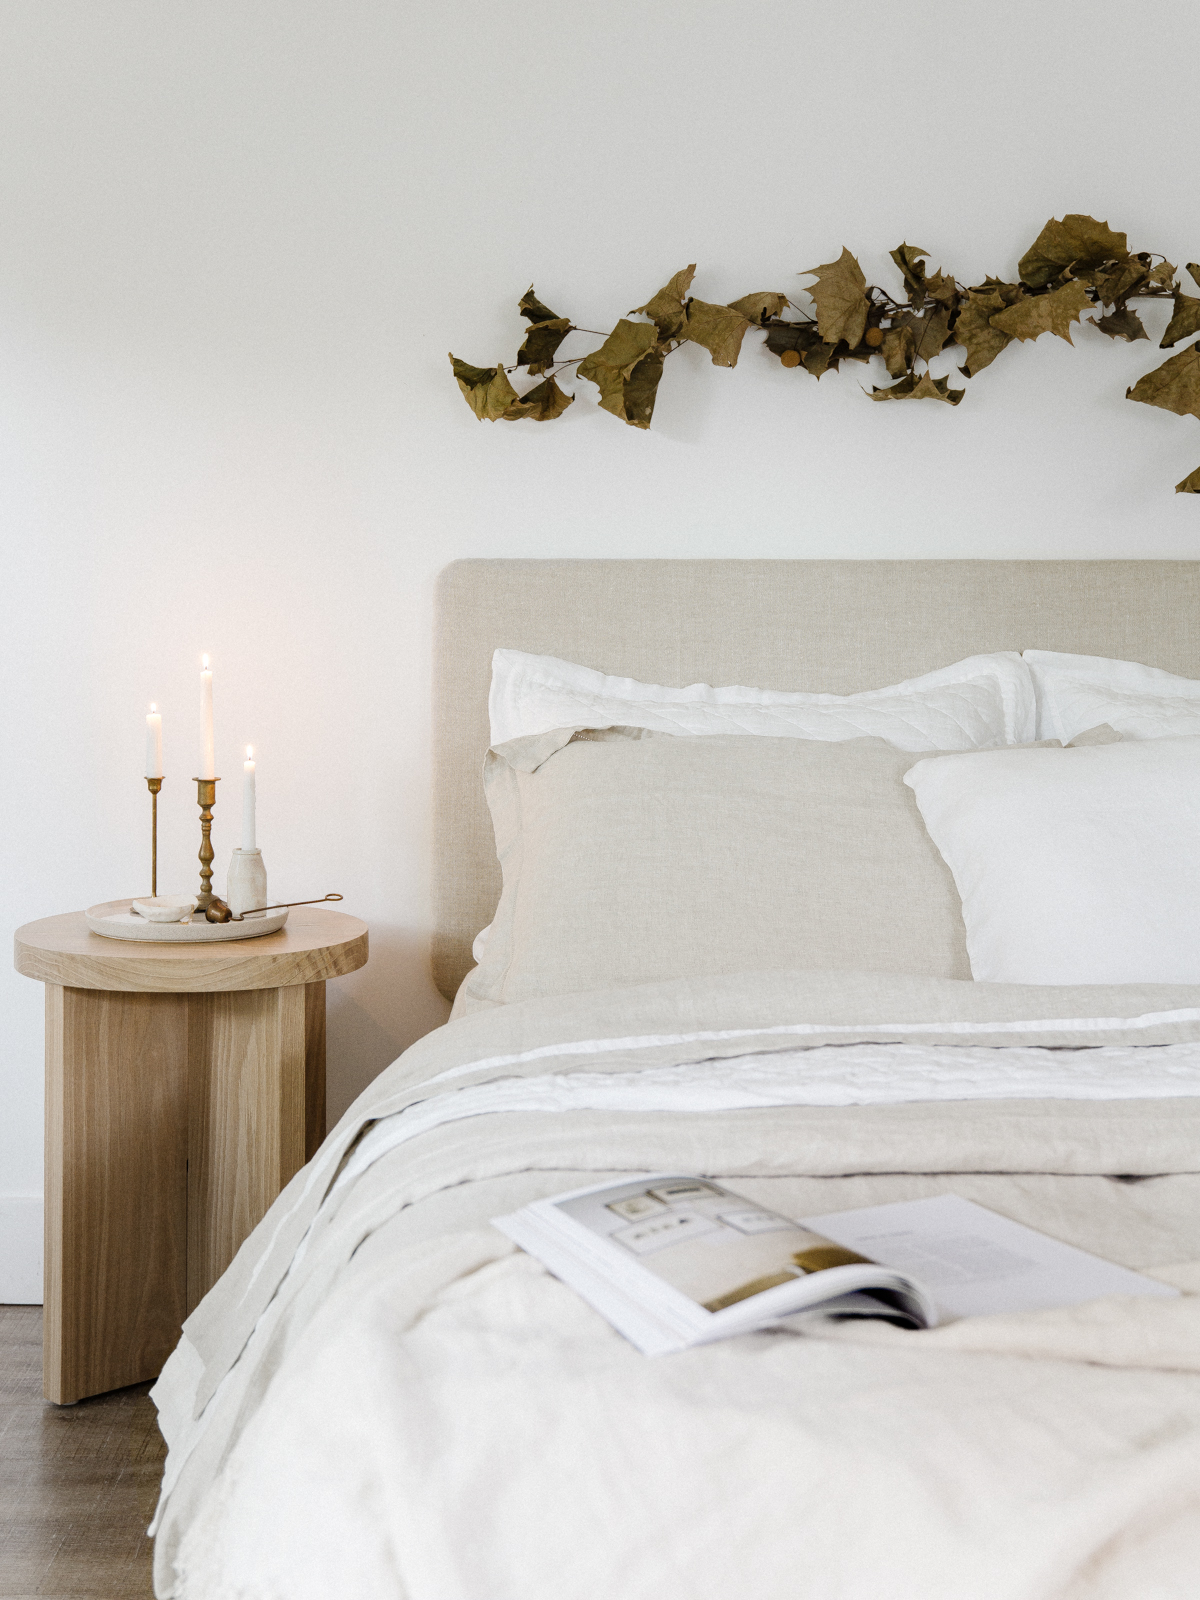
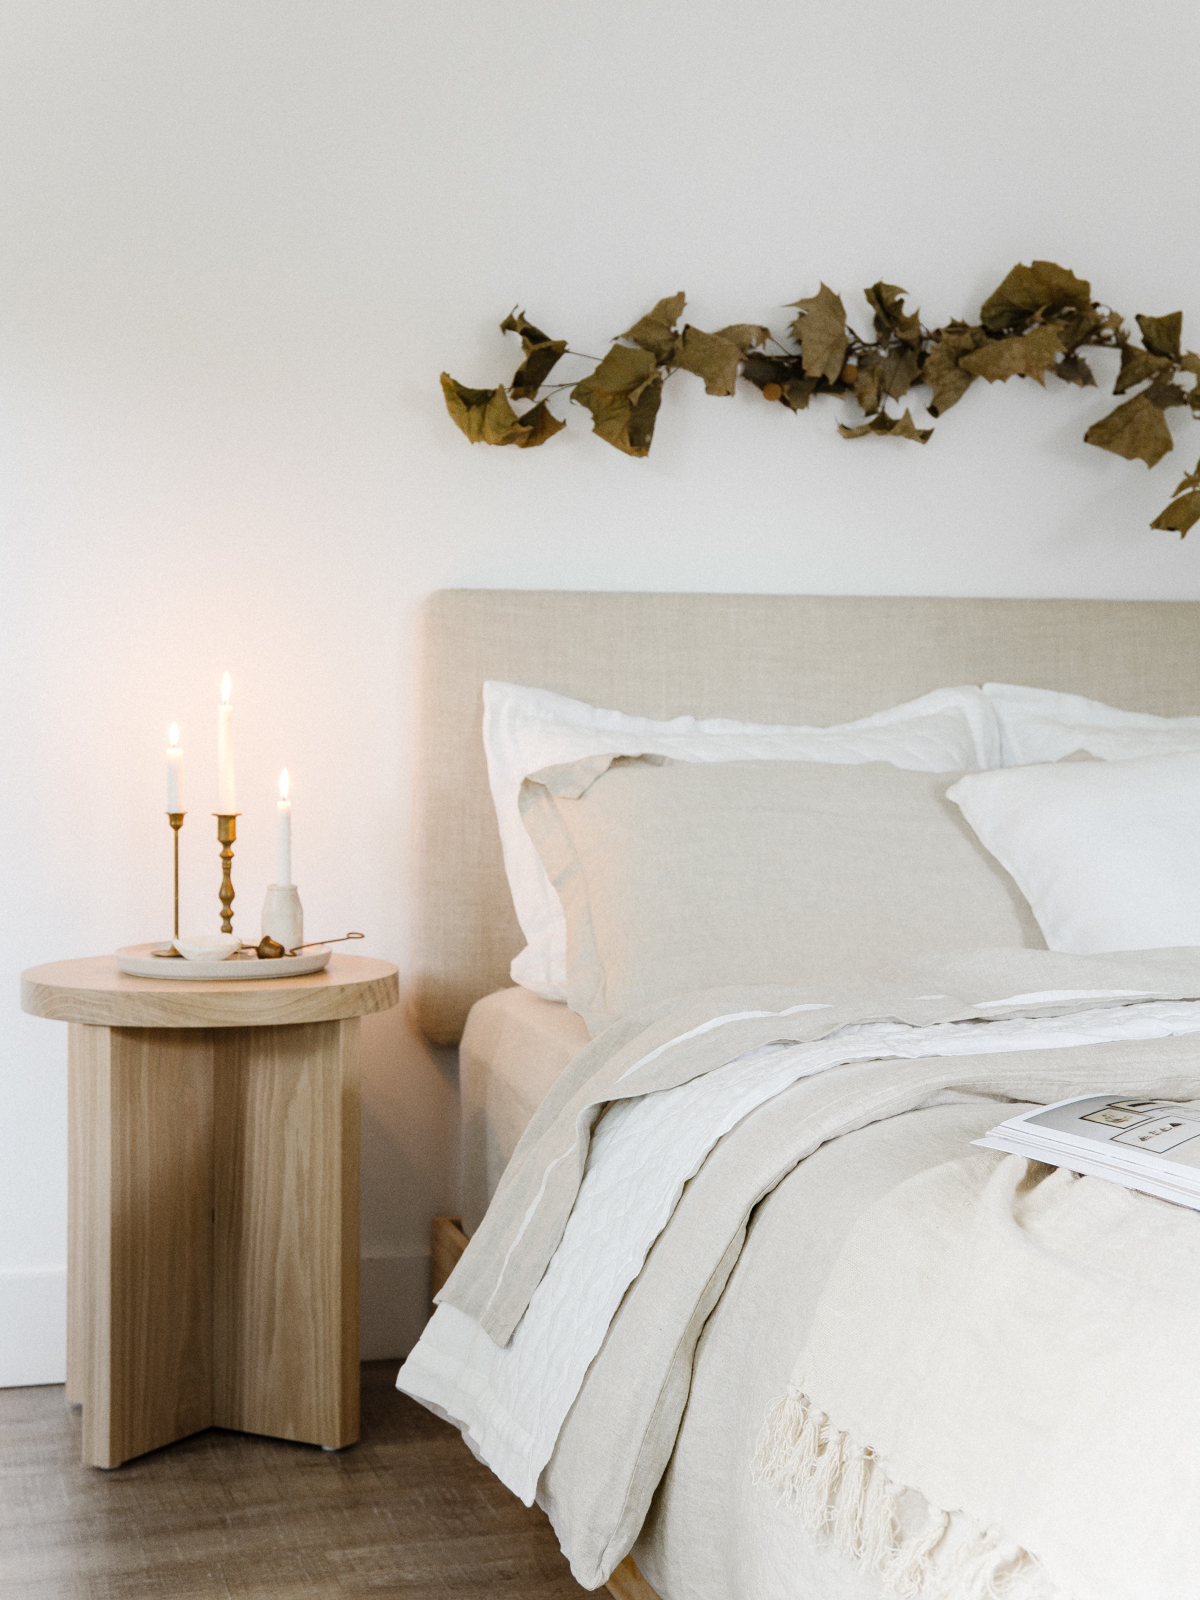
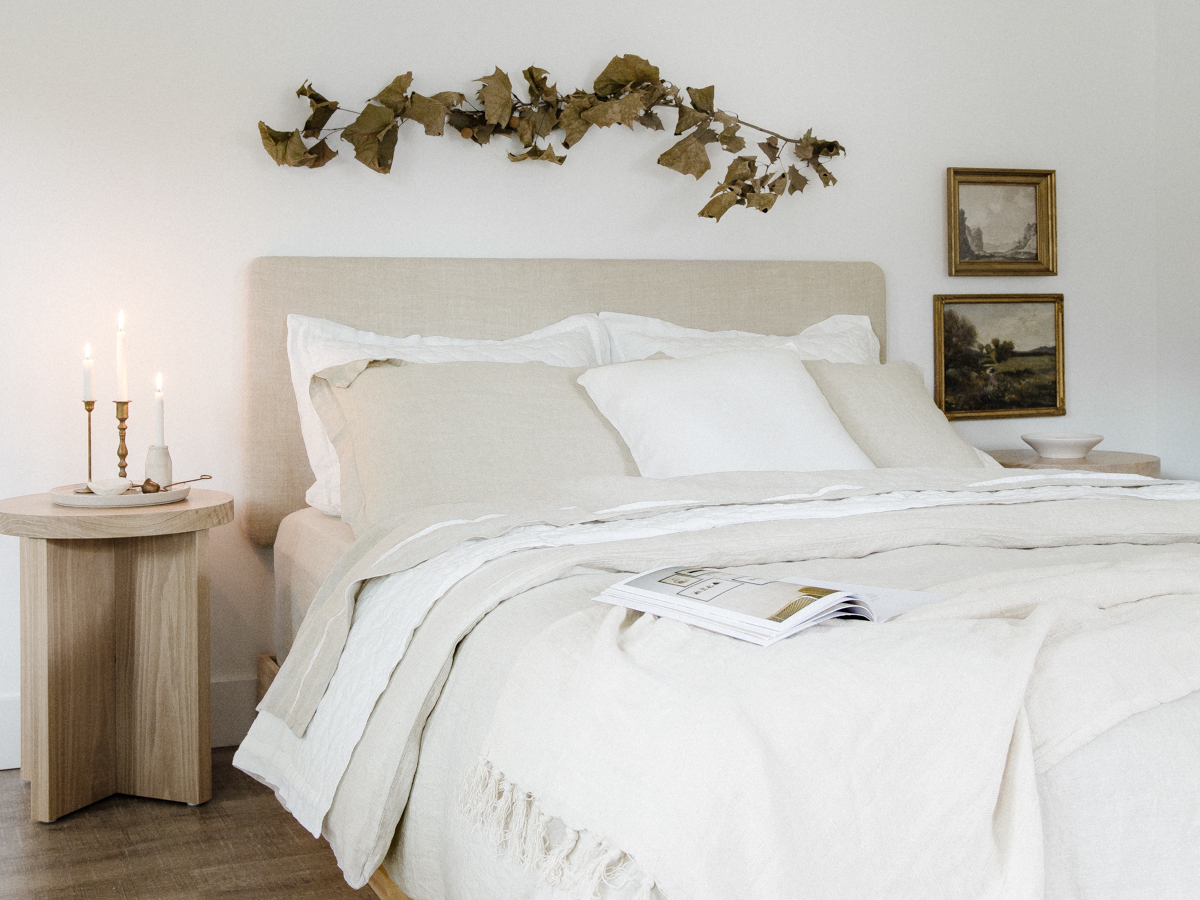
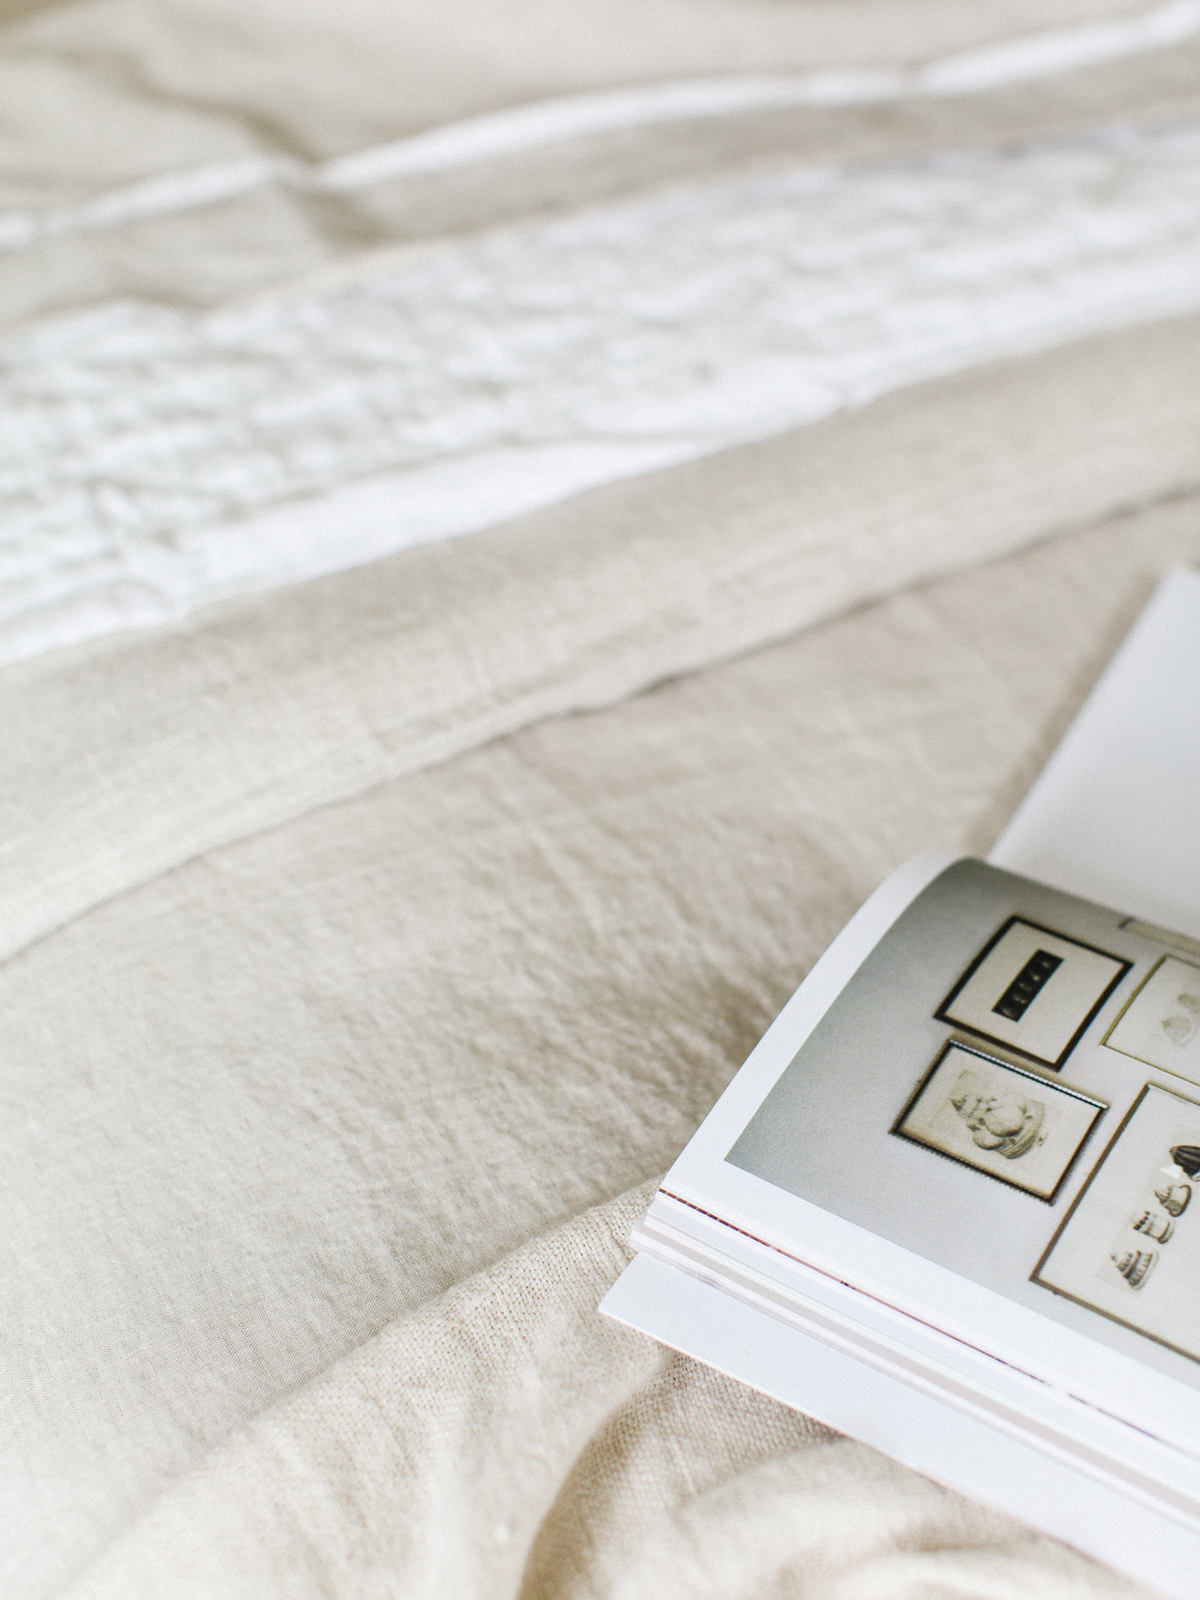
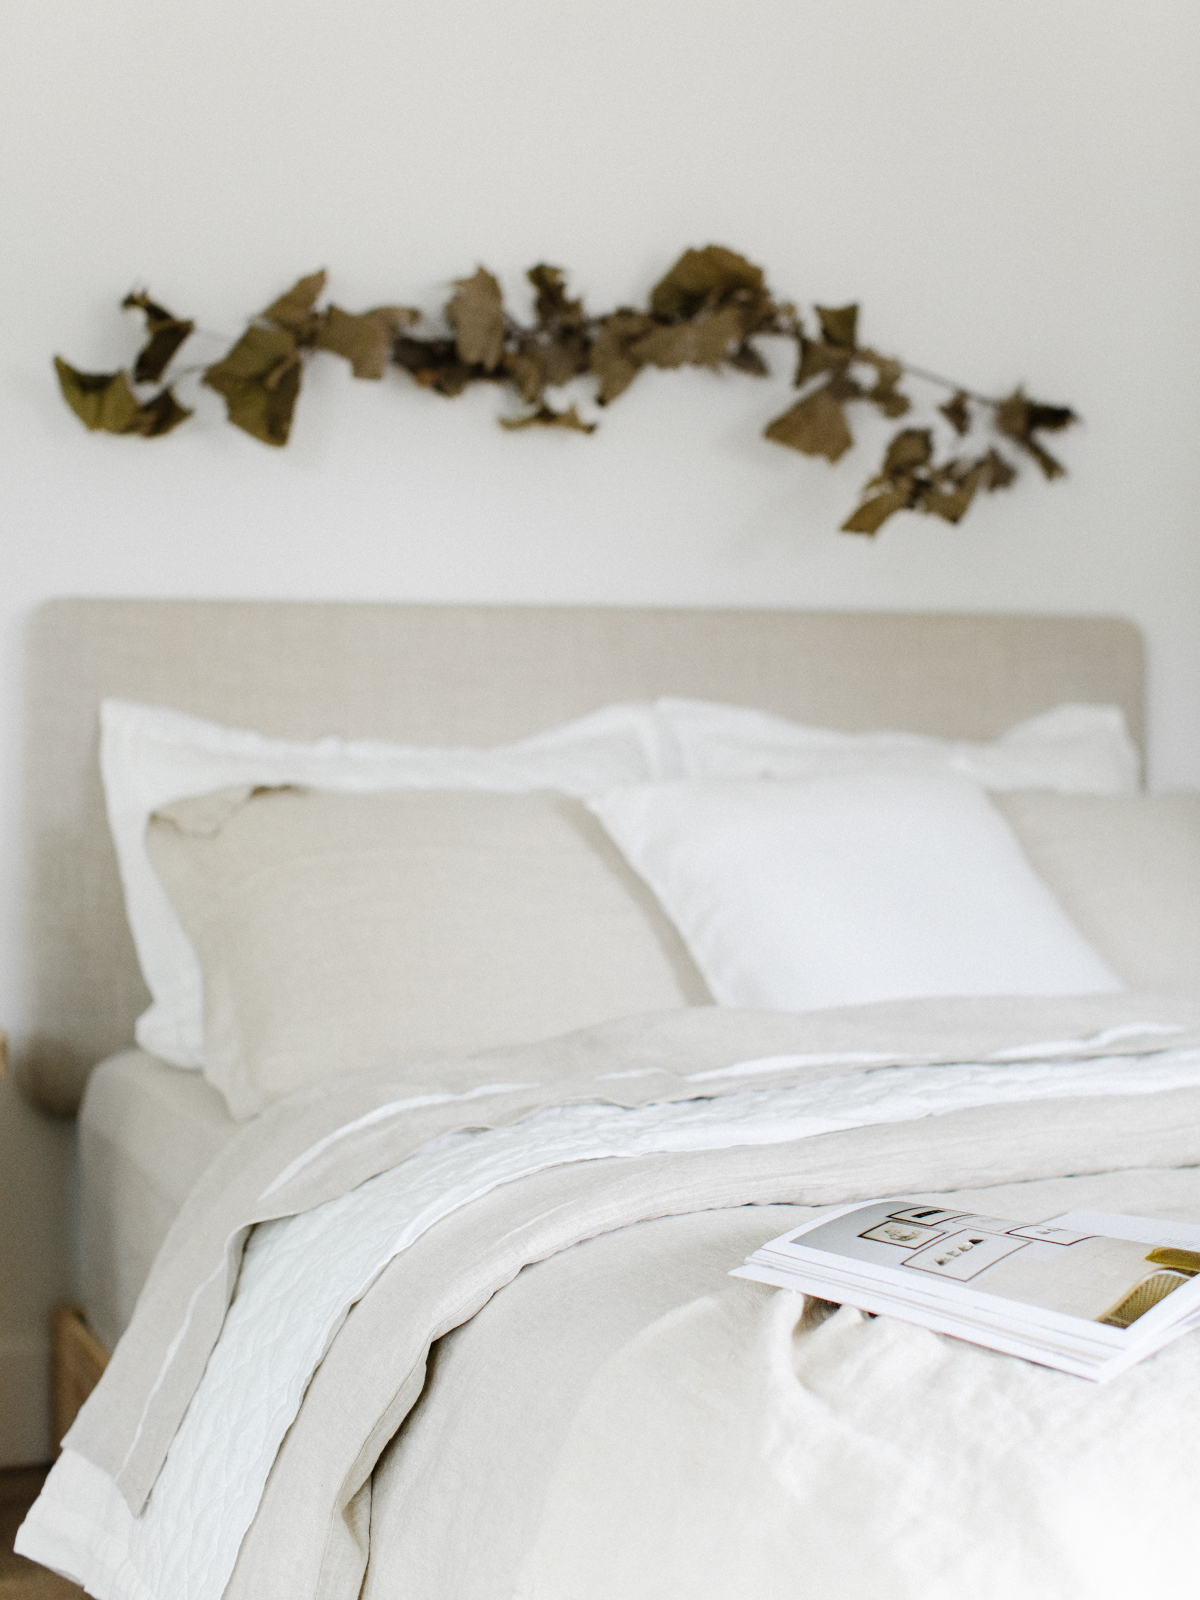
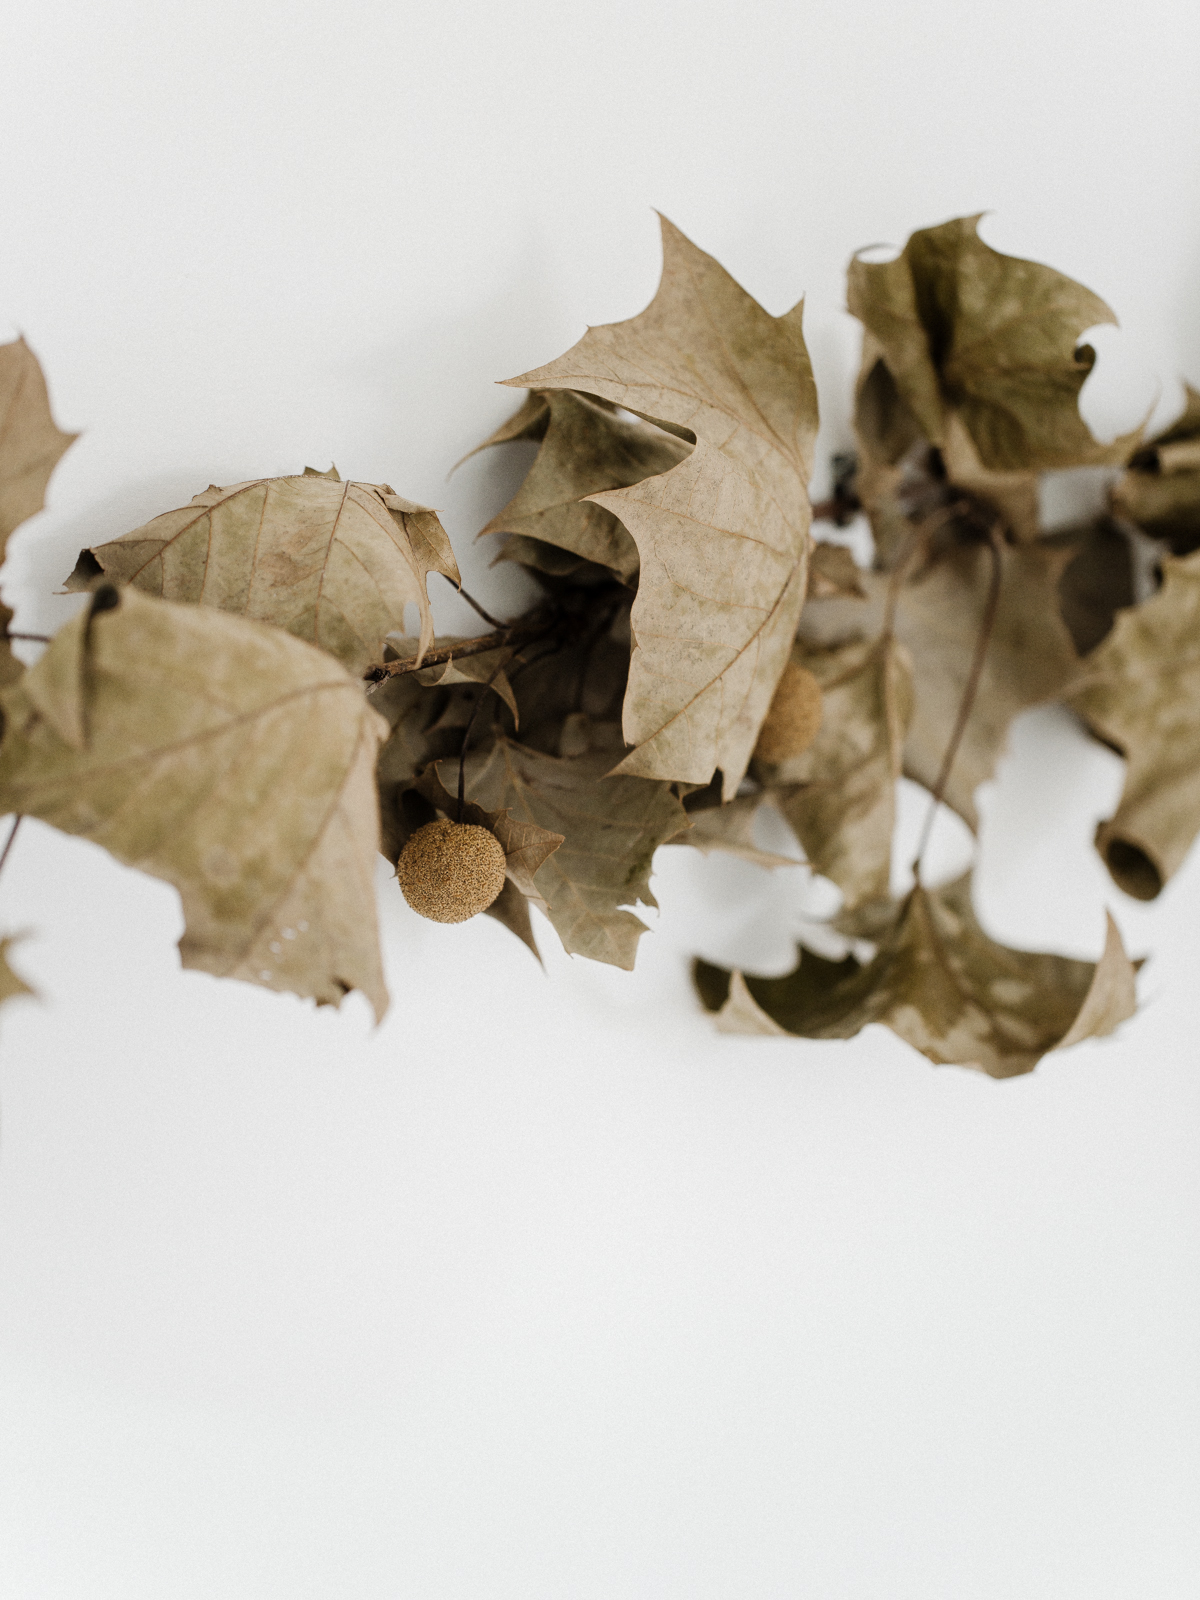
We kept things simple for this fall-inspired look by incorporating a fallen Sycamore branch over the bed, candlesticks on the nightstand, vintage art, and an opened book on the bed.
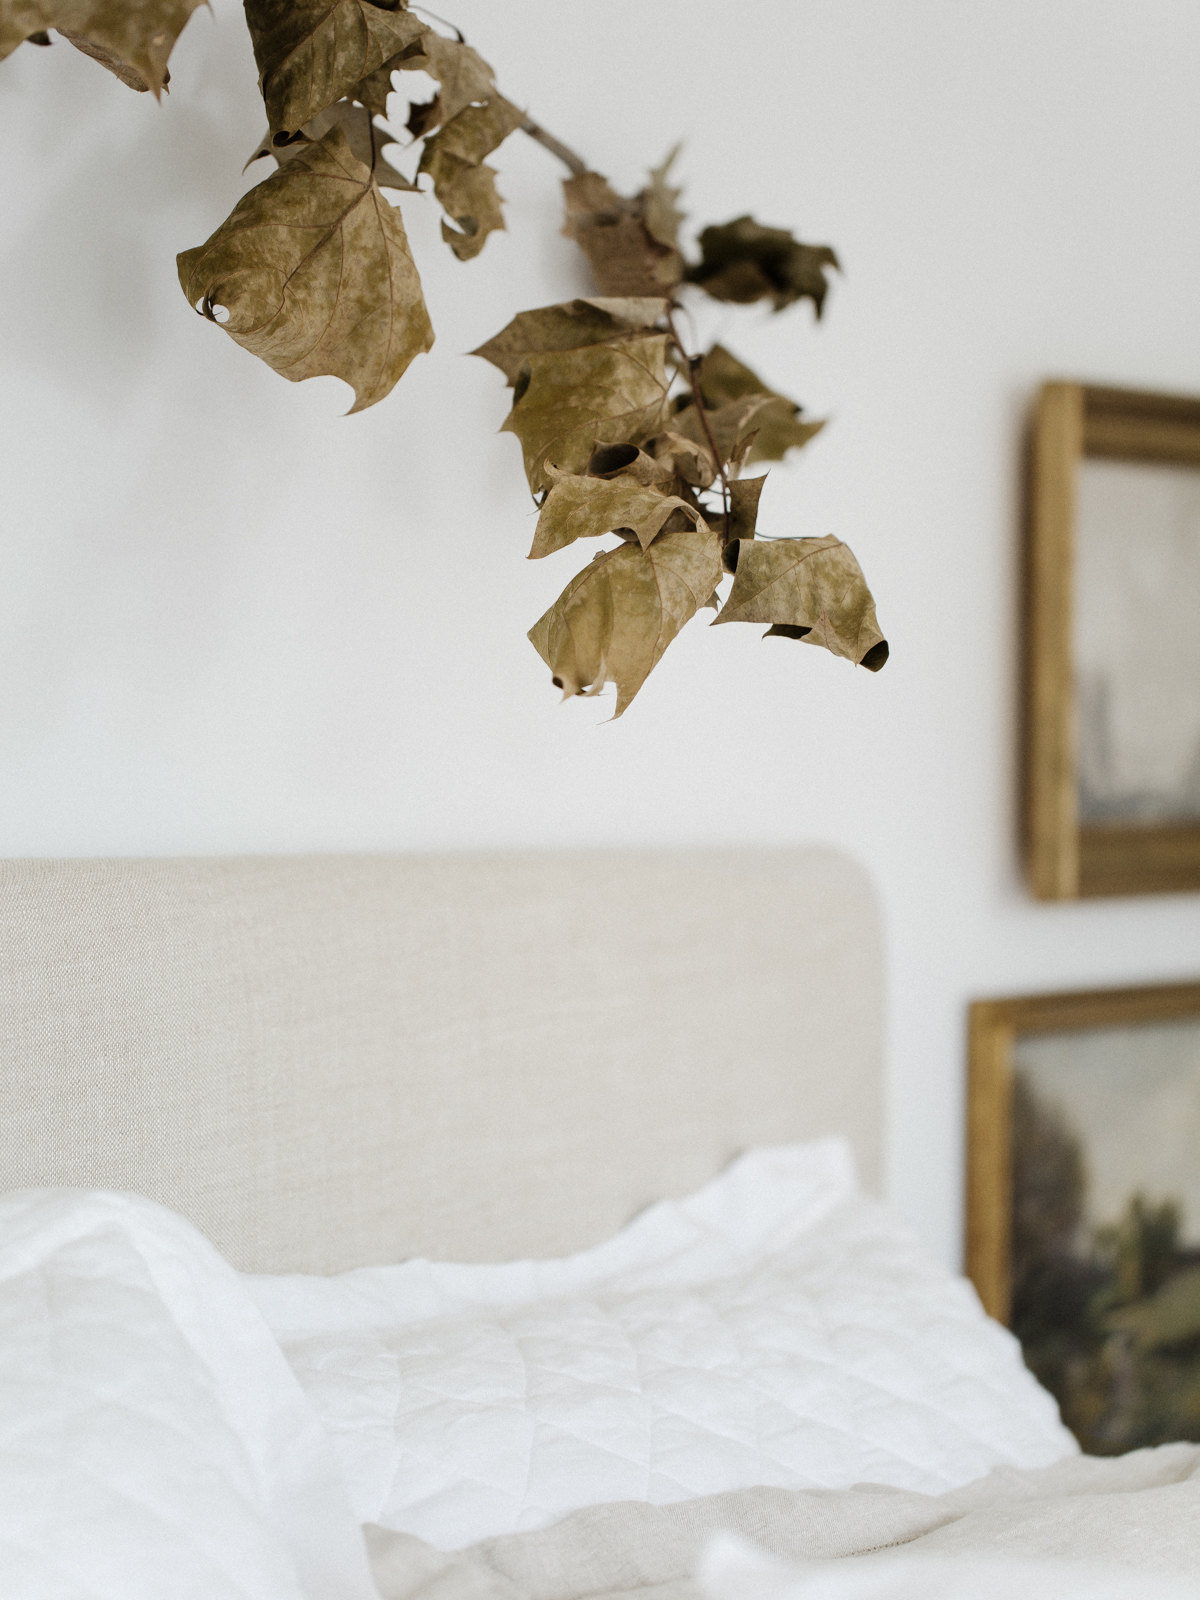
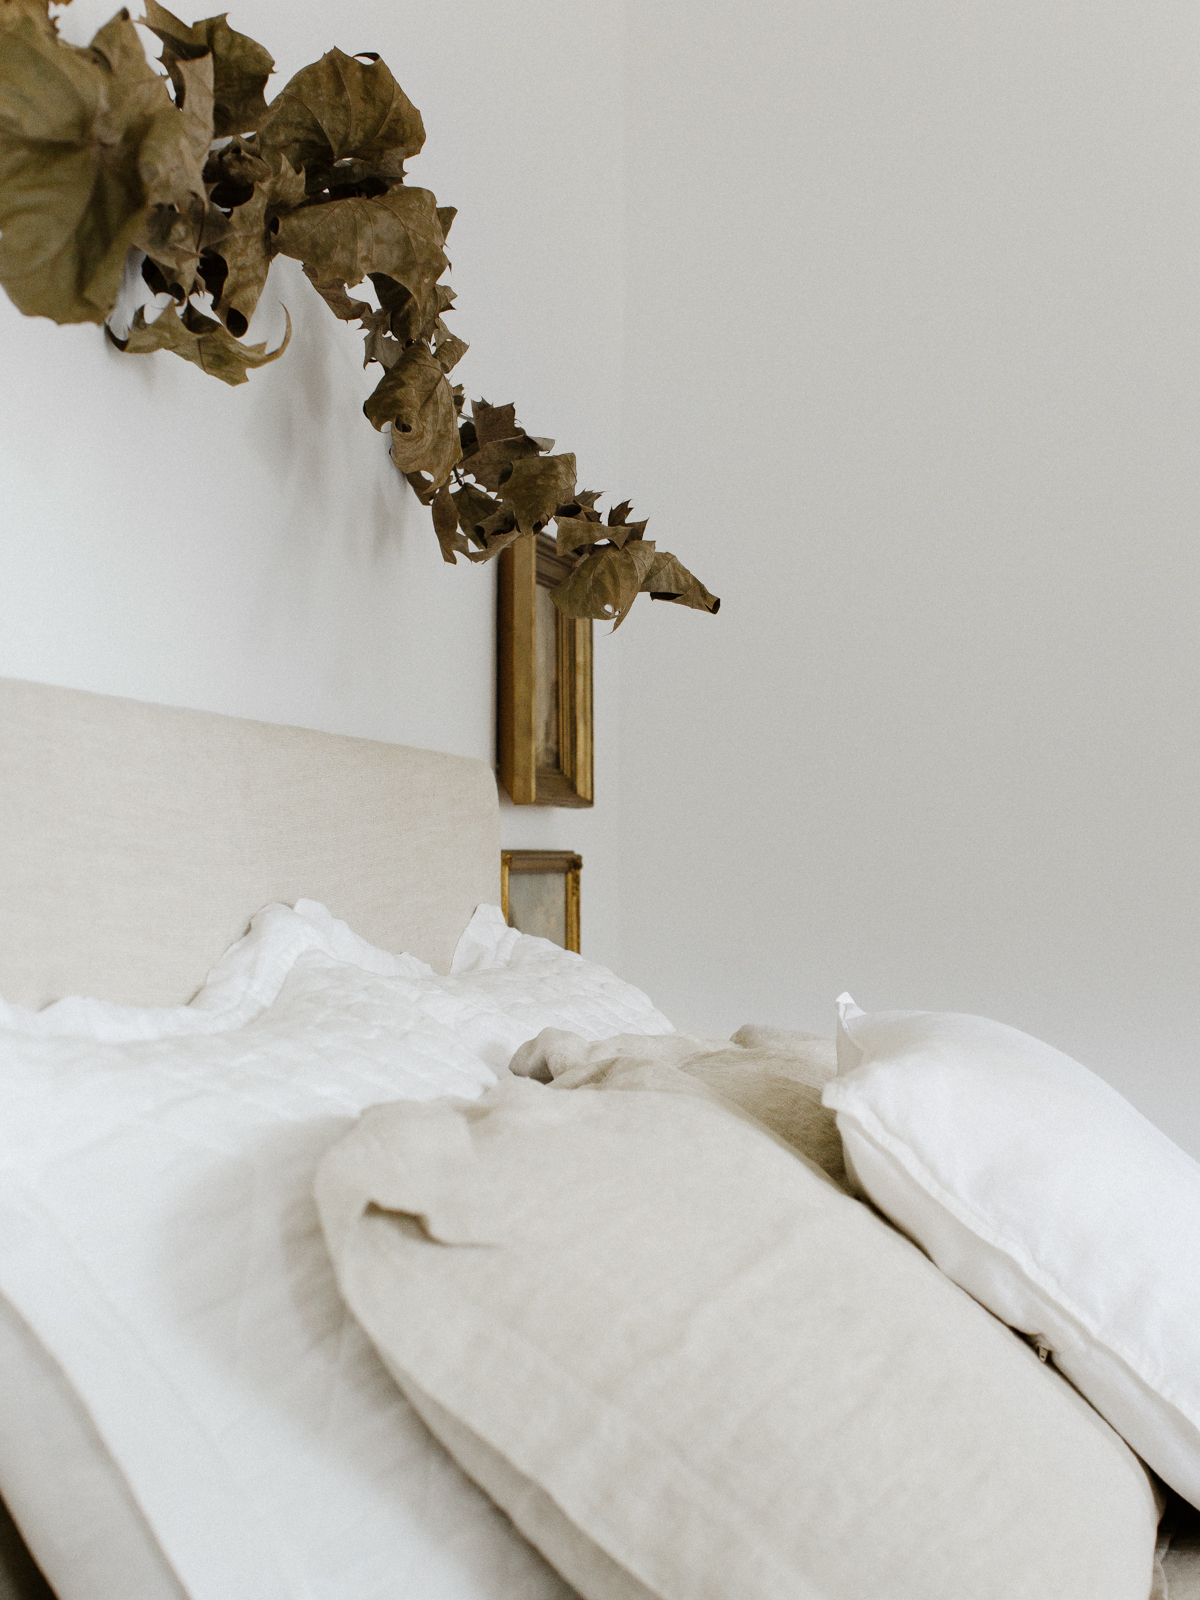
See that texture in the headboard? So happy we decided to update it by wrapping it in an old linen curtain we had!
DIY Linen Headboard
*if you want to watch how we made our headboard, you want watch our Instagram highlight here
MATERIALS
- 1/2 or 3/4″ Plywood (cut to size)
- Sander and sandpaper to round the edges of your board
- 1″ Foam Cushion (optional, see below)
- Batting
- Fabric of choice (we used an old linen curtain)
- Stapler and Staples
- 2 D-Rings for hanging
- Drywall Anchors (if you cannot hang into a stud or wood wall)
- Screws
HOW TO :
Step 1 – Determine the size you want your headboard to be. Our bed is a Queen size, so we made our headboard 63″ x 24.5″ (you want your headboard to extend outside the edges of your mattress a couple of inches)
Step 2 – Cut the plywood to size or have the board cut for you if you do not have power tools available to you. (we also rounded the corners of the board by tracing a round object on the corners to use as a guide)
Step 3 – Use an electric sander to sand the corners of your board if needed after cutting
Step 4 – Cut your foam to the same size as your board (TIP : for the headboard seen in the post, we did not use foam, we just used about 4 layers of batting. For the wall cushion in our Sunroom, we did use both the 1″ foam and batting)
Step 5 – Cut the batting and fabric of choice down but make sure to leave enough room to wrap around your board.
Step 6 – Wrap the foam and batting around the board and secure to the backside of the board with staples, stapling about 4-6″ apart. (TIP : when wrapping the corners, be sure to pull the corner of the batting in first and then pull the right side and then left side in to create an even fold)
Step 7 – Iron your fabric if needed prior to wrapping around the board. Place the fabric right side down and place the headboard on top to begin wrapping. You will want to make sure you are pulling tight, but not too tight, and pulling evenly when stapling down. Staples about 1-2″ apart when securing the fabric onto the board.
Step 8 – If your fabric needs to be ironed again, you can do so now. Using the steam option on linen is great to help get those wrinkles out.
Step 9 – Install the 2 D-Rings to the backside of your headboard. We installed ours 3″ down from the top and 7″ in on each side.
Step 10 – Determine the height you want to hang your headboard by holding the headboard up and marking the top and sides of the headboard on the wall with a pencil. The D-Rings will hang on two screws. Measure the distance between the 2 D-Rings on the headboard and the distance down from the top. By using your pencil marks on the wall as a guide and the measurements you just made, mark the wall where the screws will go. If you can screw into a stud or are installing on a paneled wall, the better, but if you can’t, be sure to use dry wall anchors. Your screws will sit out from the wall approximately a 1/4-1/2″.
We hope this post inspires you to create a cozy bedroom this season!

Can you share info on the prints and frames?
Hi Brooke! The prints are digital downloads from here, and the frames are vintage finds from local antique shops or flea markets!
[…] Headboard – DIY […]
[…] Headboard & Bedframe – DIY […]
[…] Headboard / Nightstands / Nightstands Alternate / Lamp / Art / Sconce / Floral Print Pillow / Sage Pillow / Linen Duvet / Turkish Towel / Candle […]
Love this so much! Where is the side table from, and the candlesticks? It all came together beautifully, as a always!
Thank you so much! Check here for our side table post 🙂
[…] We will be making two headboards for their bed frames by wrapping plywood in batting and fabric (this is the same thing we did with our headboard in our room). We will be using left over fabric from these […]