So excited to be sharing Kenden’s (our oldest boy) room with you today! If you missed this post, be sure to head there to see the before photos of this room and the design plan. In the before photos you will see that the room had 1 white accent wall, so the first thing we did was install beadboard and a chair rail. I knew right away that I wanted to paint the accent beadboard and trim the same color as the rest of the room- Sherwin Williams Light French Gray, but it wasn’t until the beadboard was installed that I decided to just paint the entire wall the same color for a modern and seamless look.
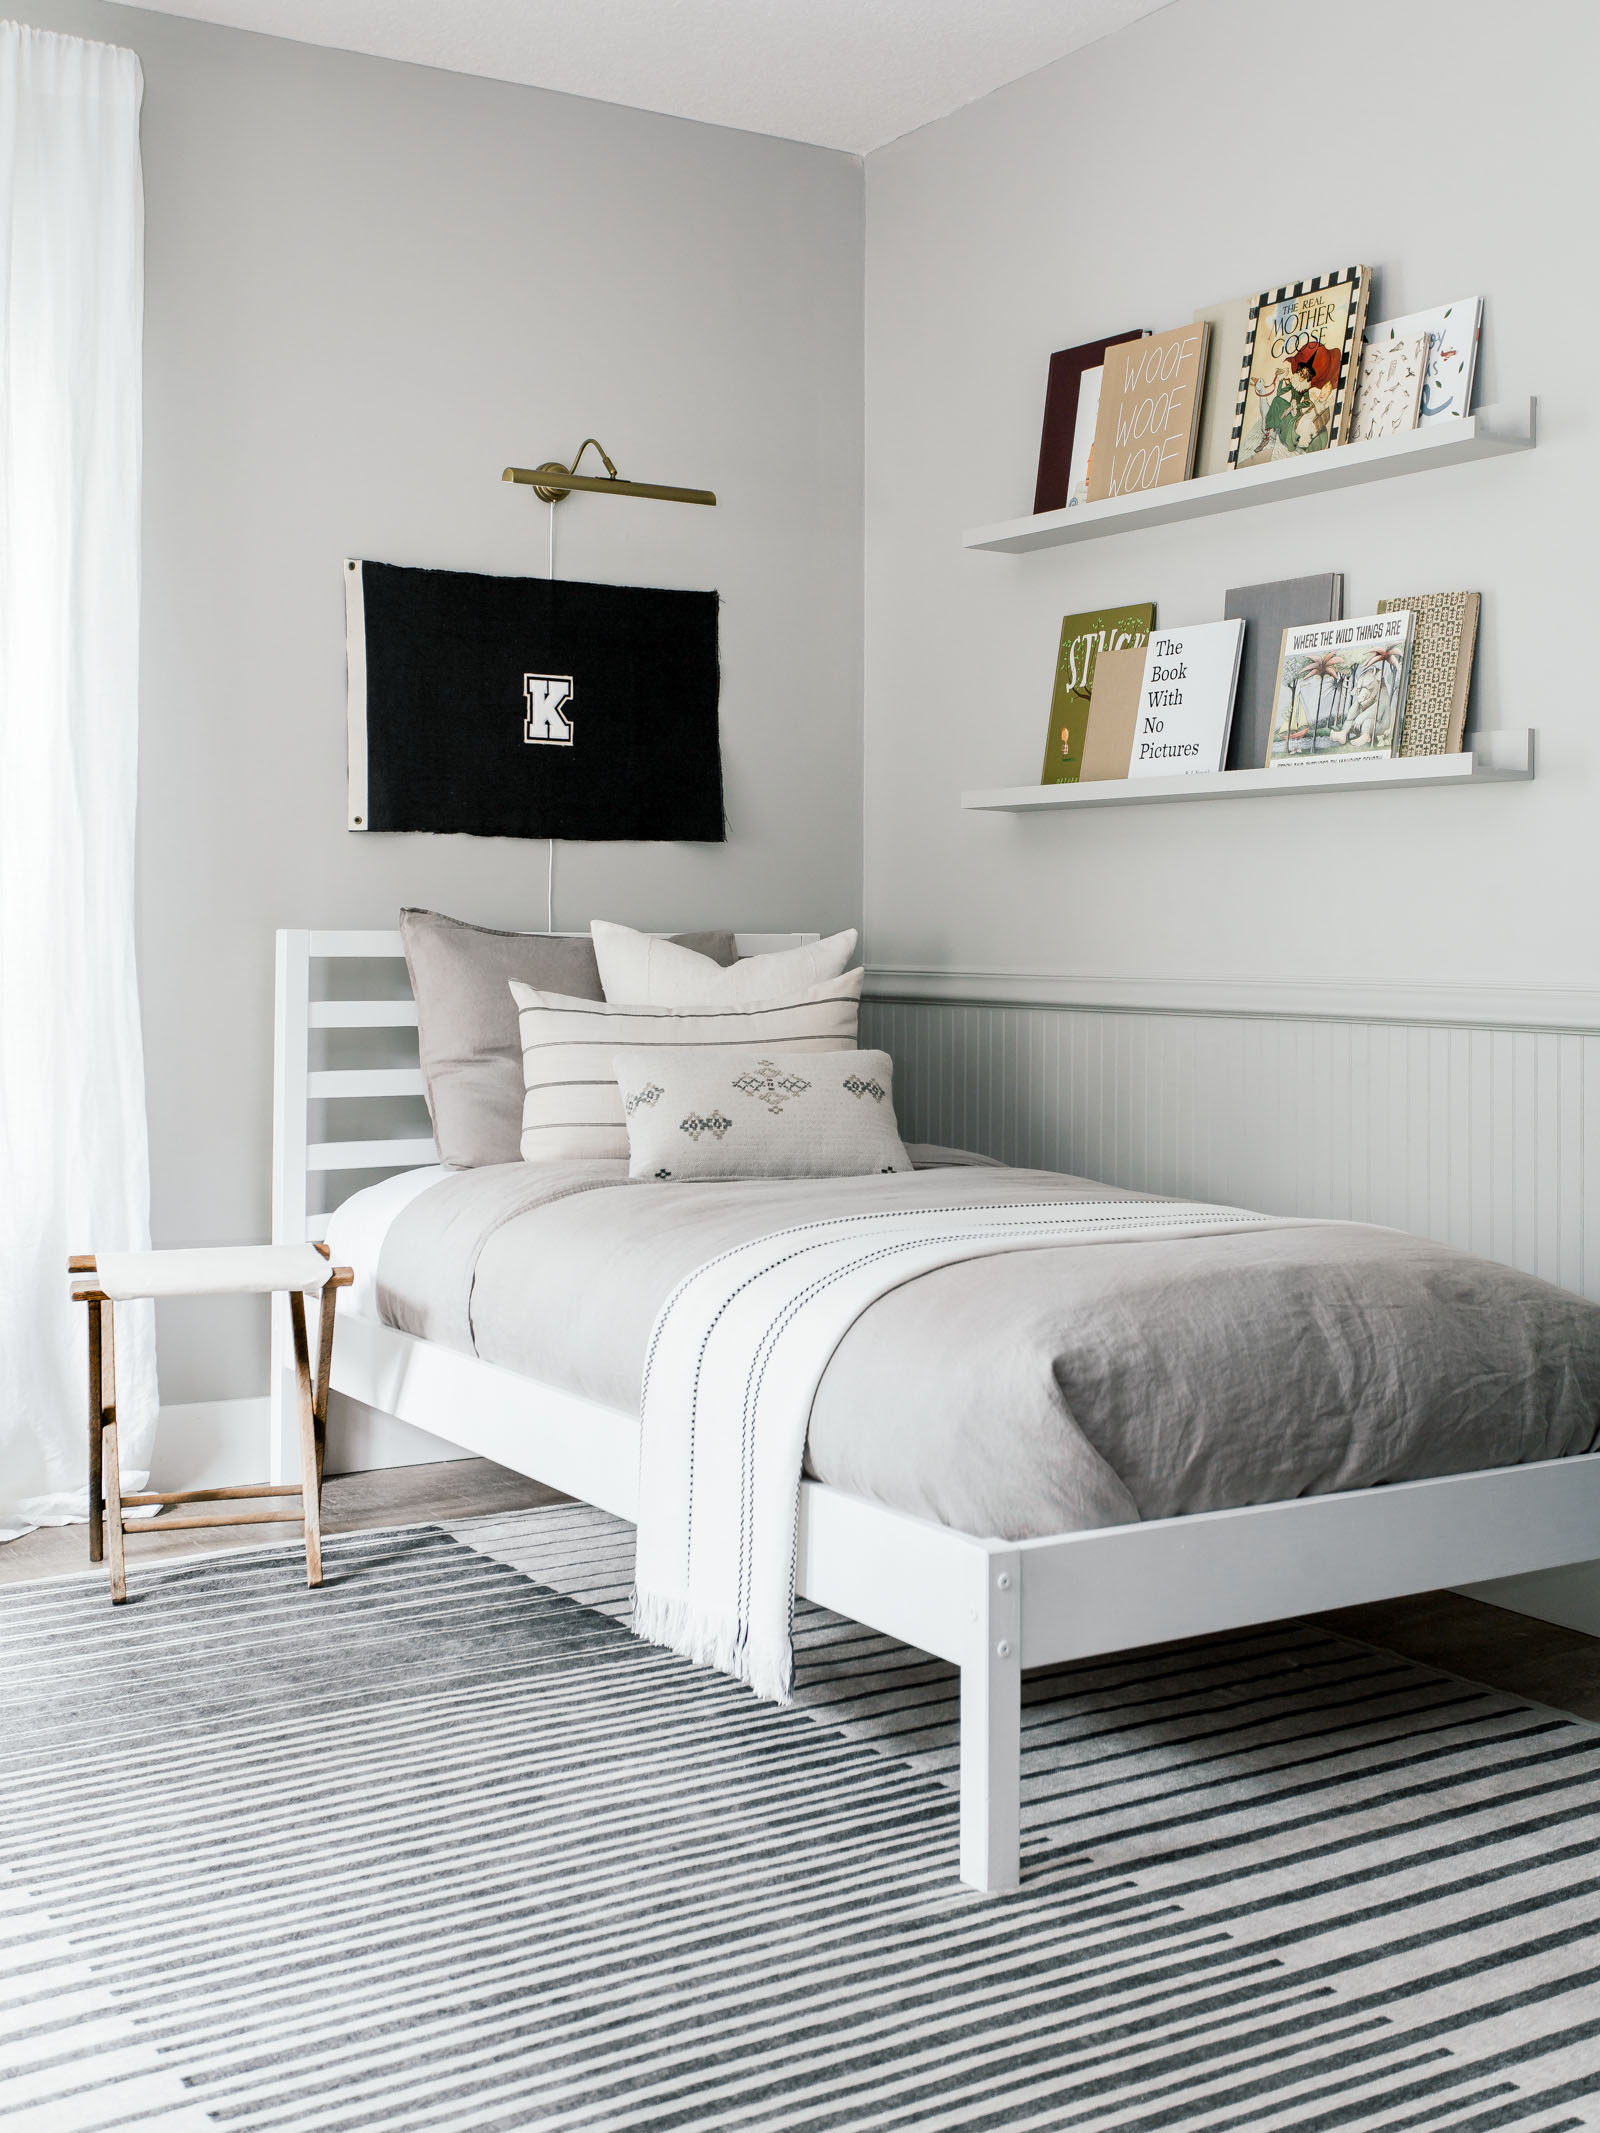
We also decided to paint his ledges the same color instead of leaving them white. We love that the beadboard and ledges add texture and dimension to the wall rather than contrast.
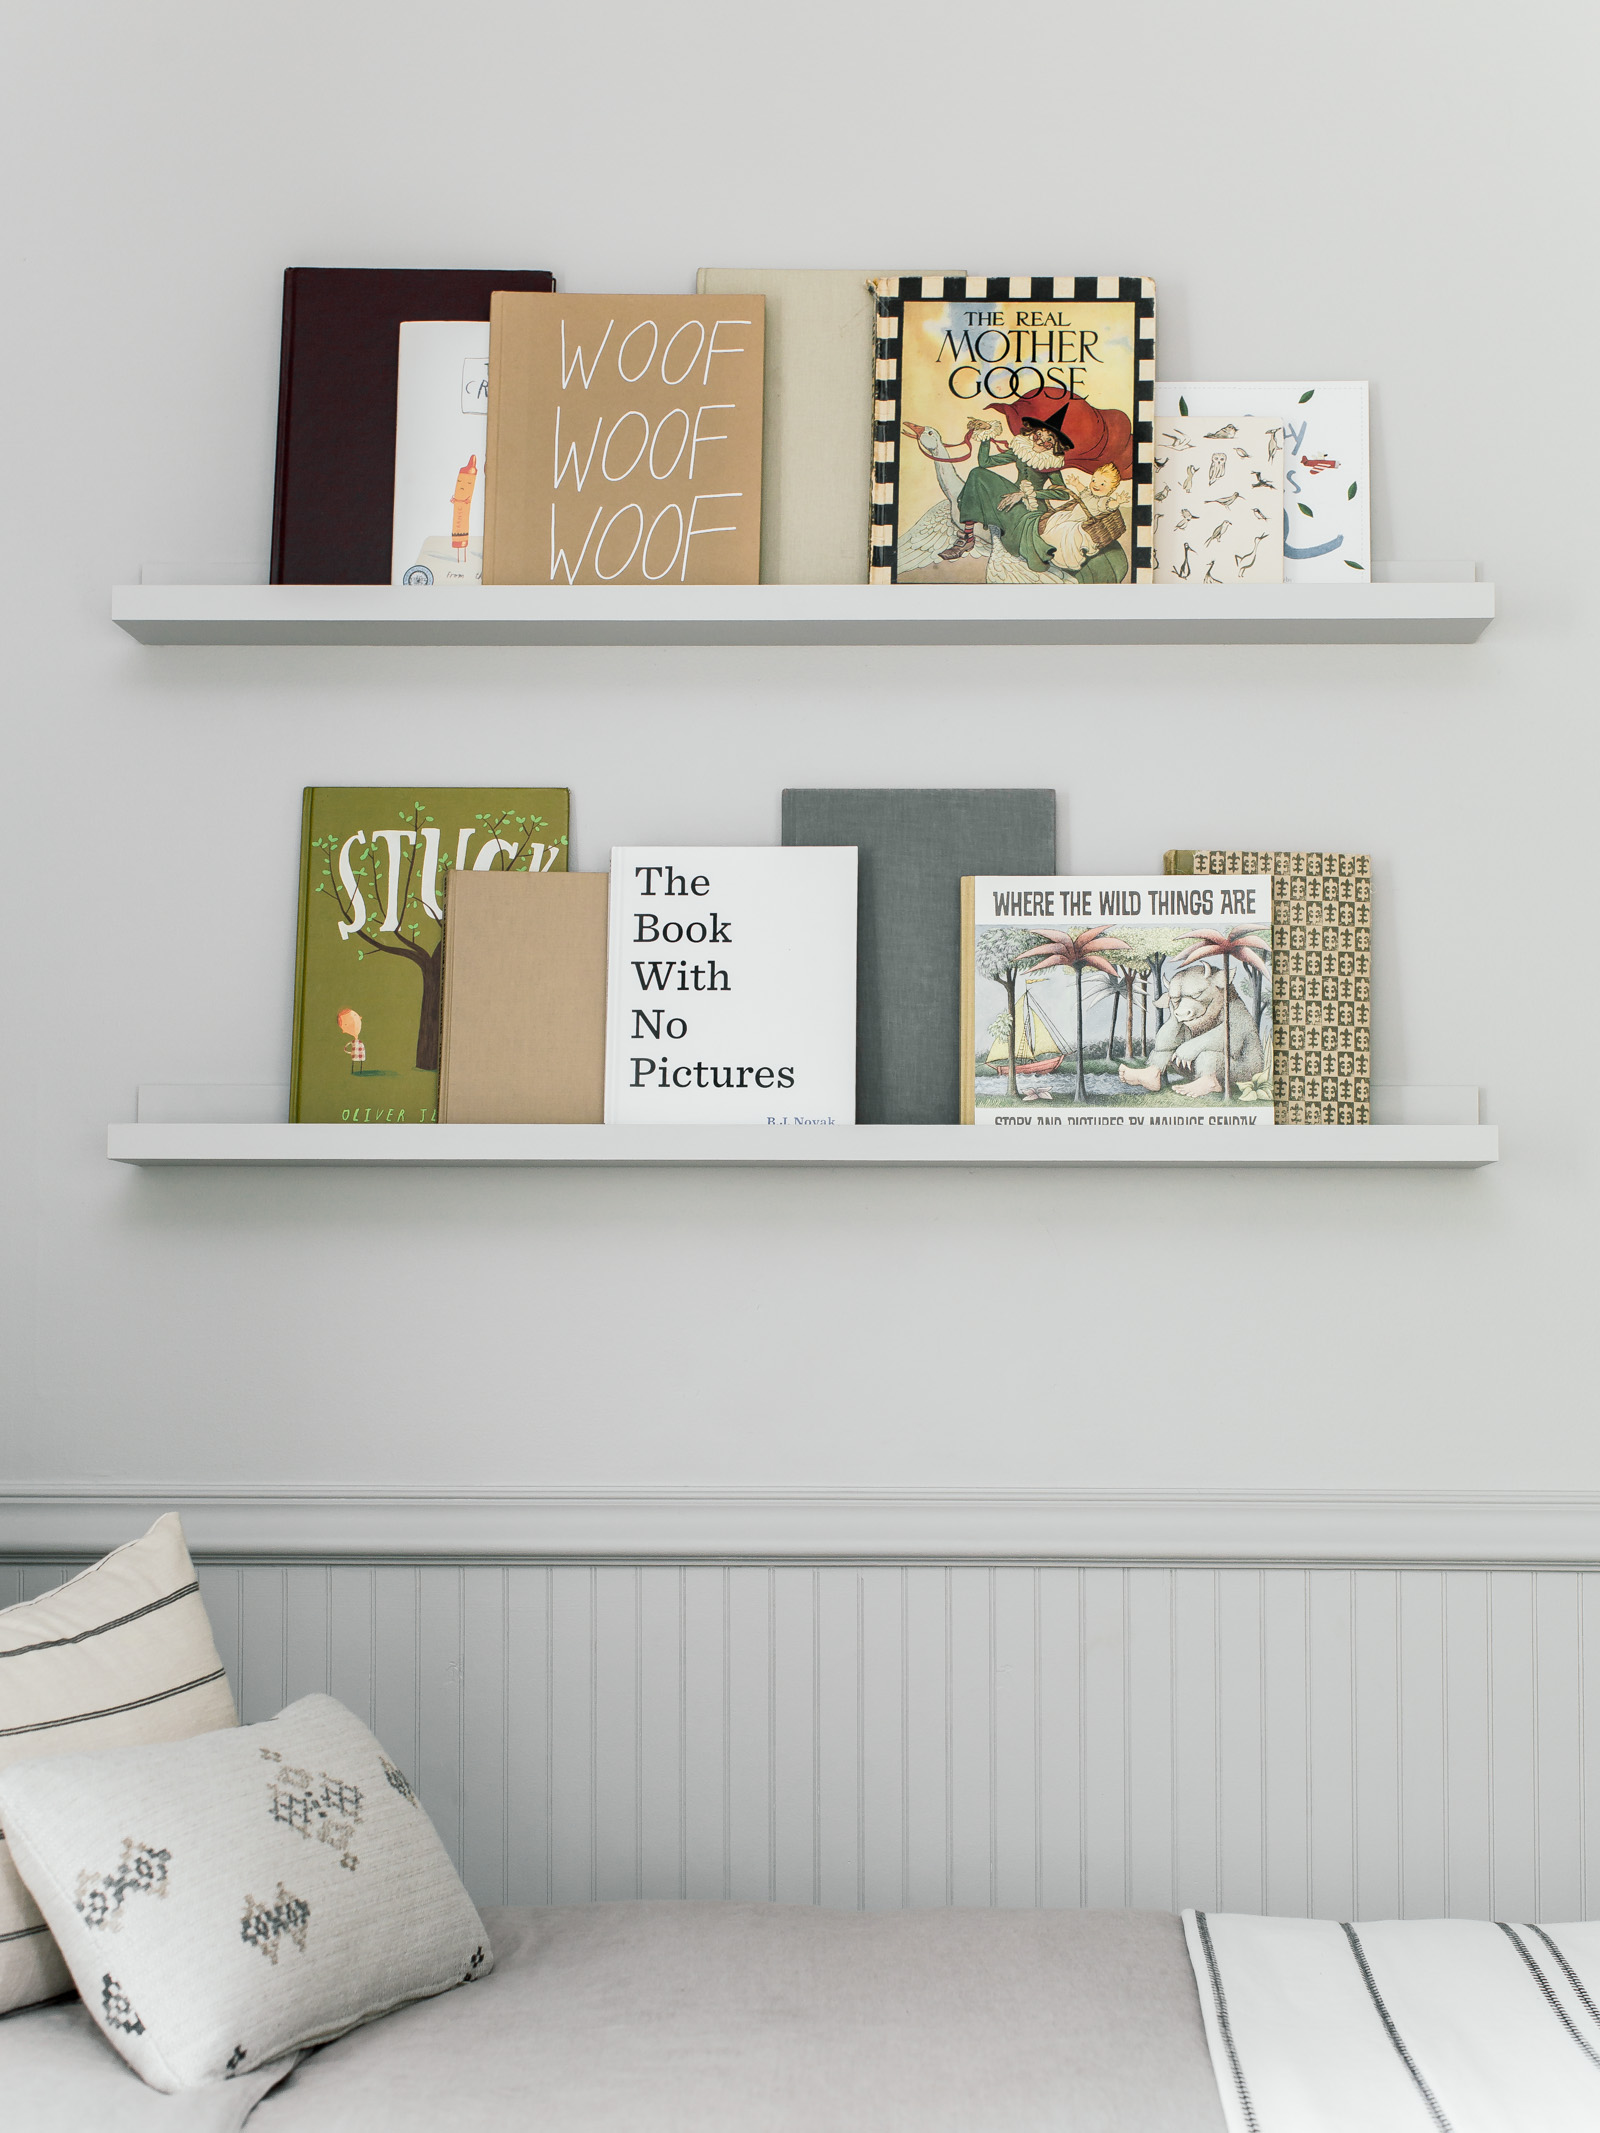
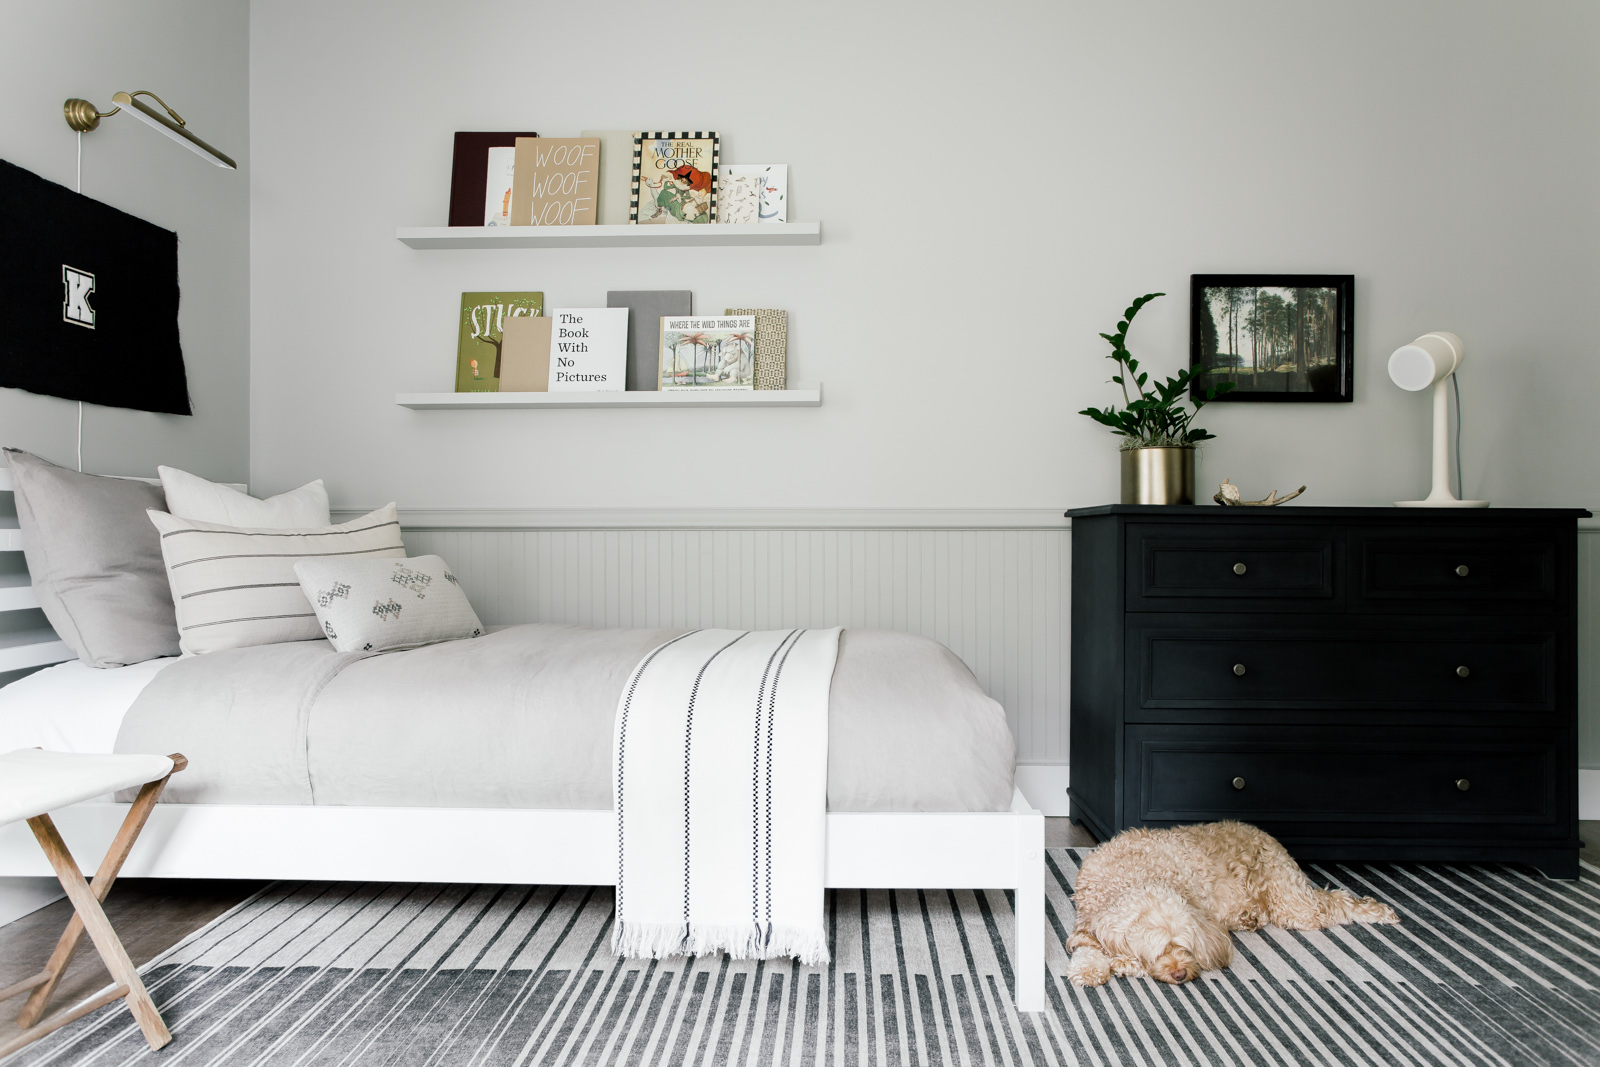
Kenden’s book collection is quite extensive, so for his ledges we let him choose his favorites and then mixed in some vintage books to balance a lot of the color. The Real Mother Goose book is Kenden’s Grandmother’s from when she was a little girl.
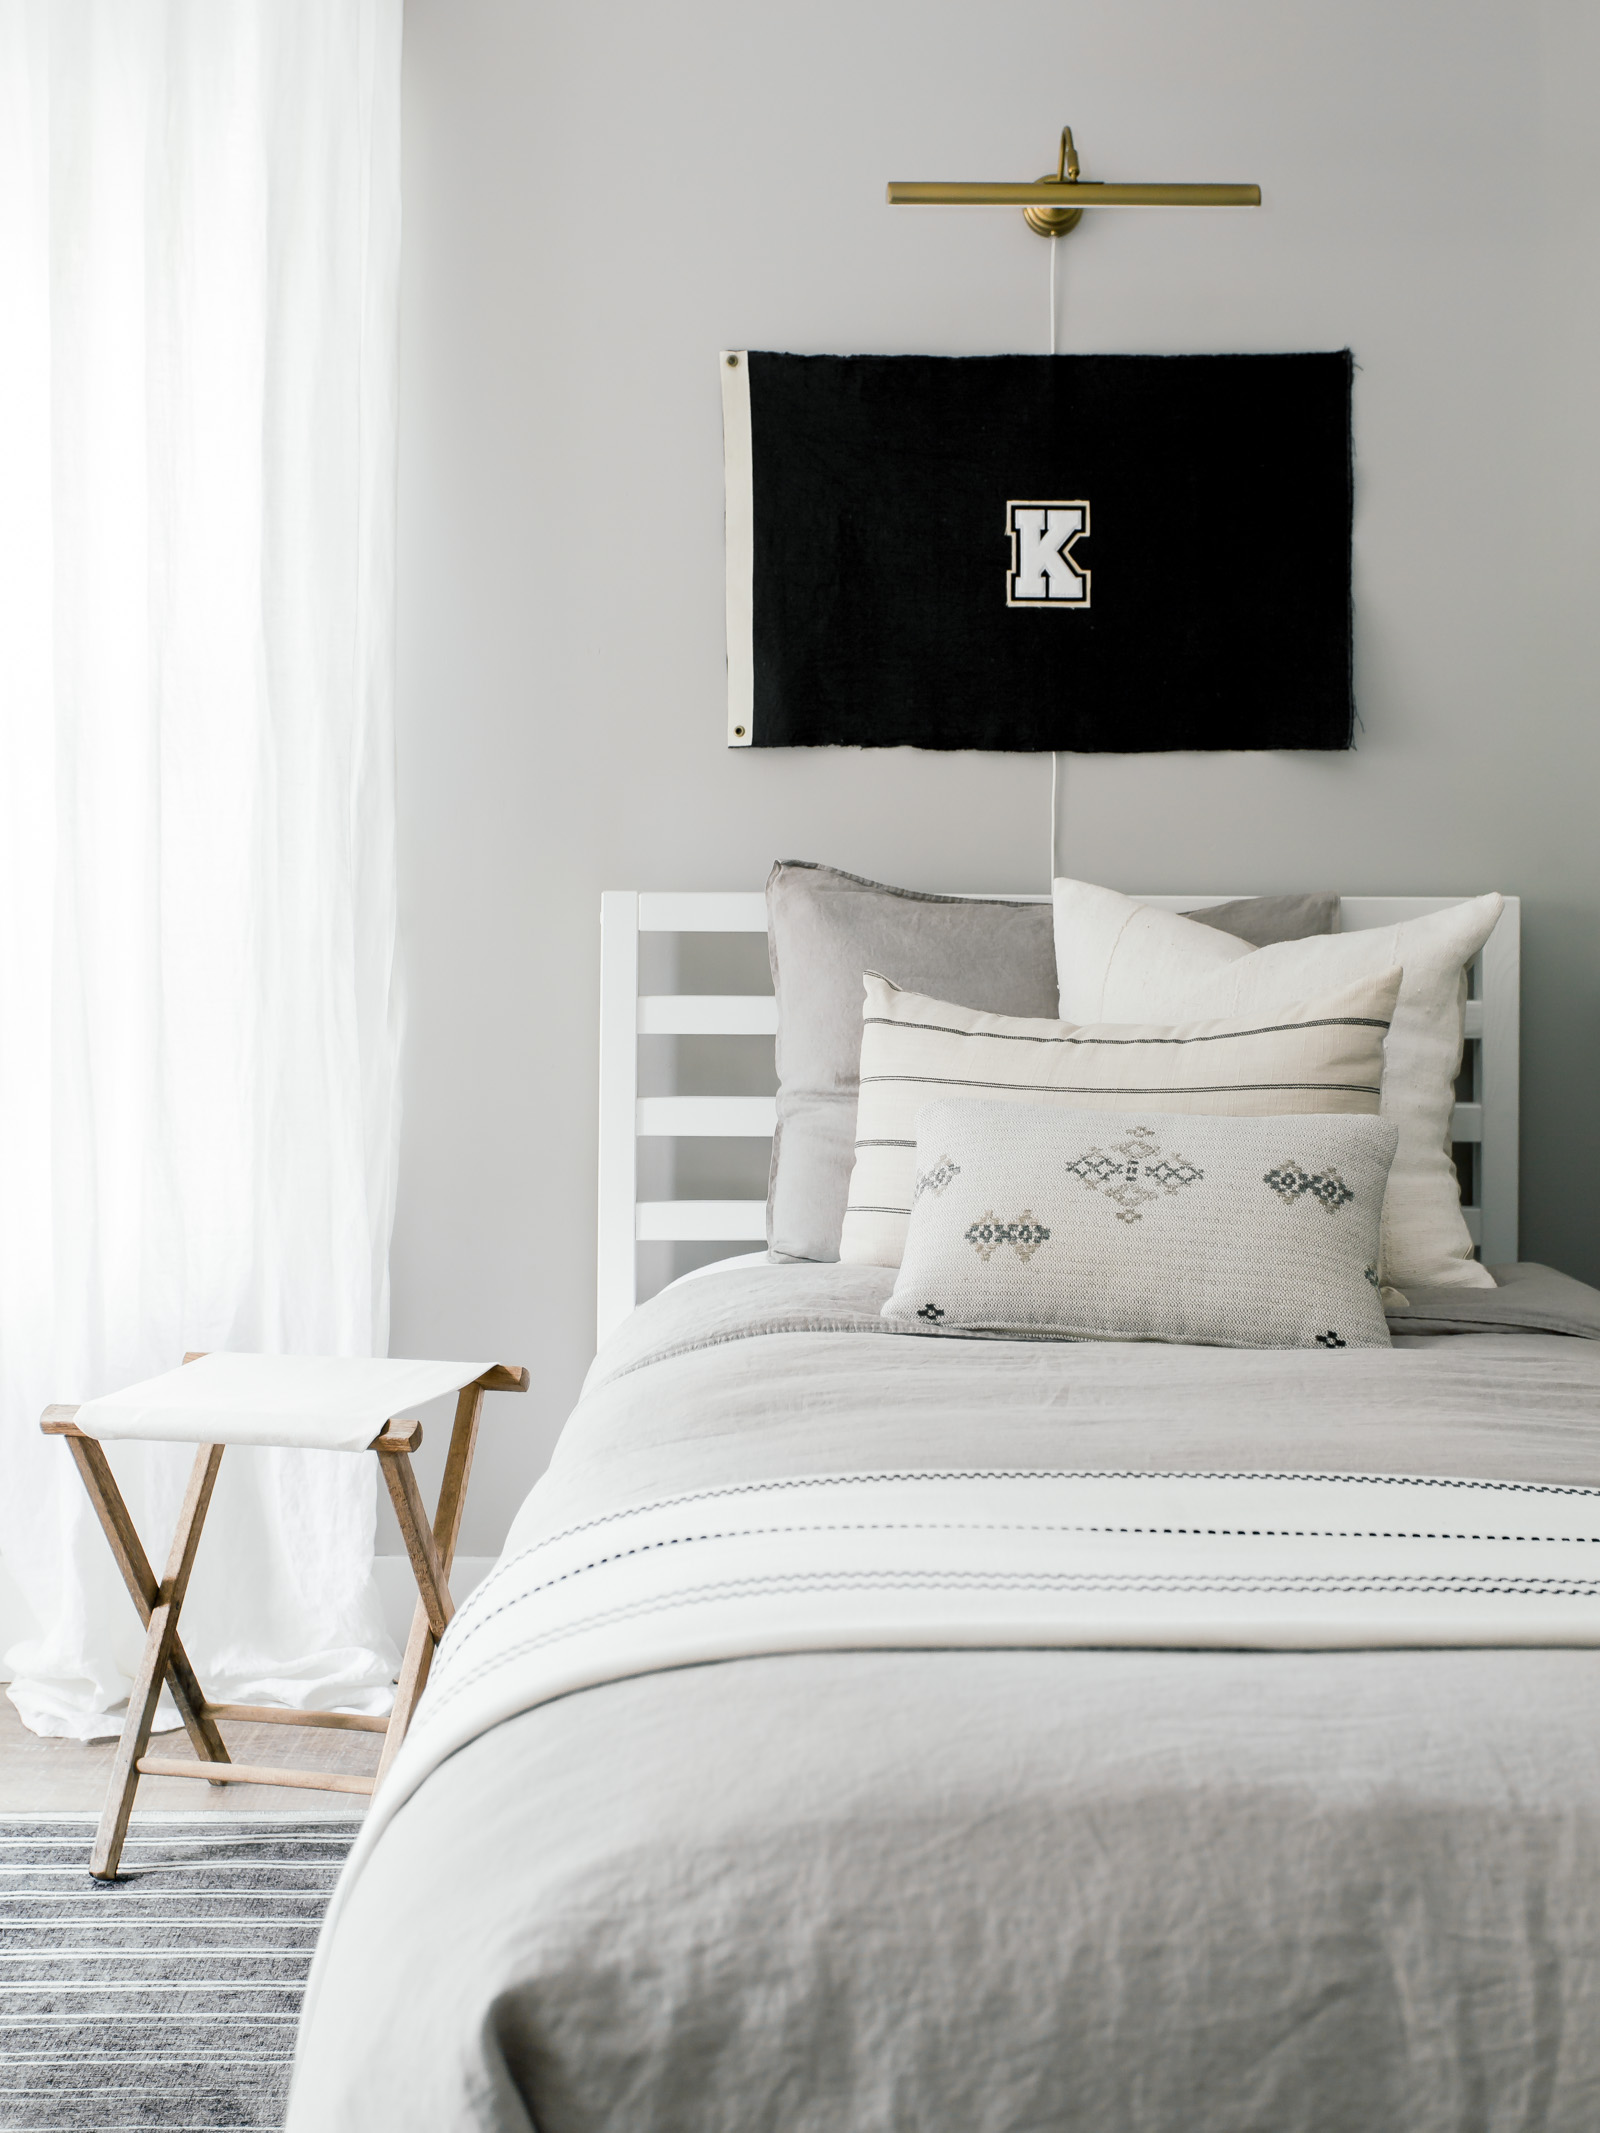
We painted his raw Pine bed white for a modern and clean look and to also create contrast against his gray walls.
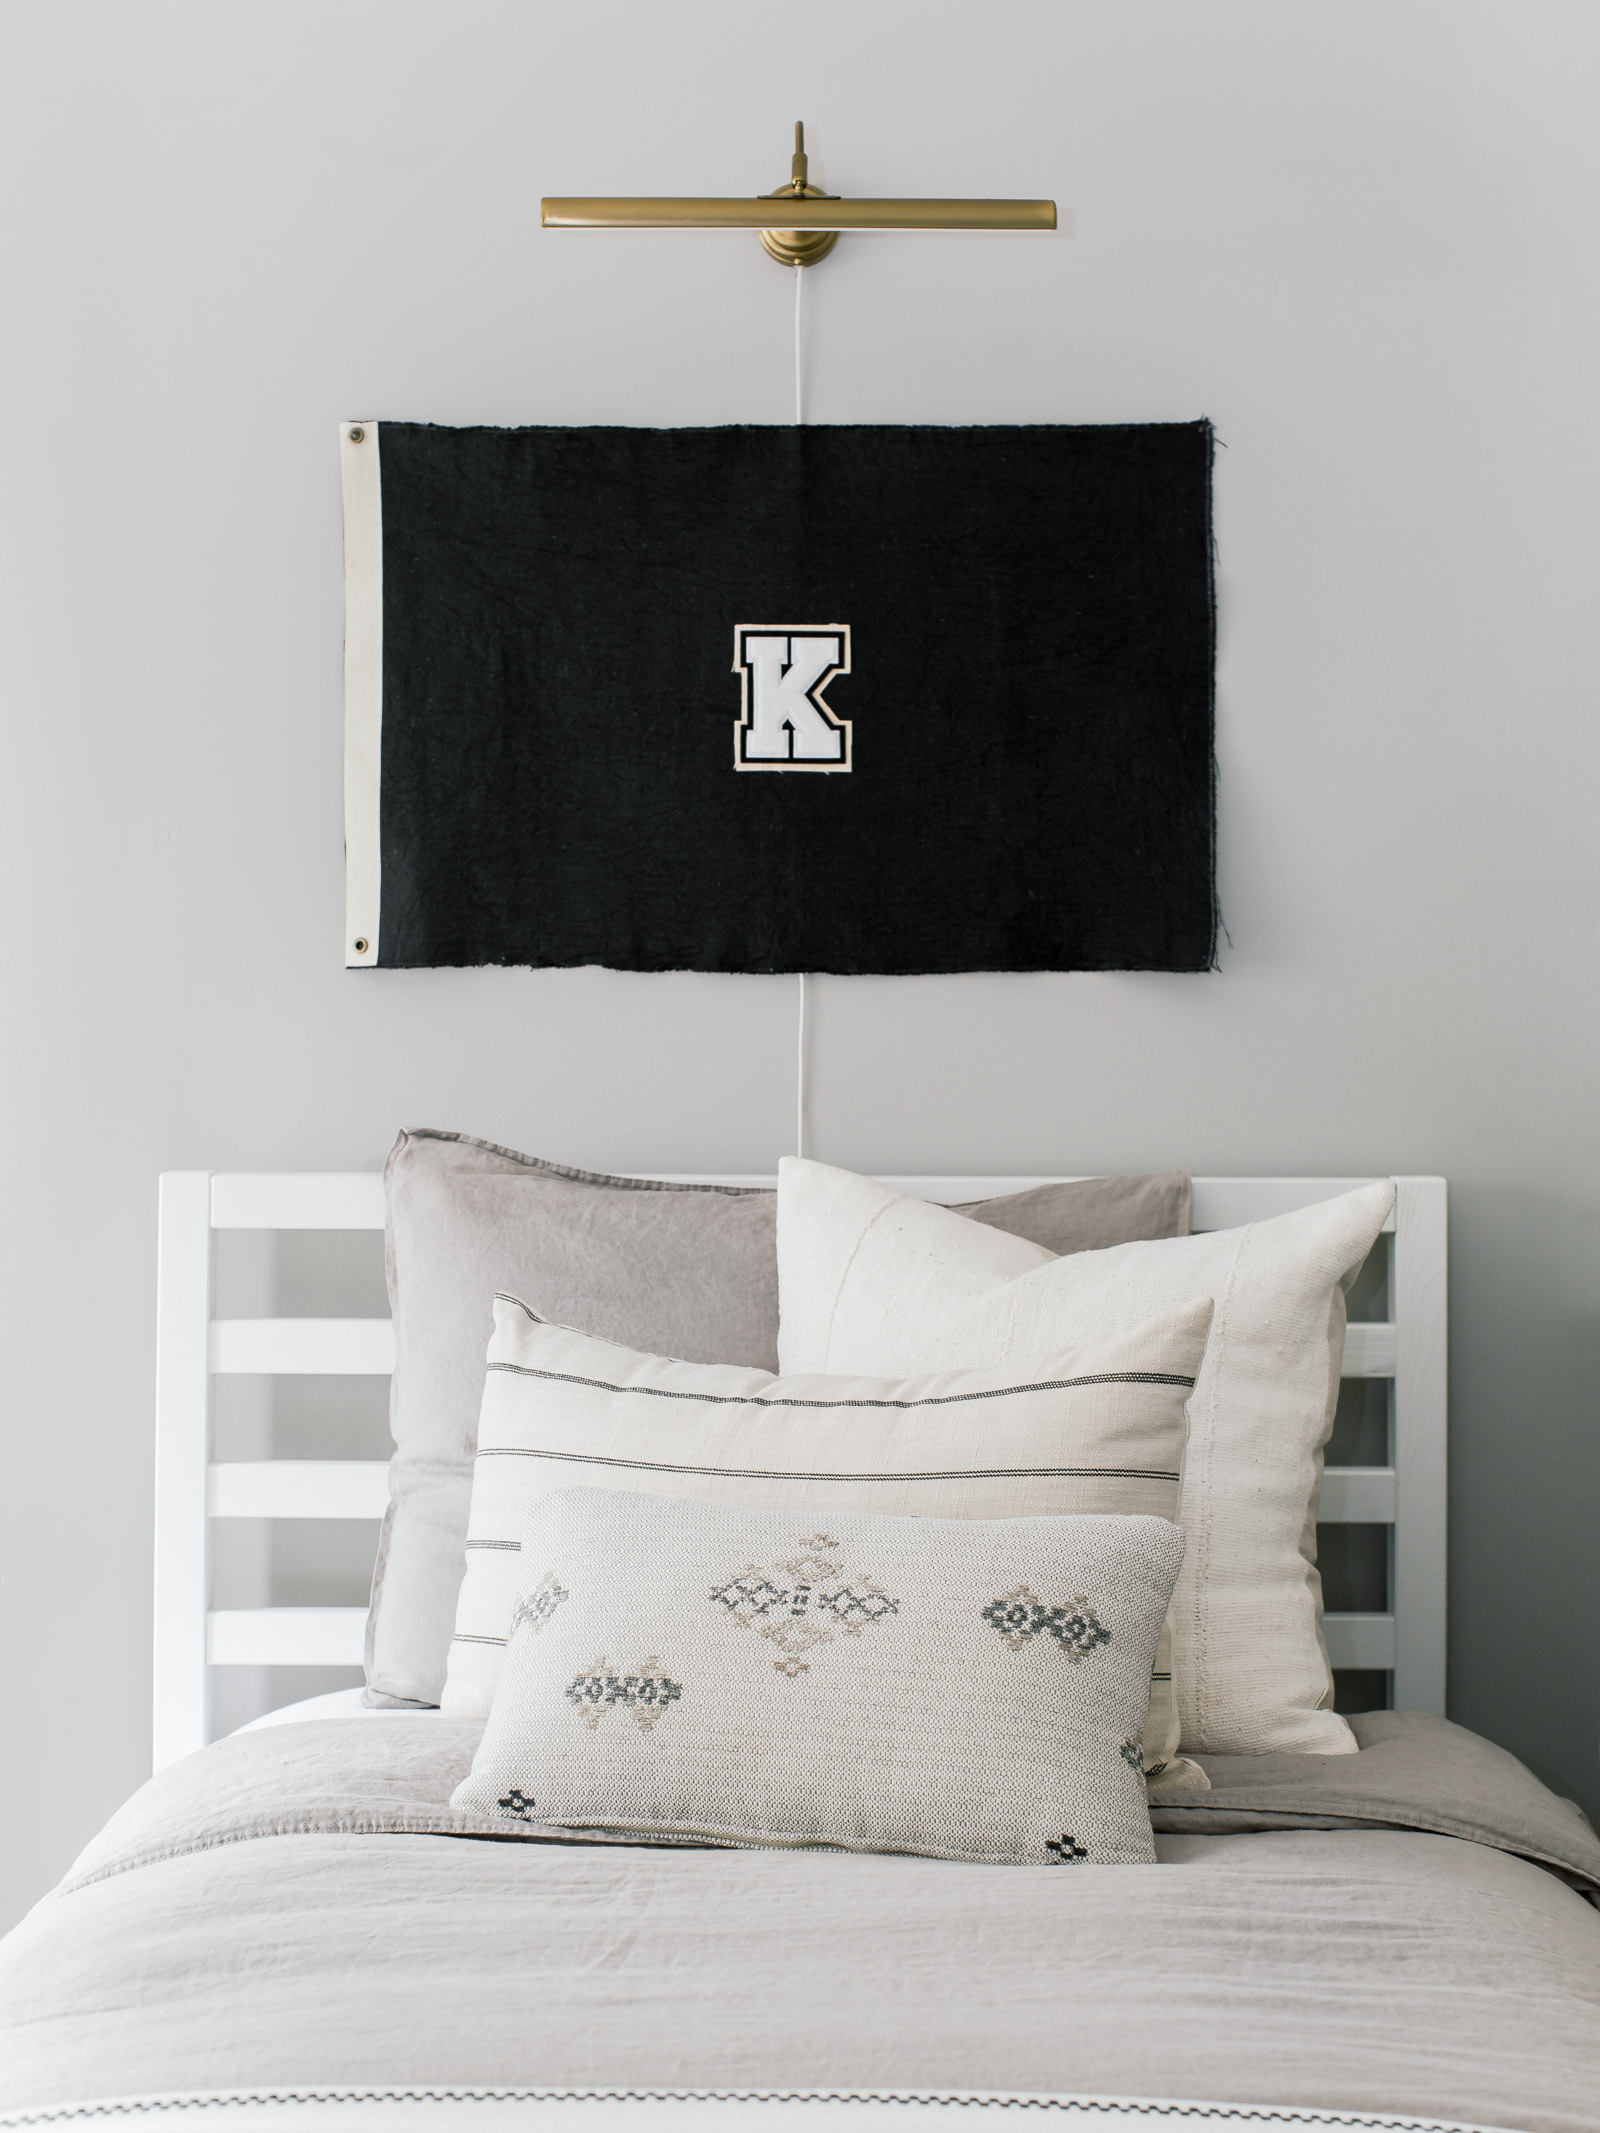
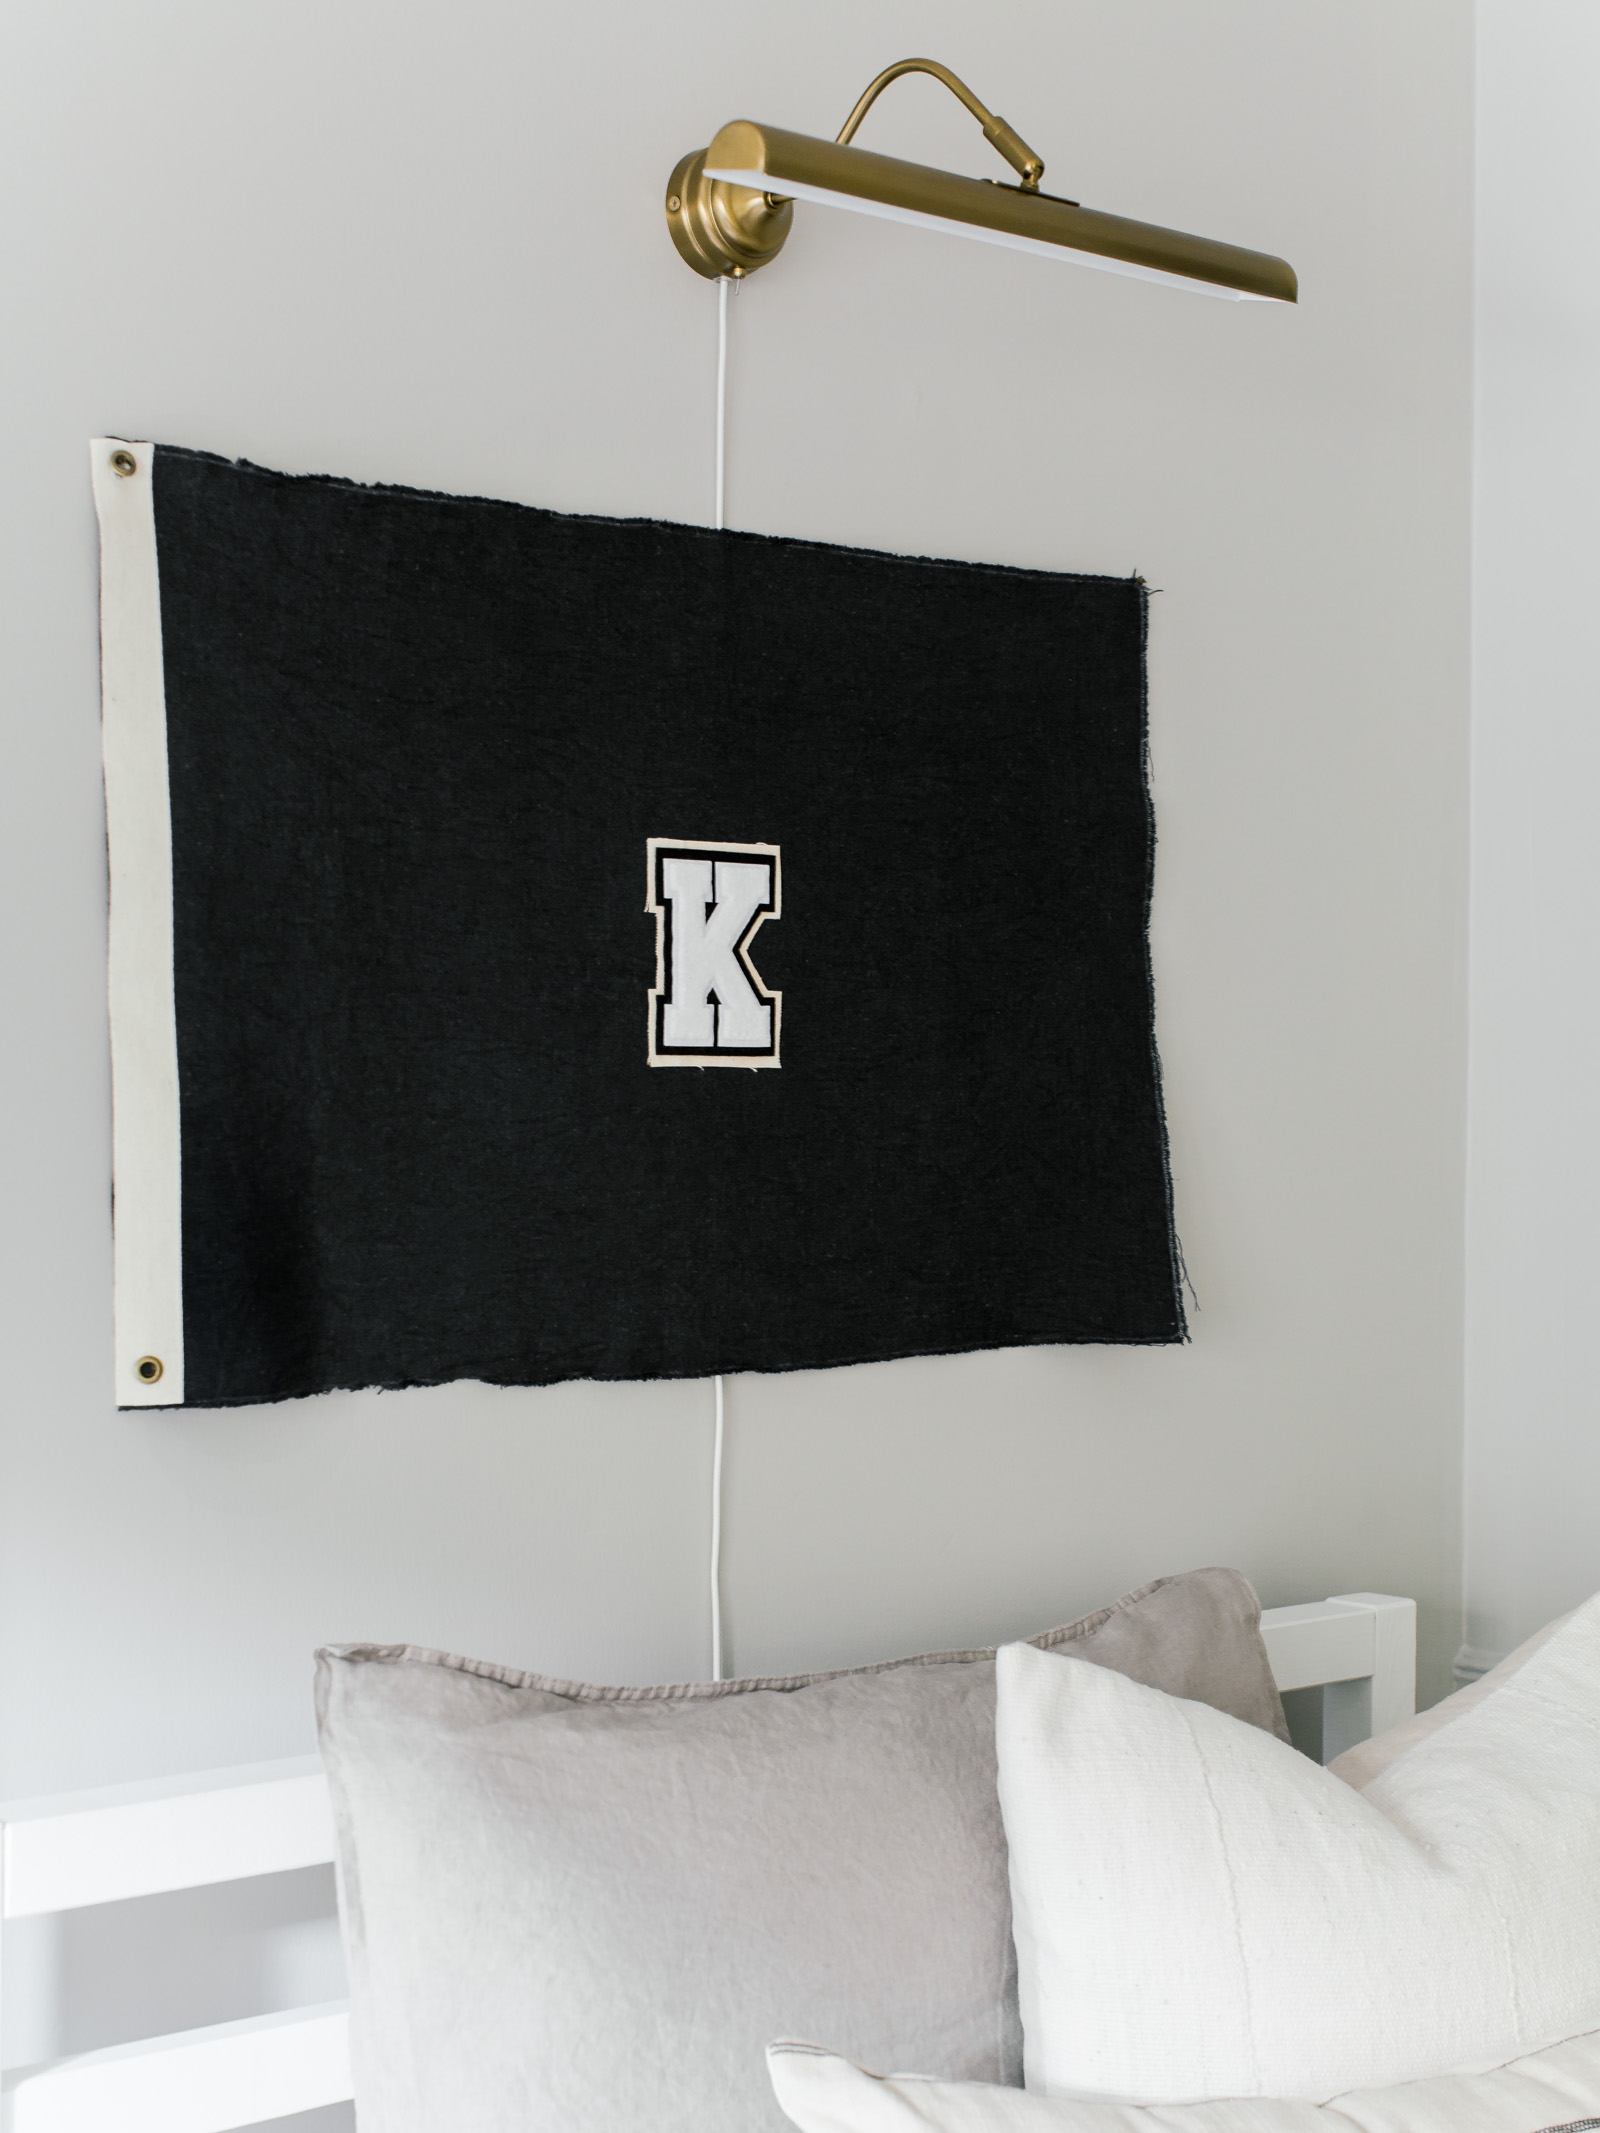
The DIY flag may be our favorite project we did in this room… it was so simple to make and only cost about $40! Here is the quick run down of how I made it and the materials I used…
DIY FLAG MATERIALS
- Cotton Canvas Fabric (picked up a remnant scrap from Walmart)
- Fabric Dye
- Rug Binding
- Eyelets
- Varsity Letter
- Hemming Tape
DIY FLAG INSTRUCTIONS
We started by determining how big we wanted the flag to be- we decided on 20″ x 30″ and cut the fabric to that size.
We then followed the instructions on the back of the fabric dye bottle and dyed the fabric and let it dry overnight.
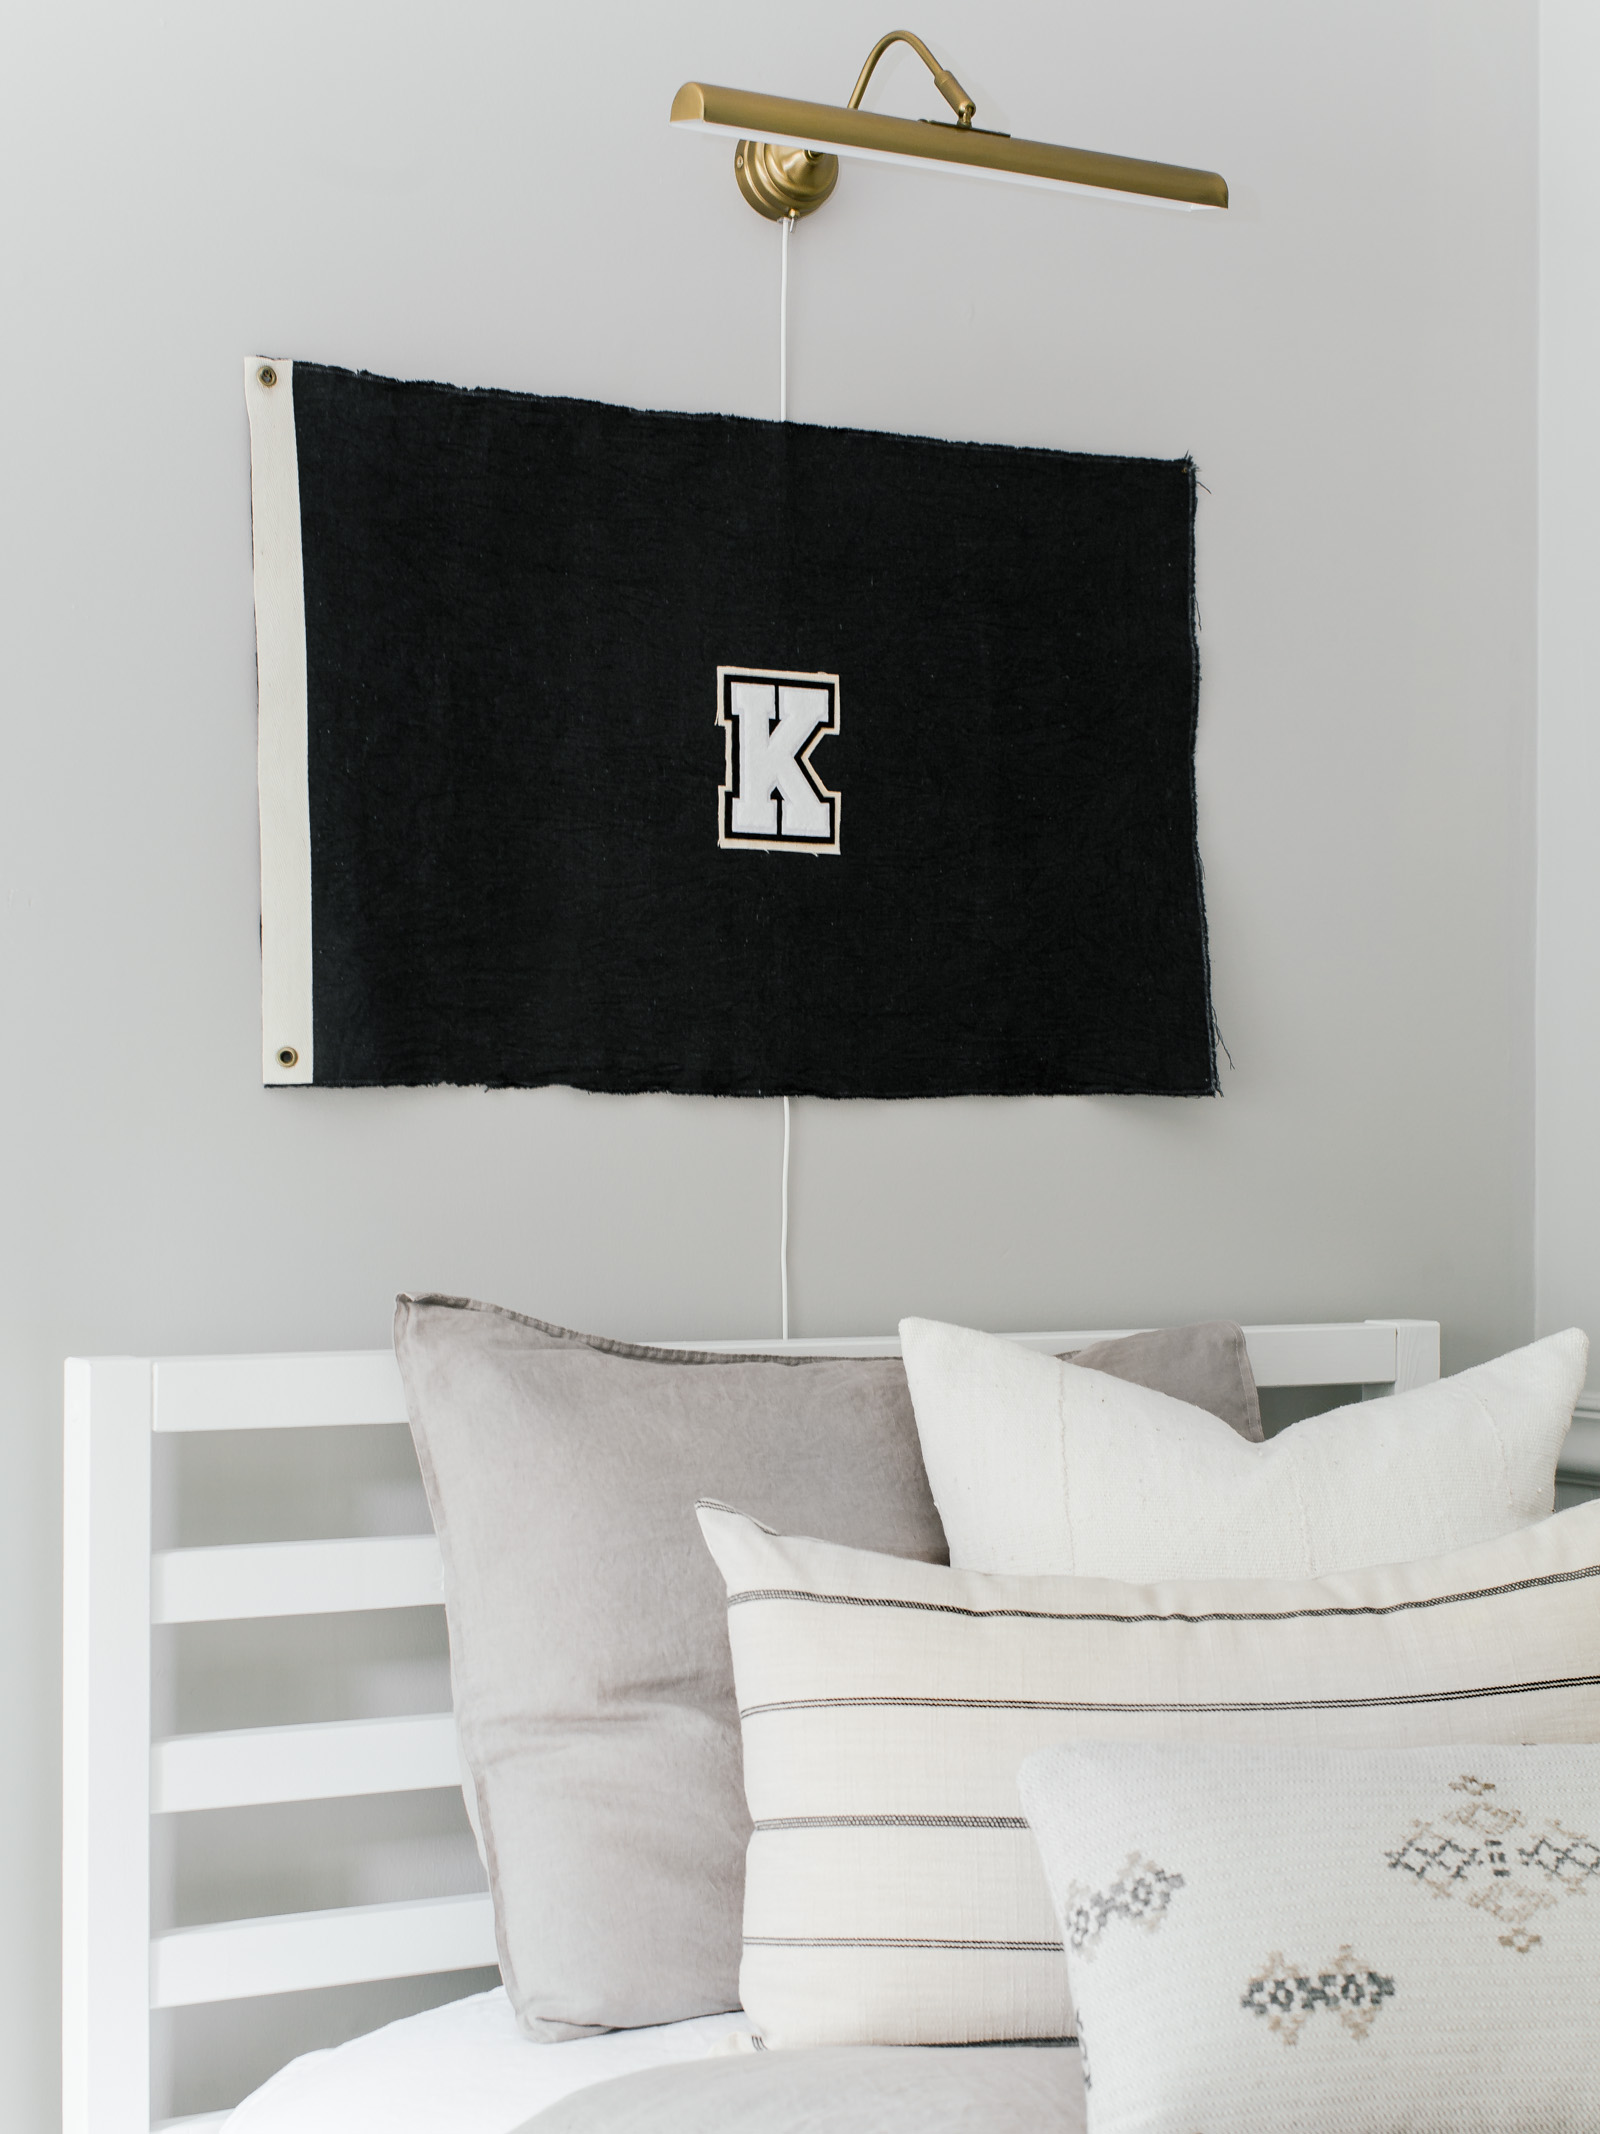
The next morning we ironed it out a little bit, and hemmed the left side of the fabric about a 1/4″ using the hemming tape. We love that this cotton canvas fabric is a bit stiff so it feels and looks like a real vintage flag- the frayed edges are also nice giving it that handmade or worn aesthetic.
We added a strip of Rug Binding to the left side of the flag. We then worked holes in the top and bottom for the large eyelets. We placed the eyelets in by hand and then used the eyelet tool to bend them to stay around the fabric.
Time for the Varsity Letter! We ordered this one from Amazon but after getting it in, we realized we needed to add a slight outer edge to it. We took some of the leftover cotton canvas fabric and laid the Varsity Letter down and used a straight edge and x-acto knife to cut the shape of the Varsity Letter leaving a 1/4″ border.
We attached the varsity letter to the cotton canvas fabric first following the instructions on the varsity letter. We then attached the cotton canvas/Varsity Letter to the center of the flag using hemming tape.
We hung it on the wall by adding two tiny nails on the top corners.
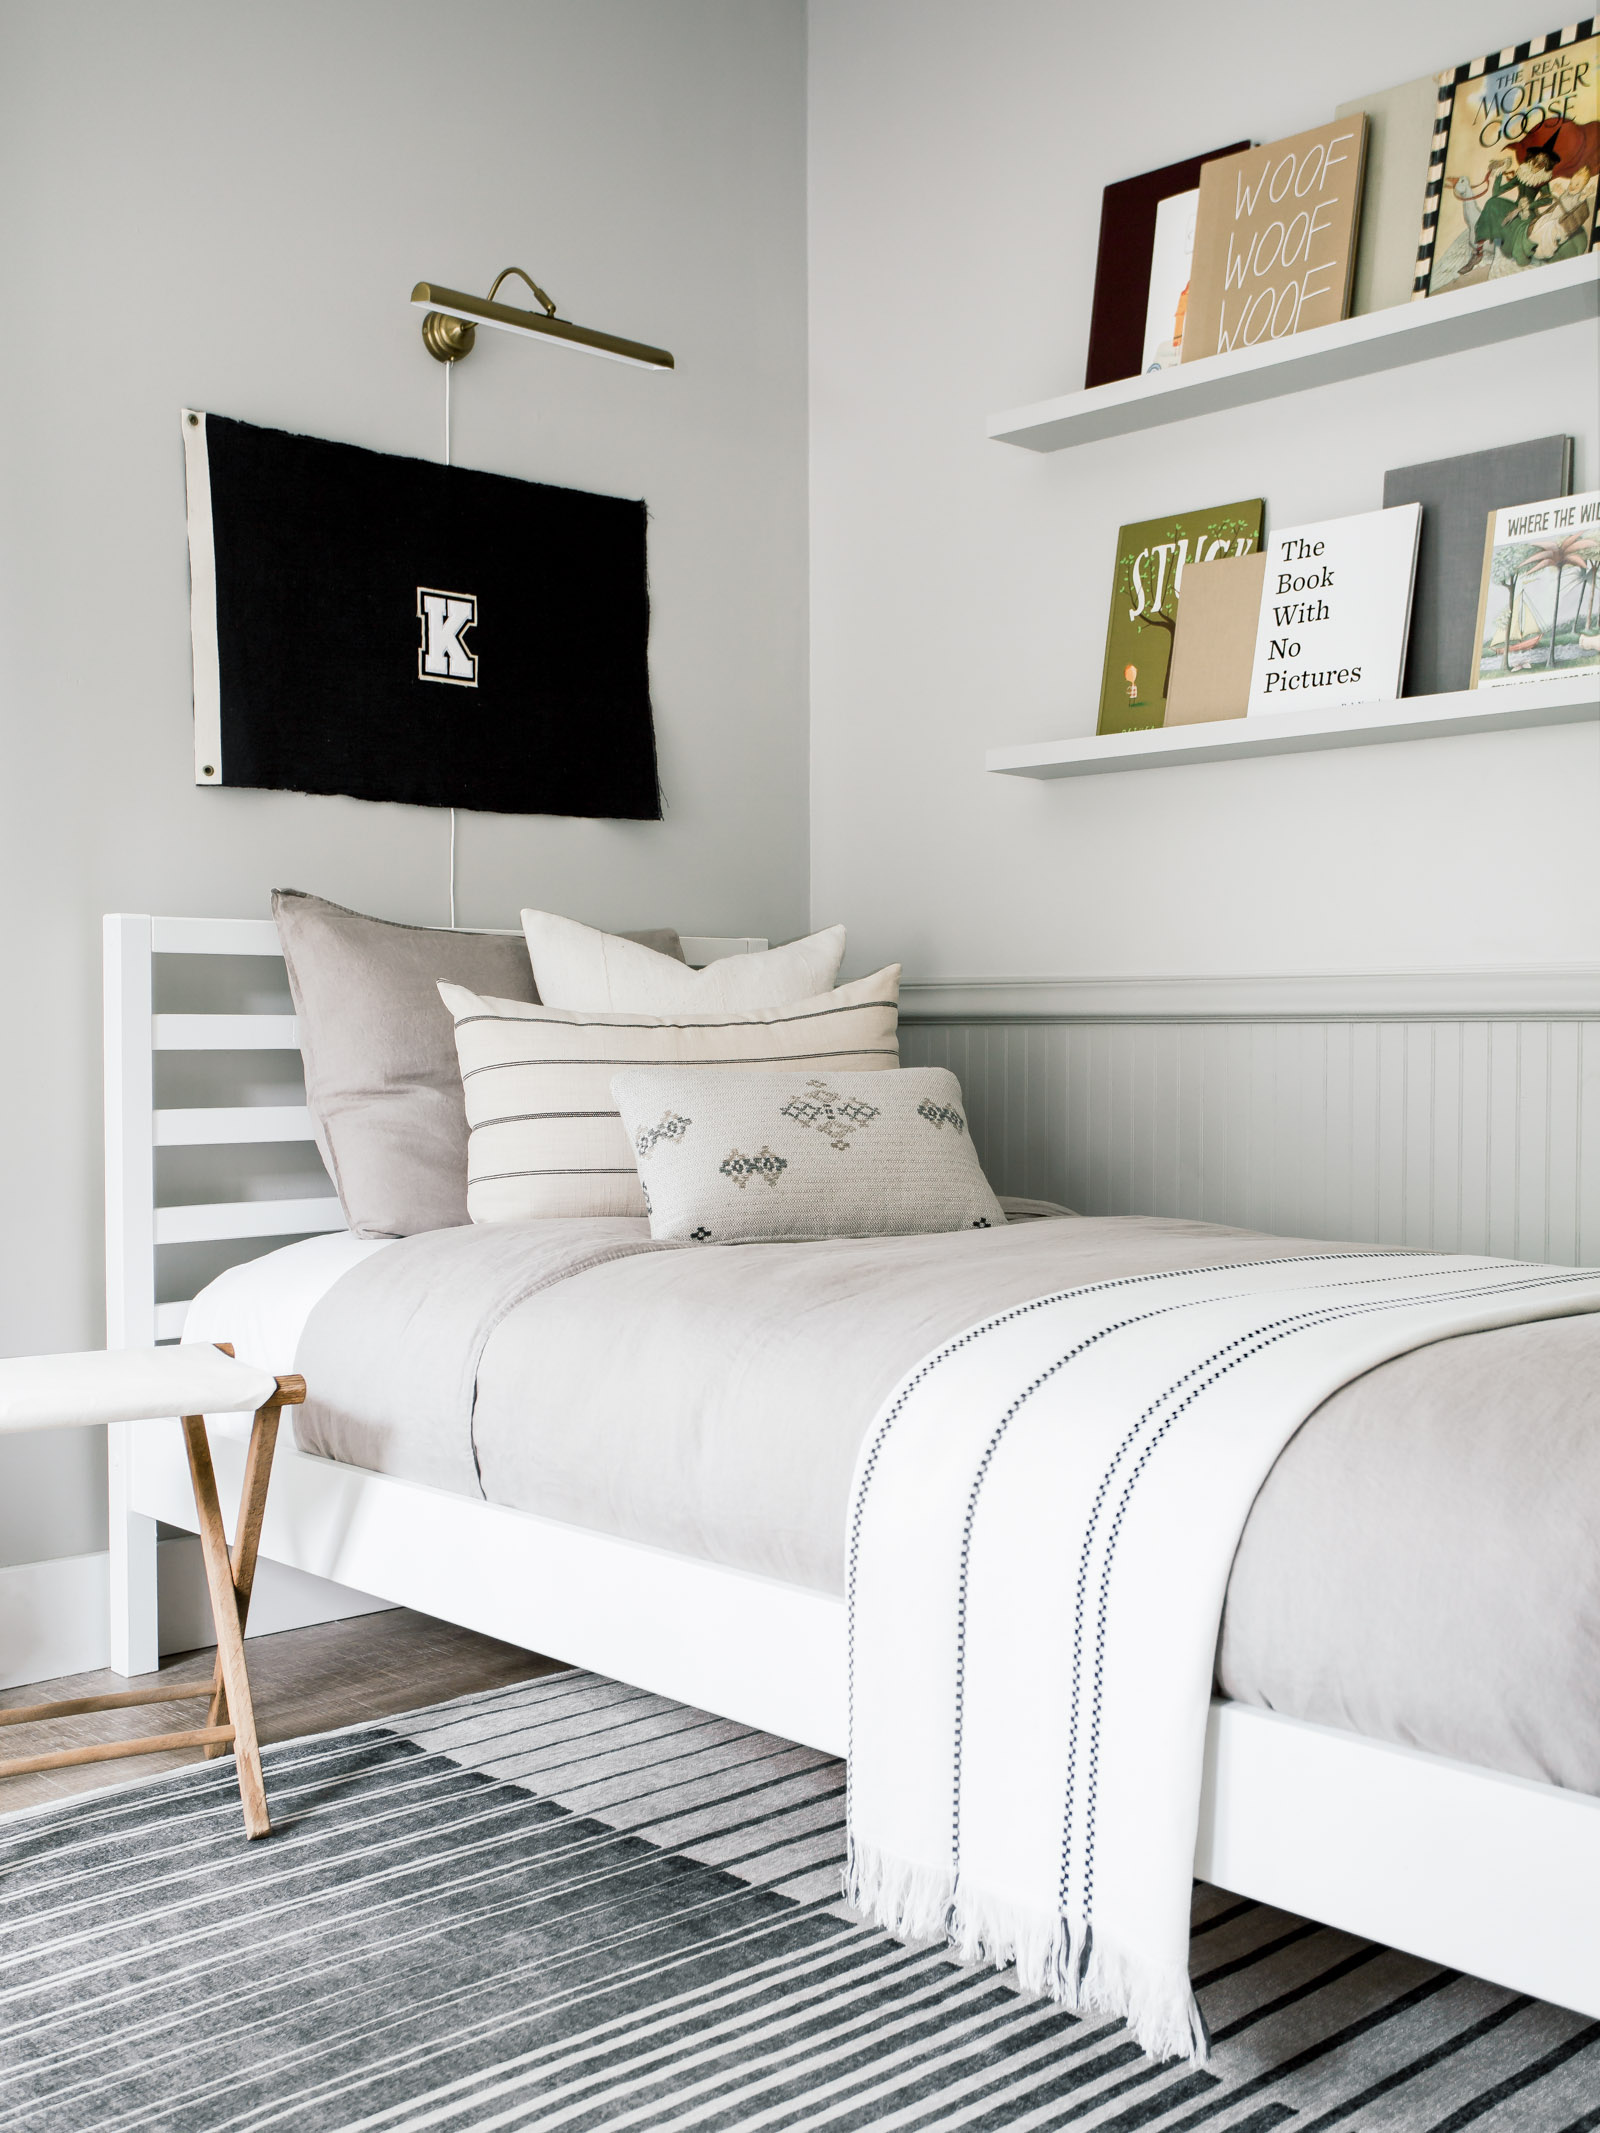
This brass picture light from IKEA wasn’t in the original design plan, in fact we actually purchased two of these lights for our Master Bedroom, but after we hung the flag, I knew I wanted to add one here! Love how it ties in with the eyelets on the flag and warms up the area above his bed! Kenden also loves having this light here and being able to flip the switch on easily.
Another fun project was his dresser! If you followed along in our stories on Instagram, you know that this Pottery Barn dresser was the only piece we kept from his original nursery furniture set almost 8 years ago. The dresser is solid wood and was still in really good condition, so we decided to give it an update by painting it with Behr Paint’s Chalk Paint (color Classic Noir), and updating the hardware.
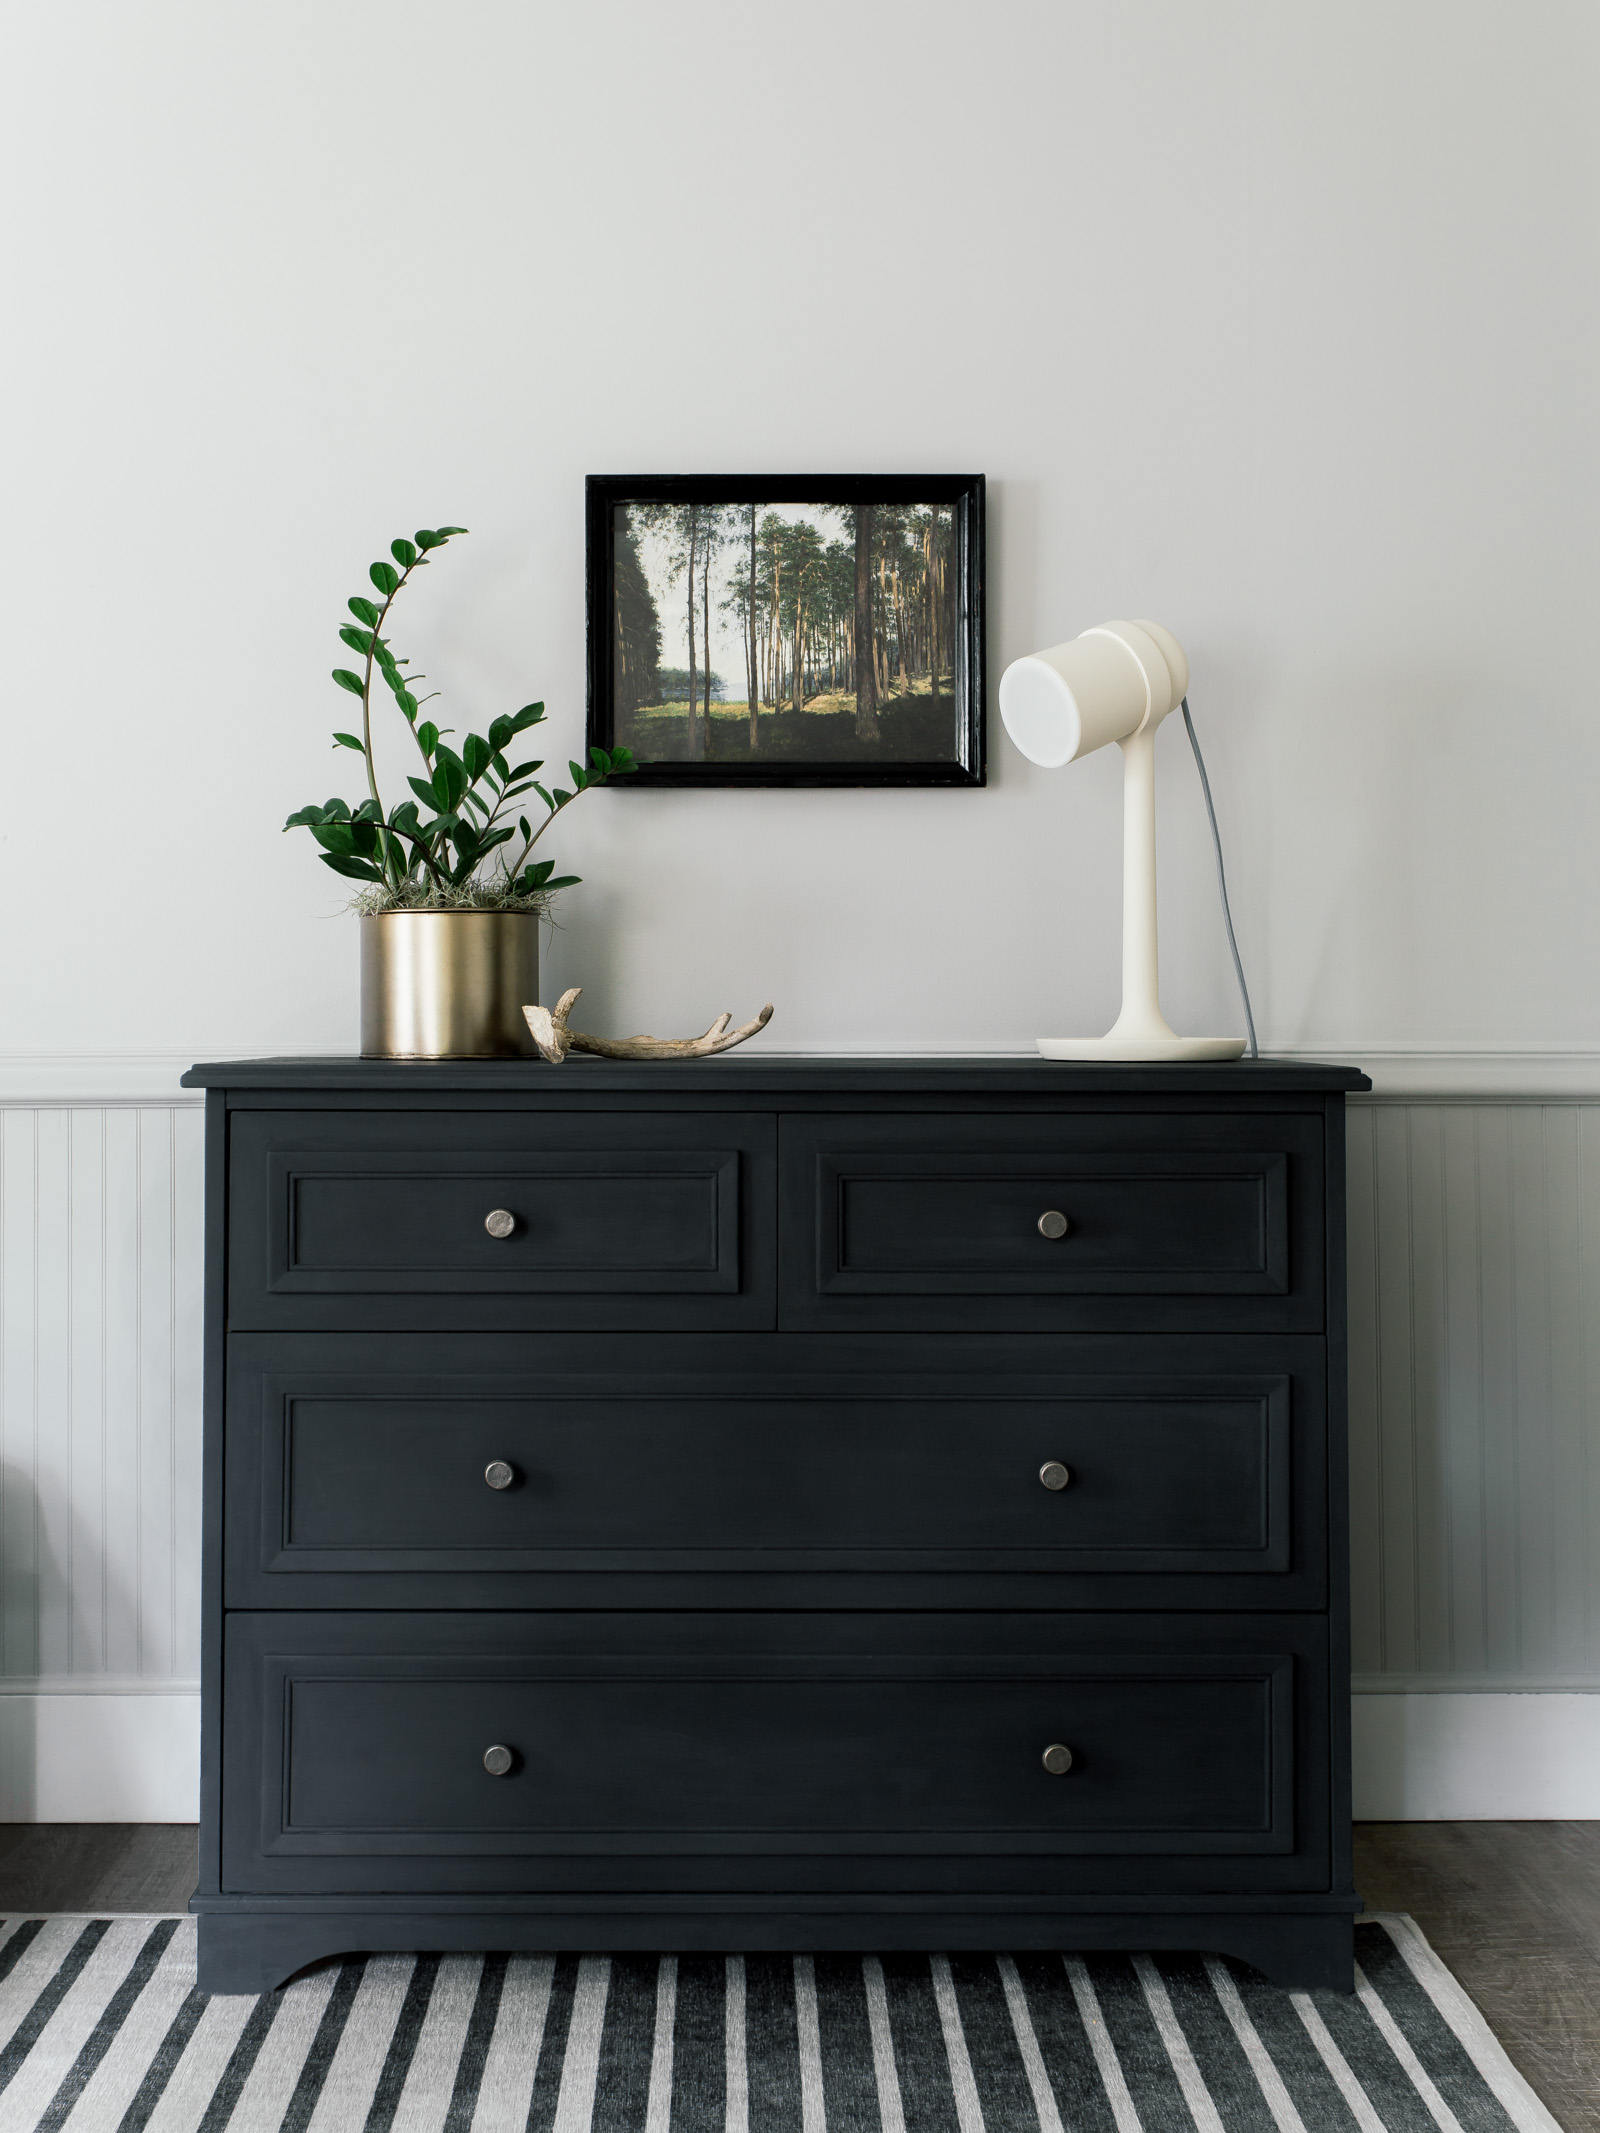
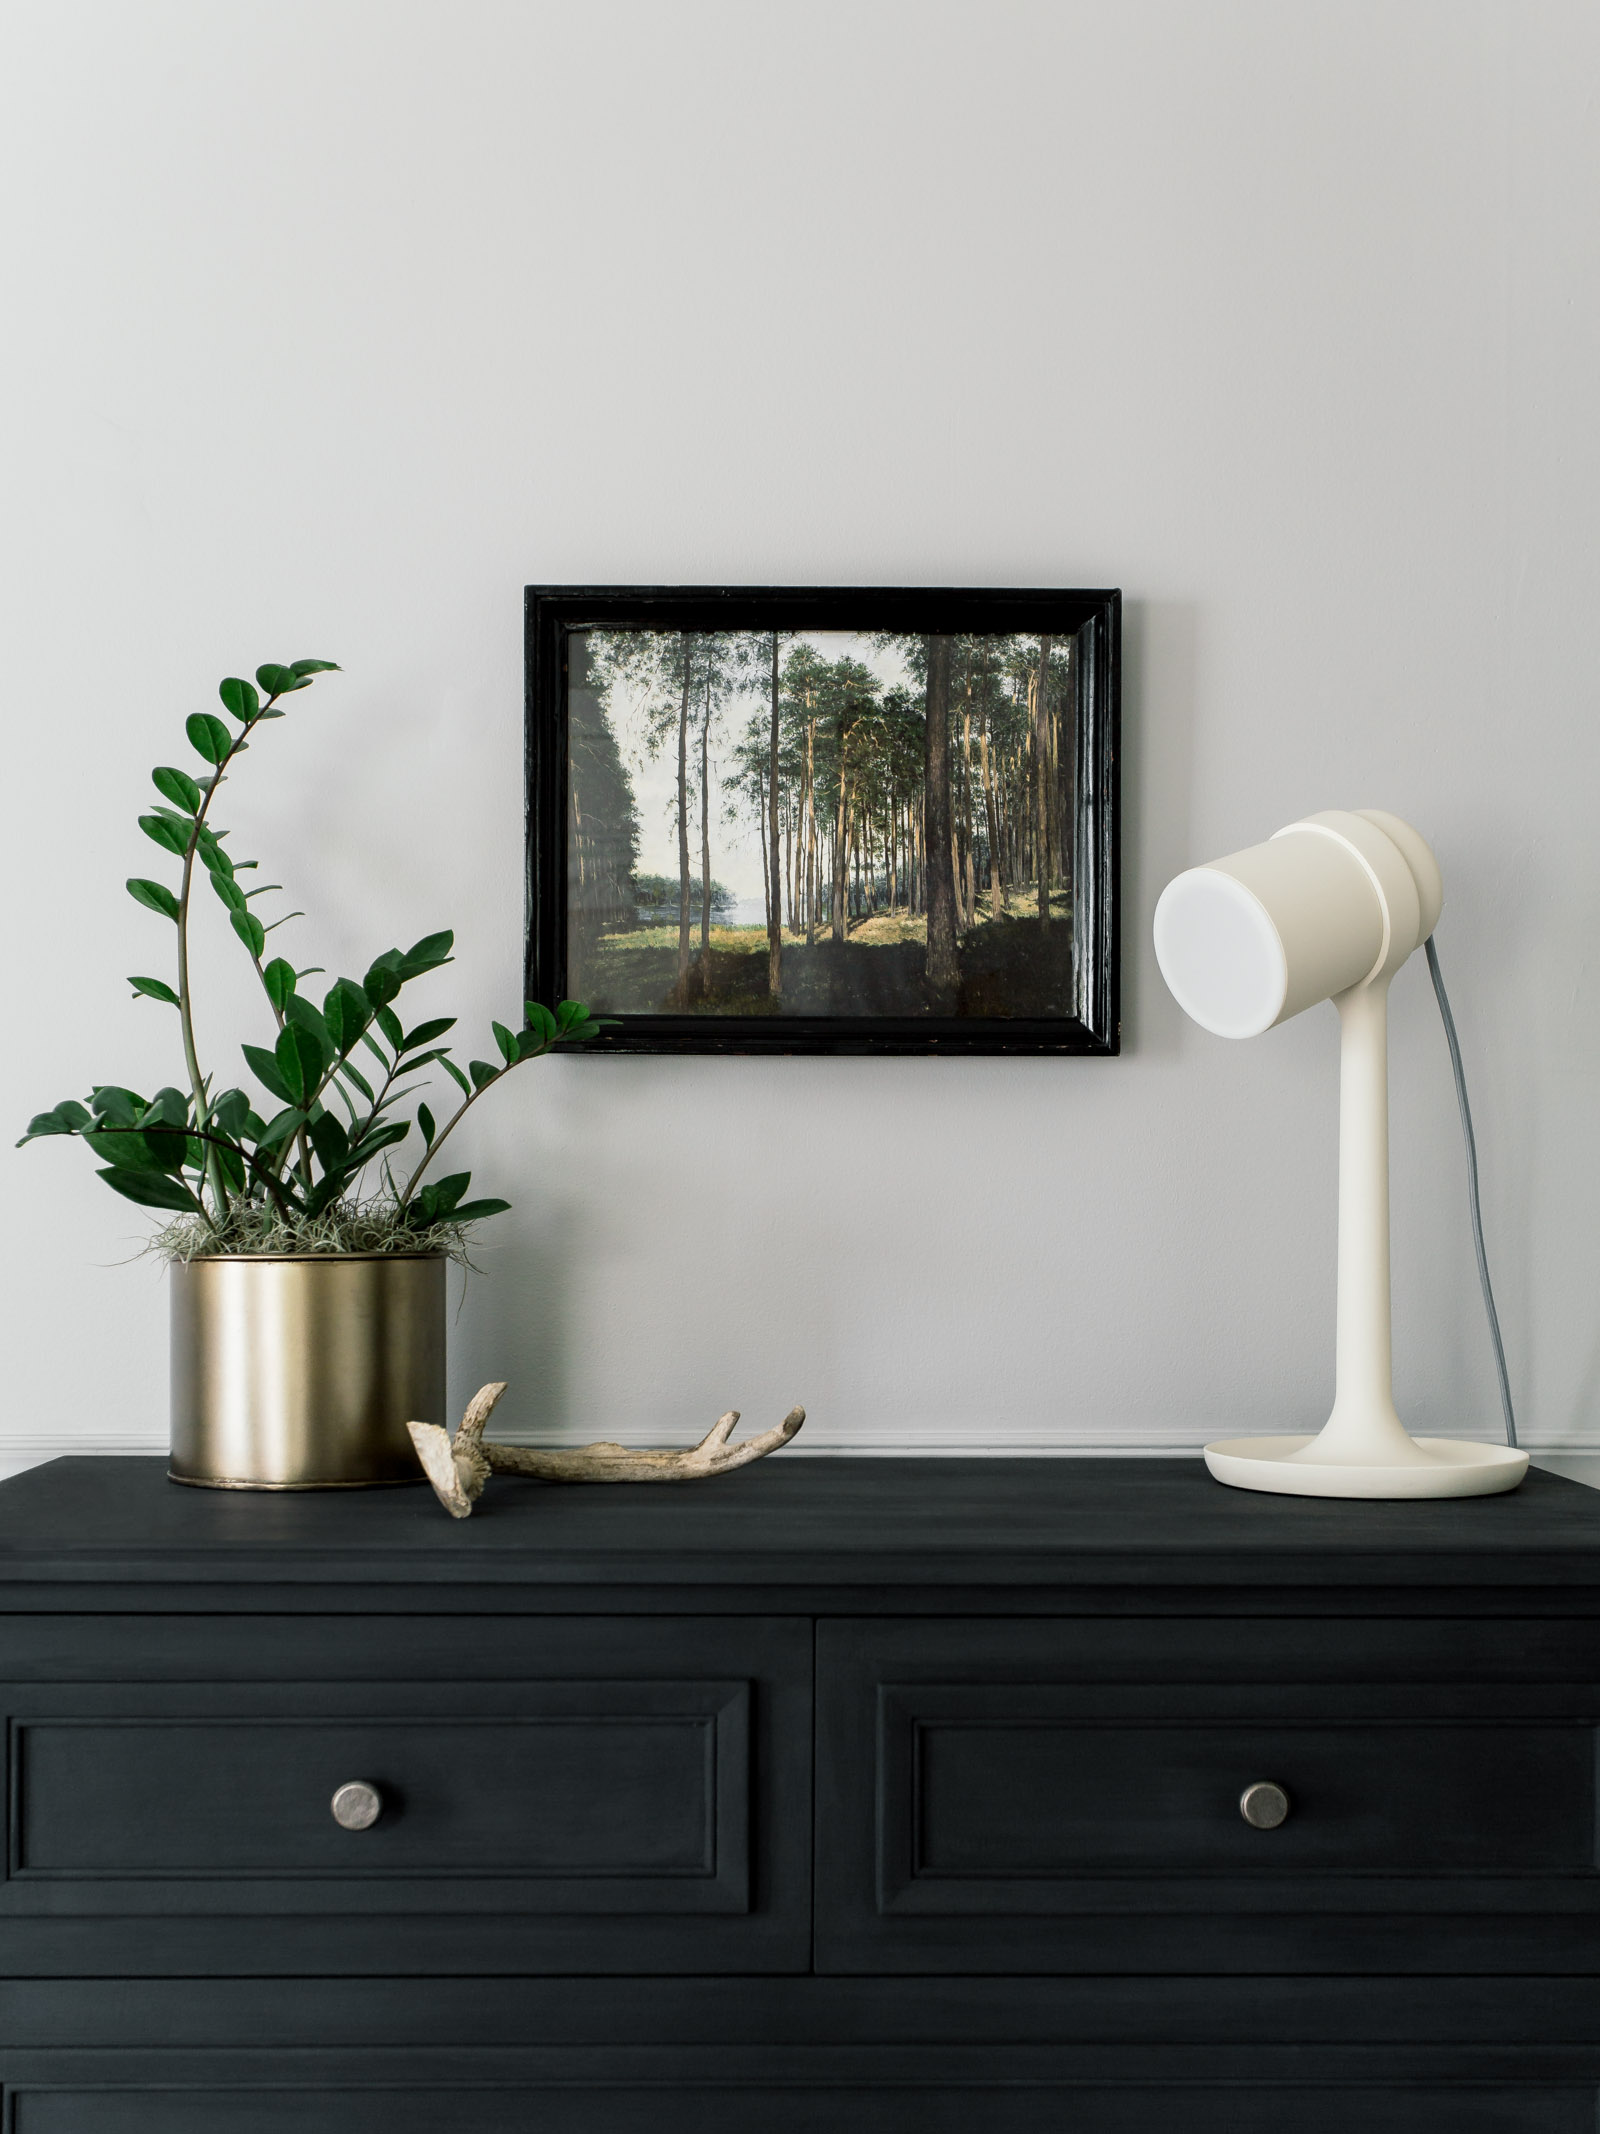
We kept his dresser simple by adding this dimmer lamp by Gantri, this vintage-inspired artwork (which we actually printed at Walmart on matte photo paper and it turned out way better than we anticipated), and this brass pot to tie in his picture light over his bed.
We scored this vintage camping stool for $8 at a local antique shop, but the fabric was bright green, red, orange and yellow. We removed the fabric that was attached with heavy duty staples, laid the fabric out as a guide, and used more left over cotton canvas fabric from his flag and reattached it to the wooden base!
We also added this white linen curtain to the window by his bed for added contrast and to diffuse the light coming in.
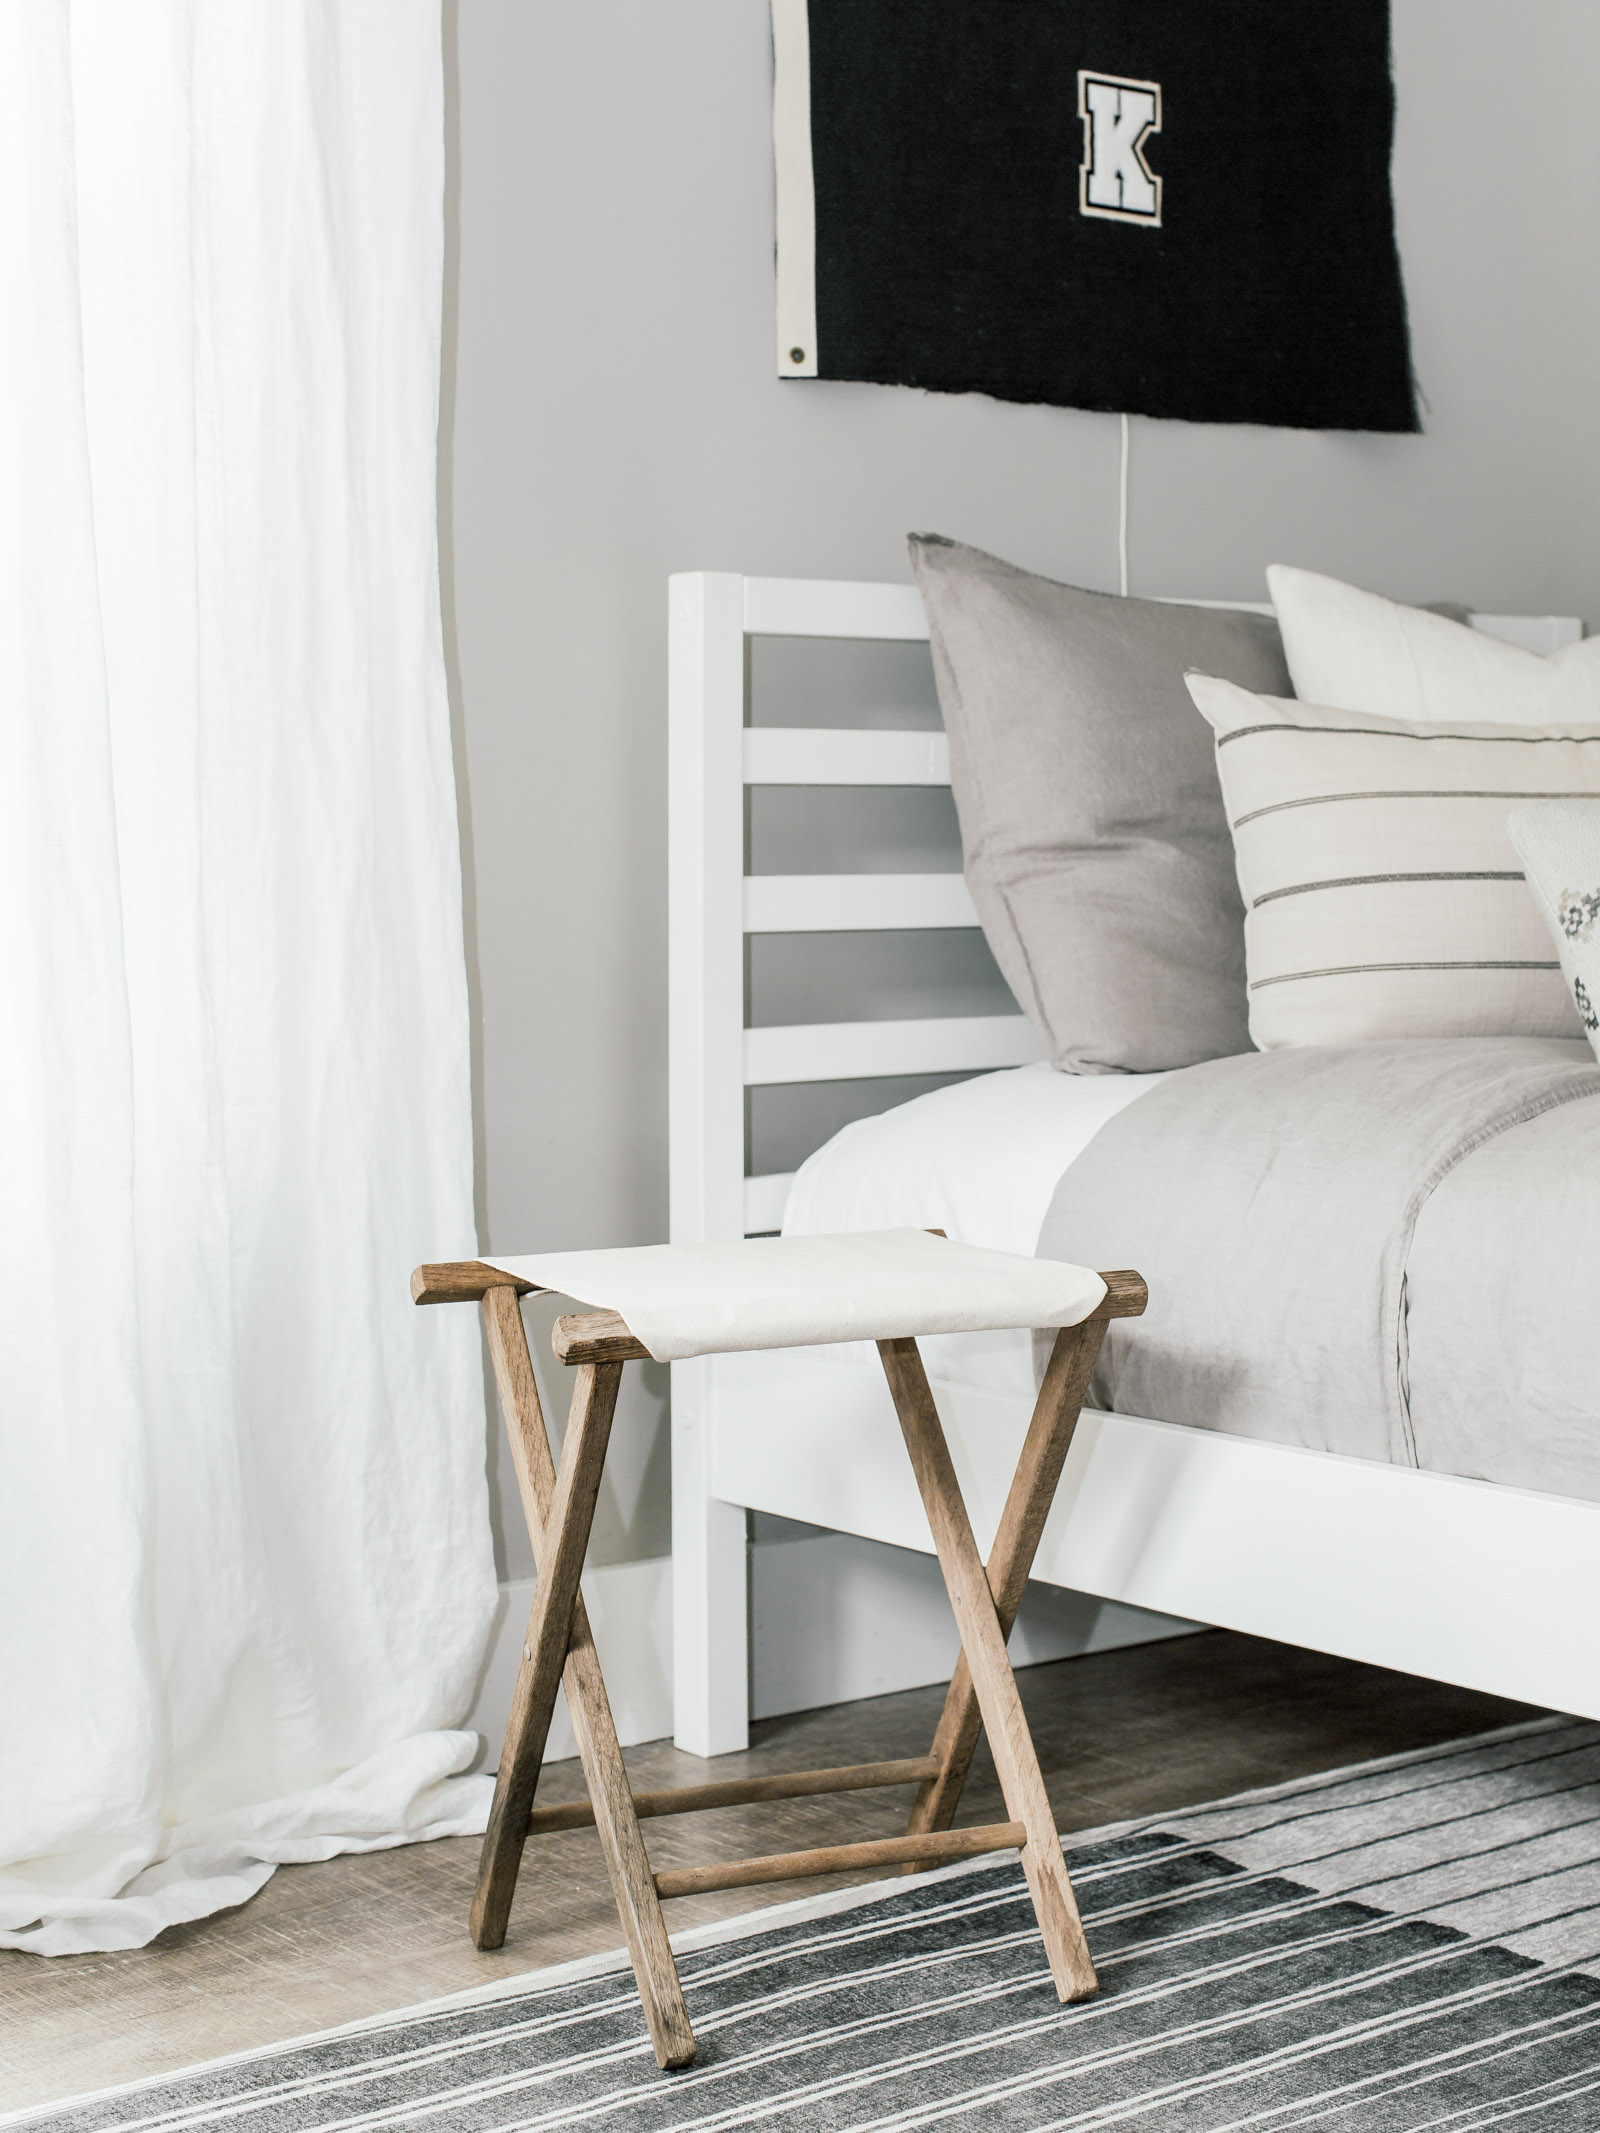
And last but certainly not least, the foundation of this room, and one of our favorite design elements in this space is this machine-washable rug! We chose the Gradasi Grey design since the lines offer a modern sophisticated feel to this room, while still being playful enough for our two boys! These rugs are a two-piece system that consist of a non-slip rug pad and a water and stain-resistant rug that you can throw in the wash when you need to… seriously a no-brainer for Justin and I! You can use our code: FUNLAINE15 and save 15% on your order!
So, what do you think? Do you have a favorite design element? Kenden absolutely loves it in here and we love that the boy’s rooms are officially complete! Now, it’s time to tackle our Master Bedroom which is a whole different story haha!
Sources
- Paint Color – Sherwin Williams Light French Gray
- Bed – IKEA Tarva
- Linen Bedding
- Mudcloth Pillow
- Stripe Lumbar
- Throw – IKEA
- Ledges
- Artwork
- Brass Pot
- Picture Light
- Lamp
- Rug
- Curtain
- Flag (if you don’t want to DIY it like we did)
*if other sources aren’t listed, they are either vintage or handmade

This is so so nice! Very well done! I love neutral rooms with black! Love it!
Thank you so much!! So happy you like the neutral space!
[…] made a fun varsity flag, inspired by Laine and Layne – click here to check out their tutorial. I think it looks so cool with our “these are the days” pennant […]
I love this room! Did you use the Behr wax for the dresser or leave it chalky?
Thank you, Anna! We just used the Behr Chalk Paint with no top coat. We purchased the top coat in the spray can and tried it on another product and it made the finish very milky looking so we decided to skip it on this dresser and it has held up great!
[…] Last week we shared that our boy’s room got moved up on the obligatory list of projects we are tackling this year… this is mainly due to the fact that we had to rearrange their room and if I’m being honest, their room has been half painted for about one year now, so it is way overdue getting finished! I haven’t shared their room since we moved both boys into the same room… you can see what this room use to look like here. […]